Picture rail hardware

Picture rail hardware
Did you know that picture rails originated in the 15th century as a way to not damage plaster walls? Picture rails were most popular in the Georgian, Victorian and Edwardian periods – just a few of my favorites. I love the picture rail feature because it saves me from adding holes to my walls and the trim piece is also a lovely detail. Before I constructed the board and batten accent wall with a picture rail in our living room, I first determined what picture rail hardware I would use.
I searched millwork stores and online for the right piece of picture rail molding for my wall. I wanted real wood, not anything too ornate, and it needed to be affordable. To my surprise, I found the perfect picture rail trim on Amazon. I ordered a piece and tested out my picture rail hooks. Once I knew the hooks fit, I ordered another piece of trim and got to work. Once construction was complete on the wall, the fun part of hanging some artwork from the picture rail was next!

If you purchase a piece of picture rail molding, most picture rail hooks should fit, but make sure before you get too deep in the process. Picture rail molding is different than crown because it sits flat against the wall with a top part extruding to handle a hook. I used liquid nails adhesive and brad nails to attach my picture rail. The engineering of the rail and hooks also help to evenly distribute the weight of artwork; however, I won’t be hanging anything of substantial weight from my picture rail. I added a picture rail to our entryway accent wall as well. When we first moved into this house, I created a chevron accent wall and haven’t put any nails in it yet. Now I can enjoy the beauty of accent walls and safely hanging artwork on them if I want to.

Finding picture rail hardware is easy, but deciding on a look may be more difficult with so many beautiful choices to choose from. I went with a simple brass hook, brass split rings, and plumbers chain. You can also use picture hanging wire to attach the artwork to the hooks. Picture frame hardware also comes in all the various finishes you’d expect, but don’t forget that you can also use Rub’N Buff or spray paint to further custom your picture rail hardware. I would like to get a few ornate brass hooks eventually, but for now I’m set with what I have.

How to use picture rail hardware – Video
There are a ton of picture rail hooks and chains to choose from, and you can find them online or even specialty hardware stores. I gathered a few fun ones to consider, including the exact items I used for my picture rail. The jumprings should be split which means a double ring that’s split, just like traditional keyrings but small. You can also use split rings found on jewelry supply aisles, just make sure the wire gauge is thick enough and strong enough to securely hold your artwork. I would say that 24 gauge is too thin and weak. The smaller the gauge, the larger the wire. Assembling these supplies to hang artwork from a picture rail is easy peasy, but here is a very short video for visual learners.
10-pack brass hooks (these are the ones I’m using)
10-feet plumbers chain (this is what I’m using)
Split jump rings from Hobby Lobby (what I’m using)

When you add the split jump rings to your chain or wire, it helps to have some needle nose plyers or really strong fingernails. You’ll need to pull apart the split ring just enough to get the chain or wire in it without over stretching. The jump rings will also need to be large enough to fit onto the hook, but not too large that they lose strength. If you watch the video, you’ll see how I determine my chain length and how I cut it. It’s all very simple, but sometimes seeing the process makes it easier to do yourself.
Thank you so much for checking out this post about using picture rail hardware. My board and batten and picture rail construction post got a bit lengthy, so I decided to capture this information in its own post. I always like to make videos when I can because sometimes it’s just easier seeing something done than me trying to spell it out. I can see picture rails making a come back, especially as more people add accent walls to their homes and how bits of vintage decor is adding character and beauty to design as well. If you enjoy decorating, DIY projects, crafts, and party plans, be sure to sign up for my free email. Thanks a bunch!

POSTED IN: Decorating
Let's be friends!
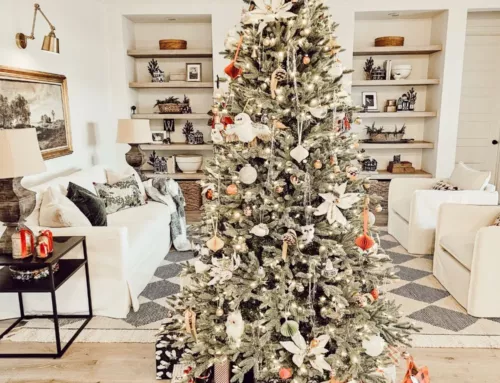
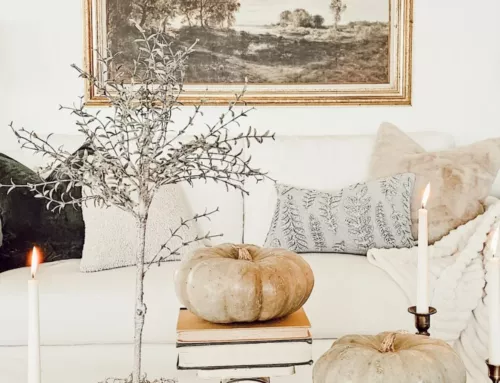
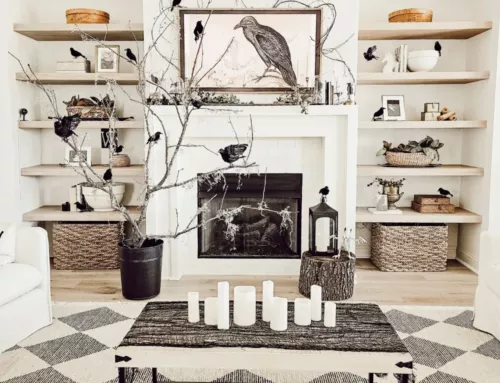
Related Posts

Search
Categories
Subscribe
Get the latest posts, discounts, and design inspiration right to your inbox.
