How to Install a Picture Rail
How to Install a Picture Rail
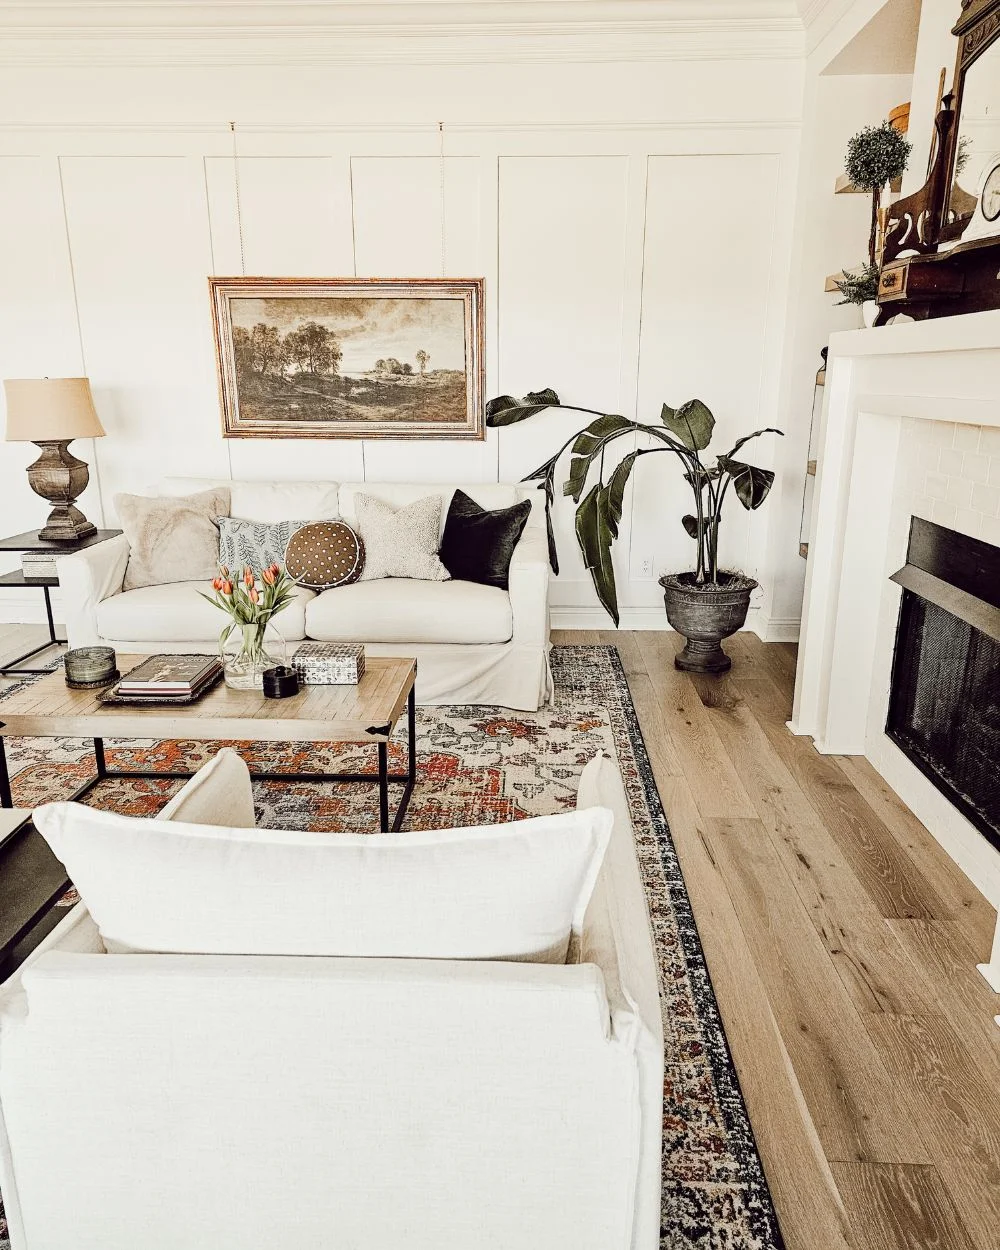
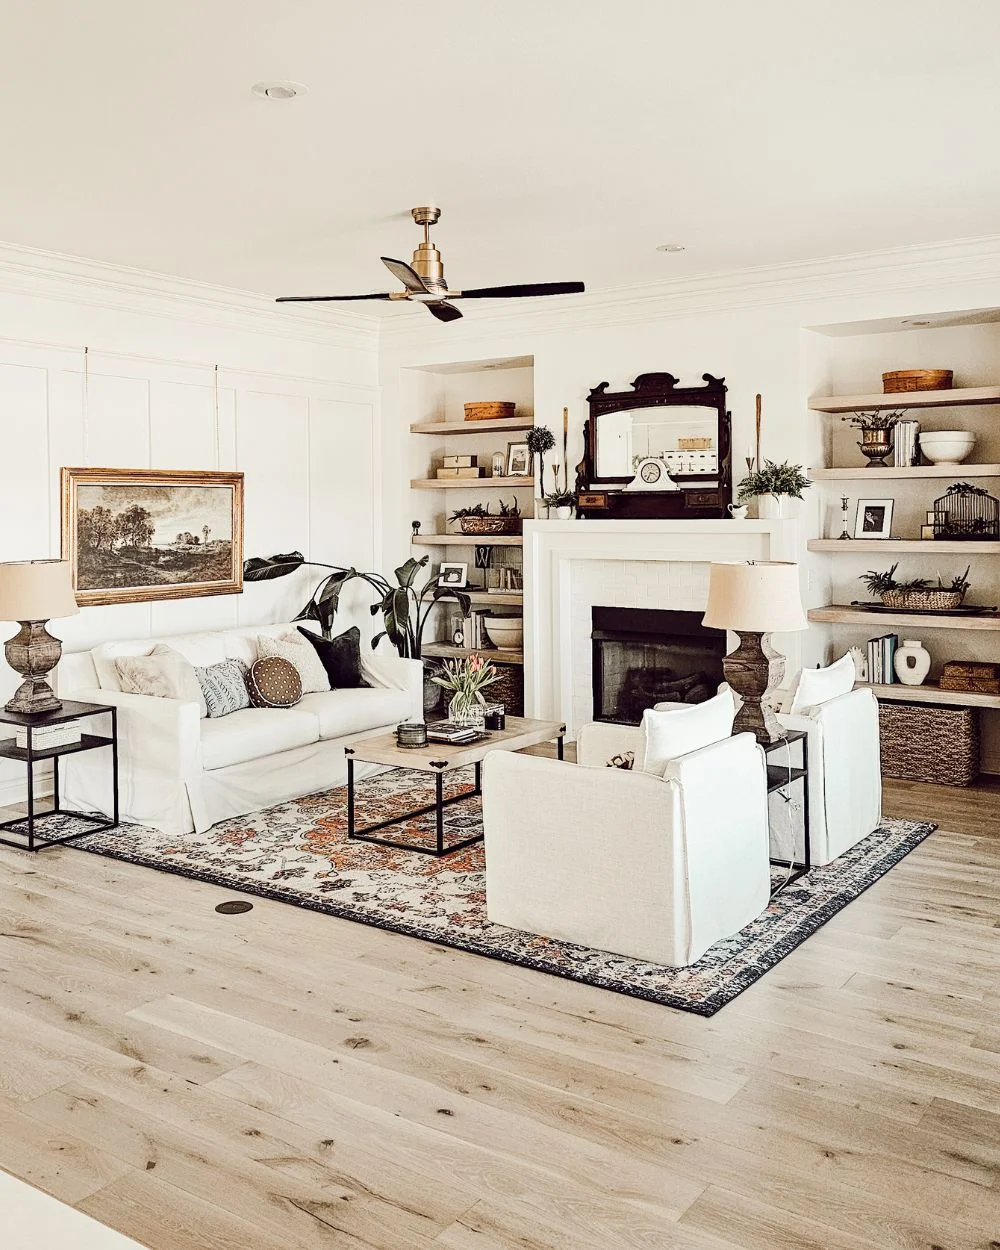
Our living room is our family’s cozy space where we like to sit to talk, read, play games on our phones. We no longer have a TV in this space (because of the loud birds) so it’s become a space where we gather to catch up and meet up. This room is my favorite space to decorate, and the floating shelves that I built around the fireplace almost made me quit DIY (kidding, sort of). The decor on the shelves gives the room interest and style, but it’s also busy. So, when considering a wall treatment for the large blank wall, I’ve struggled finding something that I was willing to DIY and something that would calmly complement the space. I finally landed on mixing a board and batten treatment and picture rail molding to hang artwork. I absolutely love it!
Living room wall BEFORE
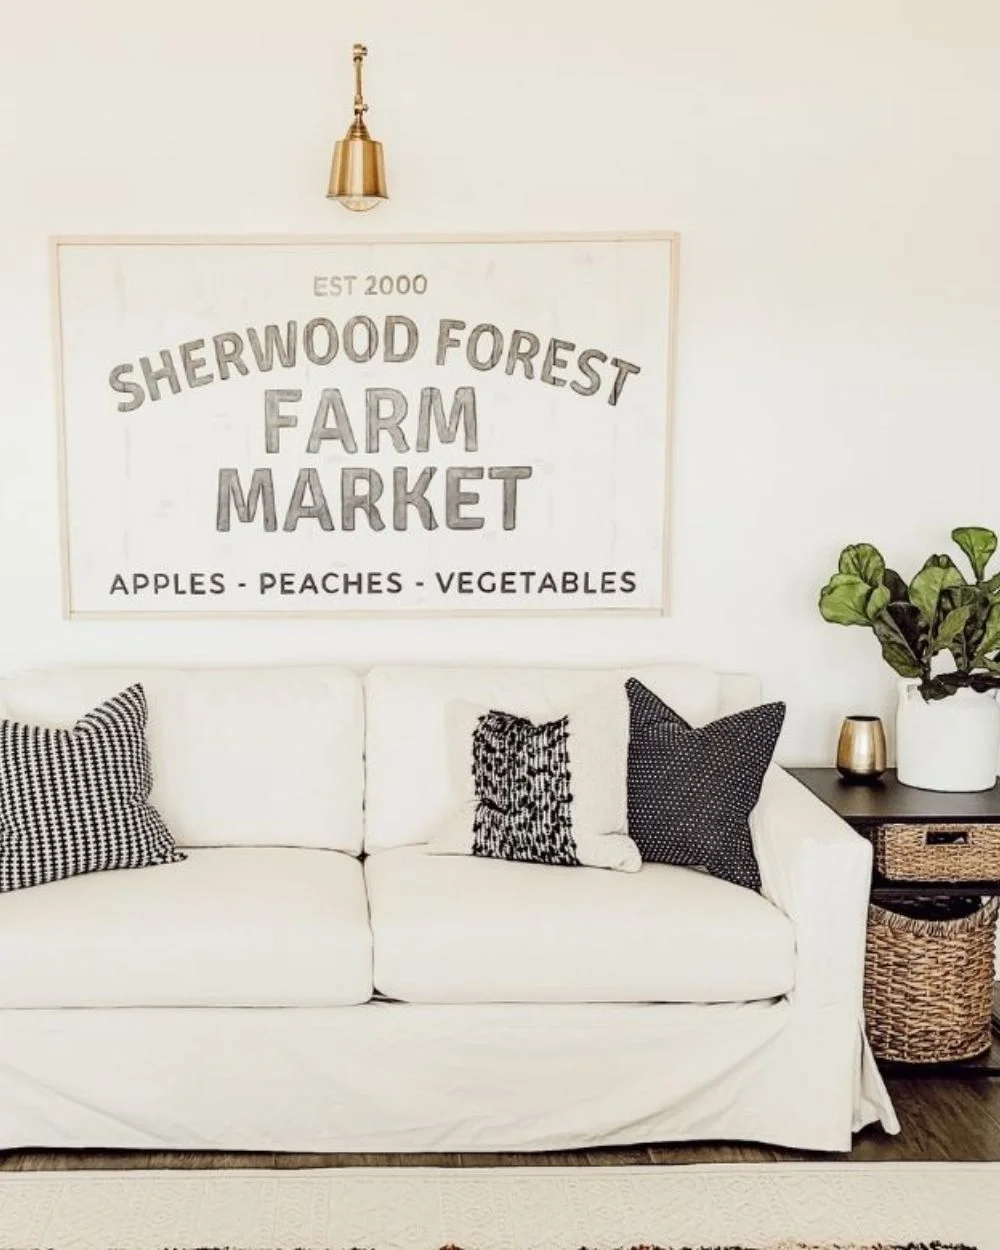
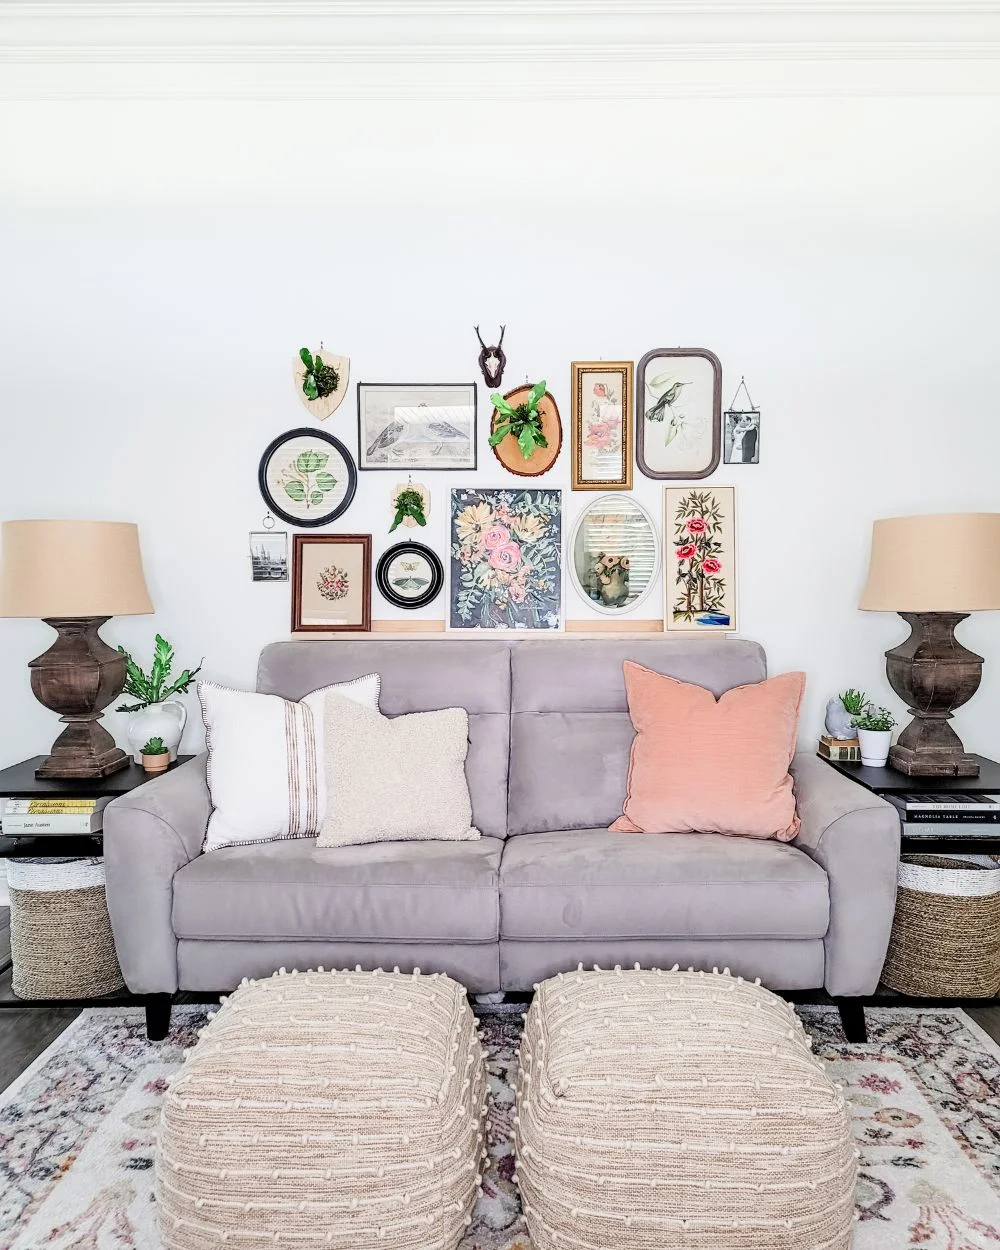
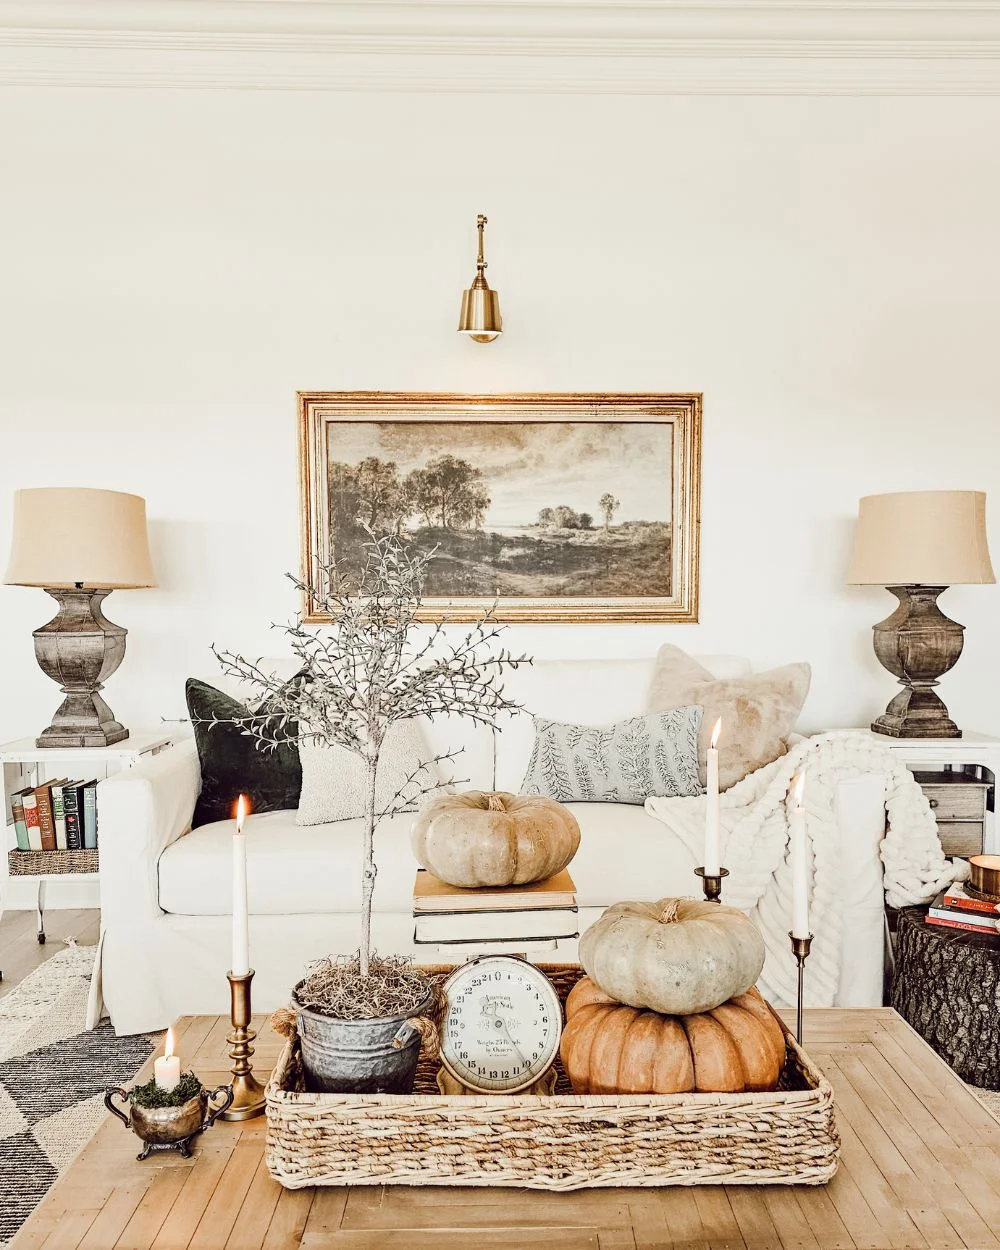
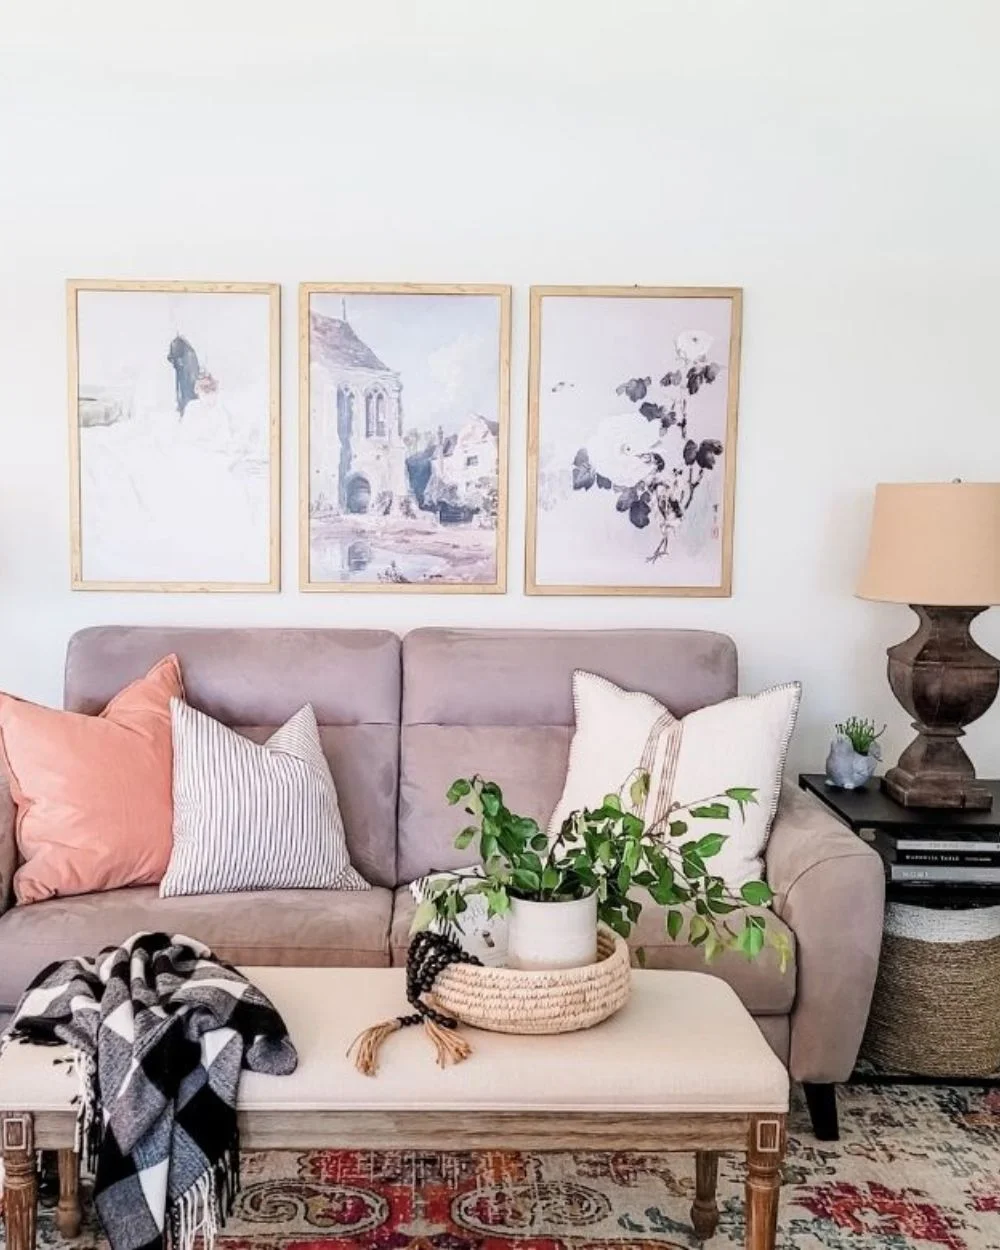
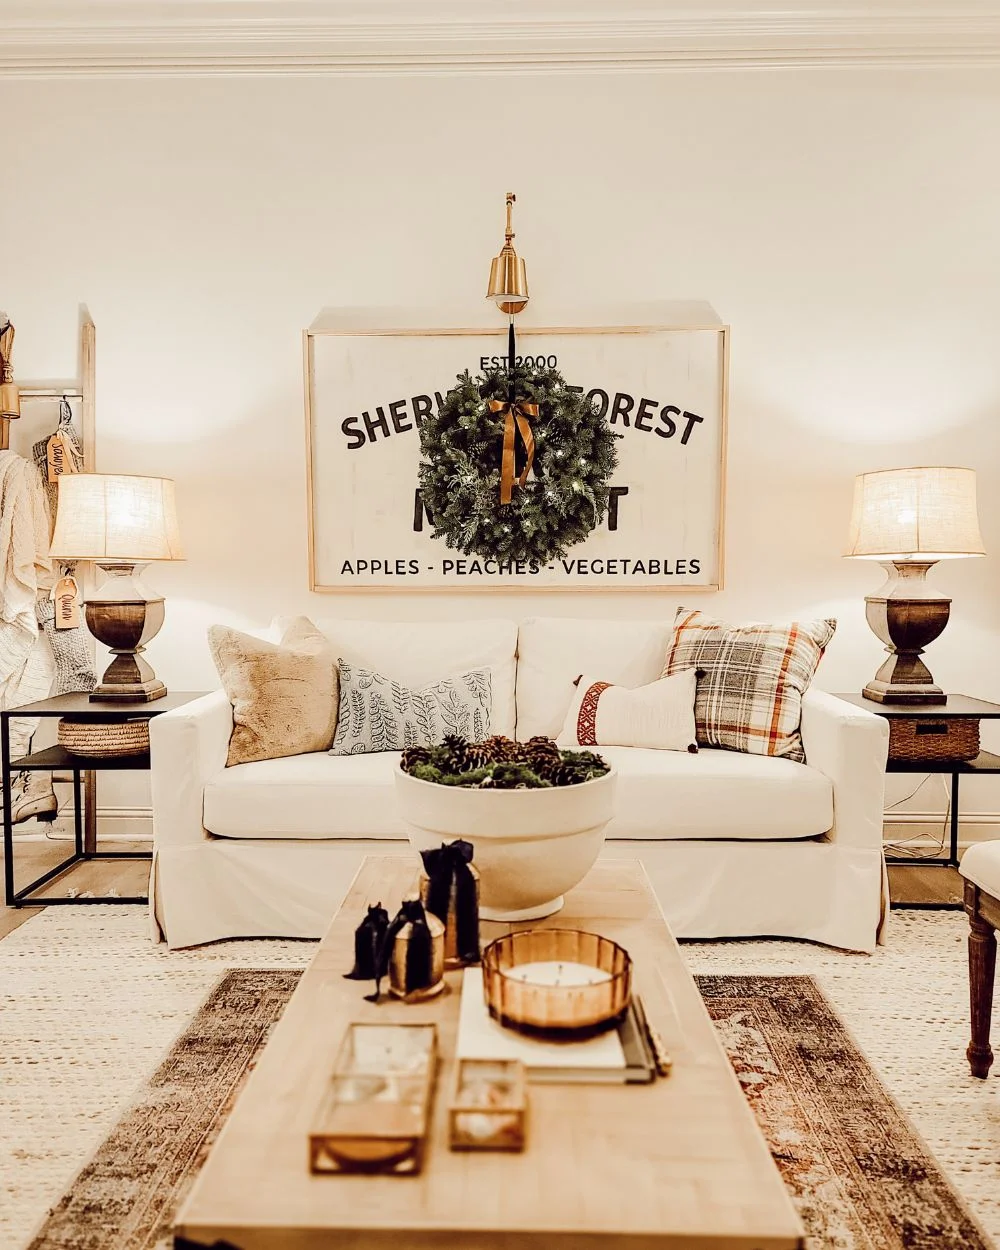
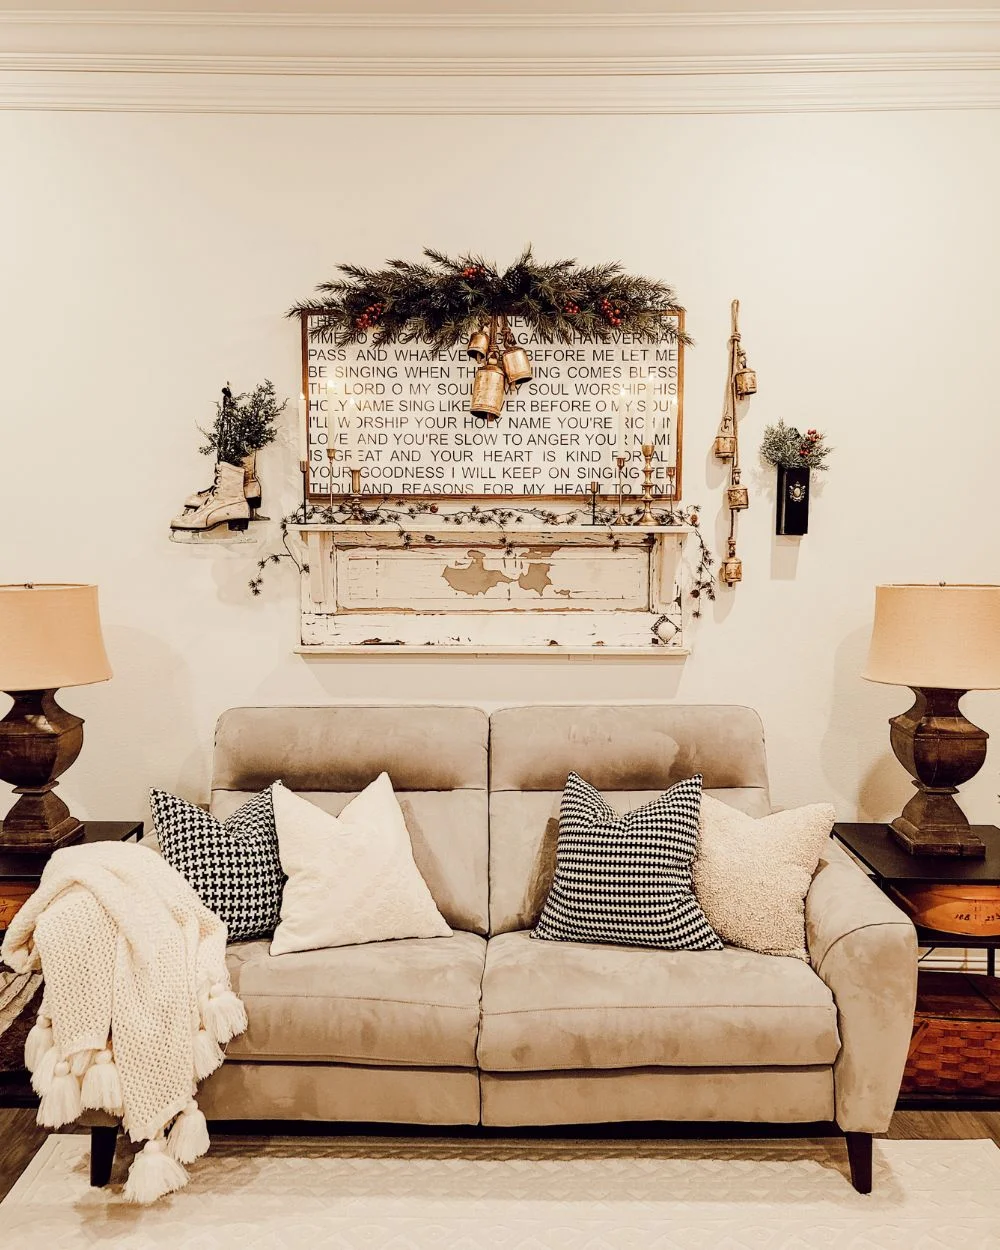
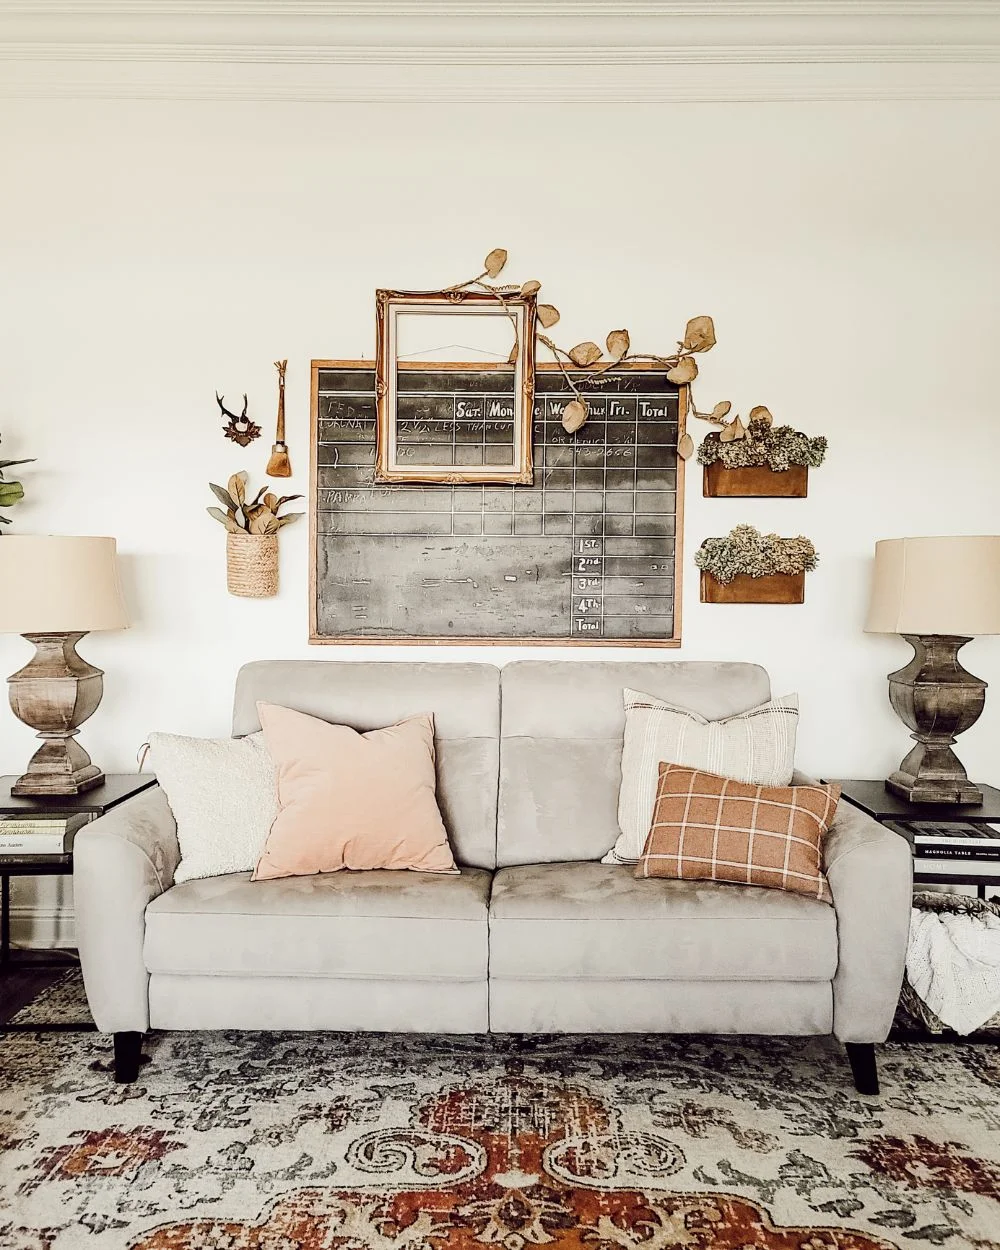
Before I get into the weeds with the picture rail wall treatment, let’s go down memory lane to see some of the ways I previously decorated this living room wall.
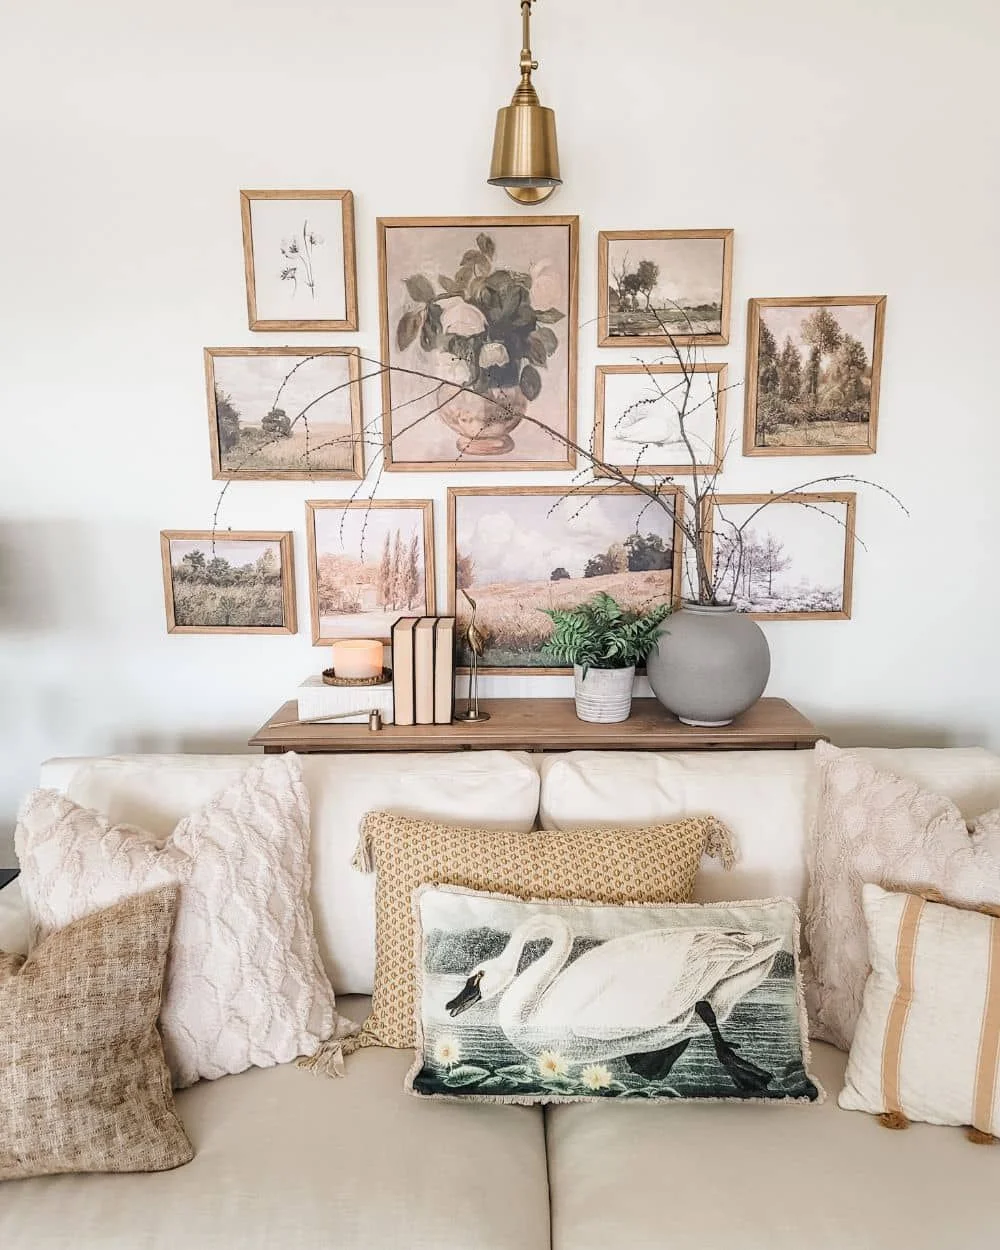
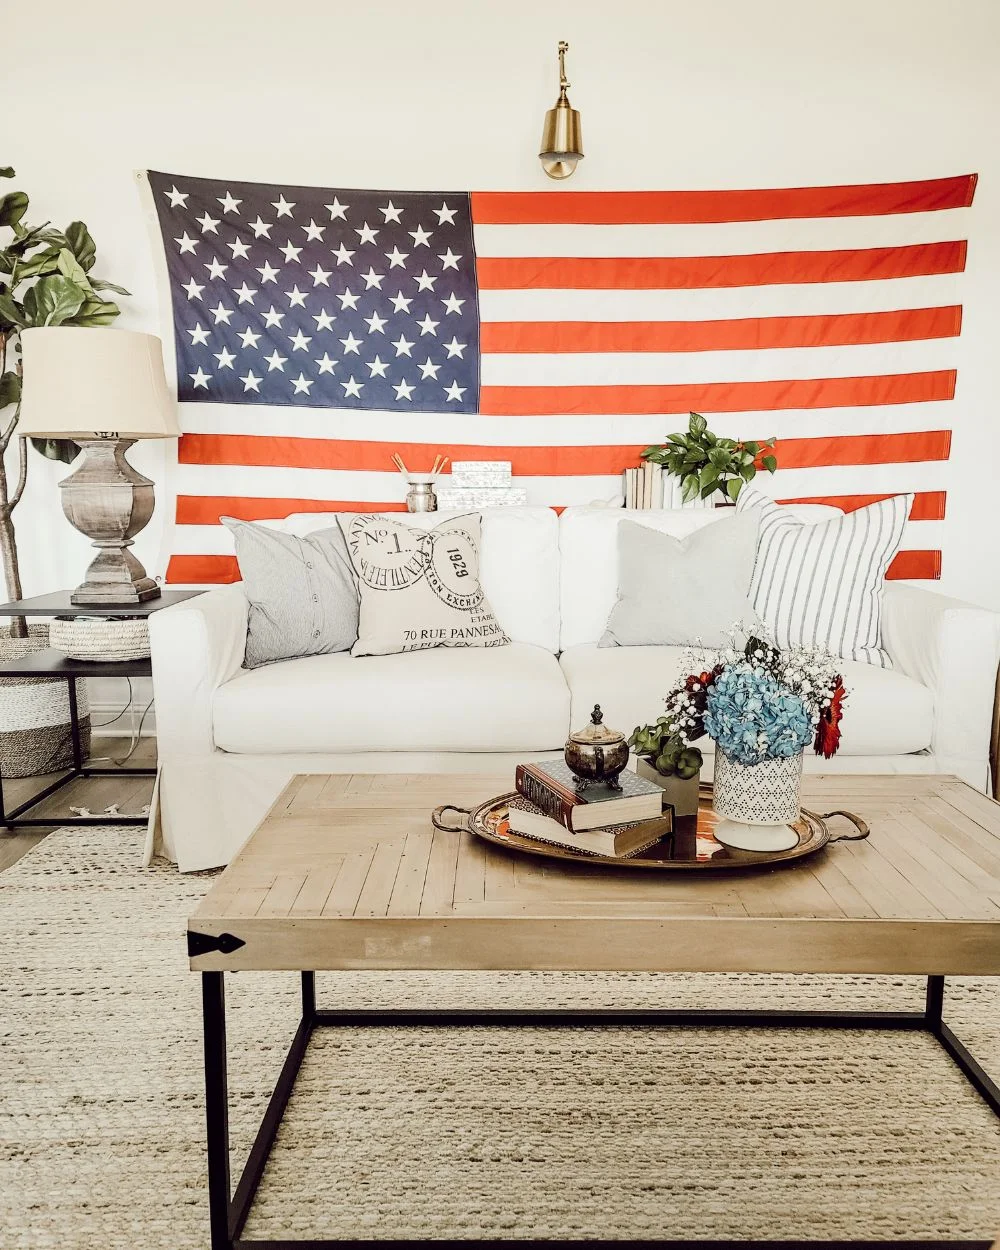
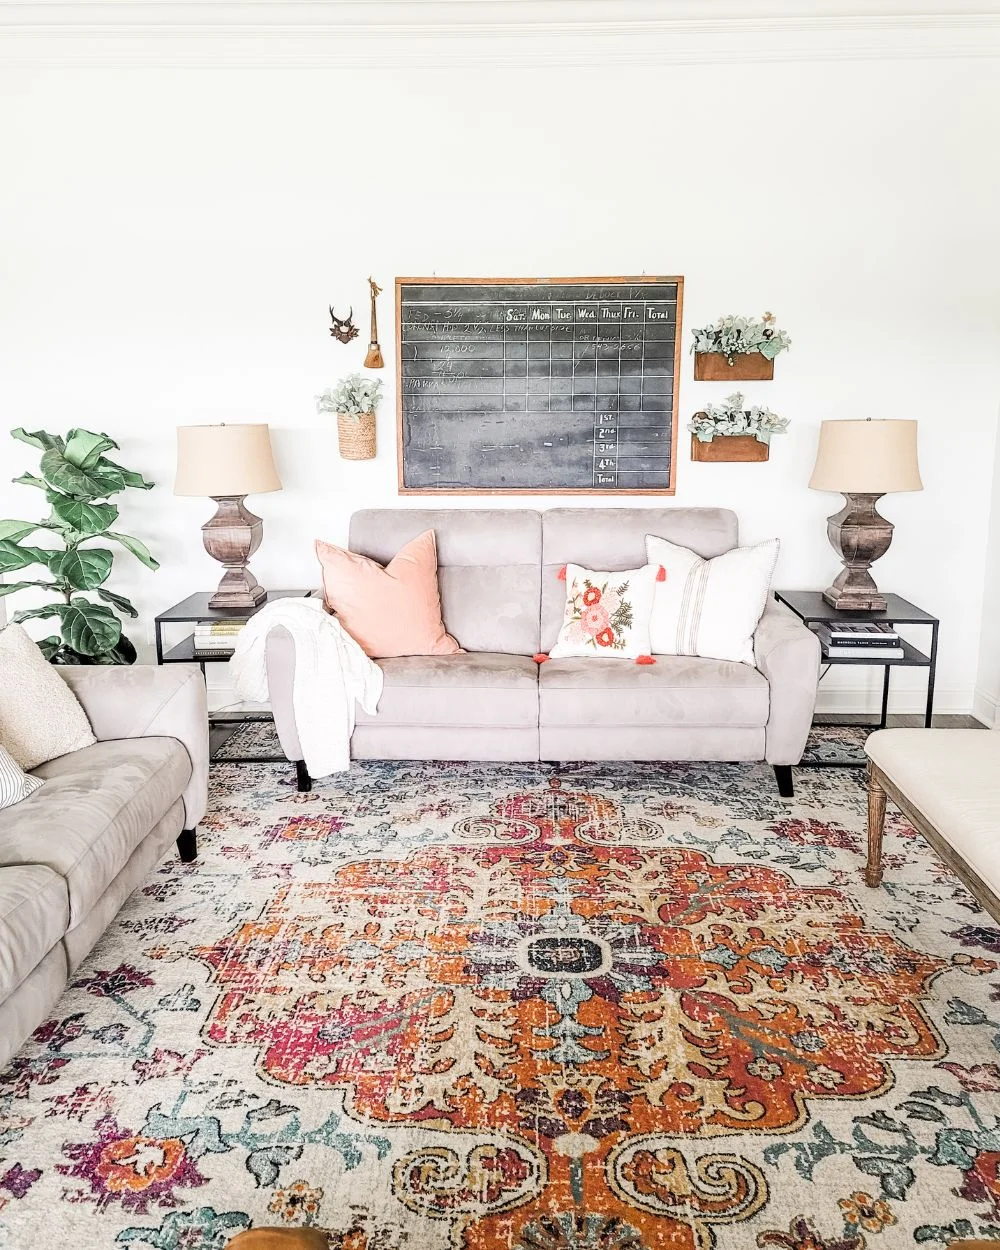
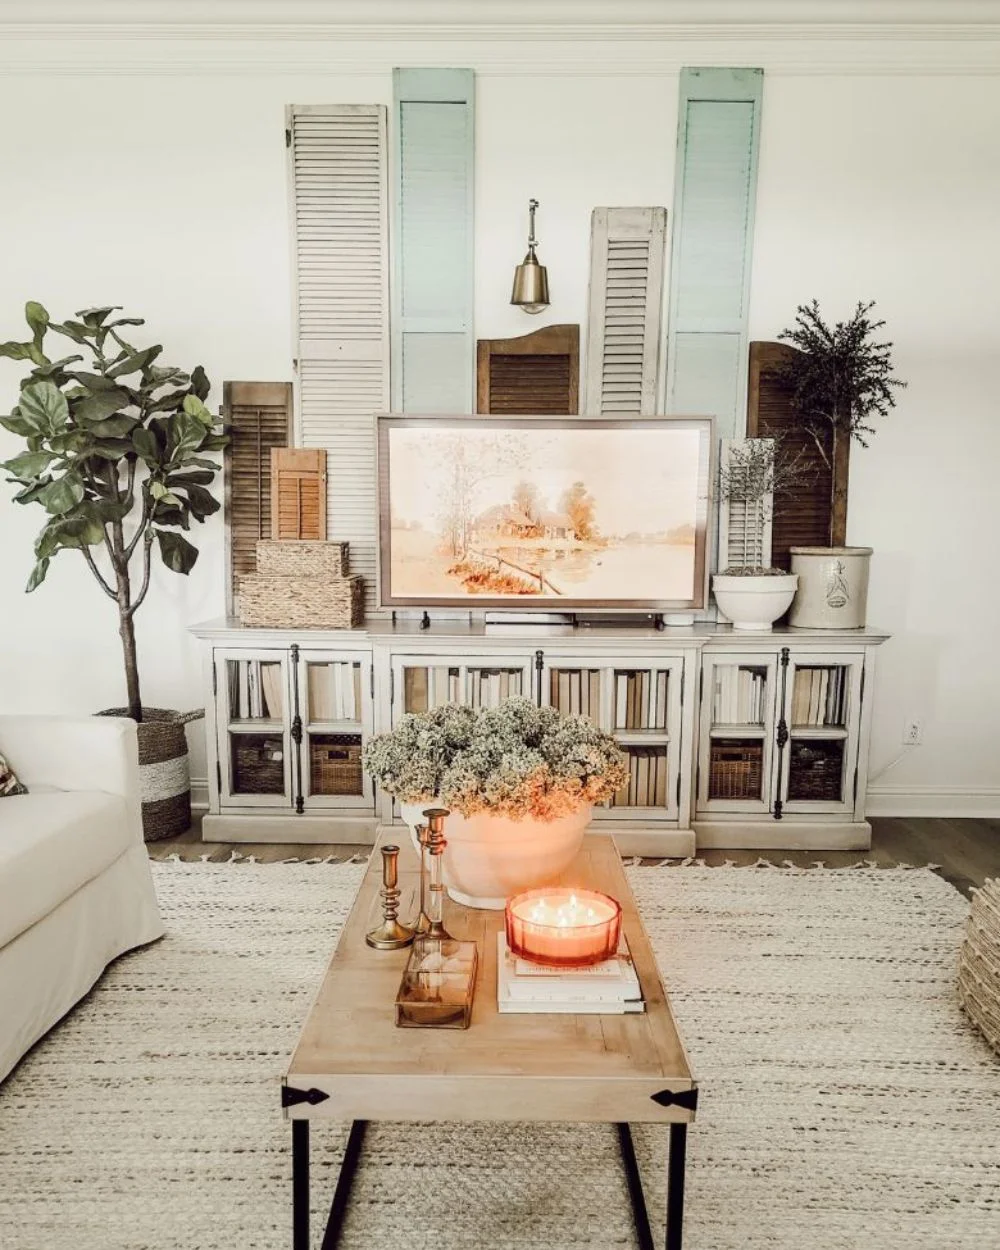
How to create a board and batten and picture rail wall
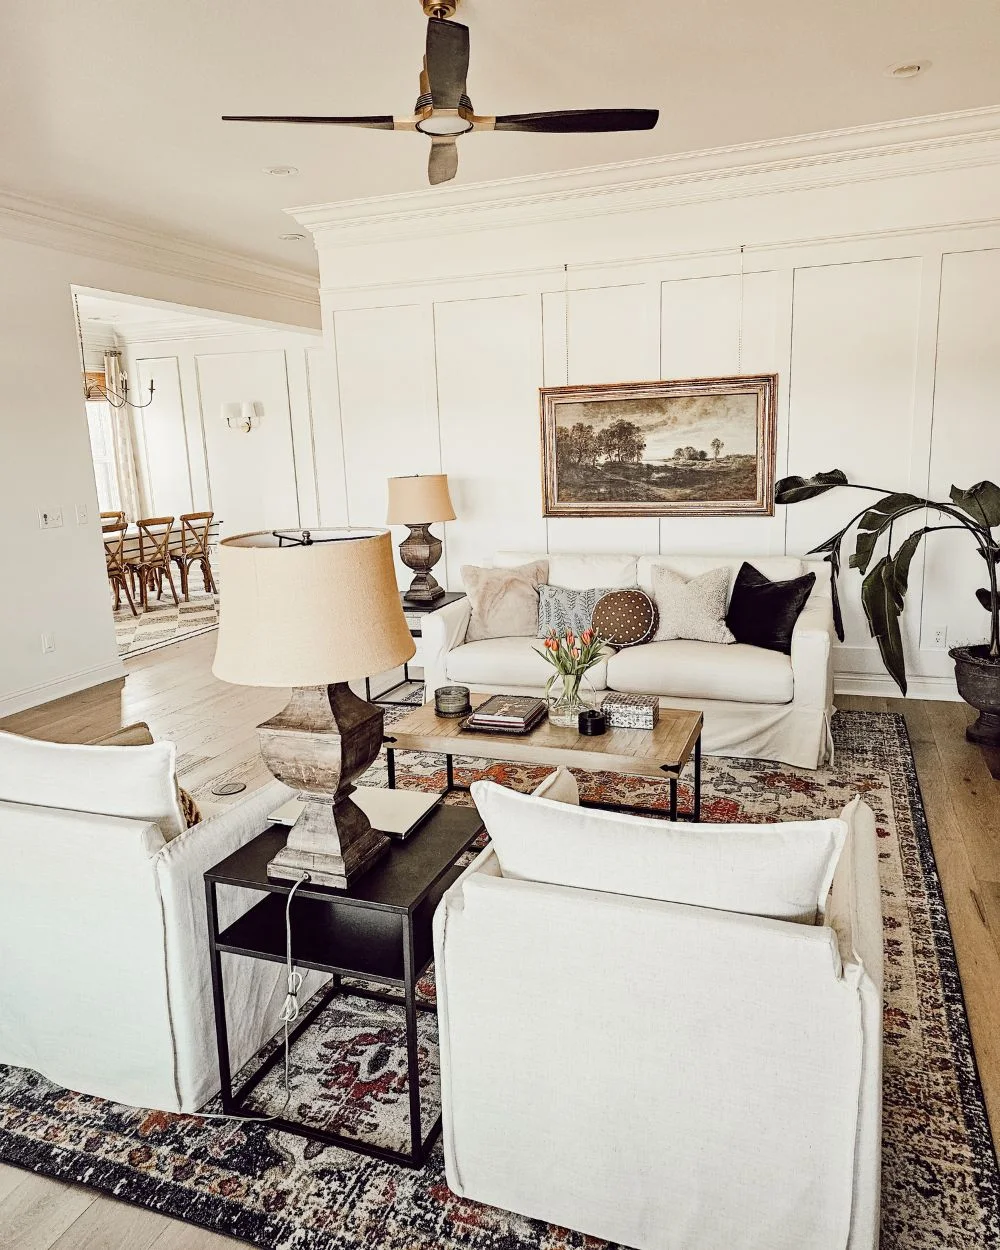
The wall has a cable hookup for our TV as well as outlets, so I had to carefully calculate the spacing between the battens. Whenever possible, I prefer an odd number of battens (the vertical boards on the wall) because then I can easily find the center board to line up furniture etc. I sketched out some designs and then used a calculator to see how the battens would line up with the electrical outlets on the wall using this online calculator. There are several calculators out there (just google it), but I liked this one for this project. To use the calculator, you’ll need to decide how wide of batten boards you want to use and the dimensions of your wall. My wall is just over 14′ wide so I didn’t want too many battens, but I wanted a balanced look for the size.
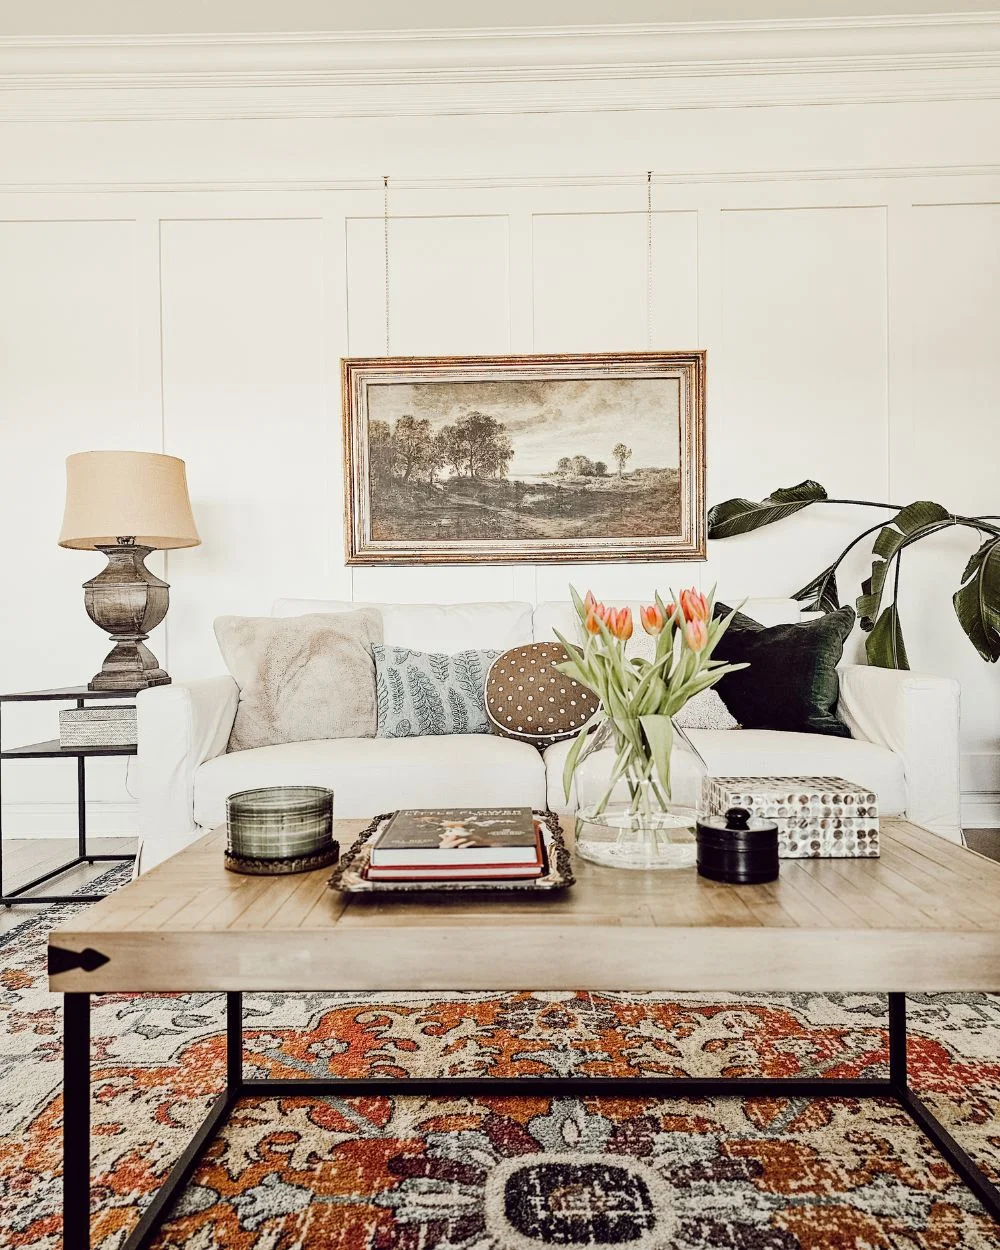
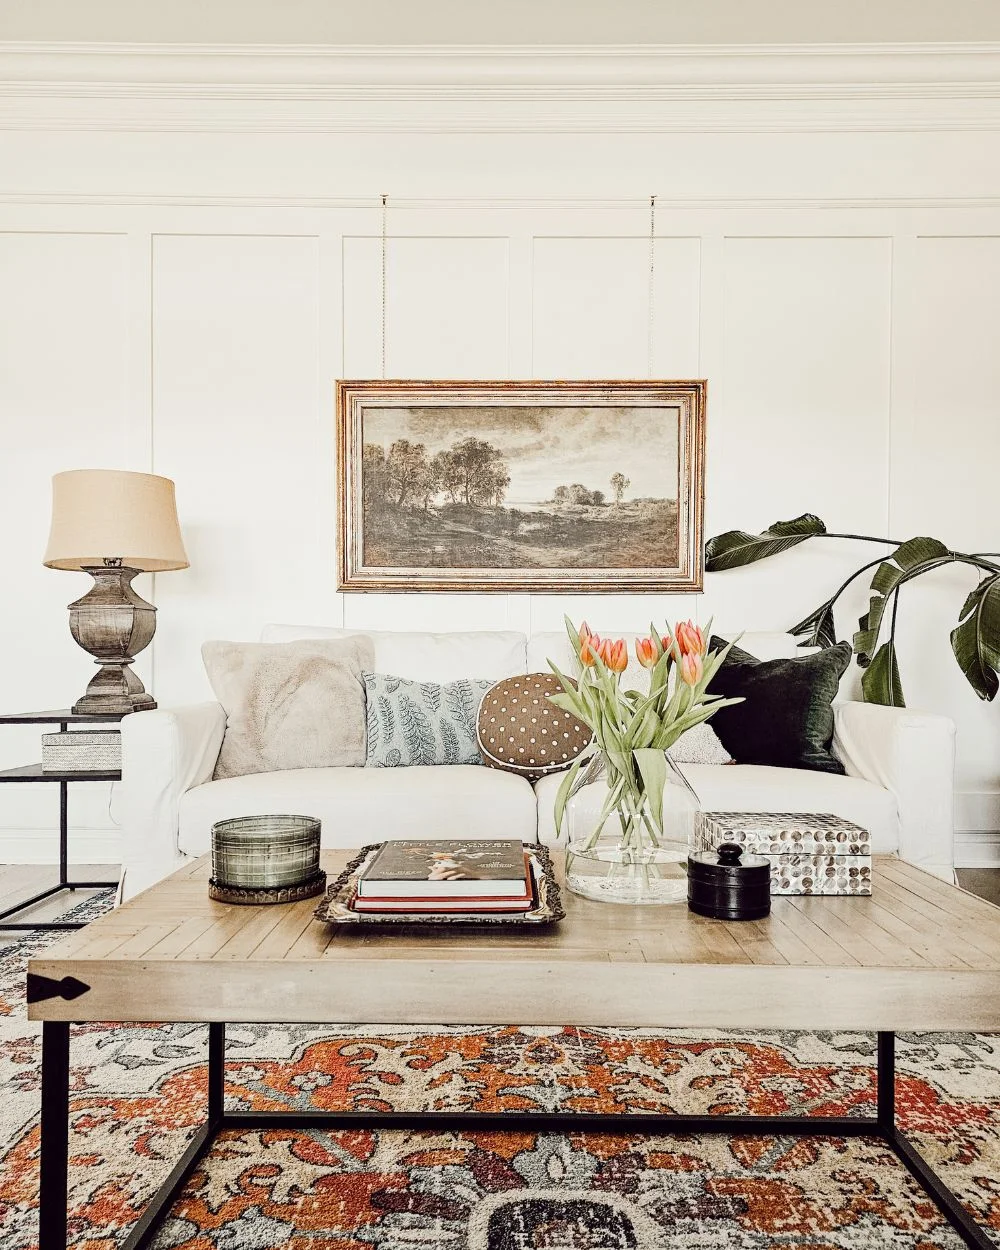
I also knew that I wanted a thicker piece of trim across the bottom of the wall, but above the original baseboard molding. This meant that I needed to use a piece of quarter round trim to help transition the baseboard with the wall treatment. I think it worked out well and was worth the little bit of time and money added to the project. The top board above the battens is the same width as the bottom board but looks a little less wide because I layered a piece of picture rail trim along the top. Adding this piece just makes the wall for me. I don’t have to use the picture rail; I can also just enjoy the beauty of the wall treatment without hanging artwork, but I love the vintage style it adds as well as giving me a way to display art without putting nails in my wall.
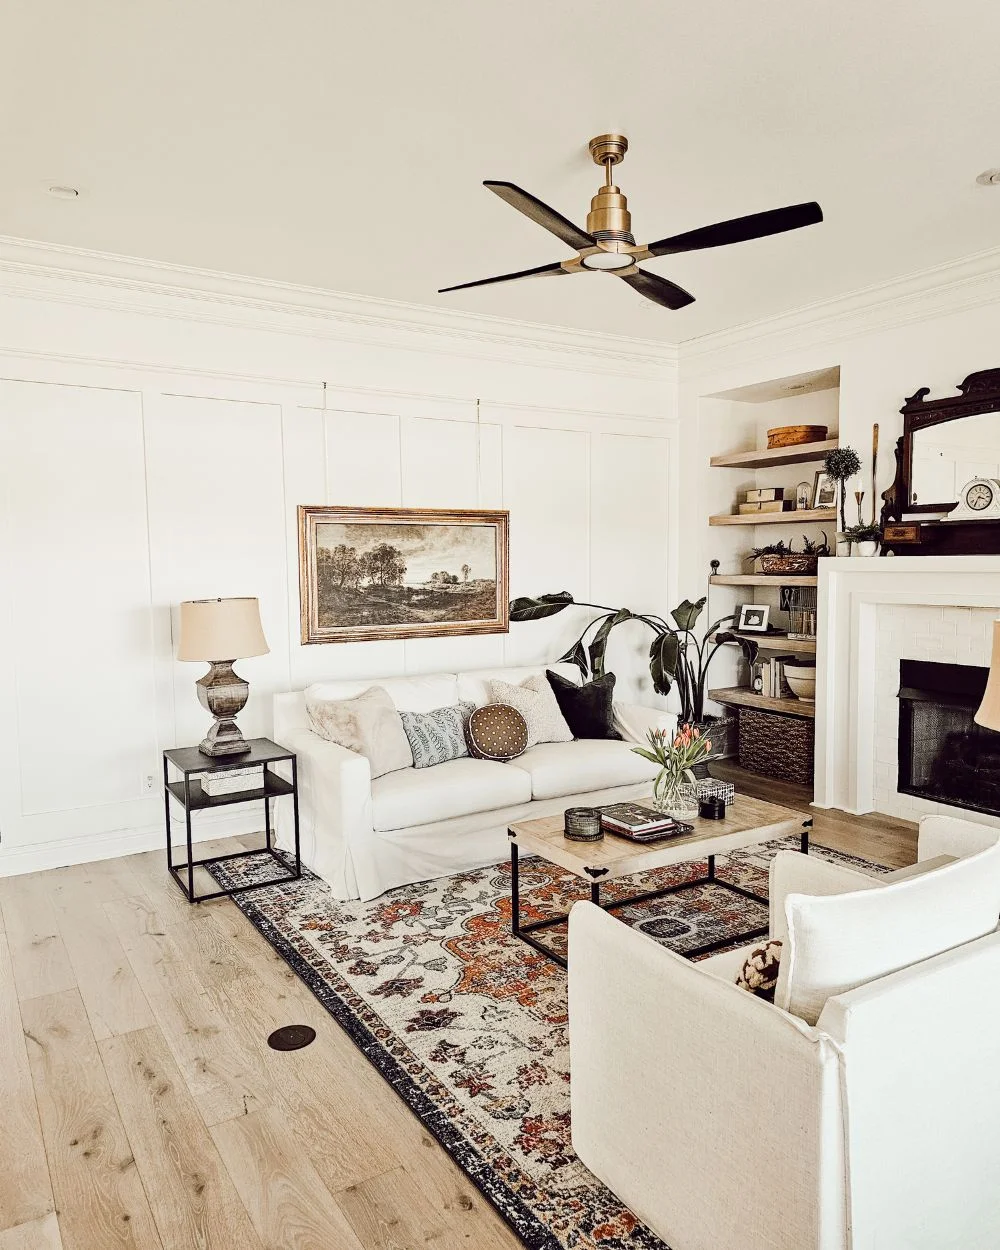
This next photo shows the top area of the wall. The original crown adds beauty to the space and then I left some blank textured wall between the crown and picture rail. We have ten-foot ceilings, and I didn’t want the battens going all the way up to the crown, it just seemed like it would be an awkward meeting of the molding and not a natural transition. So, some blank wall did the trick. The picture rail trim was very affordable and shipped perfectly from Amazon. I couldn’t believe the quality and how securely it shipped. It arrived in a long cardboard tube that I ended up just sawing into smaller pieces to recycle, but I think something crafty could be done with the tube.
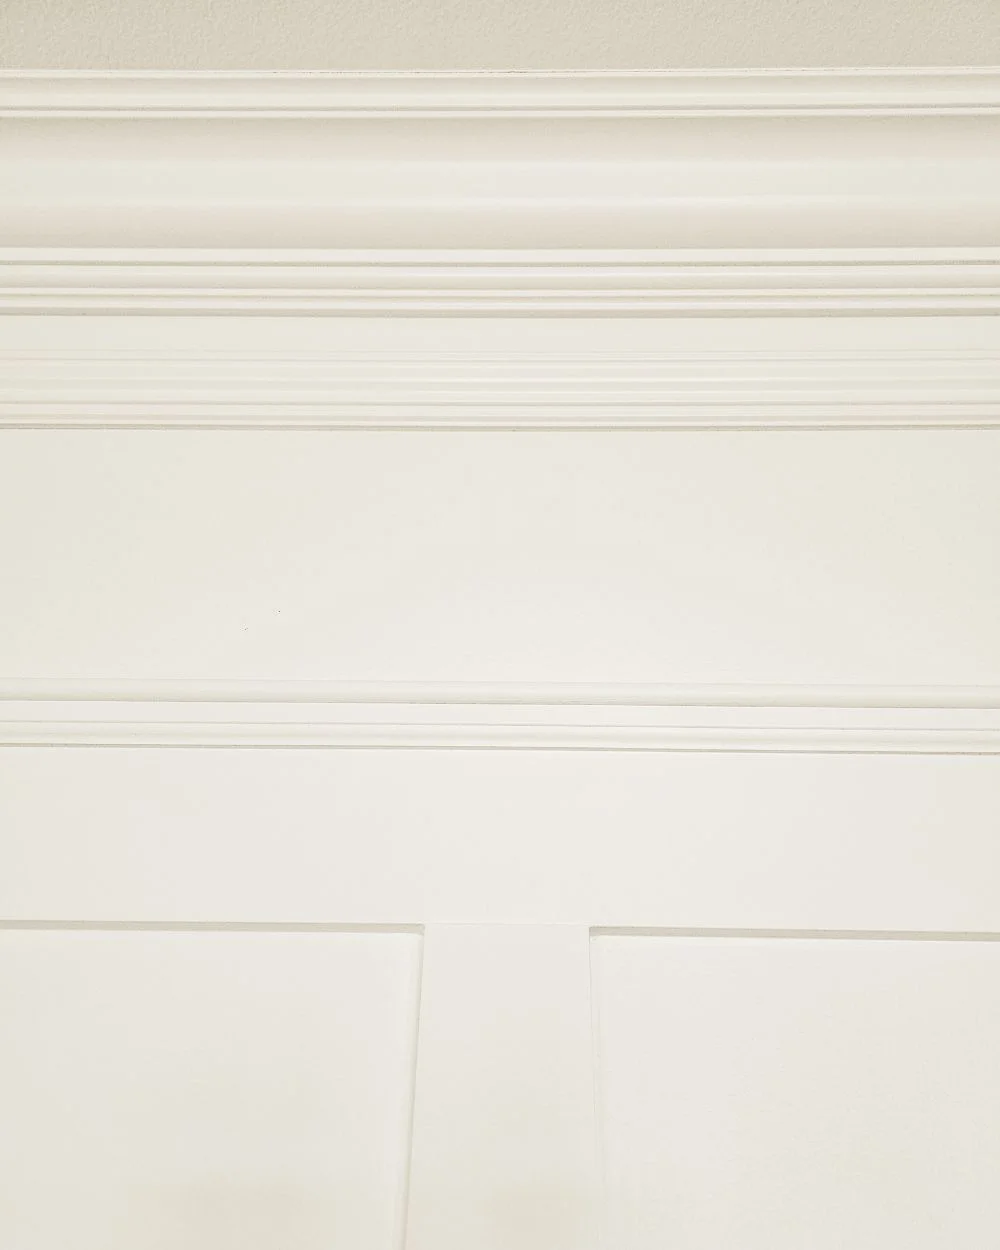
I did a lot of research to find the right picture rail trim piece. There are several crown molding options at Home Depot and Lowes but these won’t work. The trim piece for a picture rail needs to lay flat on the wall so that it’s strong enough to hold the weight of artwork. There are several options online, but they can be expensive. You may also have luck at a specialty trim work wood shop. Picture rails aren’t trending and it’s definitely a vintage look, but I can see them making a comeback for the function alone. You can also find many examples of picture rails without any other wall treatment added to the trim piece.
Using the picture rail is another blog post by itself. Be sure to subscribe to get updates on my latest ideas and projects. The post for adding the picture rail hardware is coming up. It’s easy, but I’m going to gather up several options in the blog post and share a video tutorial for those out there that like to see it done. Thank you so much for checking out this post. As always, I hope it provides inspiration, ideas, and encouragement to get started on your next DIY project.
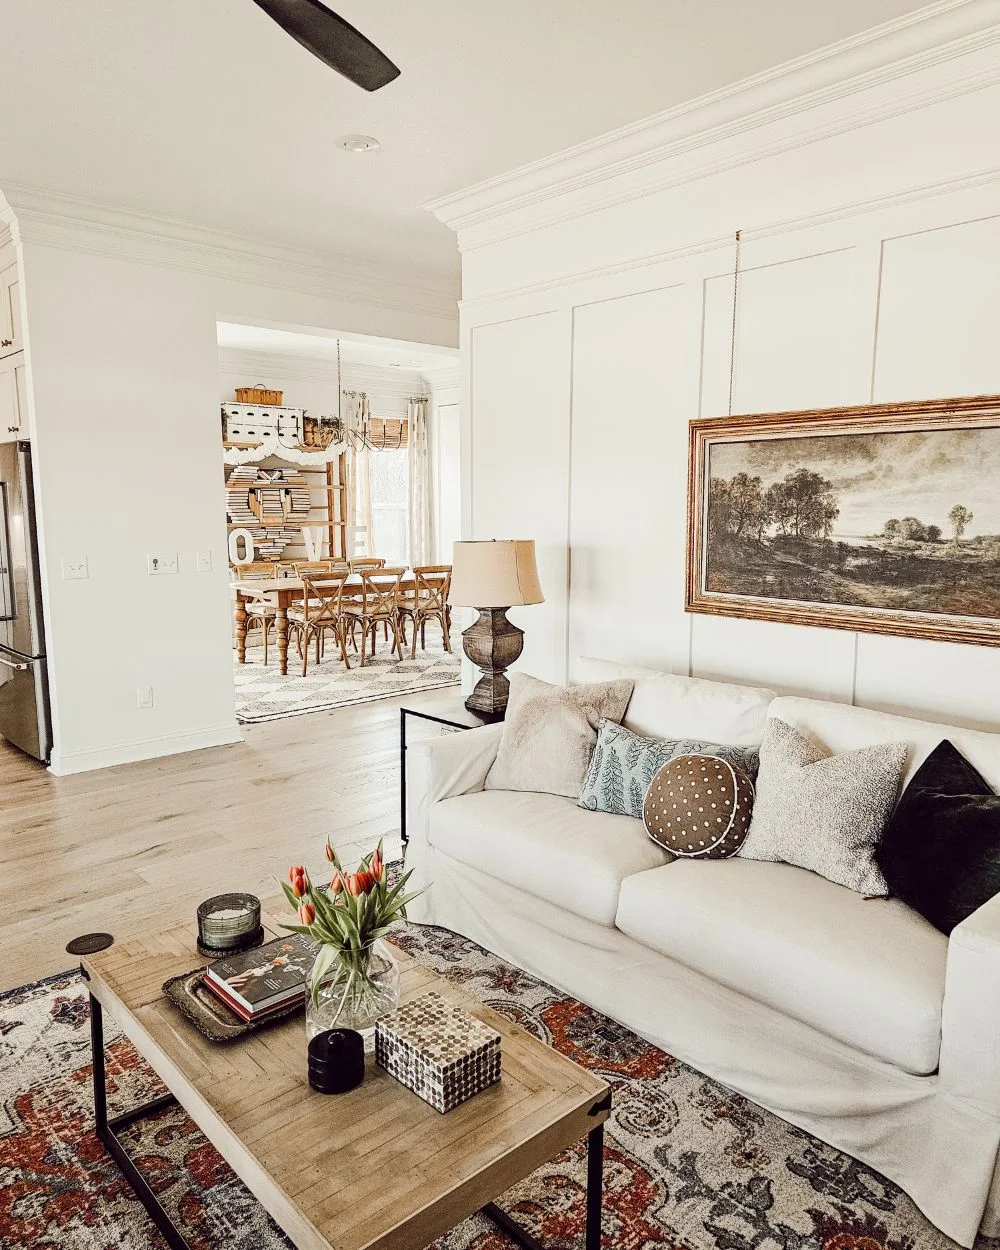
This modern vintage board and batten and picture rail wall treatment completes this space for me. There is also board and batten on the front side of our kitchen island which is a nice pairing for these side by side rooms. I highly recommend this wall treatment for beginners and it adds so much to a large focal wall. It’s simple and stunning. Be sure to check out the video tutorial to see all the steps involved (I skim coated the wall between the battens and made some wrong cuts along the way…).
POSTED IN: DIY Projects
