Stunning and Easy DIY Wall Treatment

Stunning and Easy DIY Wall Treatment
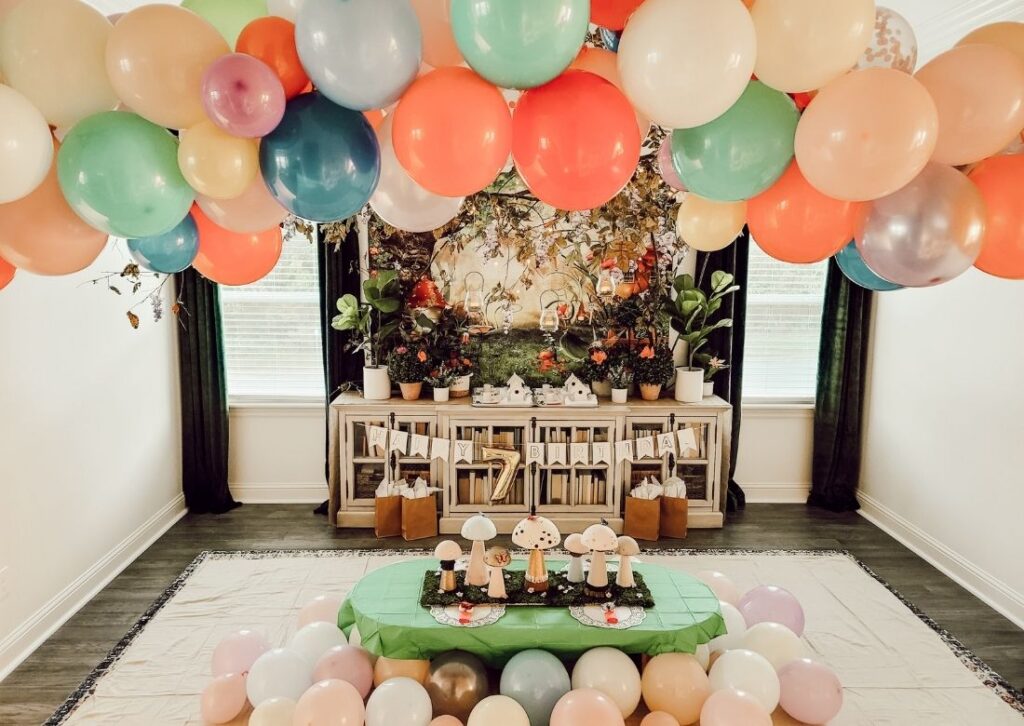
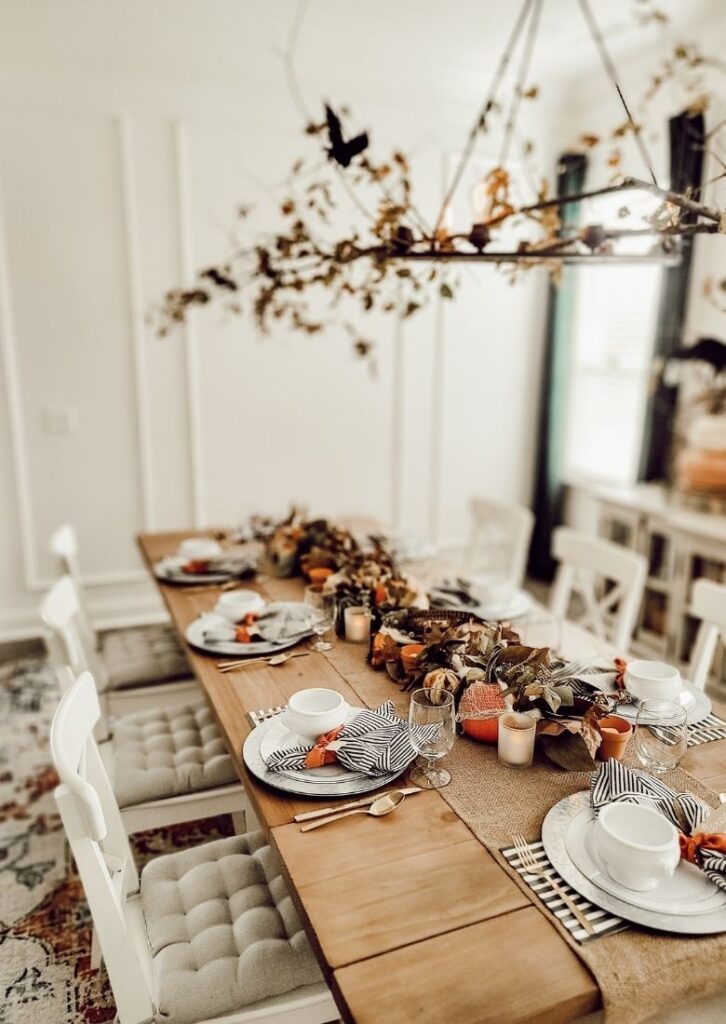
There is something so beautiful and classic about picture frame trim work. There are so many applications and styles for this particular wall treatment, but the style I completed in my dining room is amazingly easy. This stunning and easy DIY wall treatment will have you looking at your walls in a new way. My formal dining room is primarily my office, except when I transform it for a tea party, dinner party, formal dinner, or kid’s birthday party. This large room has seen it all and I love being able to use the space for so many purposes. However, with the focal point being the back wall with windows, it left little to be done on the side walls without overwhelming and cluttering the space.
In this formal dining room, the side walls are large and white. I considered other wall treatments or even just paint, but none of them quite worked out with my vision. My other consideration for the space was that I didn’t want anything too permanent or expensive. Once I saw the simple trim work at the Home Depot, I knew I found my solution. I also considered different patterns of picture frame trim work, like the beautiful double look with a chair rail, but it seemed too busy and involved for what I was after. My large plain walls needed something, but only a little something to add character and interest. My steps for this stunning and easy DIY wall treatment are simplified because I wanted a more temporary wall treatment that wouldn’t destroy the drywall when removed someday. If you’re looking for a more permanent application, I will provide those notes in parenthesis. Either way, you’re going to love how simple this wall treatment is, and that anyone can do it.
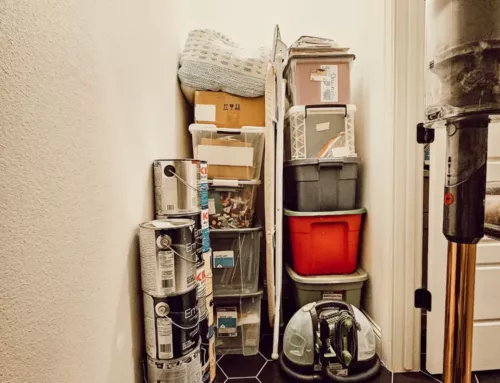
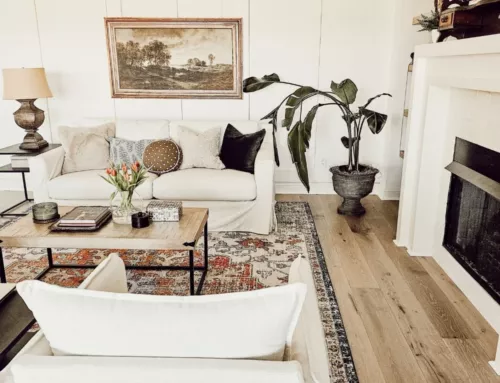
Here’s a photo of the room without the wall treatment. Not bad, but it really seemed to be missing something for such a large room.
Stunning and Easy DIY Wall Treatment – Supplies
- primed trim work
- 2″ brad nails and gun
- caulk
- nail hole filler
- paint
- Mitre saw
- Measuring tape
- level
- (Liquid nails and backer board)

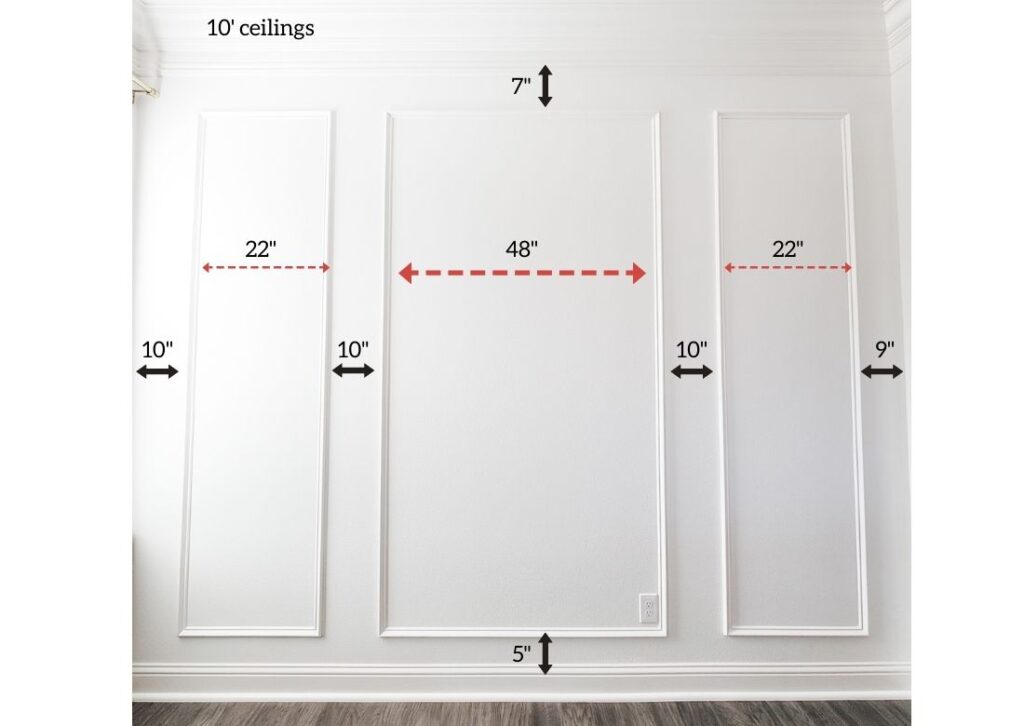
The way I approached this stunning and easy DIY wall treatment was with simple math and a simple design. I decided against having all the same sized rectangles of trim work and went with an odd number with a larger focus in the center. The space between and around each picture frame box is completely up to you. This decision was based on possibly wanting to hang something in the center one day (large mirror or artwork, or a wall sconce). There are many patterns you can go with, and you can consult Pinterest for ideas to help you know your options. I measured the width and height of my wall and then sketched out my design on a piece of paper. I wanted the same amount of space between the picture frame boxes, including the space at the ends, but as you can see, I was about an inch off due to the outlet. For the space between the boxes and the floor and ceiling were a different story. I had to consider the existing double crown ceiling moulding and again with that plug-in on the wall. For reference, here’s a picture showing my measurements (but the numbers should be what you prefer and what works for your wall).
Once you know the pattern and size of your picture frame trim work, you can create a cut list to know how many of each piece of trim you’ll need. As I made my cuts, I laid out each piece of trim onto the driveway. I wanted to make sure that all my 45-degree angle cuts lined up. And once the trim for one wall was done, it was pretty easy to cut pieces for the other wall.
Stunning and Easy DIY Wall Treatment – Installation
As I mentioned before, my picture frame trim work isn’t permanent. However, you can create a more permanent long-term wall treatment with a few extra steps.
- Locate the wall studs and use painter’s tape to help you see their locations while you nail the trim into place.
- Find the center of the wall. Find the center of the bottom middle trim piece. Line up both centers.
- Measure the space you need between the trim and the baseboard. Set piece of trim onto wall, lining up the center with the wall center, double checking the space between the trim the baseboard, and use a level to get it straight. Attach the trim piece using a brad nail gun. Be sure to only place a few nails into the mid-region of the trim at first because you’ll want some flexibility when adding the other pieces of trim to make your box square. (You can add backer board to cover wall texture, and you can also use liquid nails to help attach the picture frame trim.)
- Set the side trim piece up, making sure it’s vertically level and match up the mitered corners with the bottom trim piece. Attach a few brad nails to make sure it’s secure but to also allow for some flexibility when attaching the last two pieces.
- Once both sides and the top pieces of trim are attached, level, and match at each corner, add more brad nails to keep it securely in place.
- With the middle picture frame box installed, just refer to your measurements to attach the side pieces for the side boxes. Always measure twice, level twice, and secure the trim enough to to to hold until the entire box is correct, then add more nails for security.
- Once all your boxes are installed, patch the nail holes with nail hole filler. Once dry, sand smooth.
- Gently wipe down all the trim after sanding and make sure the surface seams are clean for the caulking. Caulk around the inside and outside of your trim pieces and allow to dry.
- The last step is to paint! My walls and trim are Sherwin William Alabaster.
Stunning and Easy DIY Wall Treatment

Stunning and Easy DIY Wall Treatment – Video coming soon
Making videos is quite the process, especially when I’m the producer and editor~ But I’m thankful to be able to make something to help people visually see how to create my projects. I’m having a little issue with my editing software, but the video tutorial is almost done. If you subscribe to my channel and click the bell button to be alerted of new videos; then you’ll find out as soon as it’s published. Thank you so much for checking out this post. I hope you found inspiration and some insight for your next DIY. Be sure to subscribe to my blog for more DIY and decorating inspiration~

You may also like:


POSTED IN: DIY Projects
Let's be friends!
Related Posts
Search
Categories
Subscribe
Get the latest posts, discounts, and design inspiration right to your inbox.
