Easy DIY Board and Batten Drop Zone

Easy DIY Board and Batten Drop Zone
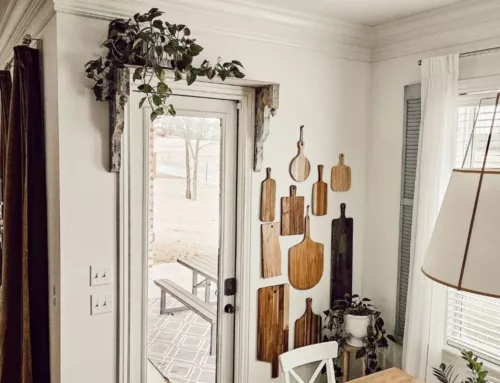
The classic board and batten accent wall is my third DIY accent wall completed in this home, and it’s as simple as it looks. This easy DIY board and batten drop zone adds beauty and function to this strange little alcove off of our entryway. The alcove was framed in just in case we would have made the front office a bedroom – this would have been walled off and there would have been a door to access the bathroom from the bedroom. I wish we could have used the space differently, but we weren’t allowed to move walls during the build process.
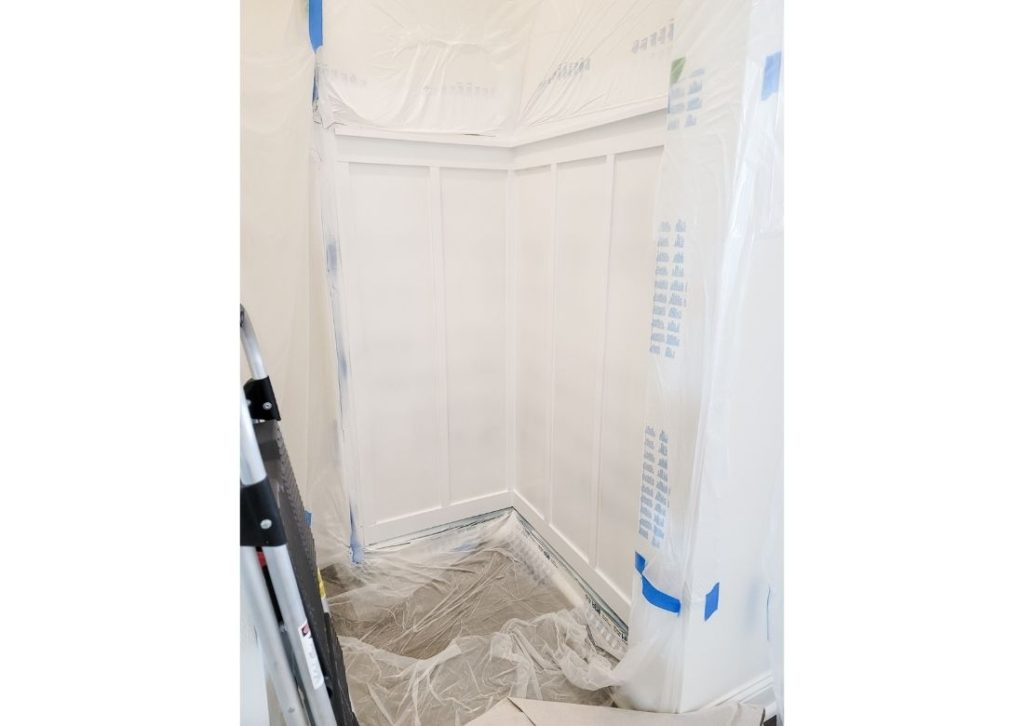
Even so, I’m grateful for this little alcove because I’m going to make it functional and beautiful, very easily. This shot below shows the little space taped and protected with plastic so that I can spray primer and paint. The Emerald paint by Sherwin Williams is in Alabaster (like the walls and trim). I selected semi-gloss to coordinate with the existing trim and doors. Once the primer was up, it really started to shine and I could see my wall come to life. Spraying the two final coats of latex was so satisfying.
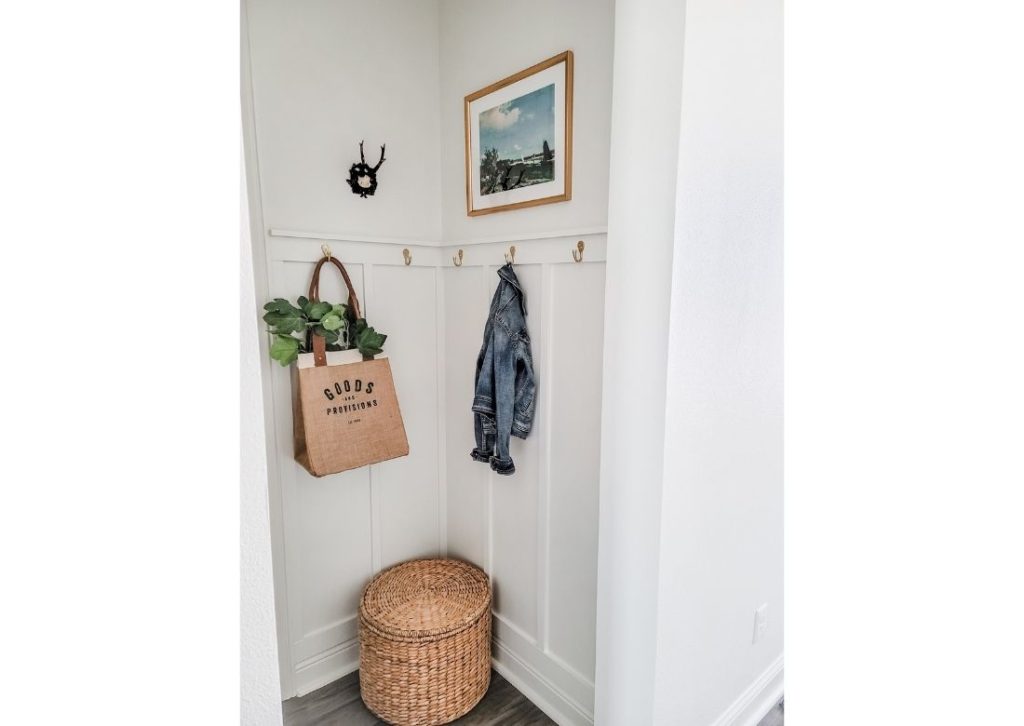
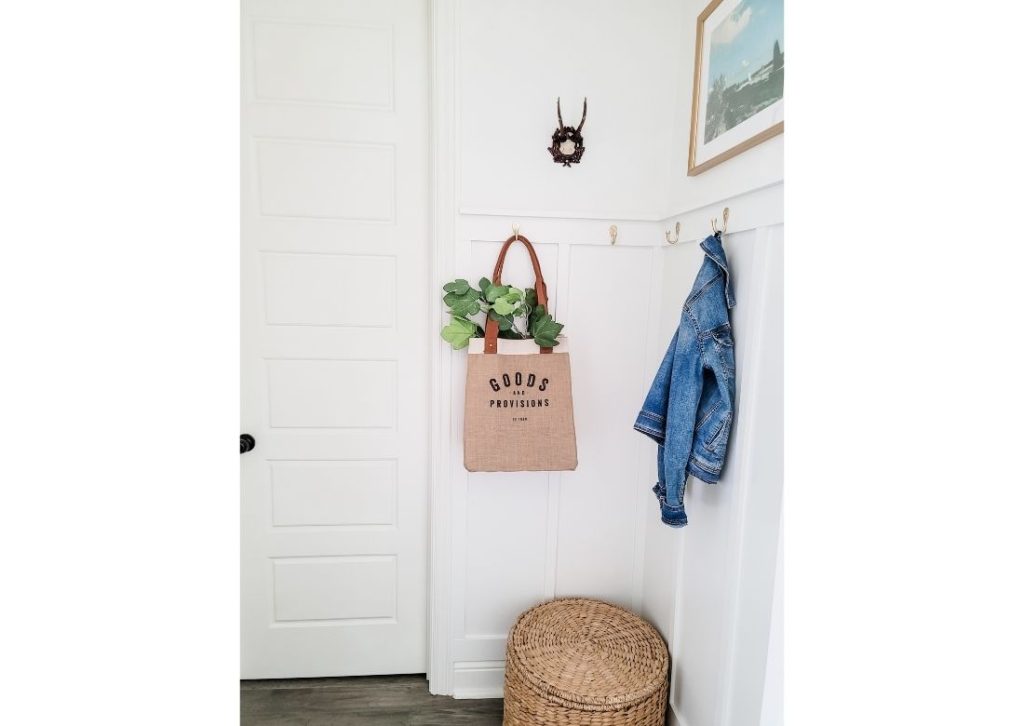
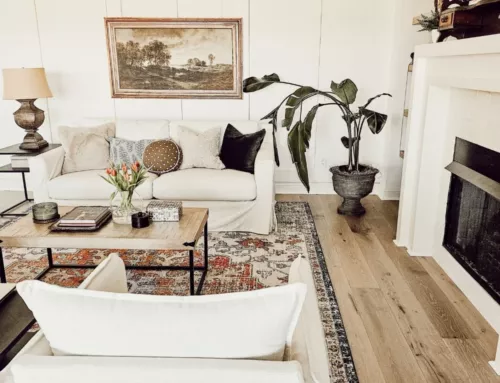
So, I basically made lemonade with my lemons and used this little nook as a place for guests to hang coats and bags. It’s a great solution for this home because there isn’t a coat closet at all. The placement is pretty handy because then guests will also see where the restroom is. You can probably tell I’m quite pleased with this new accent wall / coat rack! The best part is that the board and batten continues into the powder room. I love the continuity and the simple detail it adds to the small space.
The steps are easy and it goes by quickly once you have your vertical board placement marked. I think the board and batten accent wall looks great at all heights, but keep in mind that a shorter version (4’ tall) will tend to look more country, while a floor to ceiling height will look more modern. I made our height 5’ plus the width of the baseboard and top trim boards, and this is a classic height that can go with many styles.
Easy DIY Board and Batten Drop Zone – Shop this space:

This post may contain affiliate links. This means I may receive a small commission from each purchase, at no cost to you. Thanks for considering my links!r
Easy DIY Board and Batten Drop Zone – Steps:
- Determine the desired height of your accent wall.
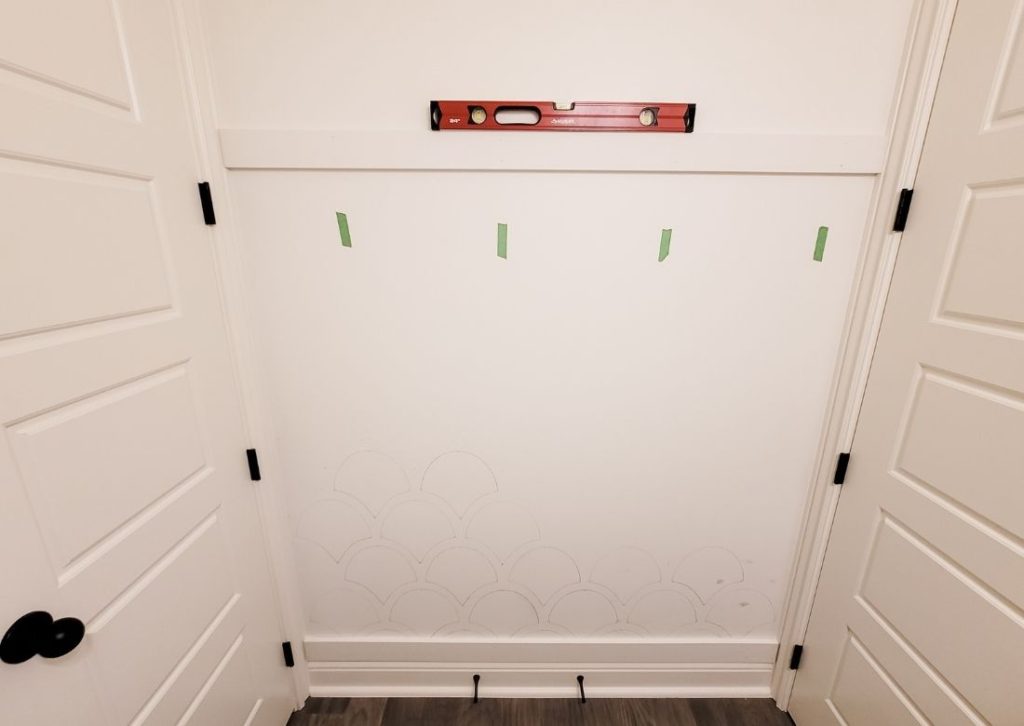
- Measure the wall and determine the distant between battens. I use graph paper to map out the wall. I like to use painter’s tape on the baseboard trim to mark my spots. My battens are spaced at slightly different widths on each wall because I wanted it to line up symmetrically and not just end off with wall. The width difference isn’t much and it’s not noticeable to the naked eye. I had to have a batten in the corner of this alcove and at the ends to cover the seam of the backer board.
- If your wall has texture, consider adding backer board to get the smooth finish of a classic board and batten wall.
- My walls were so small that I used solid pieces of backer board. However, if your wall is large, be sure to cut the backer board where the seams will be hidden behind a batten. I used liquid nails to attach the backer board and a brad nail gun (18 gauge nails) to secure the backer board into studs in a few spots.
- With the top and bottom boards measured, cut, and attached, I measured the length for each batten. They should all be the same since I used a level for the top board, but I like to measure just to be safe. I had to cut the top and bottom boards at a 45 degree angle to meet in the corner and create a professional finish.
- Hold up each batten to its marked spot, use a level to make it straight, and then draw a pencil line along one side to position it later. Next, I used liquid nails on each batten to attach the them to the backer board. Line each batten up with the pencil mark and then secure with a few brad nails.
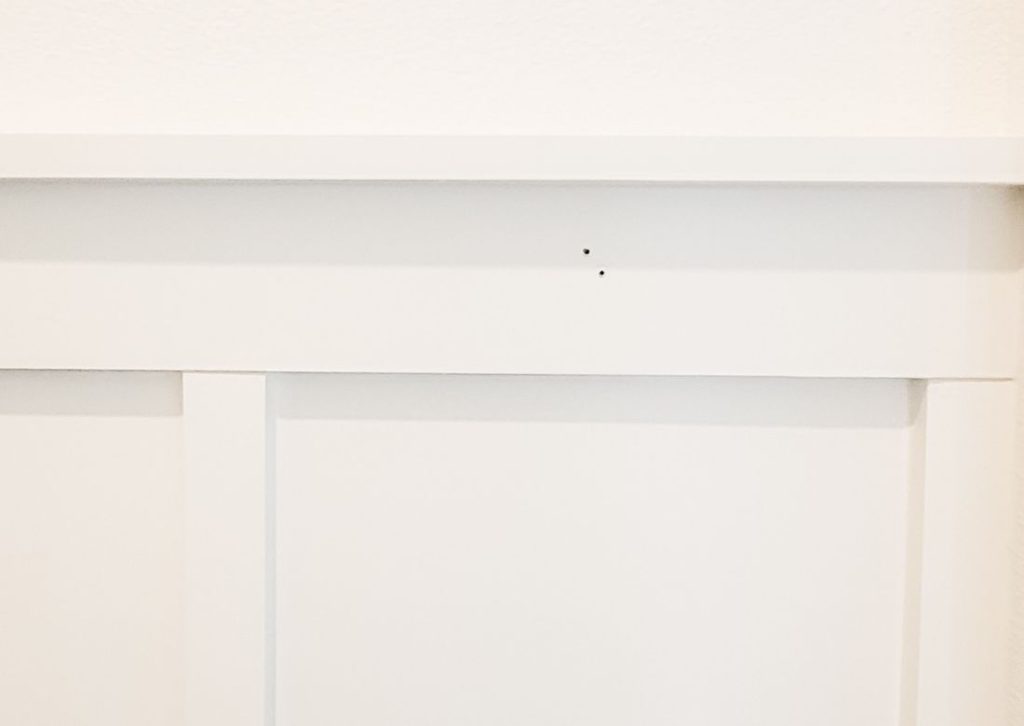
- I used DAP patch and paint to cover my nail holes and the seams where wood meets. Once dry, sand with a 220 grit sponge or orbital sander. Vacuum, dust, and wipe the wall clean (tack cloth is great too).
- Use DAP interior caulk for the seams between the boards and backer board, as well as the top board and dry wall. You can’t sand caulk so make sure it’s smooth and even – if it’s not, just wipe it off and redo.
- With the caulk dry, you can tape and prep the area for priming and painting. I used Kilz 2 to prime, and two coats of semi-gloss Alabaster white by Sherwin Williams. Make sure each coat is completely dry before applying the next. I used a paint sprayer, the Graco TC Pro, and you can watch this video for my tips and tricks.
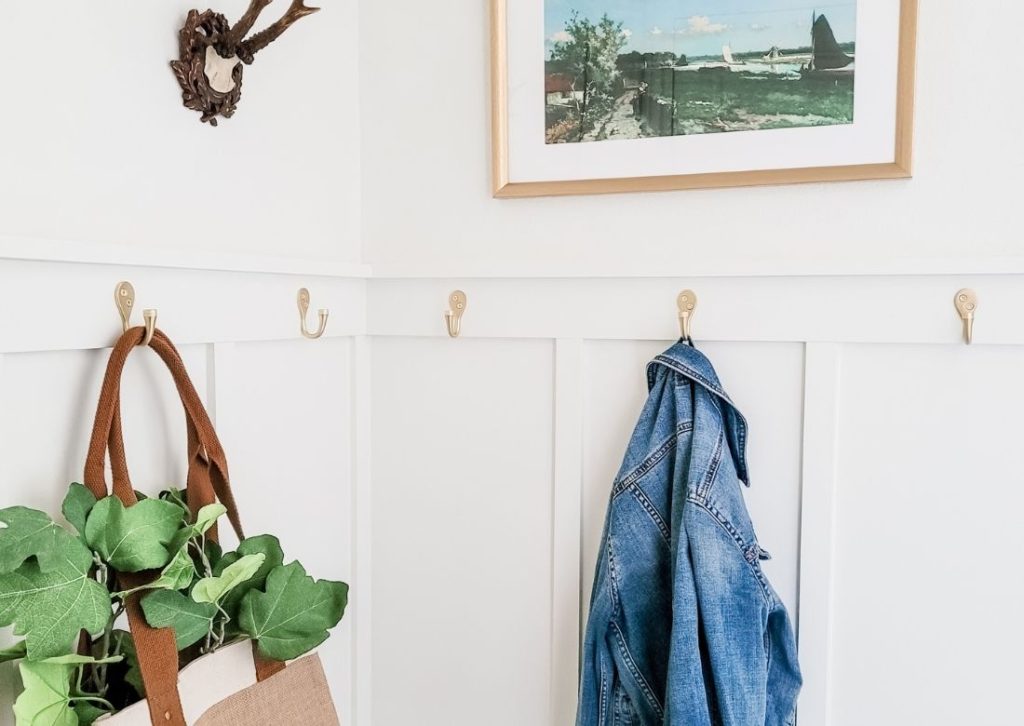
- I waited two days for the paint to dry and cure before installing my hooks. I prefer the look of a hook in the middle of each panel, but you can position them however you prefer.
Easy DIY Board and Batten Drop Zone – Tools + Supplies:
Bottom and top trim boards (installed above the existing baseboard and along the top of the battens) – 3.25” wide
Select pine battens and top picture rail boards – 1 3/8” wide

This post may contain affiliate links. This means I may receive a small commission from each purchase, at no cost to you. Thanks for considering my links!
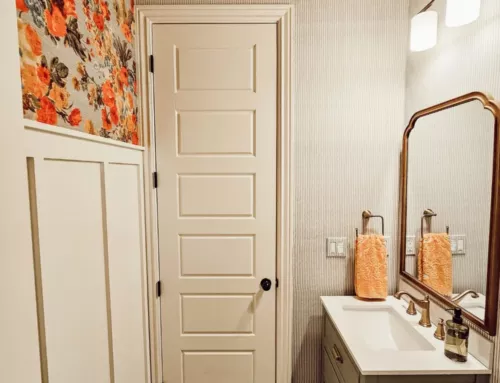
This next photo shows how I continued the board and batten wall into the powder room. This continuation gives me all the feels and it adds beauty to an otherwise boring wall in this tiny space. When you’re sitting on the toilette, this is your view~ I’m hoping to eventually add removeable wallpaper above the board and batten to add a little bit of pattern. When the left door (storage closet) and right door (entry door) are open, you can barely see the wall, but it’s the perfect space to add a little detail! I can’t wait to show you the rest of this powder room soon – it’s little, but so pretty.
In hindsight, I wish I would have used a wider board for the top trim so that I would have had more clearance to use any type of hook I wanted. I do love these modern brass hooks, but they wouldn’t have been my first choice if I would have had more room for a different style hook.
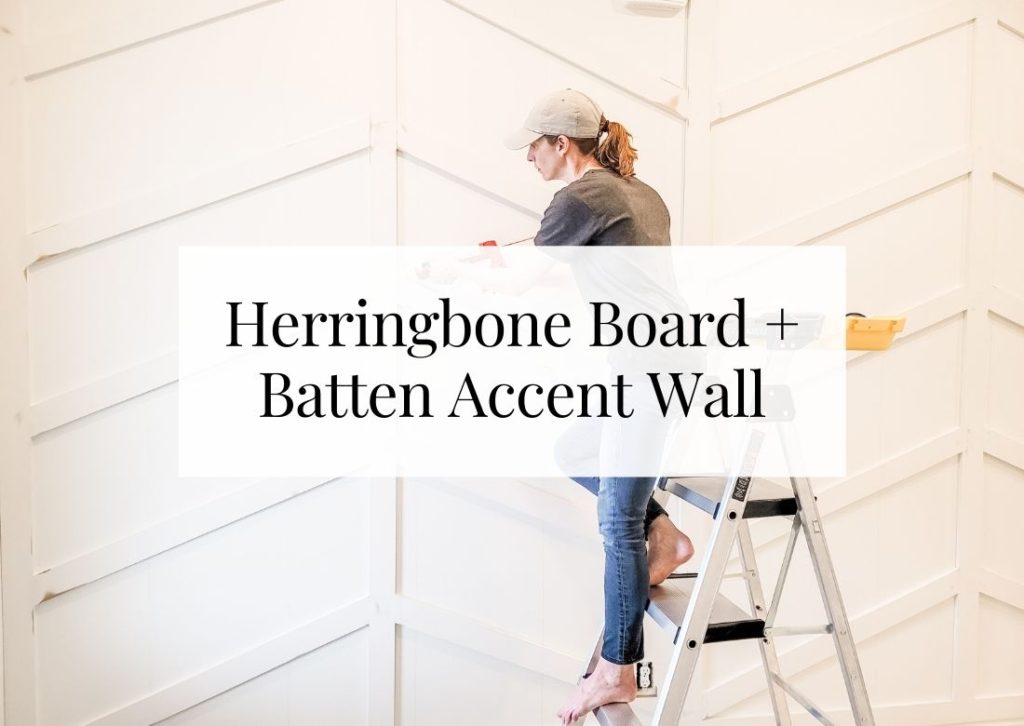
You can also have fun painting your wall any color you want. I stuck with Sherwin Williams Alabaster to keep the monochromatic look with our walls. I actually sprayed these board and batten walls at the same time that I sprayed my herringbone accent wall. I had some time to kill while waiting for the correct paint spray tip to ship, so I got started on this easy DIY board and batten drop zone and had it ready to paint in no time. It’s really that easy!
Easy DIY Board and Batten Drop Zone
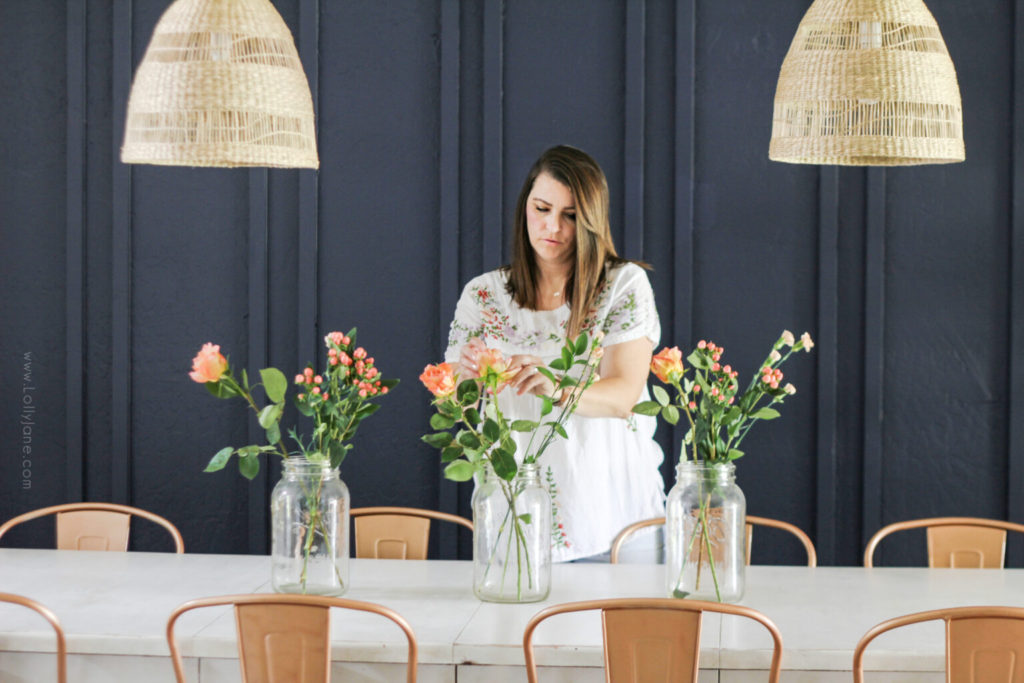
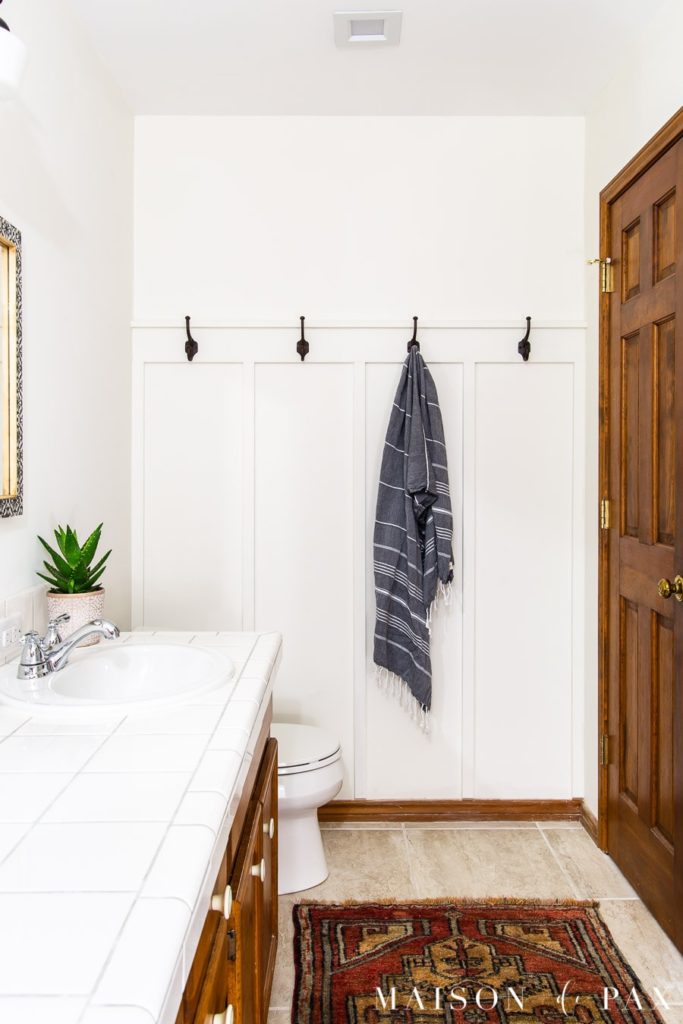
Don’t you just love the simple classic look of board and batten? The simple lines add so much to the architecture and style of the home – it’s simply stated, but impactful. I love board and batten as a focal wall, down a hallway, or even around an entire room. I also love how Kelly and Kristi of Lolly Jane created a double batten look in their dining room – such a beautiful twist on the classic design. And the next photo shows how Rachel, of Maison de Pax, adds elegance and function to her bathroom wall with board and batten and black iron wall hooks. I do love hooks in the bathroom – pretty and functional! Click on either photo to see the full tutorial on their blogs! These talented ladies are ones to follow~
There is plenty of board and batten wall inspiration on Pinterest and Instagram, but it really is the most simple accent wall you can create. The installation is straight forward and not difficult, and the impact is huge. I especially love it when board and batten is installed for a small entryway with hooks – it adds so much function and character! It’s a great project for beginners – you can even cut your boards with a handsaw if you don’t have a power saw (just sand the edges). You can also roll/brush your paint instead of spraying it (Magnolia Home paint goes on like butter). Let me know if you have any questions or comments below!

You may also like:
POSTED IN: DIY Projects
Let's be friends!
Related Posts
Search
Categories
Subscribe
Get the latest posts, discounts, and design inspiration right to your inbox.
