How to organize the pantry

How to organize the pantry
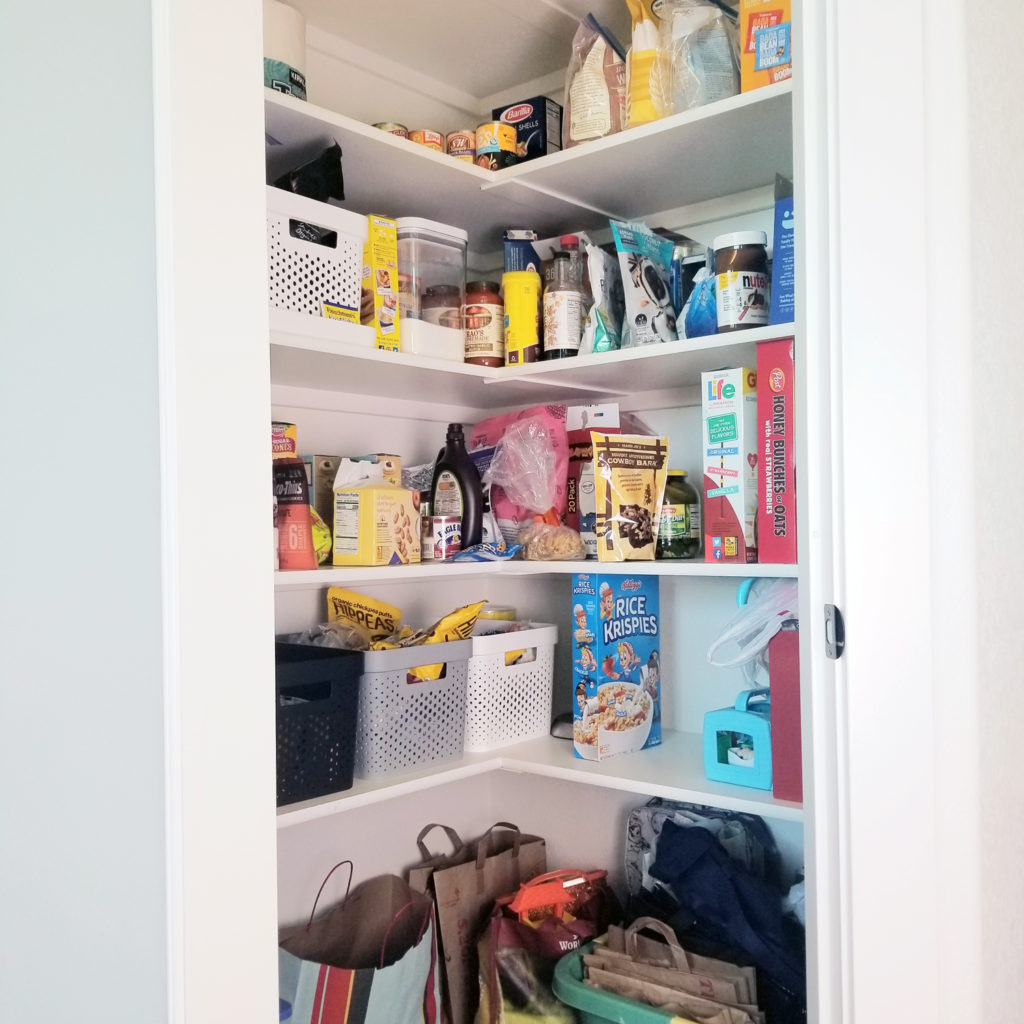
I’m a stickler for creating ‘homes’ for our stuff so that we always know where to find it when we need it. (It’s so irritating when the hubs or kids point out when I didn’t put something back.) Full disclosure, our kitchen pantry has never been organized, up to my standards anyway. Now that it’s officially spring and deep cleaning is on the docket; I took on the pantry.
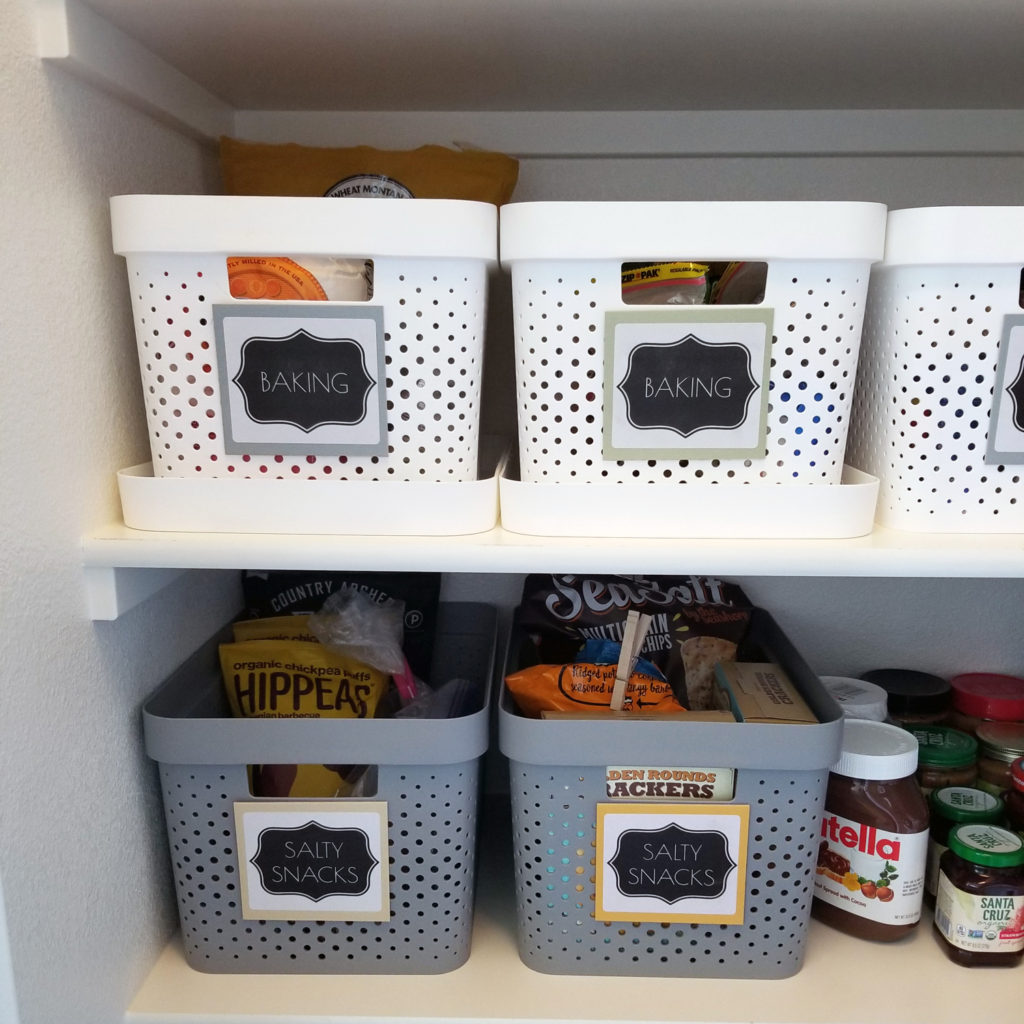
Do you have labels in your pantry? Do you like the idea of labels? I love the look of labels, it soothes my organized soul, but I haven’t ever pulled the trigger on actually doing it, until now. So, we’re officially one of those families with labels – and I totally love it! However, I am known to change things around, quite a bit actually, so I used 3M’s Damage-Free Command strips. They claim to remove cleanly and I can testify to that being the truth. I personally test that claim every Christmas when I decorate.
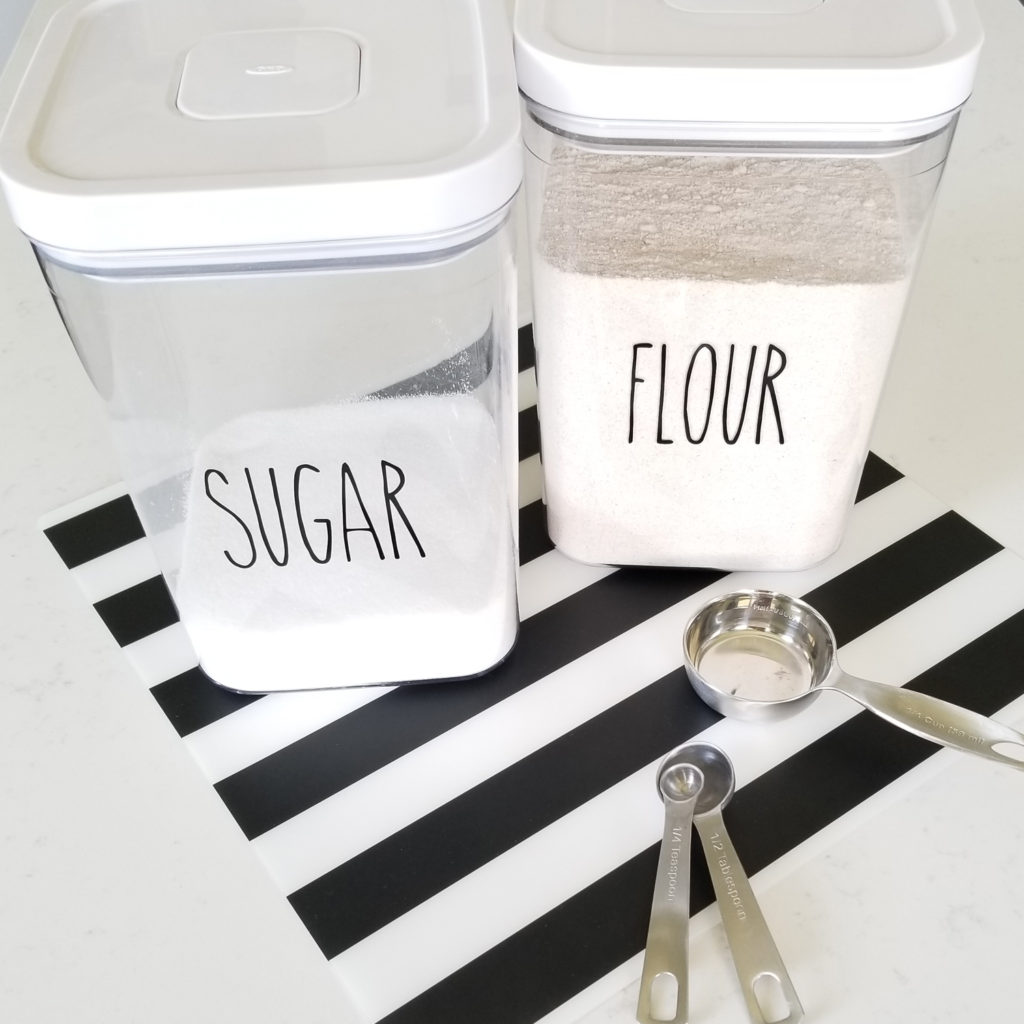
Besides the bin labels that I quickly printed out, I wanted a few vinyl ones for my flour and sugar canisters. I don’t own a Cricut, so I found these Rae Dunn inspired labels on Etsy. They are adorable and you can customize the size and color!
If you need some help getting started on organizing your pantry, follow my easy steps below. I promise, it’s not that painful and you will be so happy when it’s done!
- Remove everything from your pantry.
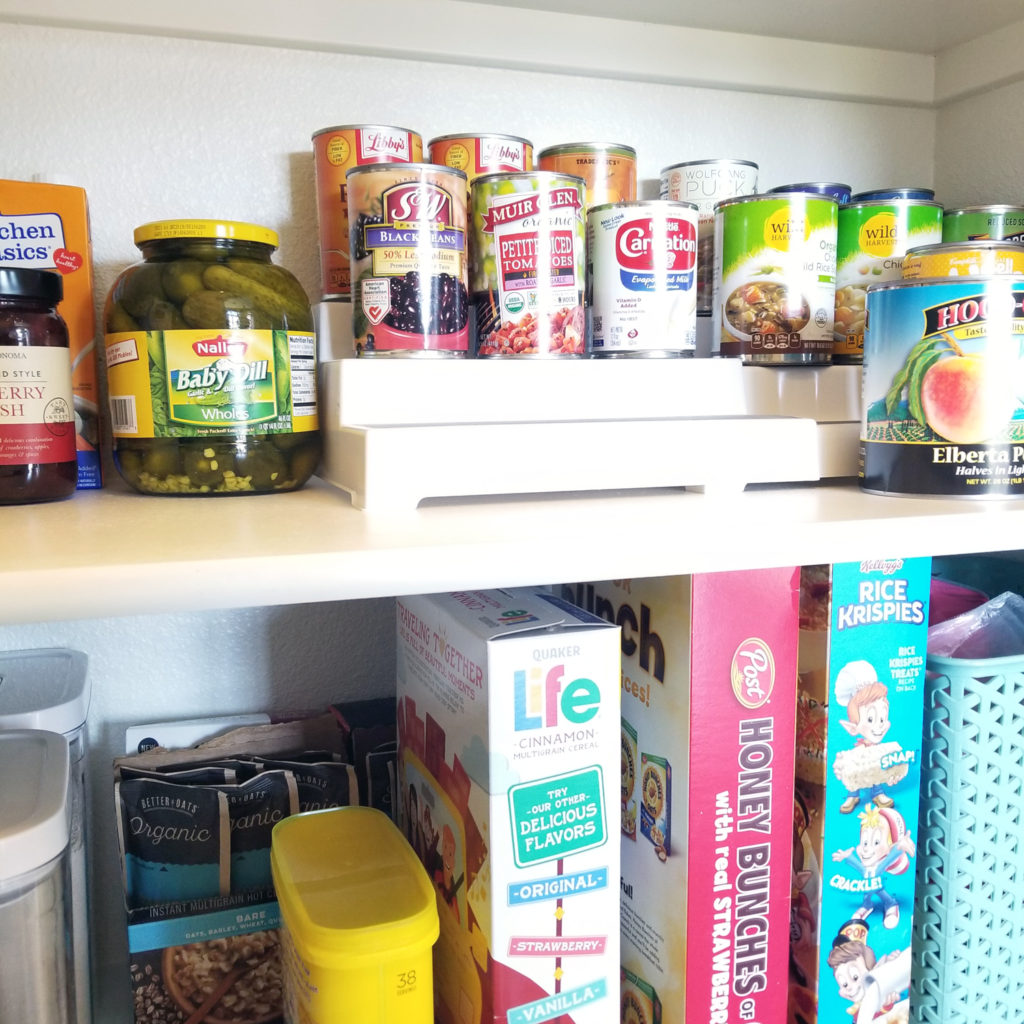
As you remove the contents, try to put ‘like’ things together. I grouped snacks, baking supplies, breakfast foods, canned foods, etc.
- Clean the pantry shelves.
I know, this is obvious, but my systematic-self can’t not mention it.
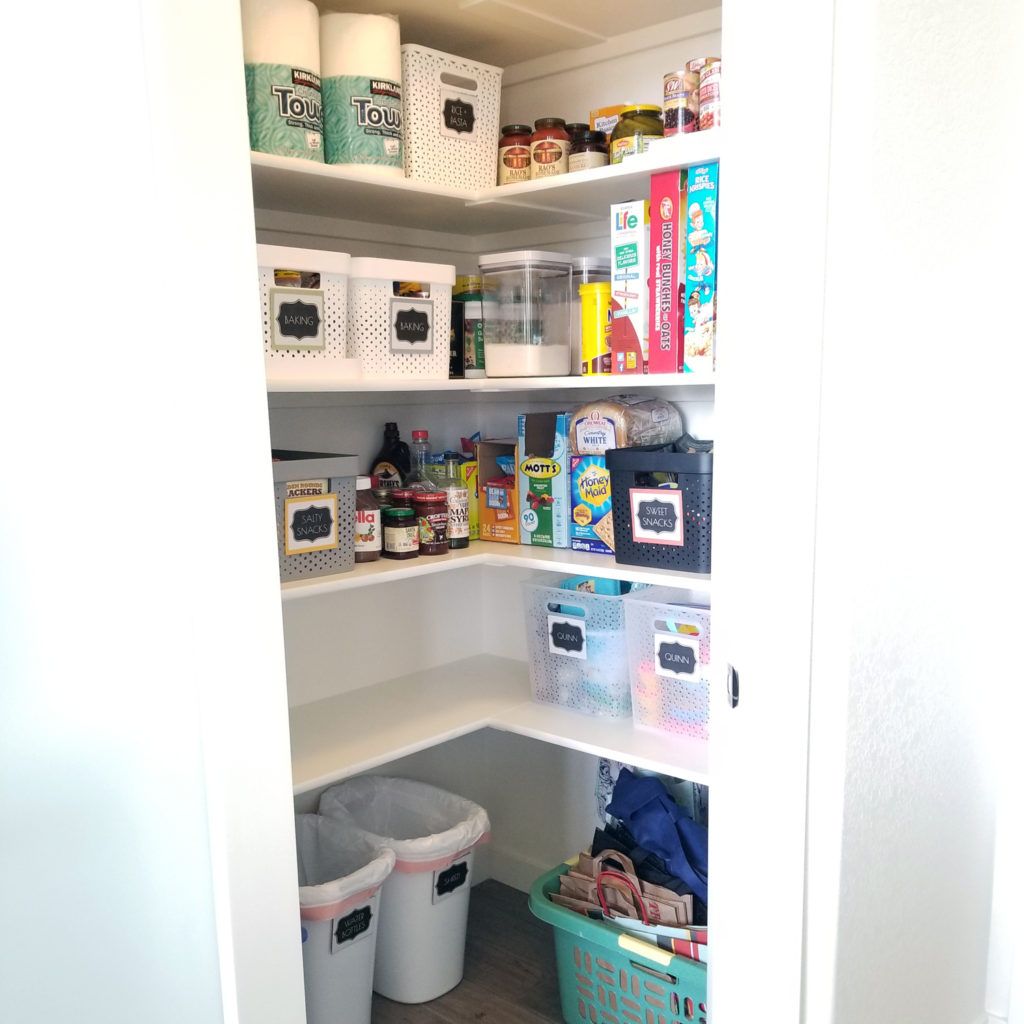
- Arrange grouped items back into the pantry.
Depending on your family, you may decide to put snacks up high and breakfast items low for easy access. It also helps to put taller items in the back or even on risers for visibility. If possible, leave some empty space – you know that trip to Costco is going to mess up your whole set-up if you don’t leave room~
- Final touches
Finally, determine if you need any bins, risers, organizers, or labels now that everything is pretty much where you want it.
That’s it – and I know you don’t need the steps, but sometimes reading about doing something can motivate and encourage you into actually doing it. I hope you are energized to tackle whatever spring project you have waiting for you. Next up for me? The linen closet.

For more pantry organization inspiration
Check out these pantry organizers
Easy instructions to create Avery labels
Free printable: Labels for your pantry

POSTED IN: Decorating
Let's be friends!
Related Posts

Search
Categories
Subscribe
Get the latest posts, discounts, and design inspiration right to your inbox.
