How To Dye a Vintage Sofa

How To Dye a Vintage Sofa
This project is another first for me, and I’m happy to report that it’s easy and an upcycling game changer. If you love repurposing upholstered furniture, if you have some older upholstered pieces that you’ve inherited, or if you love the vintage style but not stained or faded vintage fabric, this tutorial is for you. This post shares how to dye fabric, but always be sure to do a test first (maybe under a cushion or underneath if the fabric wraps under), and to prep your work area well to avoid dye stains. I cannot wait to show you how to dye a vintage sofa and how I transformed this vintage settee I got on Facebook Marketplace (FBMP).
I had just started my search for vintage settees at my favorite local vintage shops when I stumbled on this FBMP beauty. The settee was the right size, and I actually loved the fabric color. The green color coordinated perfectly with a green shade from my mural wallpaper in the dining room. There were some stains that were photographed, but I didn’t know if I’d be able to get the stains out or not. I hoped I could, but assumed I couldn’t and planned on painting the upholstery. I even found a fabric paint that seemed perfect, but after reading every single review, I realized that the risk was too big for me to test on my settee.
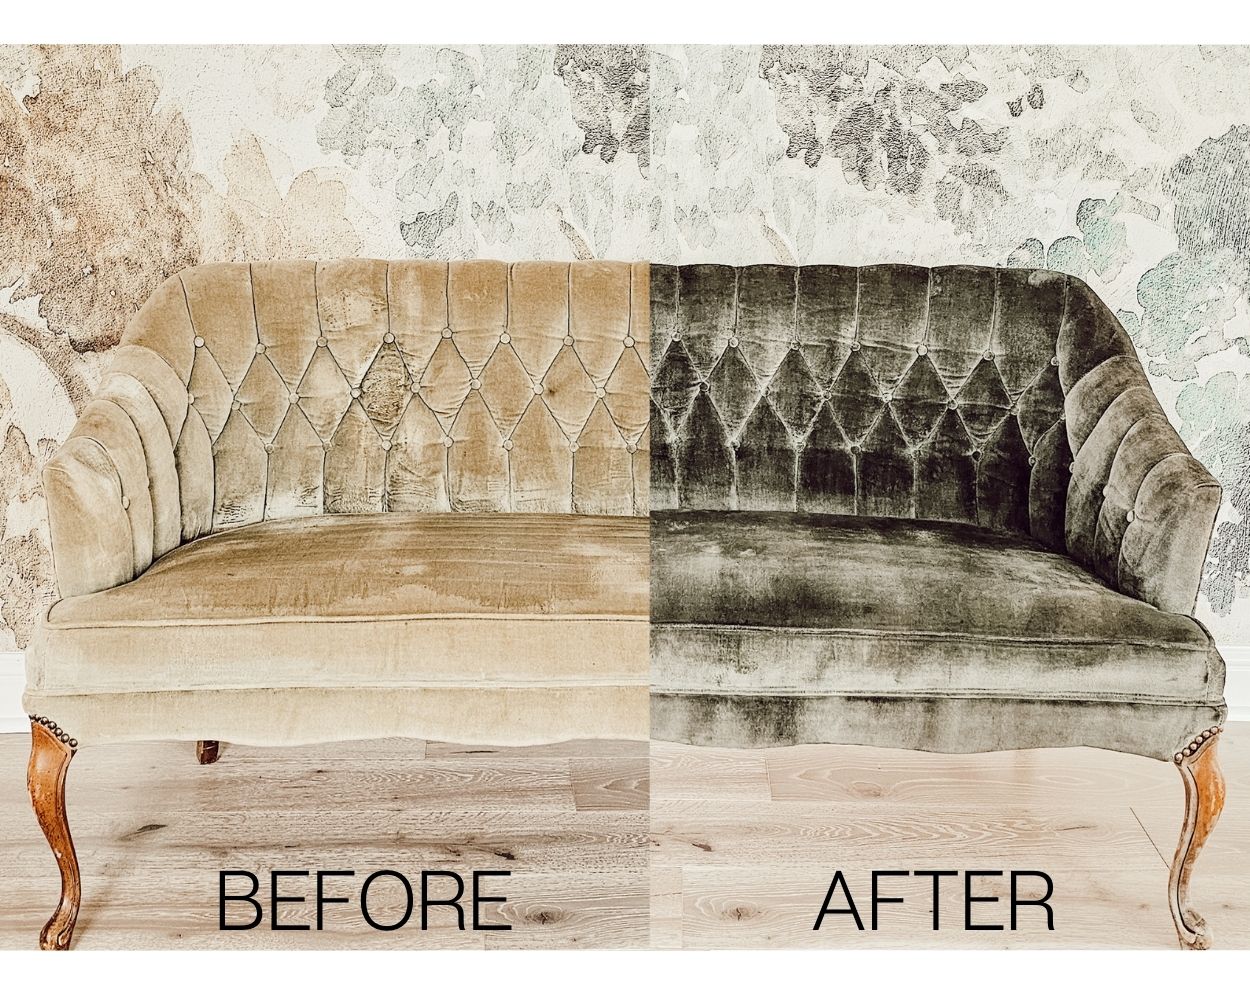
Here is a before photo of the settee, after I washed it.
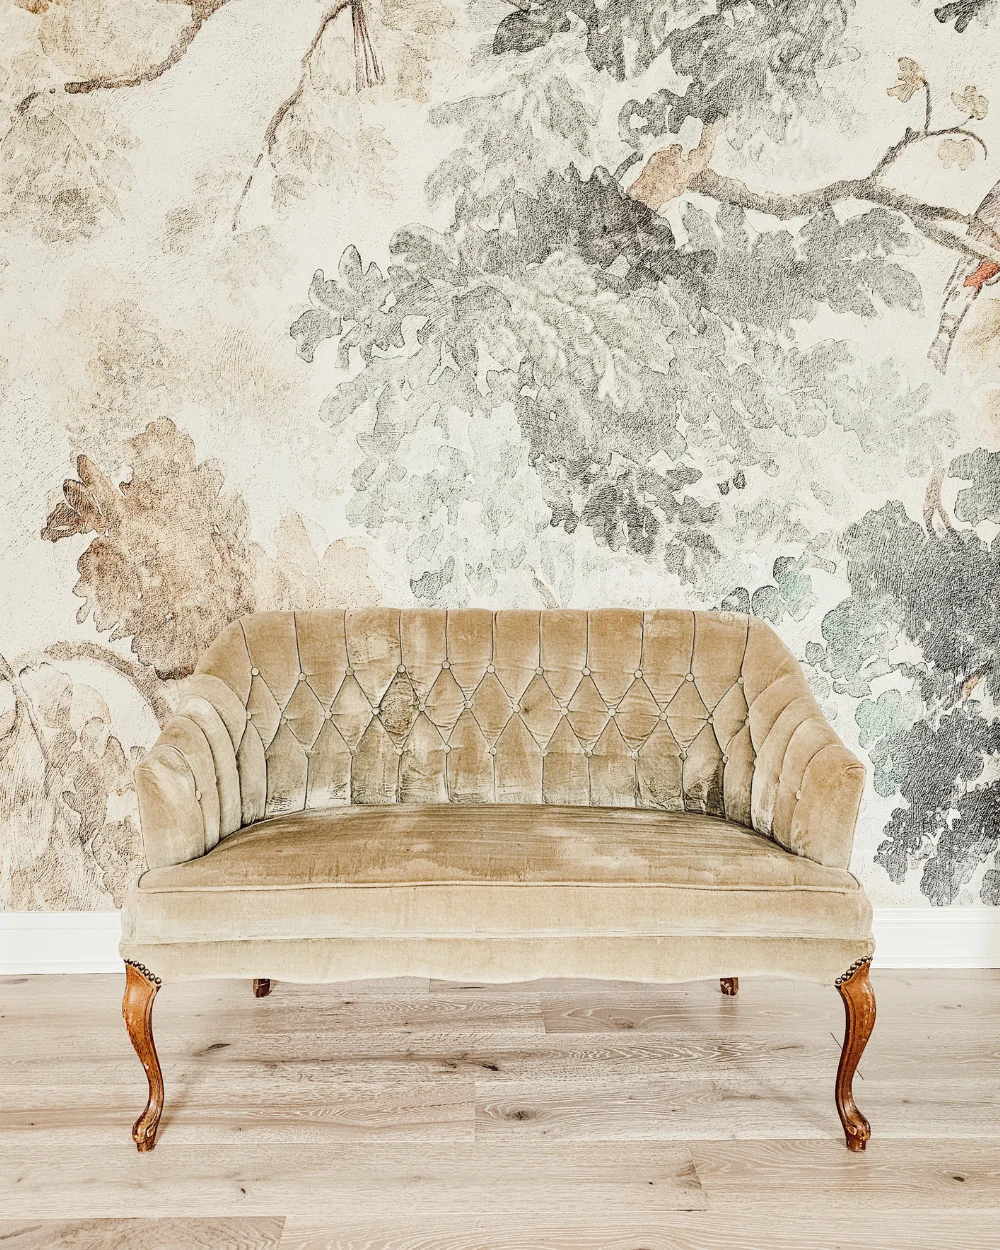
If I tried to paint the settee with fabric paint, and it didn’t work out, my only recourse would be to have it reupholstered and I assumed that would be expensive and time consuming. Once I decided on dying the sofa, it didn’t take long to purchase the Rit dye and clean the settee in preparation for its transformation. To clean the vintage upholstery, I used the famous Bissell Little Green Portable Cleaner and it worked great. I let it dry in the sun and then vacuumed it with a brush attachment to reset the fabric. It looked great, but the stains were still there.
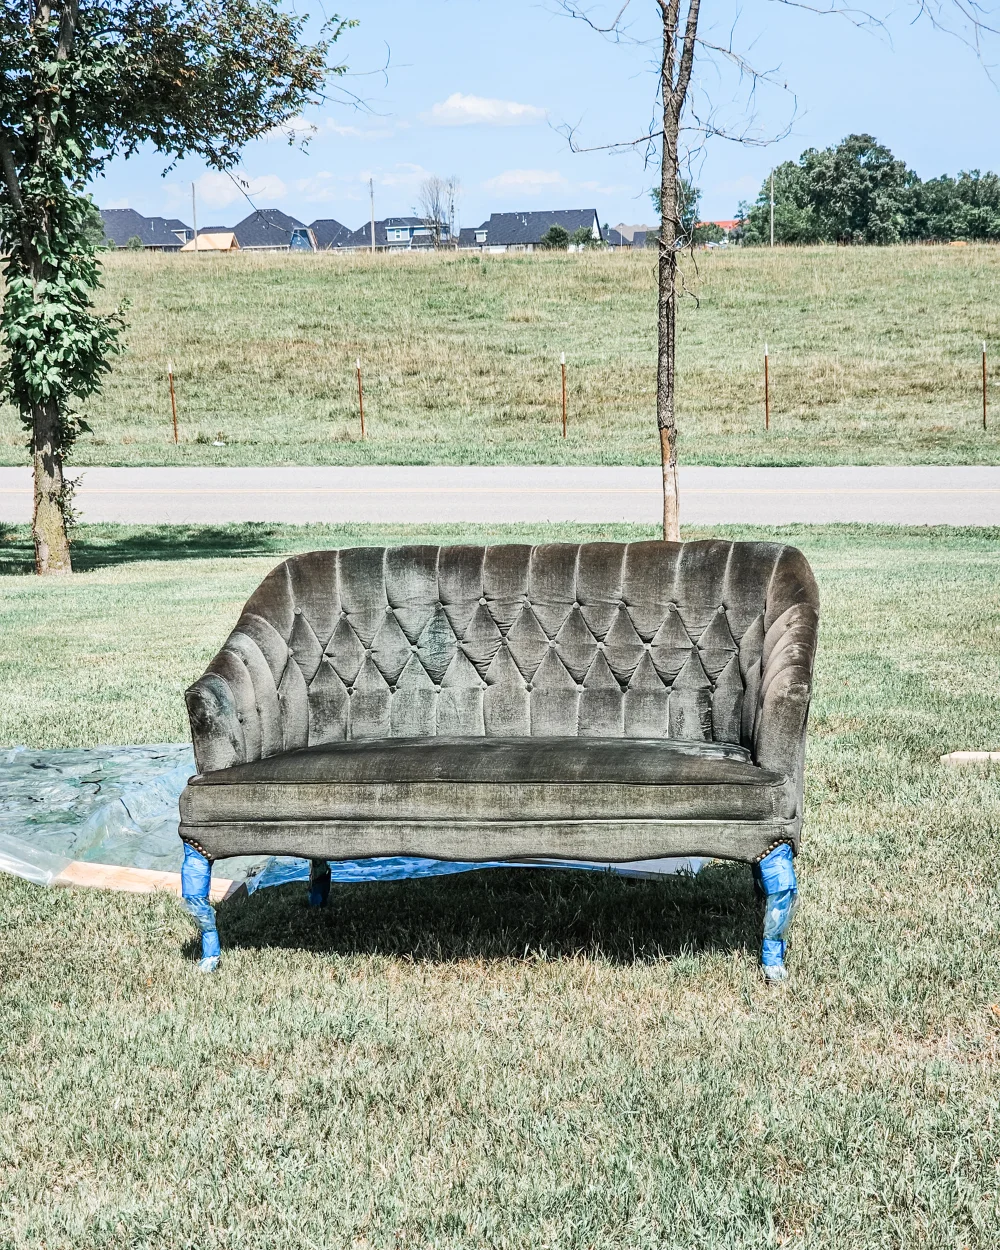
Here is a photo of the settee after one coat of dye.
I knew that a dark enough dye would cover the stains, but I still wanted it to look green. I searched Rit’s website for the perfect dark green recipe. They have so many color formulas to choose from. I went with Godzilla Green and it’s a beautiful dark green with a gray undertone. You’ll need to know what type of fabric is on your piece because Rit makes two types of dye for different fabrics. I had to go with the DyeMore line of dye.
After much research, I determined the dye to water ratio. I used 2 gallons (or 16 cups) of water and 2 cups of total dye. The process of making the dye solution is easy, just add the water to a stainless-steel pot and bring to an almost boil (200 degrees exactly). I used my candy thermometer to make sure it got to 200 degrees before adding the dye. While the water is warming to an almost boil, you can measure and mix the dye colors. The most important part of measuring the dye is to be sure to shake each bottle very well before you even open it. I followed the formula for Godzilla Gray and used a glass measuring cup that I had used at my essential oil party. Carefully add the mixed dye formula to the just boiled water and stir some more. I moved the entire pot of dye out to the garage on a drop cloth where I would fill my sprayer. For the second dye application, I just carried the pot of dye out to the grass area where I sprayed because it was easier and cleaner.
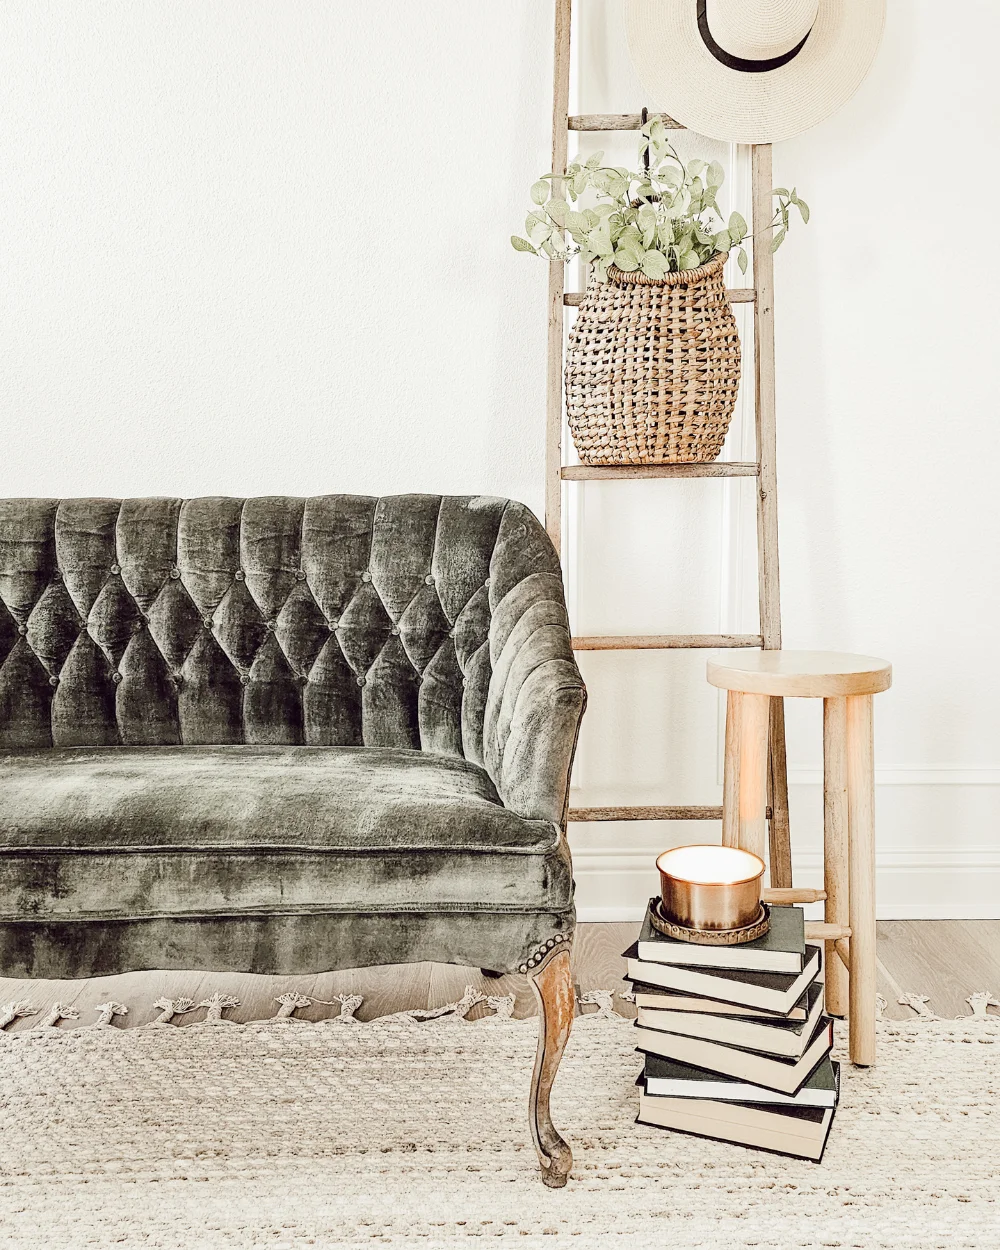
Some people will apply the dye solution with a spray bottle, and maybe that’s a fine solution if you’re only dying a small amount of upholstery. But I have a paint sprayer and opted to use it for this project to get it done quickly and as evenly as possible. If you don’t have access to a paint sprayer, you can also use a continuous sprayer (often used for weed control). Once the entire settee was sprayed with the first coat of dye, I allowed it to completely dry out in the sun. As the dye began to dry, it lightened up in color and I could see which areas would even out after the second coat. You must allow each coat of dye to completely dry. If you don’t, you’re just wasting dye and time, it won’t darken or give you extra coverage if you spray more on while it’s still wet.
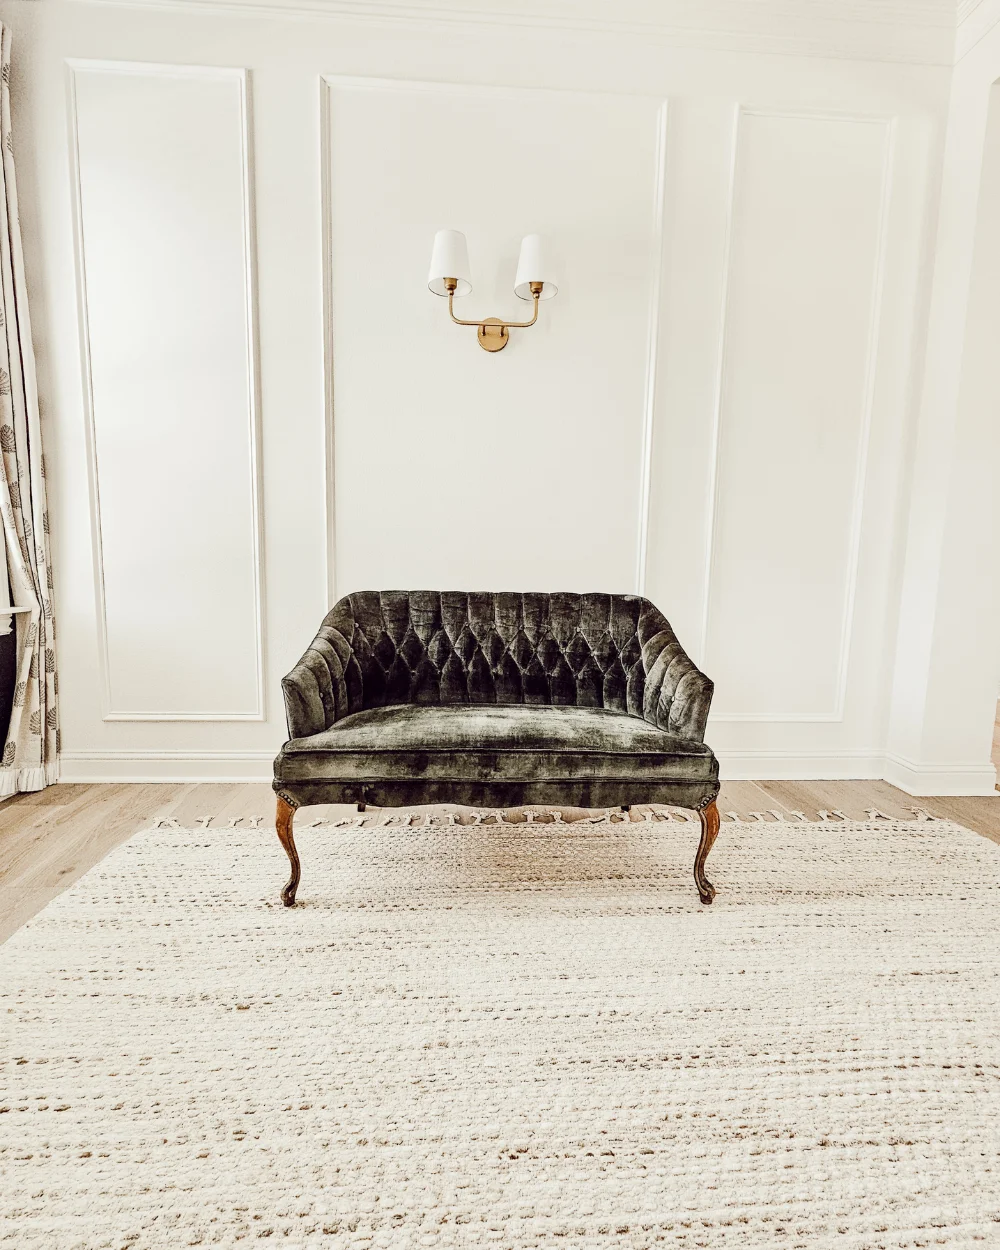
Two days later (because of a storm), I sprayed the second coat of Godzilla Gray to the vintage settee and when it dried, I was in love. The color turned out great and it was so easy with the paint sprayer. If you use a paint sprayer, be sure to completely clean the sprayer between each coat. After the sofa was completely dry, you will need to apply the ColorStay Dye Fixative to seal in the dye so that it won’t come off onto your clothing. There are some different instructions out there, but I followed the Rit instructions and added the fixative to boiling water. I used my paint sprayer to apply the fixative and lock in the color. I also read that some people follow up with Scotchguard, but I didn’t do that step.
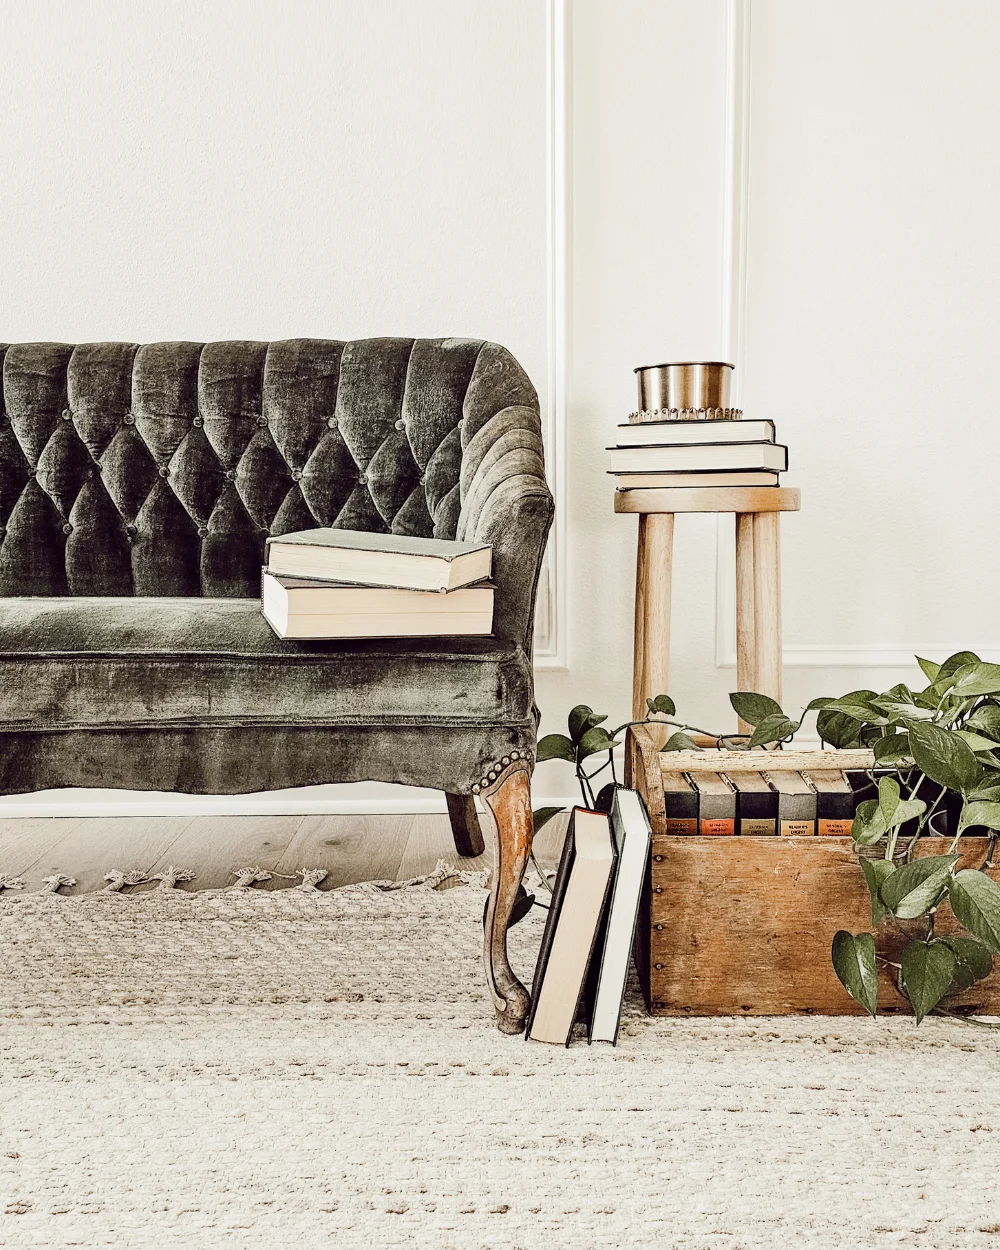
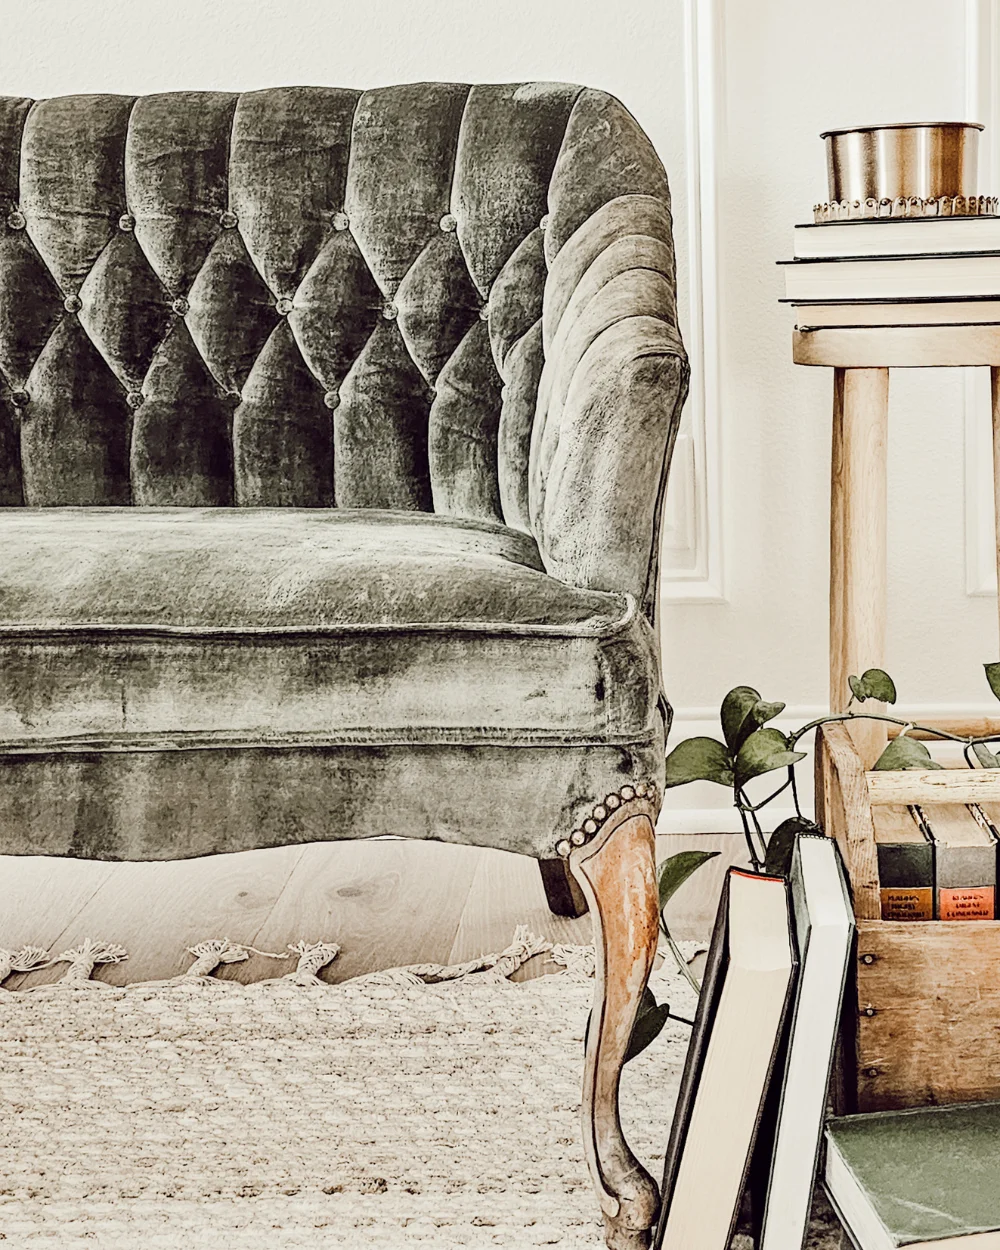
After allowing the fixative to totally dry and set (48 hours later), I used a soft upholstery brush to reset the fabric. The settee is such a beautiful vintage piece and by updating the fabric, I added some more years of use to this lovely piece. I can use the settee in the space across from our dining room, especially since the new green also looks so great with the wallpaper mural, the settee also works great as seating at the dining table, or my favorite, at the end of our bed, or if my girls had it their way, in each of their rooms. If our entryway was wide enough, it would look great there too. So many possibilities and the vintage charm melts my heart. When I originally acquired the piece, I thought I’d strip the wood legs and stain them my favorite vintage worn wood color, but I’m not certain now, the original rich color is growing on me and looks great too. For now, I’ll enjoy the original color, but I always reserve the option to change my mind.
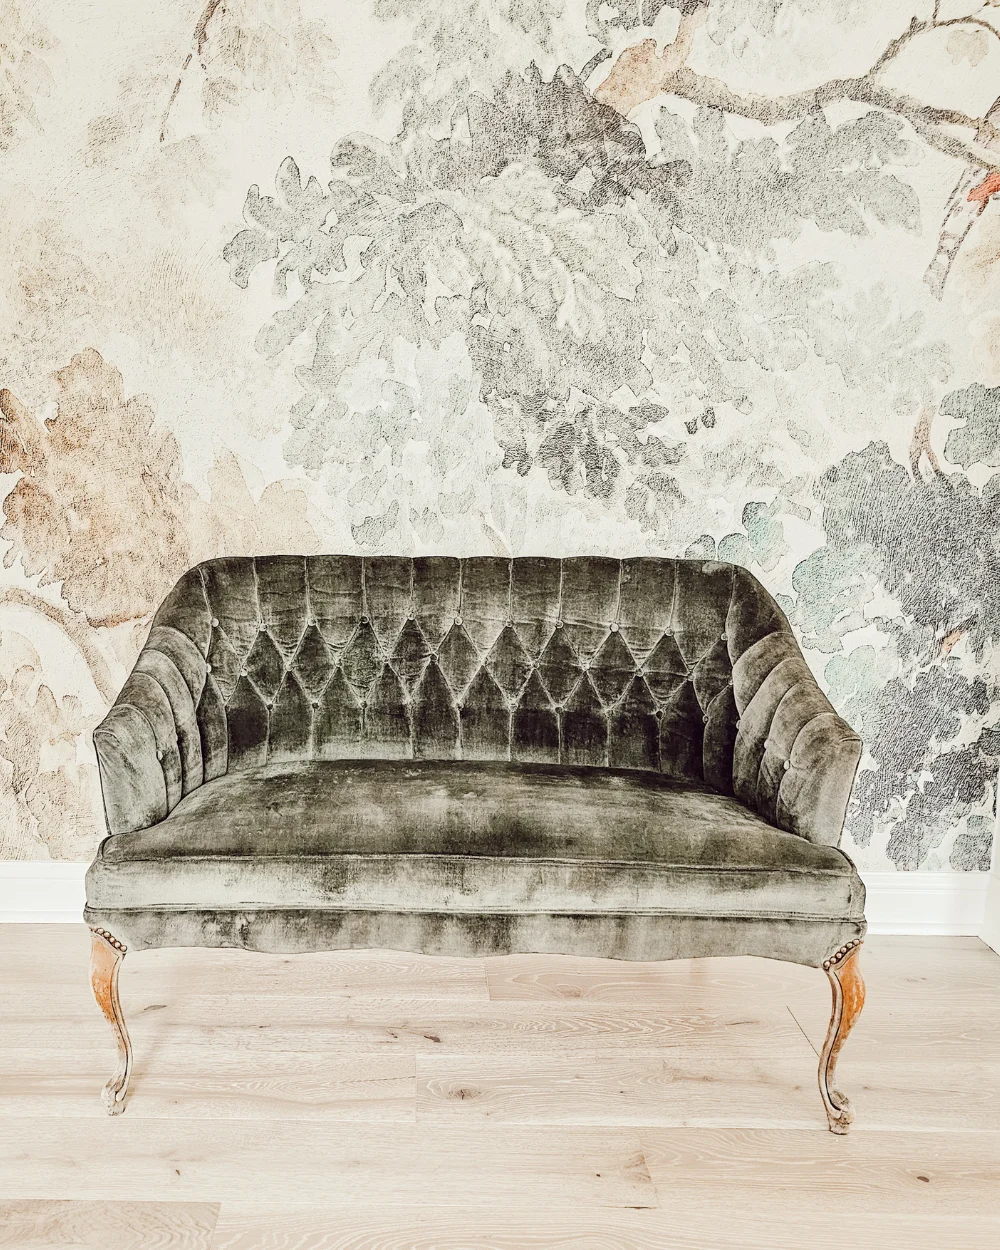
Dyeing the vintage sofa was way easier than I anticipated. This technique has given me a new option to update vintage upholstered furniture that I hadn’t considered previously. I would love to learn how to reupholster, but I have a feeling that reupholstering isn’t as affordable or as easy as simply dyeing the fabric. If you’re considering dyeing an upholstered piece, keep in mind that you can’t dye dark fabric to a lighter color, it’s not like painting. The original color is bound to show through unless you dye a dark enough color over it. For instance, if I would have tried dyeing the pea green settee a red or pink color, it would have turned out brown because the original green would come through. For this settee, my options were a close-to or darker green, medium to dark brown, black, medium to dark grey, medium to dark blue. A dark purple may have worked as well, be sure to test someplace inconspicuous first. Unless the fabric is white or cream, count on changing it to a darker hue.
Video tutorial
I’m not an expert, but if you have a question about this process, I’m happy to try to answer it. You could also message Rit on their website or Instagram page. With every new project I tackle, I grow in my confidence to try other techniques that maybe previously seemed over my head. I assure you, dyeing furniture is doable, affordable, and has terrific results. Thanks for checking out this post, I hope you’re inspired to achieve your own upcycled furniture goals.
Shop this post
POSTED IN: DIY Projects
