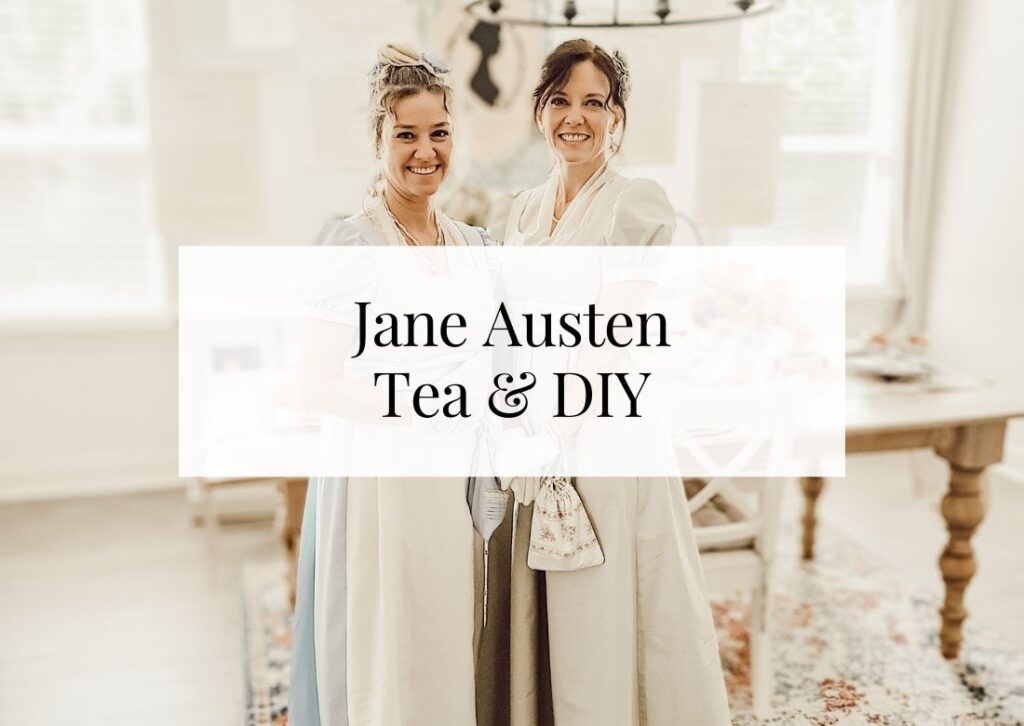
Emma Garden Tea Party

Emma Garden Tea Party
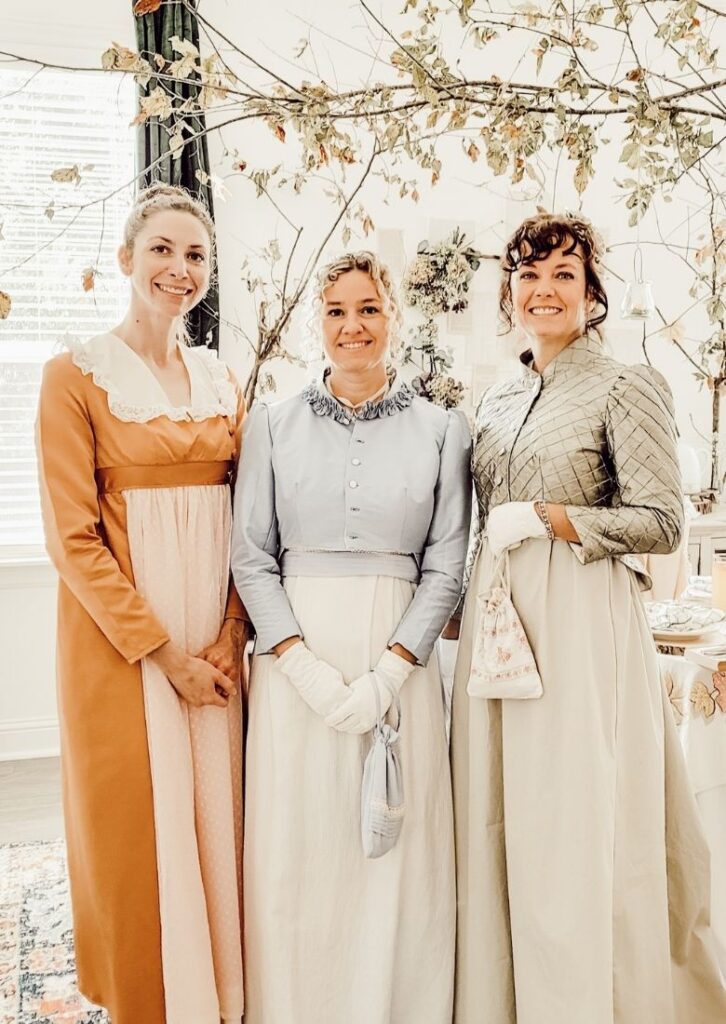
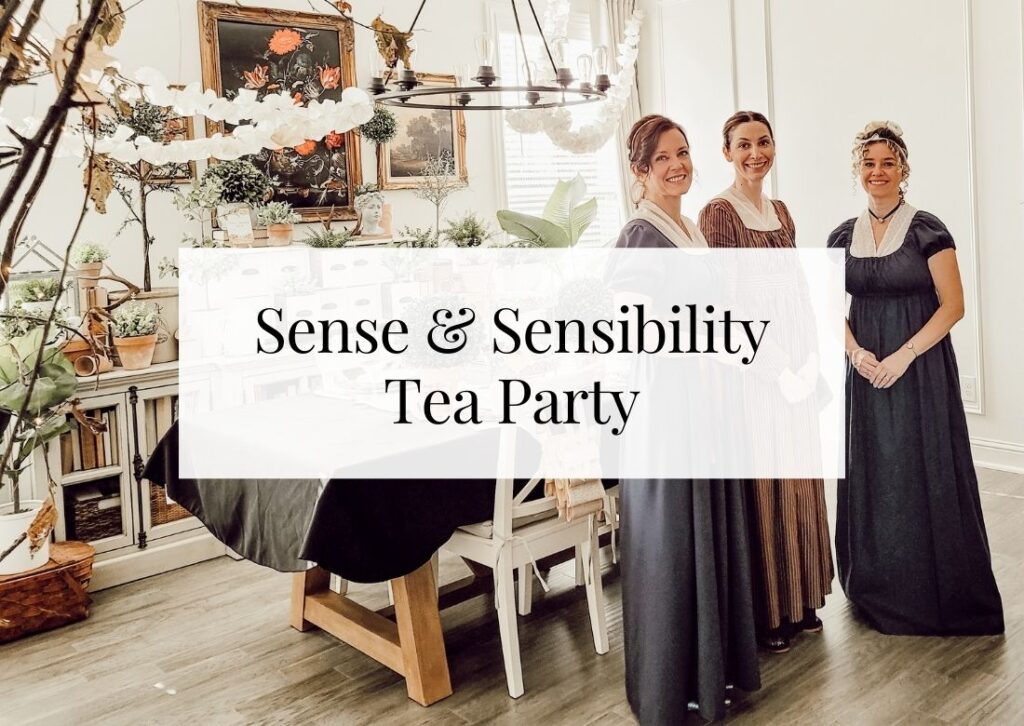
The Emma garden tea party was so much fun and the preparations were unbelievably easy! My favorite author of all time is Jane Austen, so I’m designing tea parties around the themes of several of her novels, my personal favorites. The first tea was a Jane Austen tea and when I soon realized one tea party wouldn’t be enough, I began planning more around her actual novels. There are so many ways you can interpret the novel, Emma, and then design a party around it, but I focused on the picnics, nature/flowers, and outdoor ventures. In all of Austen’s novels, the ladies seem to embroider at some point or another, or it’s at least spoken of, so for our DIY craft, we tried out hand-embroidery. It’s so much easier than you’d think and it was quite relaxing too.
Emma Garden Tea Party – Design
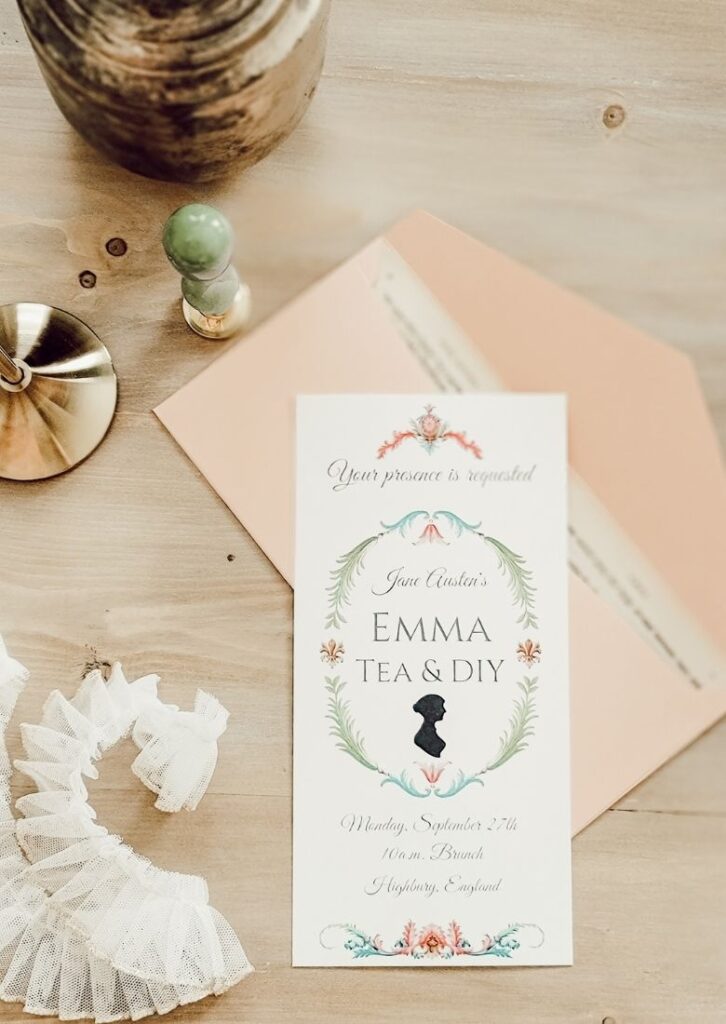
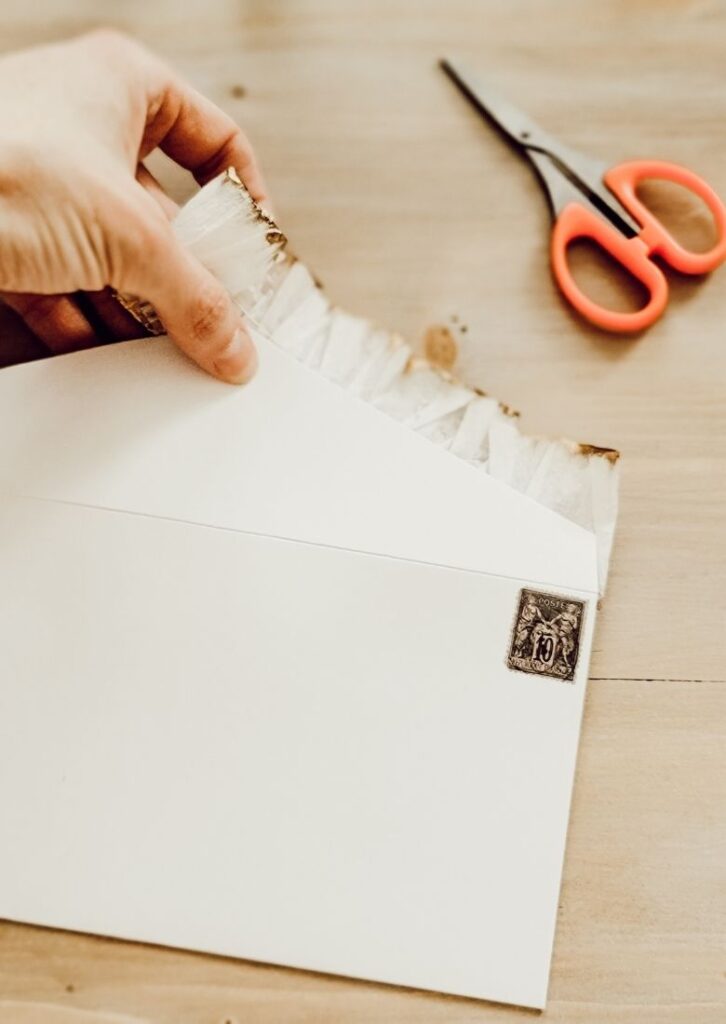
The invitation is the first glimpse into the party that your attendees get, so I like to make it special in hopes that they will anticipate having a wonderful time. I like to design my own invitations using Canva.com. The software is free and has so many templates and built-in options to use. I usually begin my invitation design around the size of envelope or enclosure that I’m using. You can create any size of document in Canva and go from there. If you don’t like to create or use their elements to do a custom design, they also offer hundreds of templates to help you too. Once I’m done, I just download it as a printable PDF with print lines for easy cutting. I usually print on cardstock and that’s it. The special part about these invitations was definitely the envelope. I added an envelope liner using pages from Emma, and then embellished it further with some gold-edge ruffled crepe paper and a wax seal. It never fails to surprise me just how much joy I get from creating invitations. I know my guests will enjoy receiving them and that’s what motivates me the most.
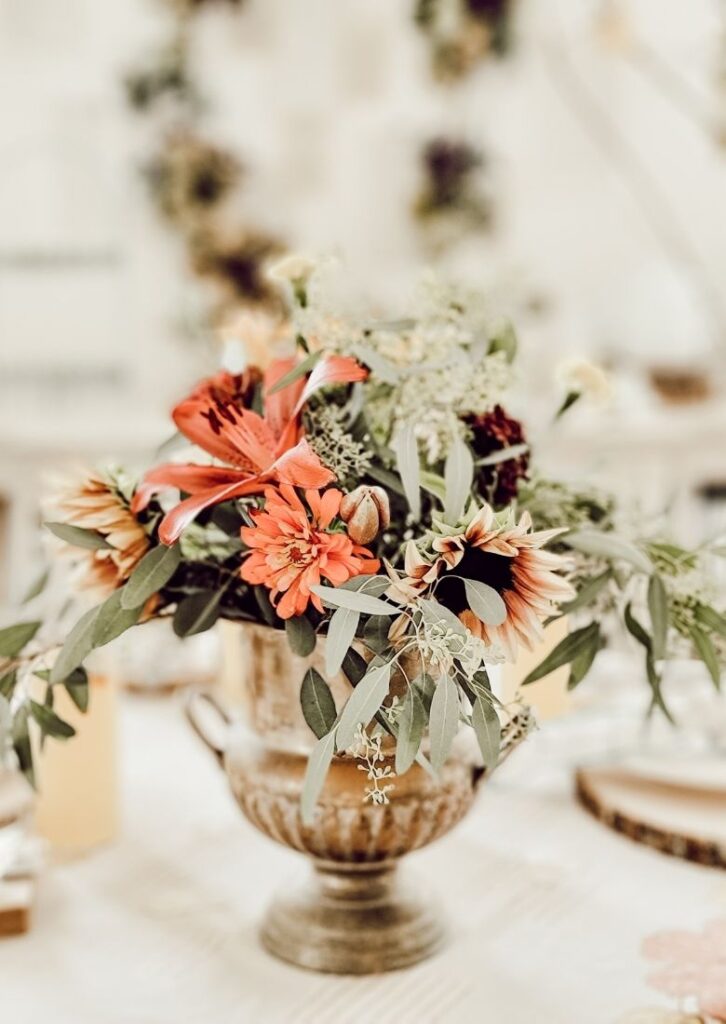
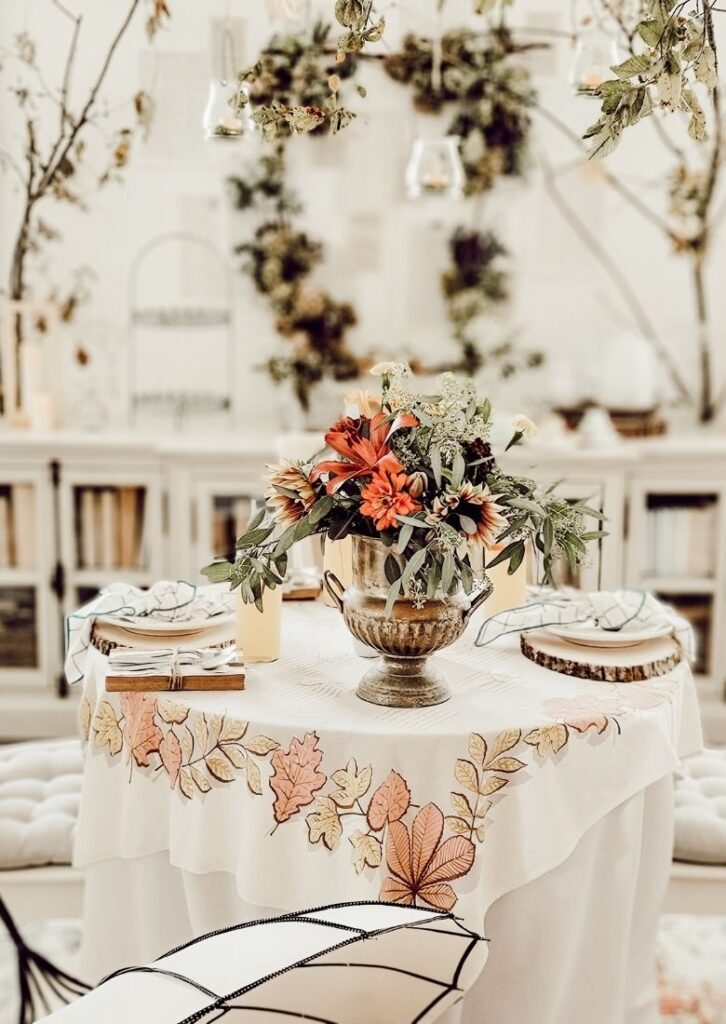
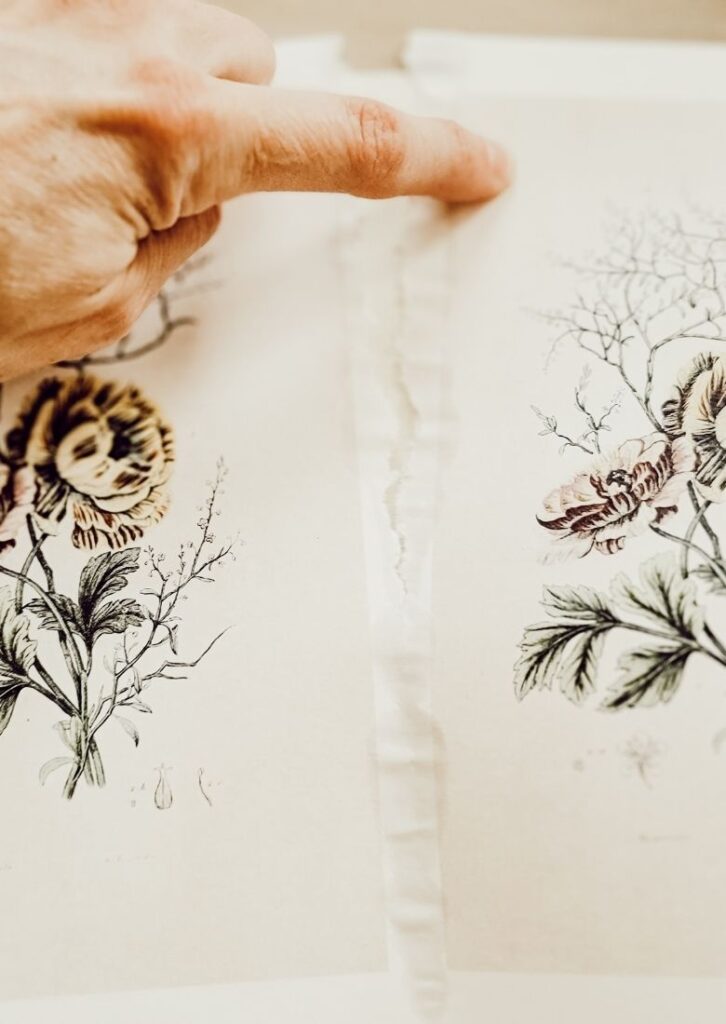
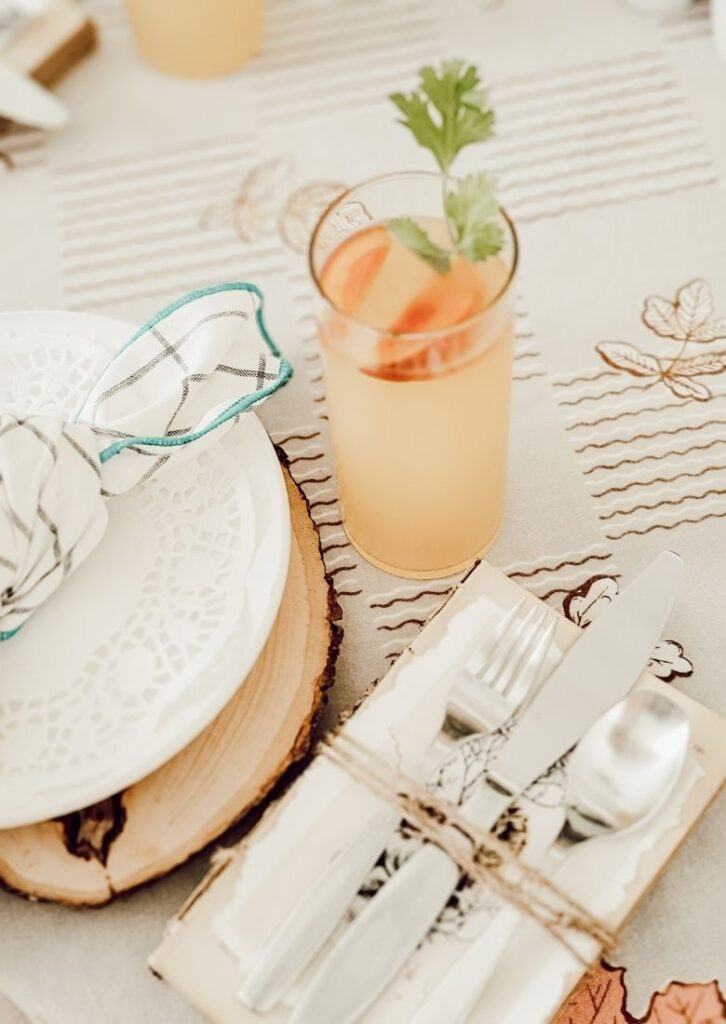
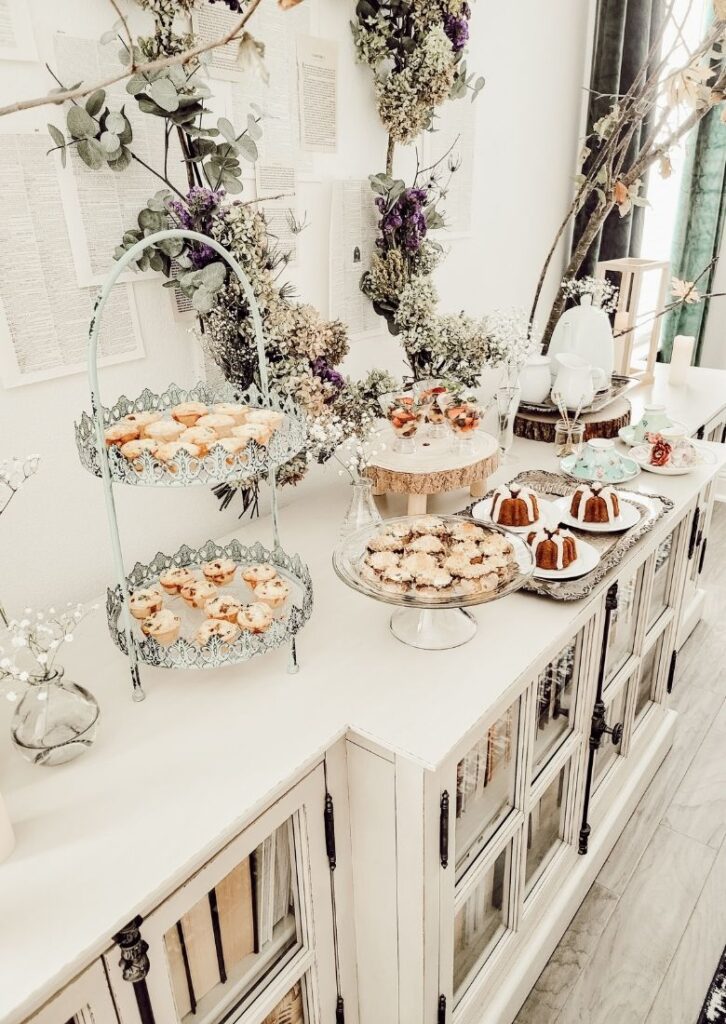
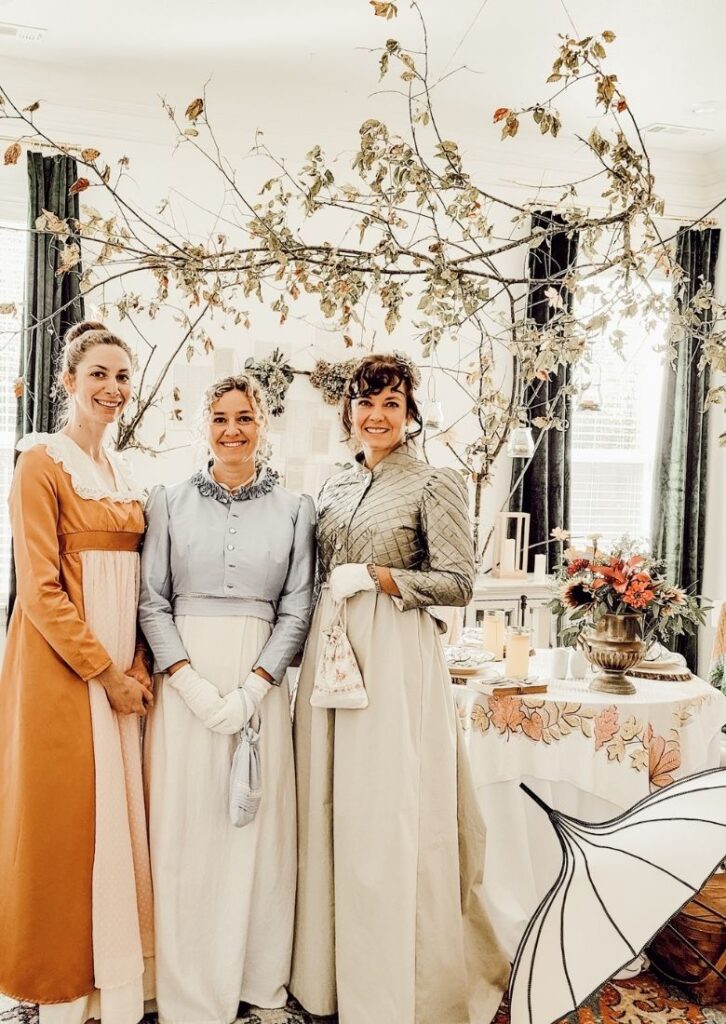
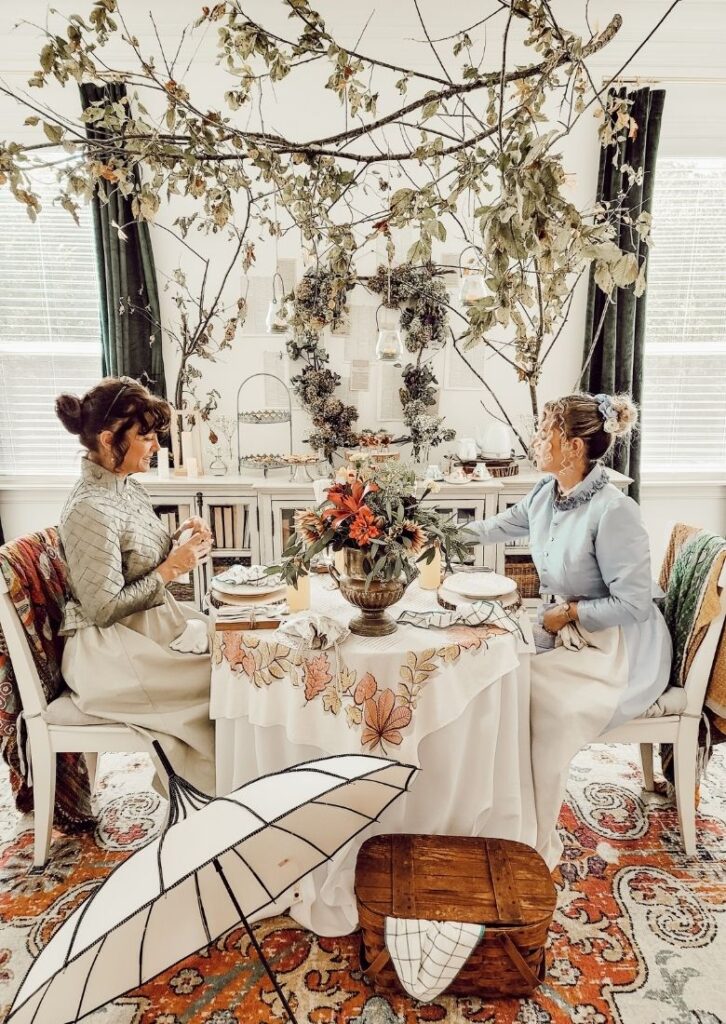
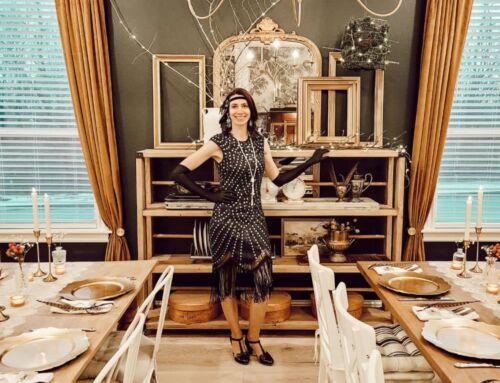
For the party room, I wanted to create an indoor garden party vibe so I grabbed a hanging branch from our dying tree (before it was cut down) and fashioned it to hang right over our table. My rectangular table felt a bit large and I don’t have a round table, so I brought in the small square patio table and set my plywood man in the moon on top to create a temporary round table! It was a little small, but it worked out. I added a few more branches behind the library cabinet and used it to set up our brunch, dessert, and tea. I wanted to keep the backdrop simple, but coordinated with the garden party feel so I used some branches and dried flowers to create an open frame as the focal point. I also attached some vintage book pages to the wall to add interest and highlight the literary inspiration behind the tea party. I used a few props to continue the garden party feel and used a picnic basket to hold all the DIY craft supplies. The floral centerpiece was created from the cheapest mixed floral bouquet I could find at Sam’s Club. I used wood slices as my chargers and created book place settings using an old book without the cover and a printed floral image on top. I used a dropper to draw a line of water along the border or my floral image and then carefully tore the image out to get an old-looking ripped edge. A few simple touches can create wonderful memories for you and your guests.
Emma Garden Tea Party – Food
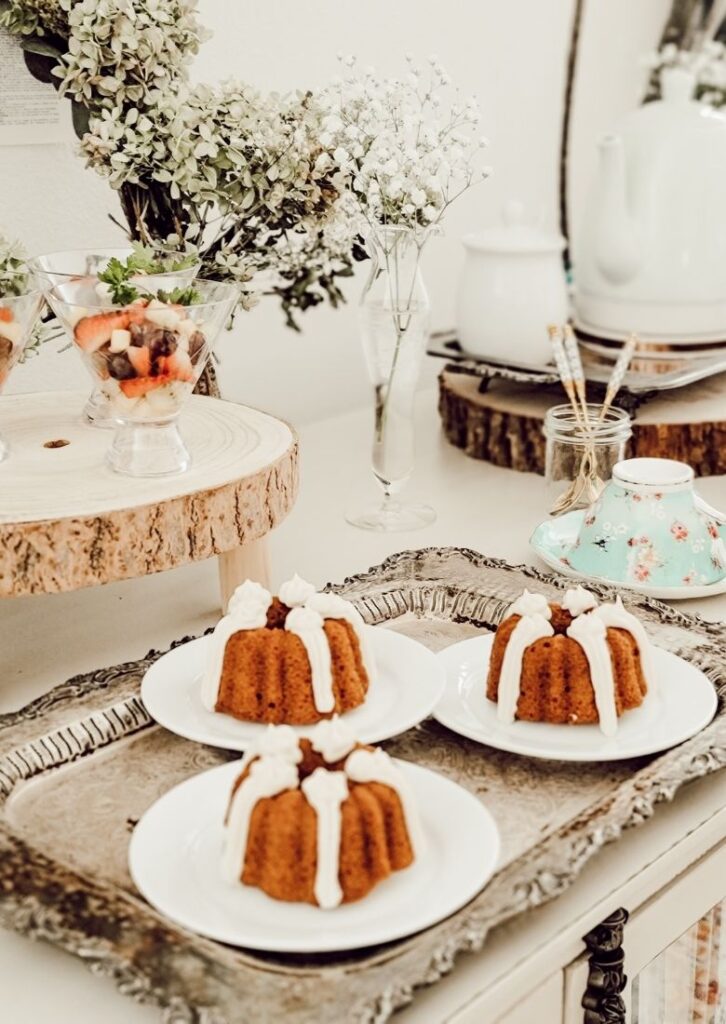
Designing the party room is my favorite part about hosting a tea party, but I also enjoy coming up with a menu that I can accomplish with my mediocre skills and that will work as a full tea. We shared brunch for this tea which gave us a bit more time together to chat and work on our craft, and it allowed for some fun dishes to choose from as well. There’s something about tea time that calls for mini foods, not always, but it seems to be more fun when it does. For my brunch menu, I made mini quiches by Dinner at the Zoo, fruit cups by Grits and Pinecones, stuffed mushrooms by The Menu Maid, and mini pumpkin Bundt cakes by Paula Deen. And for this end-of-summer tea party, I served Minty Melon tea by Savoy Tea Co. and it was delicious and light. I made the stuffed mushrooms the night before and just added the breadcrumbs right before baking. I set up the mini quiches the night before also, and just added the egg mixture right before baking. All of the food could be prepped ahead of time and then easily assembled and baked right before serving.
Emma Garden Tea Party – DIY craft
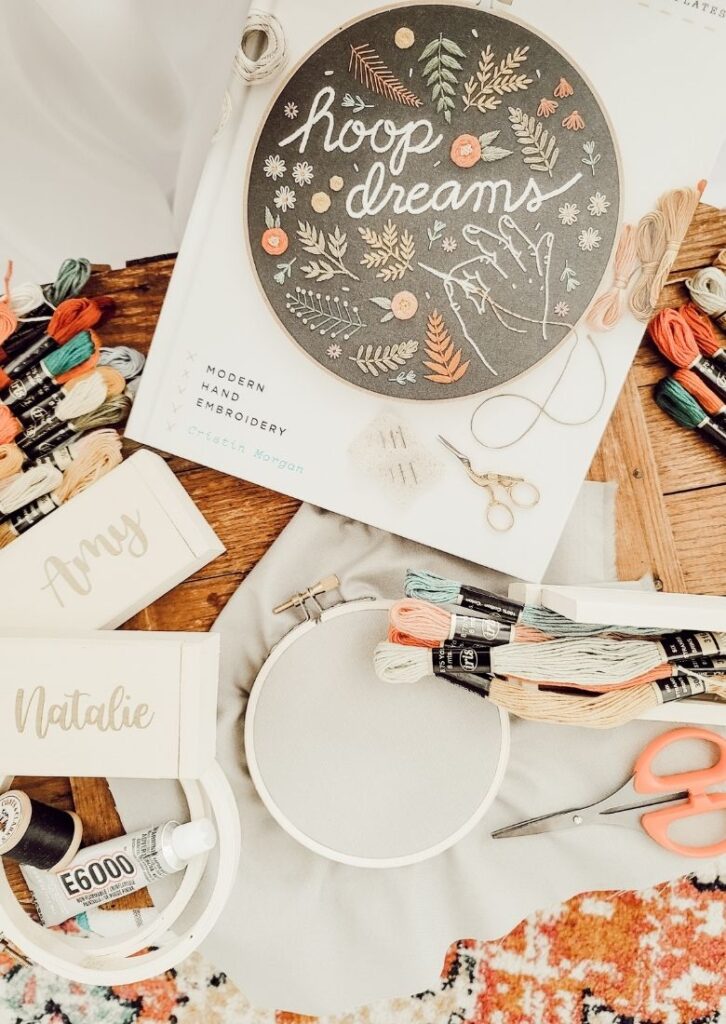
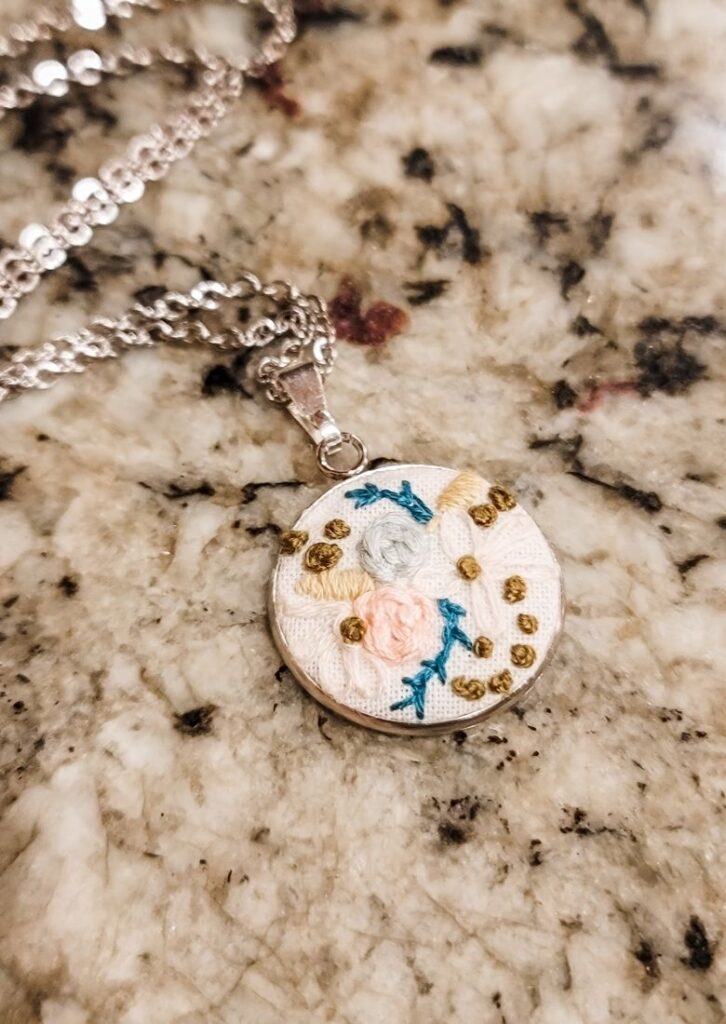
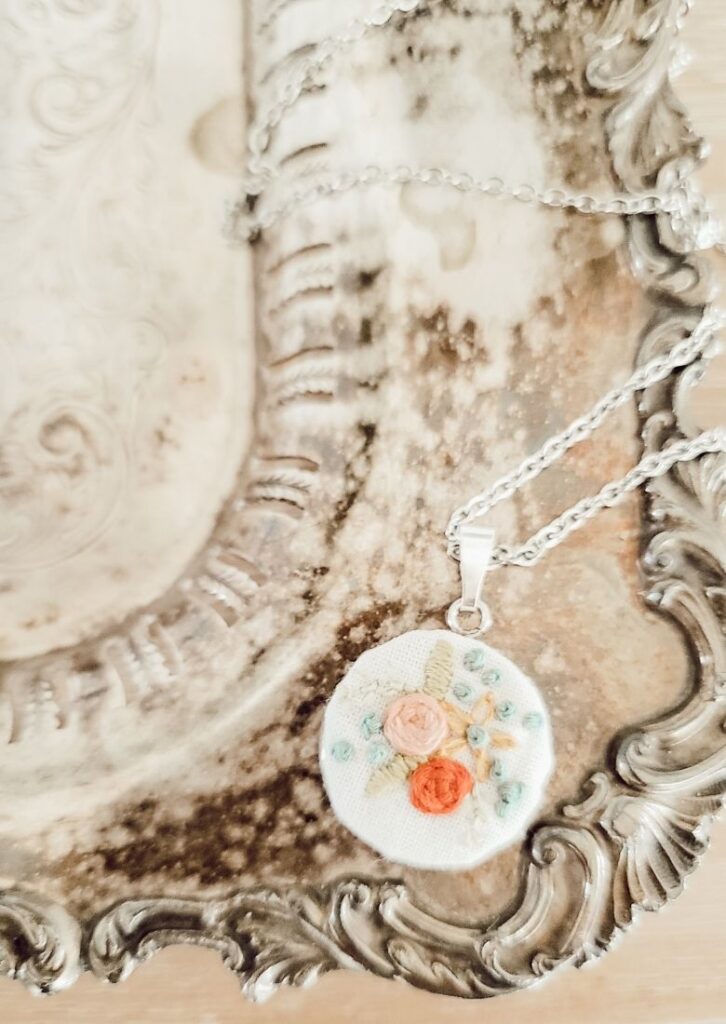
For my party designs, I don’t aim for everything to match, but I do like things to be coordinated and intentional. This party plan started with the DIY craft I wanted to do, and then the rest of the details fell into place. The DIY craft we made was a hand-embroidered necklace pendant. I already had a ton of embroidery floss and needles, but I did buy a few more colors of floss because one can never have too many color choices. Embroidery hoops are very inexpensive and you can use any fabric that isn’t too thin or too thick. Here are the necklace pendant kits I found on Etsy. The one thing I forgot to have available were wooden clothes pins to hold the embroidered design inside the bezel setting to dry. We used a makeshift hold, but Dollar Store clothes pins would have been easiest. I found the most adorable floral pendant patterns, for free, by Jessica at Cutesy Crafts. Just subscribe to her blog and you will get a ton of free patterns – and no spam from her. Jessica also has a shop with wonderful supplies and kits to choose from as well.
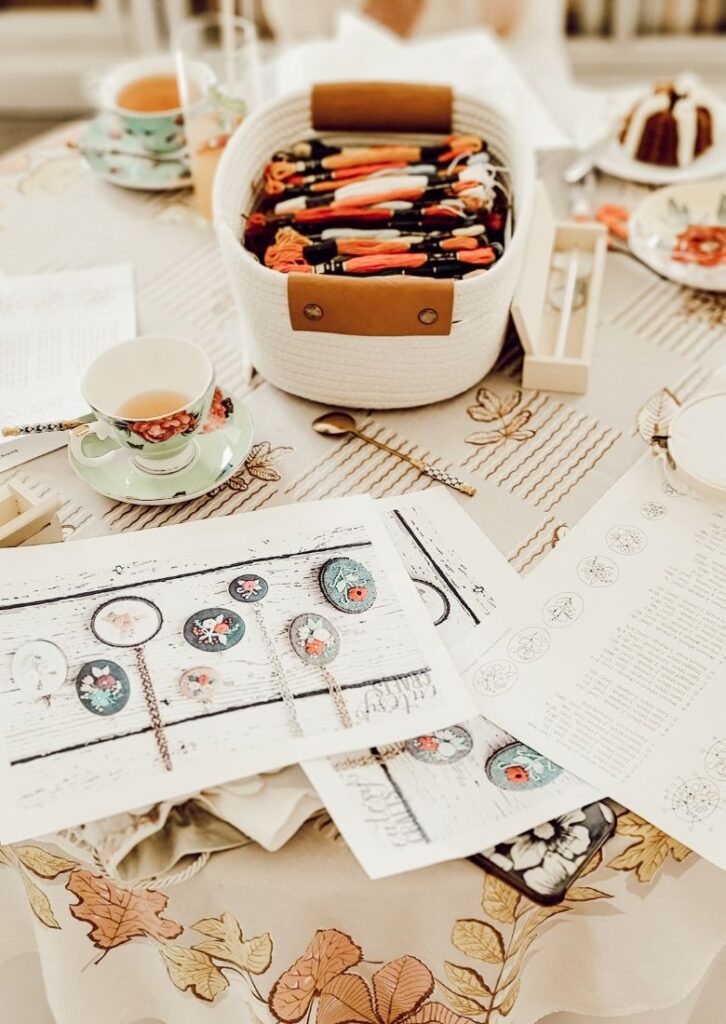
After deciding that I loved Jessica’s mini floral patterns the best, I researched and gathered instructions on how to create each type of stitch that was needed to complete her patterns. And once you learn how to do these stitches, you’ll never forget – they are easy and fun. There are many tutorials and videos out there to learn from! I printed out Jessica’s patterns and the gathered stitch instructions and my DIY supplies were ready for my guests. This DIY craft could easily be done outside or anywhere. It doesn’t require a lot of space and it doesn’t make a mess. Here’s a list of supplies that you’ll need.
- A pattern or you can sketch something freehand
- A pencil
- Scissors
- Fabric
- Embroidery needle
- Embroidery floss
- Small embroidery hoop
- Bezel necklace setting
- E6000 glue
- Clothespin
This post may contain affiliate links. This means I may receive a small commission from each purchase, at no cost to you. Thank you for using my links!
- Trace the pattern onto the fabric
- Place the embroidery hoop onto the fabric with the pattern in the middle
- Select a color of floss and follow the pattern’s instructions for how many threads to gather for a particular stitch
- Use the prescribed stitch to fill in the traced part of the pattern
- Once the whole pattern is stitched, remove the hoop, cut the design out leaving about 1/2″ border around the bezel setting
- Line up the design over the bezel setting and carefully wrap the fabric border behind
- Add E6000 glue to the bezel and carefully set the wrapped design inside
- Use a clothes pin or two to hold it together ( or place under a stack of books)
- Once completely dry, add pendant to chain
Emma Garden Tea Party
This DIY craft and tea time spent with friends is definitely a 2021 highlight for me. I love designing events, but I usually feel awkward hosting them. However, when the party is planned out, tailored to things I love, and easy to implement; I couldn’t enjoy myself more. If you enjoyed this post and want to see my future Jane Austen inspired tea parties, be sure to subscribe so that you don’t miss out. Thank you so much for checking out this post. I’d love to know what you think about the party design, how you would have interpreted Emma, or if you have any questions I can help with.

You may also enjoy:
POSTED IN: Party Plans
Let's be friends!
Related Posts
Search
Categories
Subscribe
Get the latest posts, discounts, and design inspiration right to your inbox.
