How to DIY a Vintage Man in the Moon

How to DIY a Vintage Man in the Moon
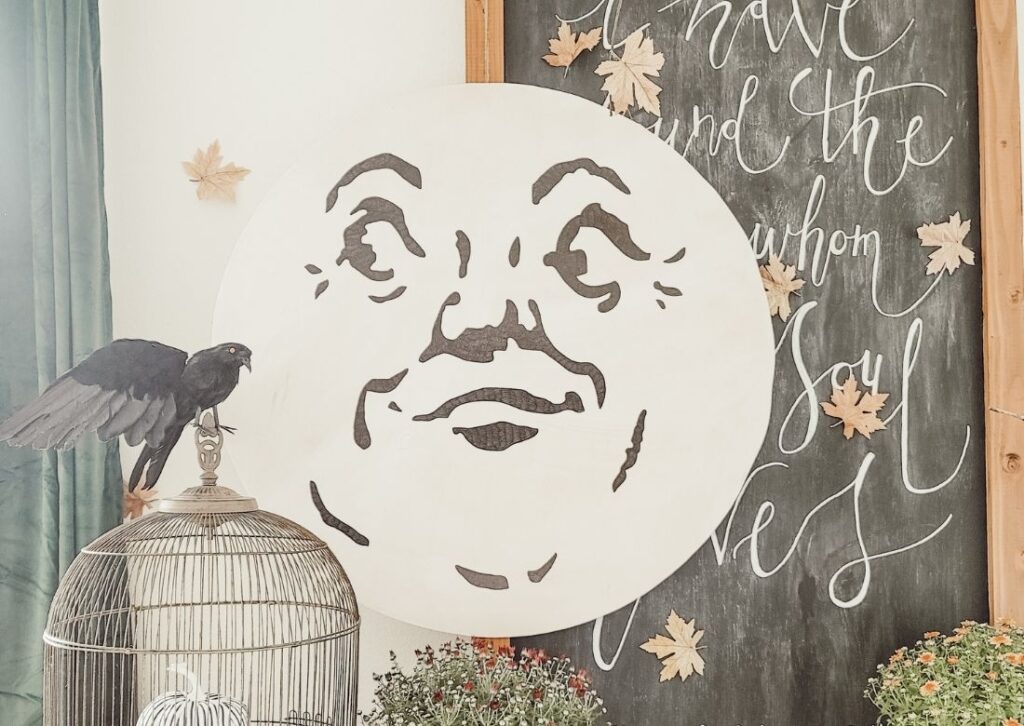
There’s something so special about vintage signs, even replicas because let’s face it, a lot of vintage stuff is amazing, but expensive. I’m always on the look out for vintage signage that speaks to me and is in my budget, but when it comes to seasonal decor and I want something now – there’s no better time to replicate wall art, if you can. I’ve been admiring the classy vintage man in the moon art for a few years. He’s so cute and fun, and I like that it’s whimsical, vintage, and not too spooky. I’m so excited to show you how to DIY a vintage man in the moon sign for your own fall and Halloween decor.
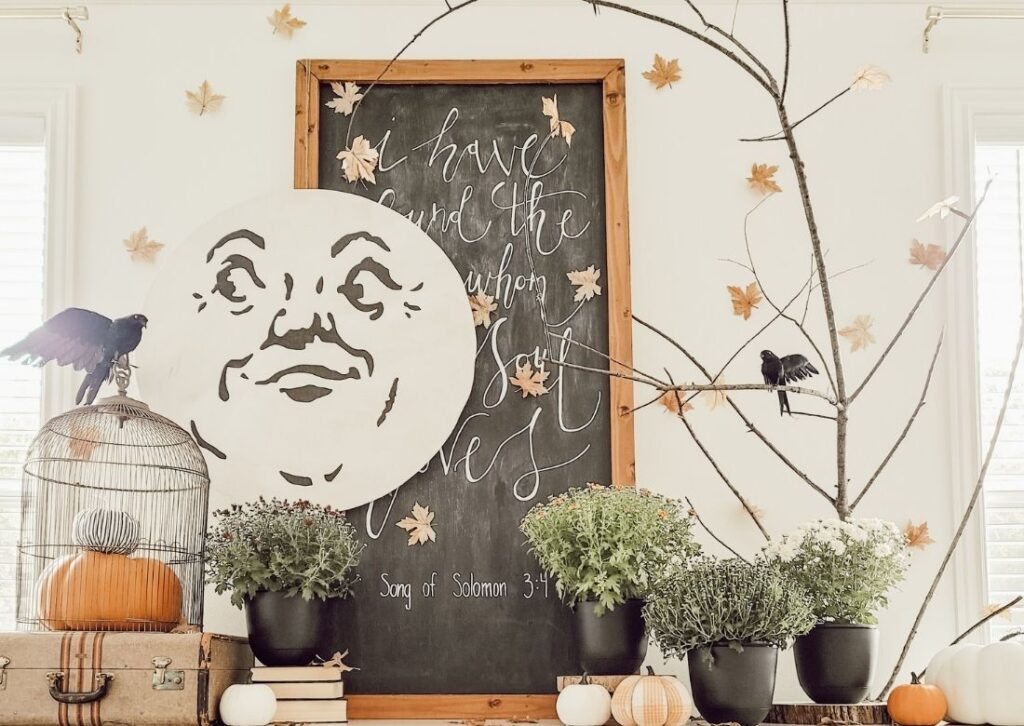
The best part of this is that it can be almost any size you want. I had a large piece of old bead board that I removed from our drop zone when I redesigned it. Instead of cutting it up and trashing it, I repurposed it into a piece of seasonal decor that I’d been wanting and knew I could make for much cheaper than buying one. My man in the moon is big you guys, I have a large wall and high ceilings so I wanted to make a statement with this guy. He is 36″ across and about 1/4″ thick. So it doesn’t weigh a lot and once cut, it was easy to move around. Without further ado, here are the steps on how to DIY a vintage man in the moon, and you can check out my video!
- Find the center of your piece of plywood.
- Using a tack and piece of string, cut the string to fit from the center to almost the edge of the plywood.
- Using a pen at one end of the string and securing the tack at the center, draw a circle on the plywood.
- Use a jigsaw to cut along your pen line, be sure to use clamps to secure the wood, and wear safety gear as well.
- After your circle is cut, sand the edges and top surface so that it’s ready for primer.
- Clean the moon, prep a painting area and add one coat of primer.
- After the primer is dry, you can paint the moon any color you want. I used a glow in the dark acrylic paint, but I don’t think it glows very well.
- Once your paint is dry, you can set up your laptop and projector to project this image, center it on the wood circle, and trace the outlines of the image.
- I used a sharpie paint marker to first trace the pencil outlines, and once dry I filled in each image.
- Add hanging hardware to the back and enjoy~
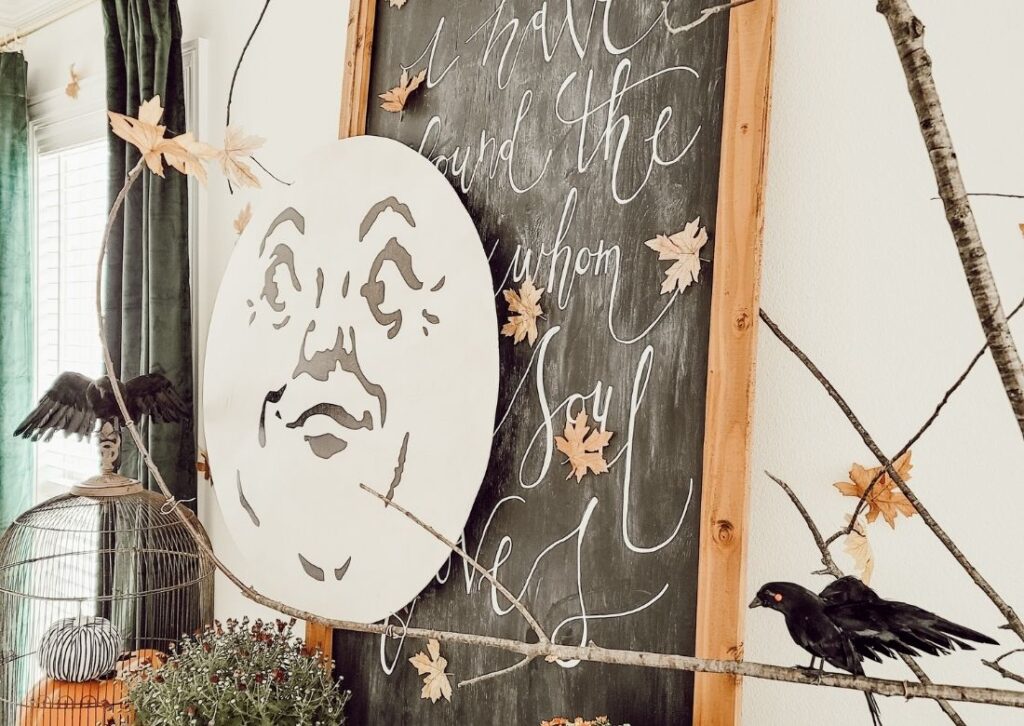
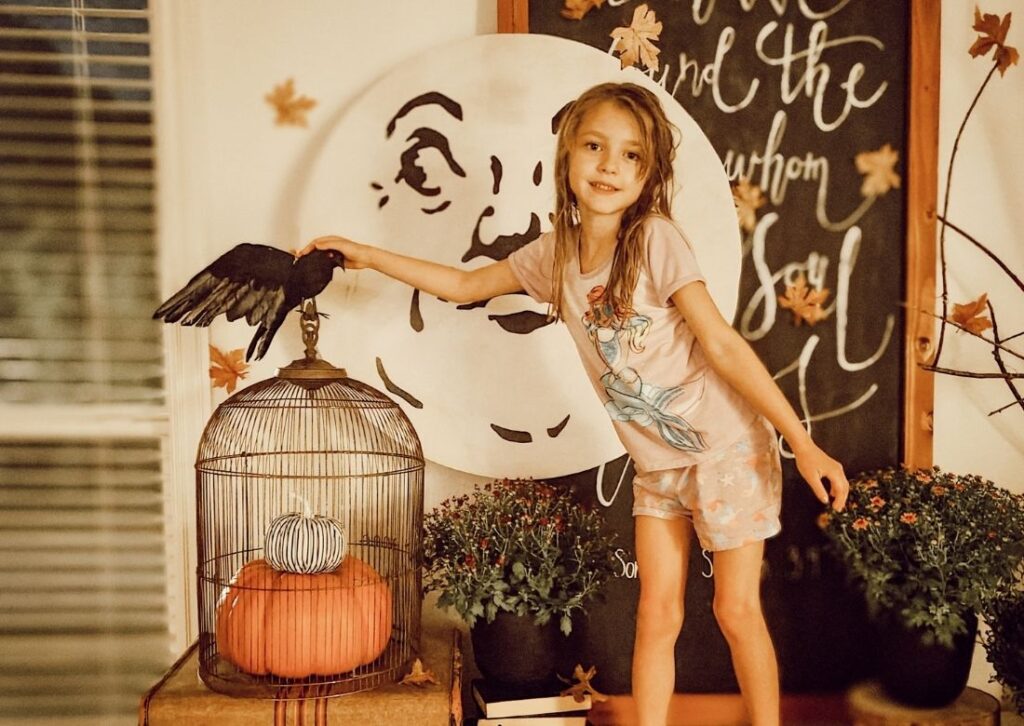
It’s so easy, and turned out better than I imagined. This moon is a fun fall time decoration that easily converts to Halloween decor as well. If you want to make sure it’s durable during storage and to last through the years or even outdoor use, just add a layer of polyurethane to seal it. I don’t know if the polyurethane would smear the Sharpie paint marker, so be careful or just use the spray version of polyurethane to avoid any wiping of the surface. If you love this family-friendly autumn decor, let me know in the comments below. And tag me @804_sycamore if you make one too! P.S. This vintage man in the moon will also be placed on top of my outdoor square table to create a larger table surface for my Emma Garden Party coming up next week. Be sure to subscribe so you can see a fun and beautiful Jane Austen inspired DIY party design.

You may also like:


POSTED IN: DIY crafts
Let's be friends!
Related Posts


Search
Categories
Subscribe
Get the latest posts, discounts, and design inspiration right to your inbox.
