DIY Vintage Candle Holder
DIY Vintage Candle Holder
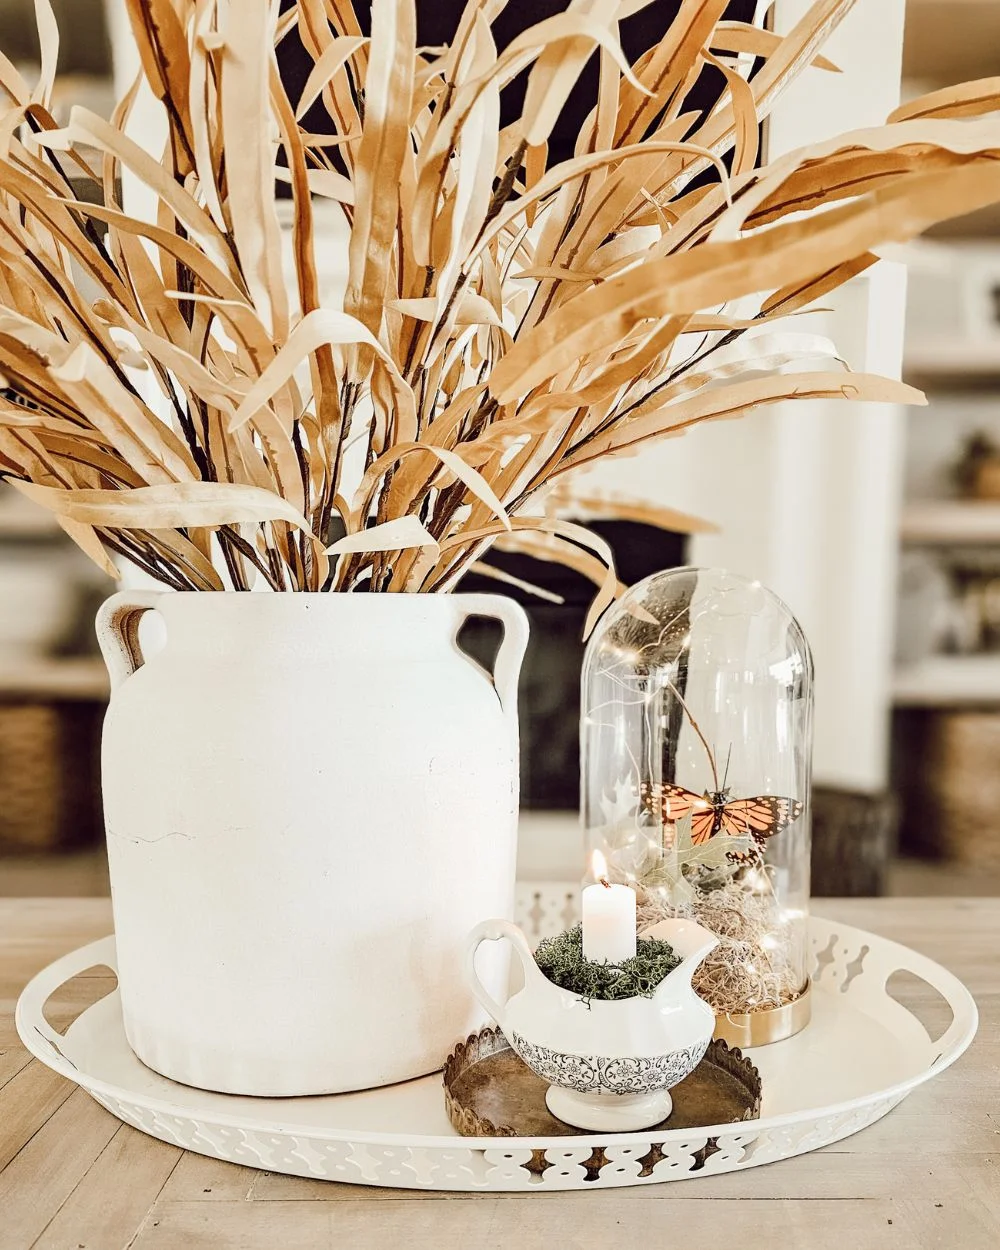
During the fall and winter months, I love finding easy ways to add coziness to our home. I also like thinking of unique gifts or ways to set a pretty table. This easy DIY vintage candle holder takes minutes to make and has endless possibilities. If you don’t already have a vintage sugar jar, creamer cup, teacup, etc. you can go thrifting and pick one up to go with your style. I also love shopping my home and finding new ways to use the stuff I already have, and vintage dishware is a favorite of mine.
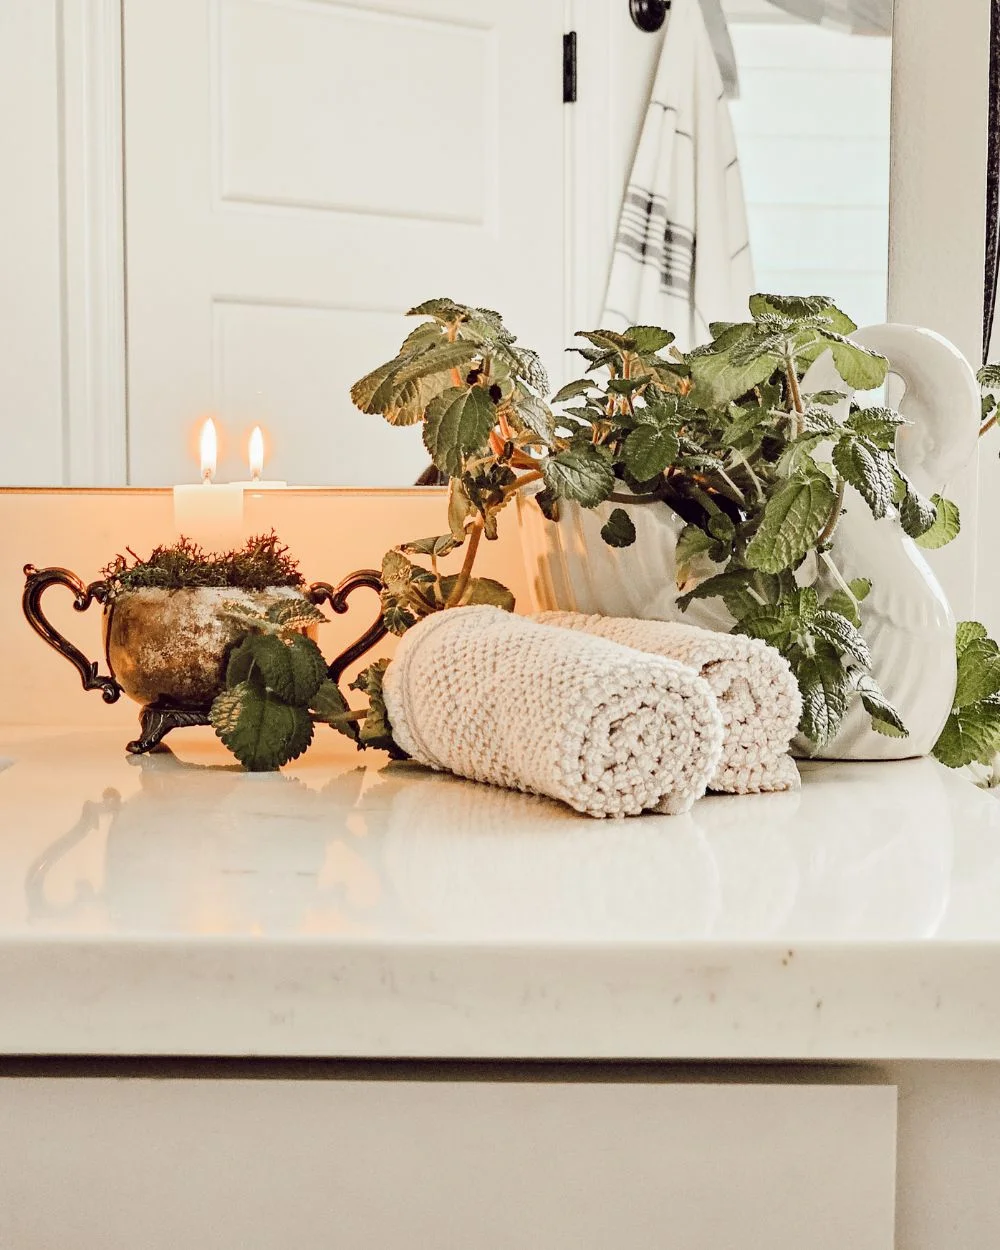
To get started on this simple DIY, you’ll need a container (vintage cup), foam, a short taper candle (picked up a four-pack at Hobby Lobby), some reindeer moss, and a straw. I suppose you could use any moss, but I prefer the fluffy and round shape of reindeer moss. I rarely use real wax taper candles, but when I do I like the dripless kind. Even the dripless tapers can sometimes drip so the reindeer moss also holds some moisture which I like for the hot wax.
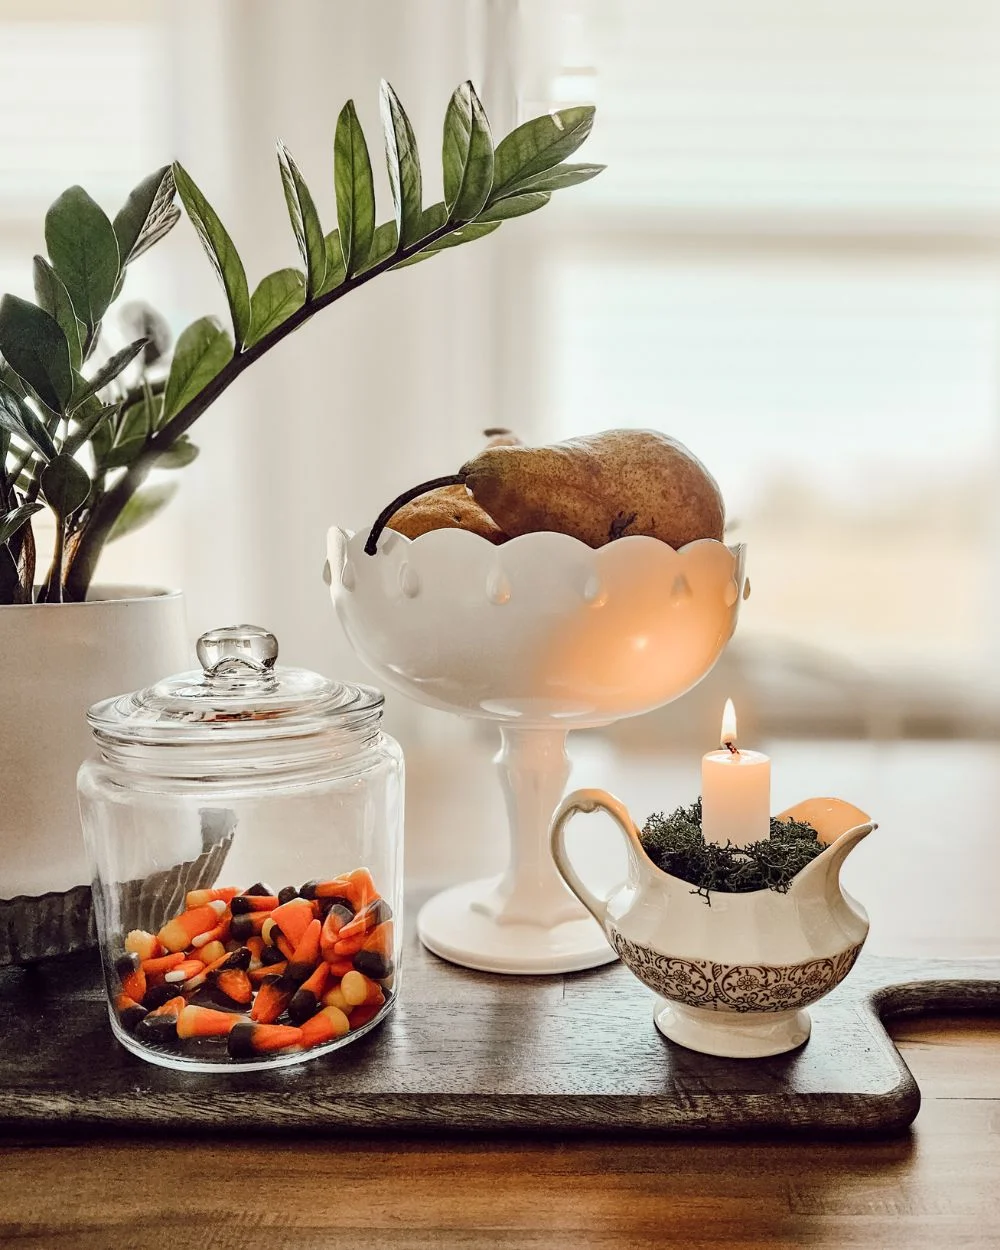
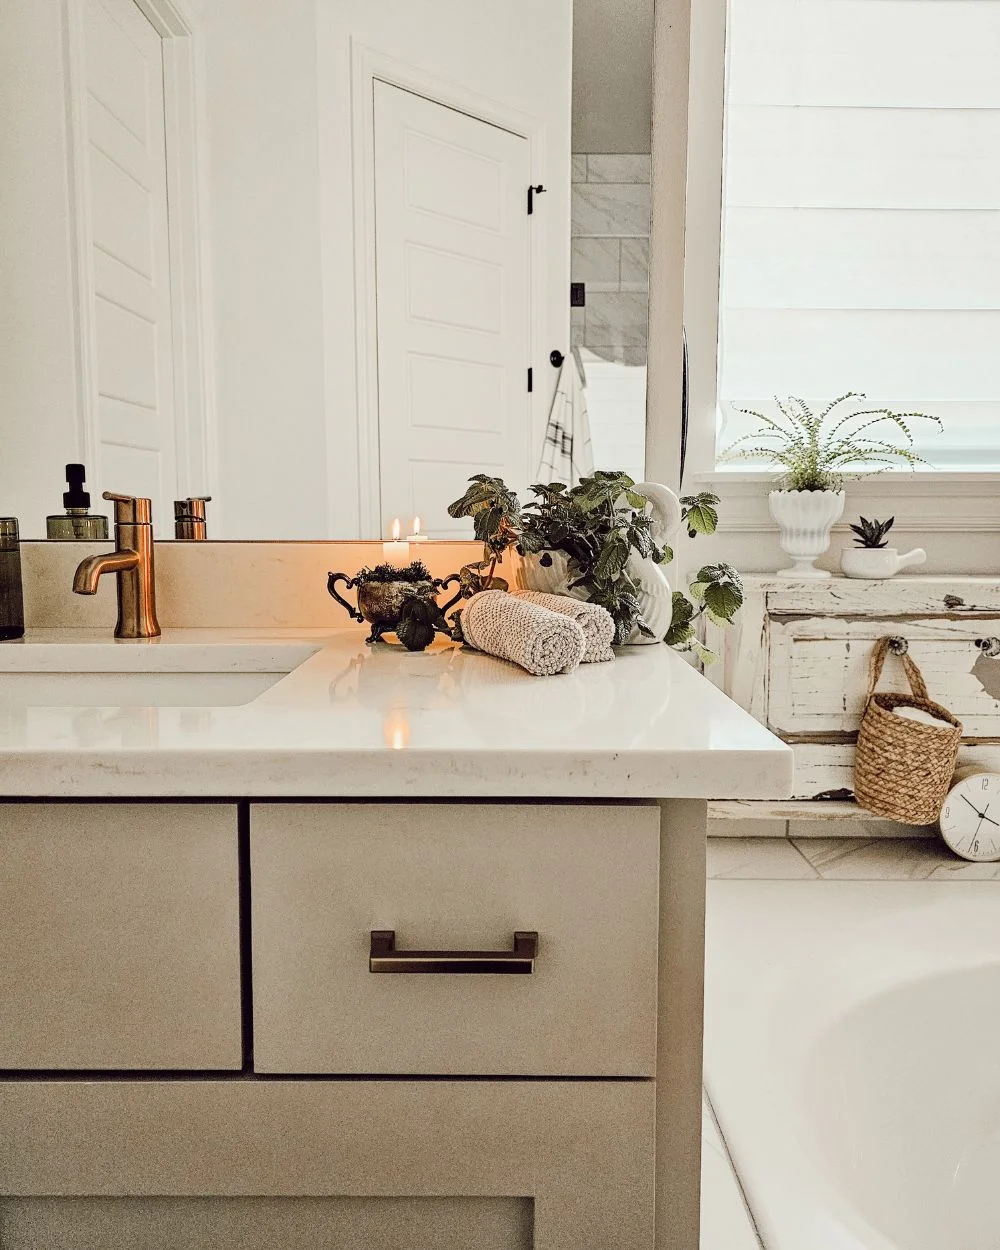
Once you gather all the supplies, you’ll need about three minutes to assemble this DIY vintage candle holder. After making just two of these I would love to create a table centerpiece with at least a dozen different candle holders mixed in with flower arrangements. But for now, I’m enjoying the silver sugar dish and the ceramic creamer that I transformed into classy candle holders. I can imagine such a lovely Thanksgiving table, or even a hostess gift, or display a few to dress up your Christmas mantel with some vintage charm.
The steps are simple; add a piece of floral foam to your container (there should be some space above the foam), center the candle and leave an indentation in the foam, use a straw or something to carve out a shallow hole for the candle, firmly press the candle into the hole, and finally add reindeer moss around the candle until you get the look you want. It doesn’t take much moss or time to get it right. This DIY couldn’t be easier, and the results are so charming and just lovely in my opinion. Check out my 20 second video tutorial to see just how fast and easy this project is.
Thanks so much for checking out this post! I’m hopeful to take this DIY craft next level on a table centerpiece so be sure to follow along on Instagram and sign up for my free email to get notified with new DIY and decorating ideas and inspiration!
POSTED IN: DIY crafts

