DIY Photo Clay Tags
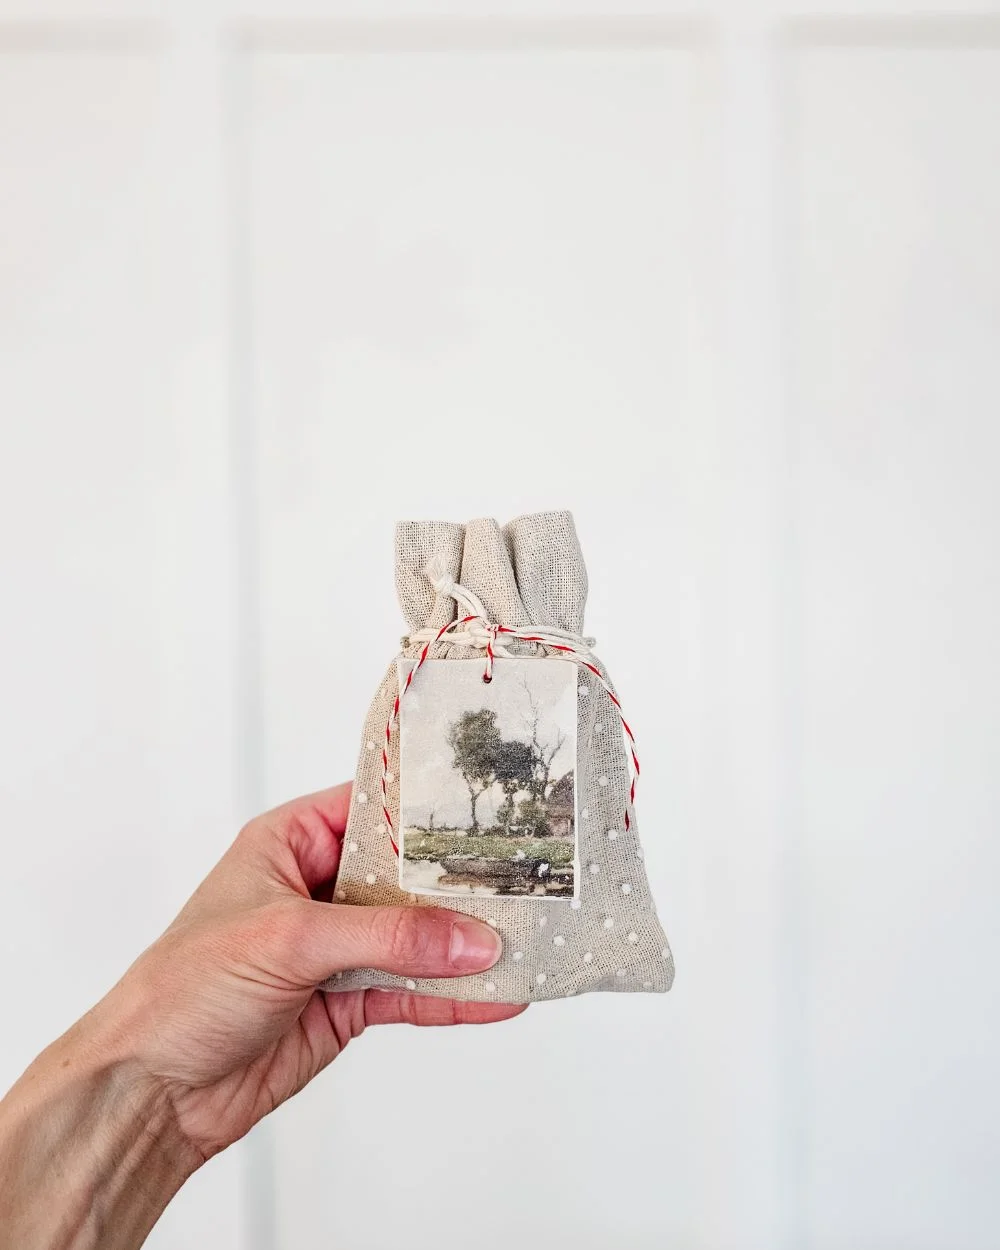
DIY Photo Clay Tags
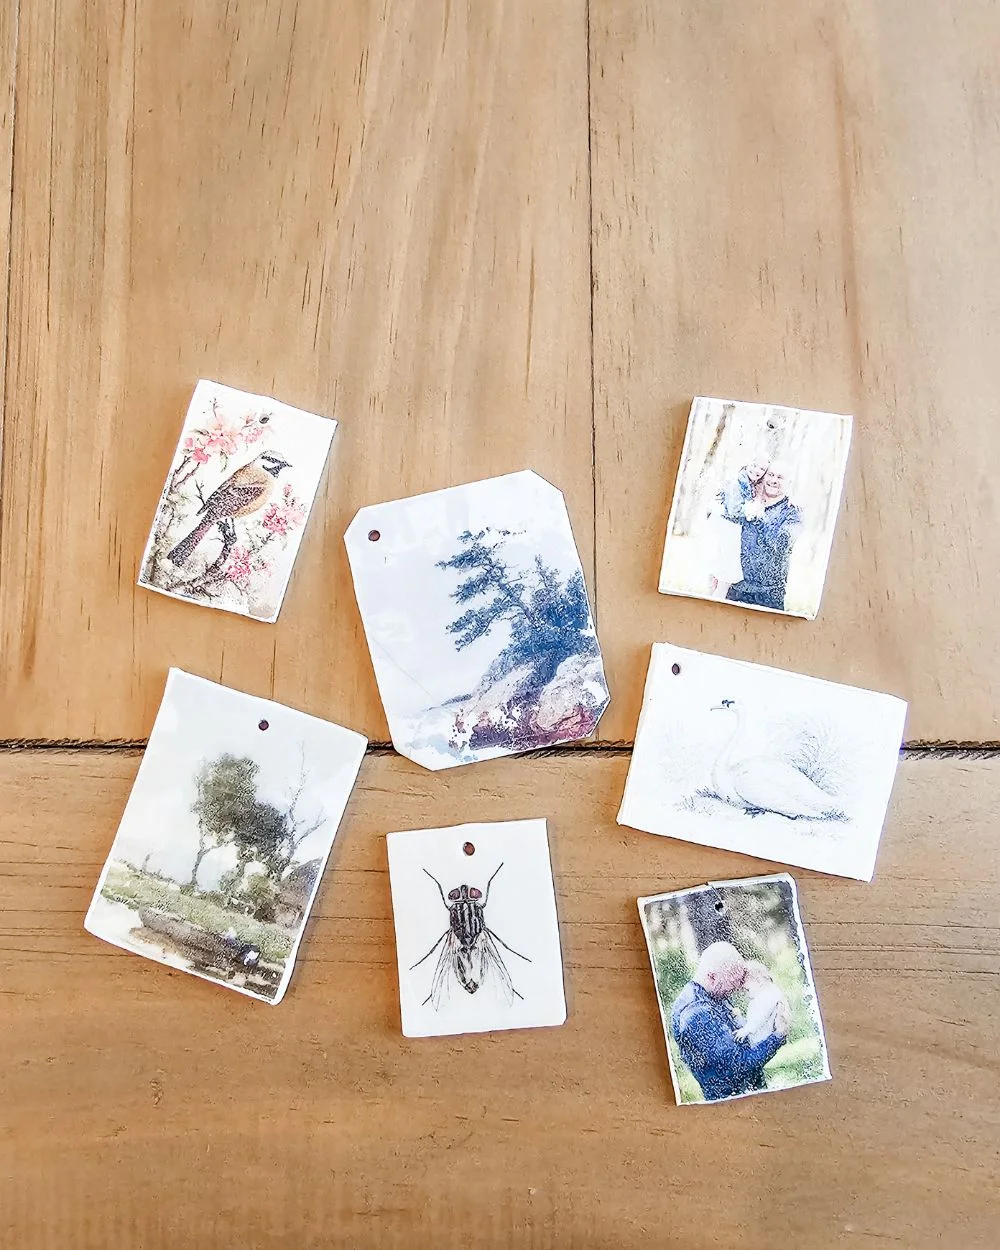
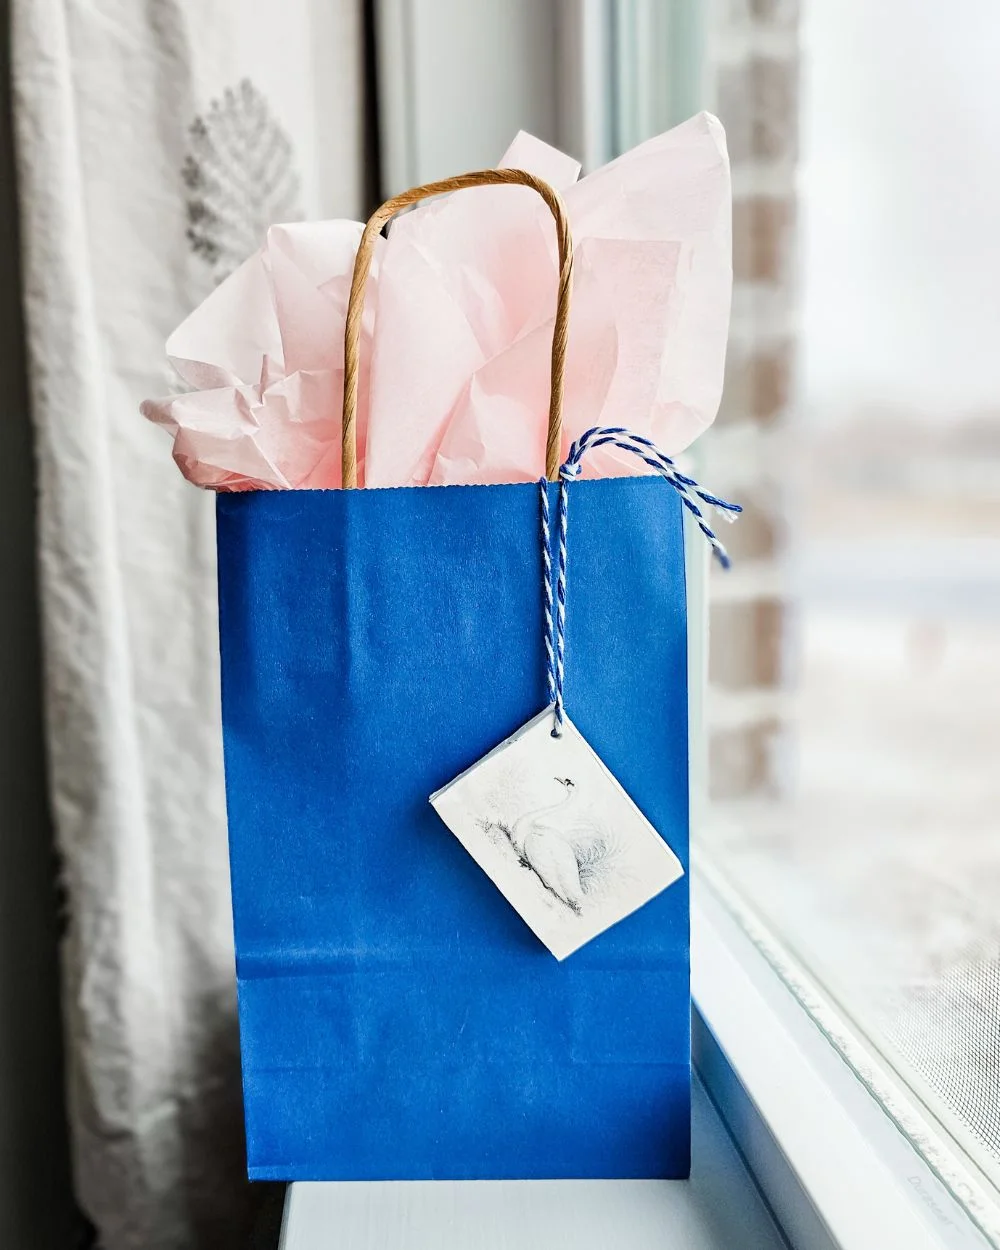
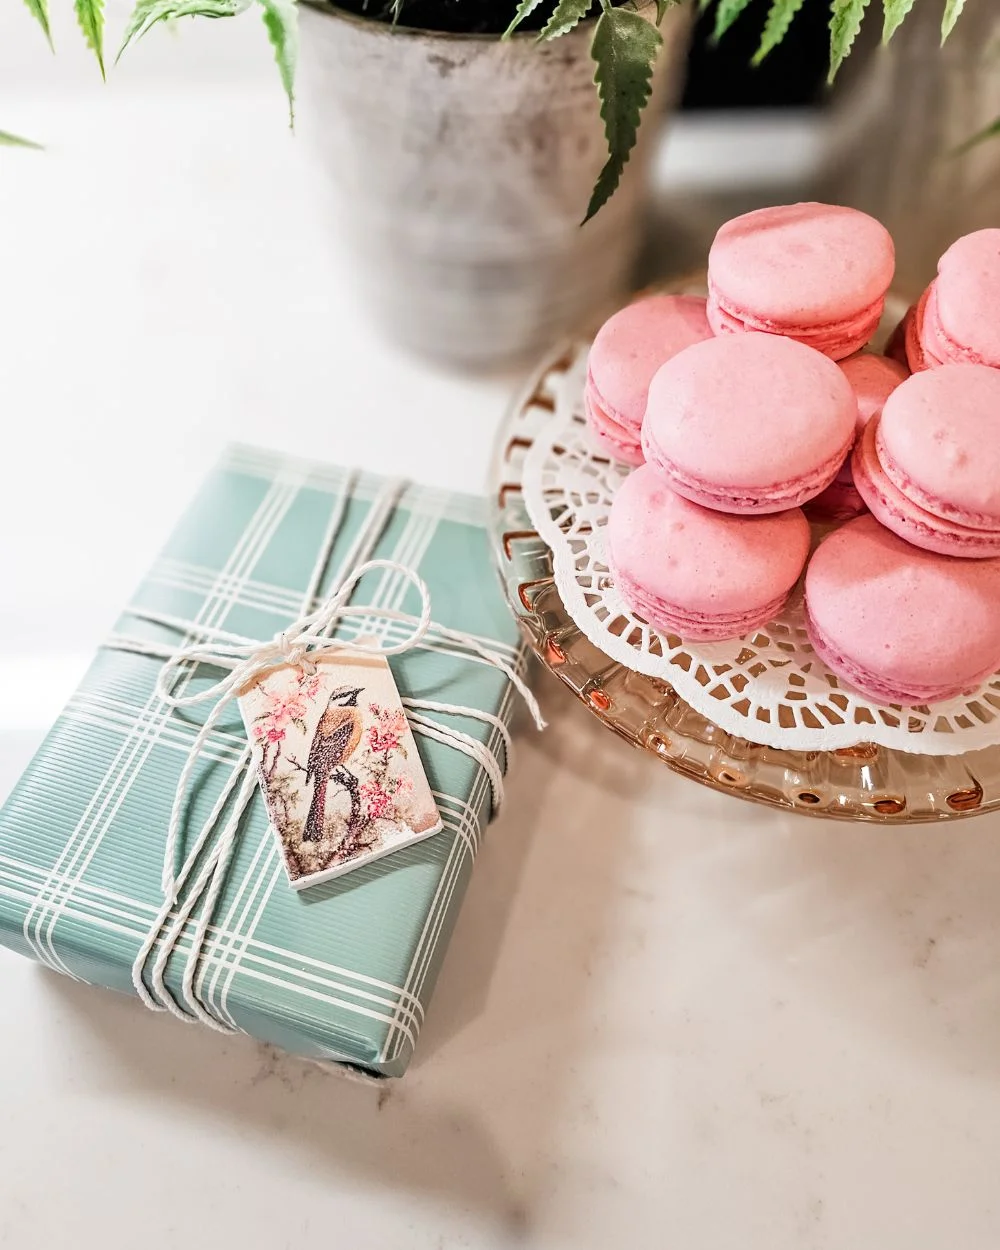
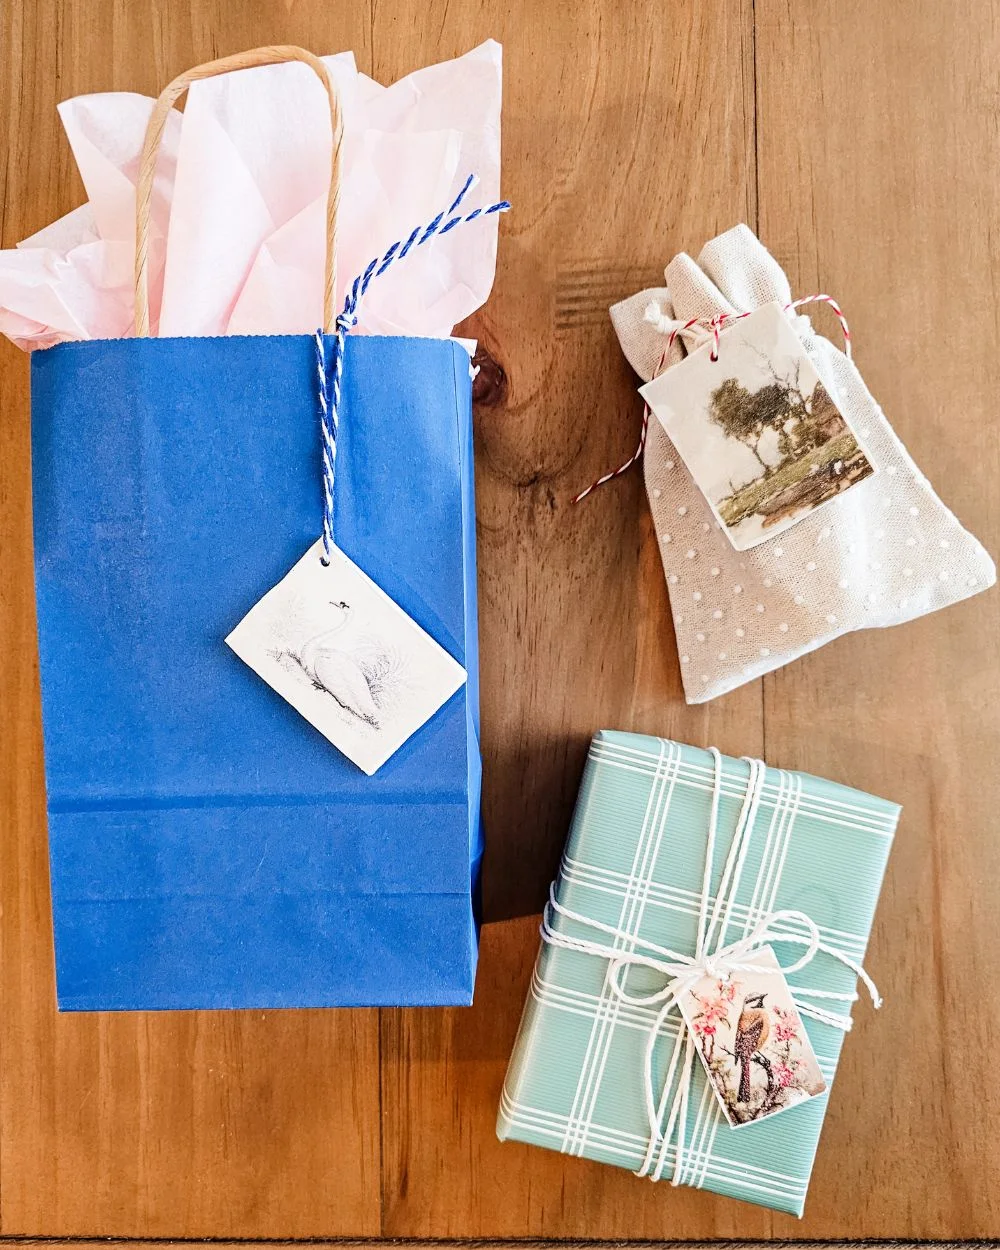
It’s the start of the year and I have a bunch of special dates coming up. My first niece, Jacquelyn, is getting married, my oldest daughter, Sawyer, and niece, Avery, are graduating high school, plus all the regular holidays. These DIY photo gift tags are sure going to come in handy for all my gift giving and special packages that need that extra flair for presentation. Photo clay tags are easy to make, but it took a few trials for me to get it right. I’m so happy I didn’t give up because these tags are so fun and unique. I’m going to break up the process into three easy parts with helpful details for your success.
Supplies
To start, let’s gather the supplies. You’ll also need images/photos, a printer, an iron, an oven, and scissors.
- Parchment paper
- White fabric transfer paper
- Sculpey oven baked clay
- Clay roller or rolling pin
- Paring knife
- 2 wood skewers
Prepare photo images
Using photos can create sentimental and special clay tags, but the photos don’t transfer perfectly and crisply so keep that in mind. You can find free vintage images on theGraphicsFairy.com and other websites. As long as you don’t sell the clay tags, you can use online images for your personal use. Just insert your images and photos into a Word document and then you can size each image to create whatever sized tags you need. Once your document is full of images, add the fabric transfer paper (face down) into your Inkjet printer and print the document. Then you can cut out each image and set aside.
Prepare the clay tags
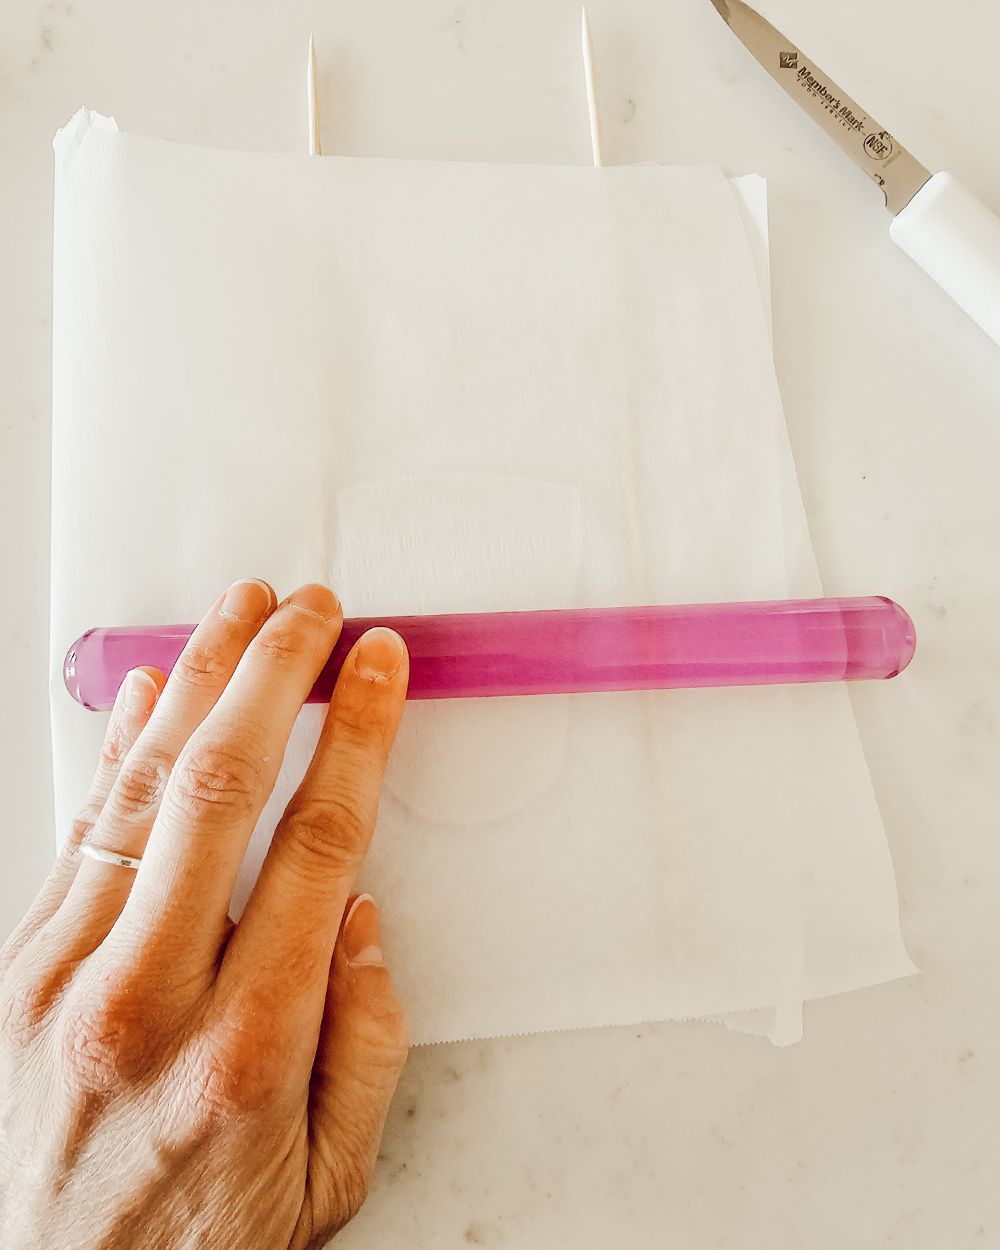
Tear off two pieces of parchment paper. Handle the clay in your warm hands to help it to soften and form, and then make a rectangular pancake shape. Set the flattened clay onto the parchment paper and line up a wood skewer on each side of the clay. Place the other paper on top and roll out an even layer of clay (it should be the thickness of the skewers). Once rolled out, remove the top sheet of parchment. This makes it easy to transfer them to a baking sheet.
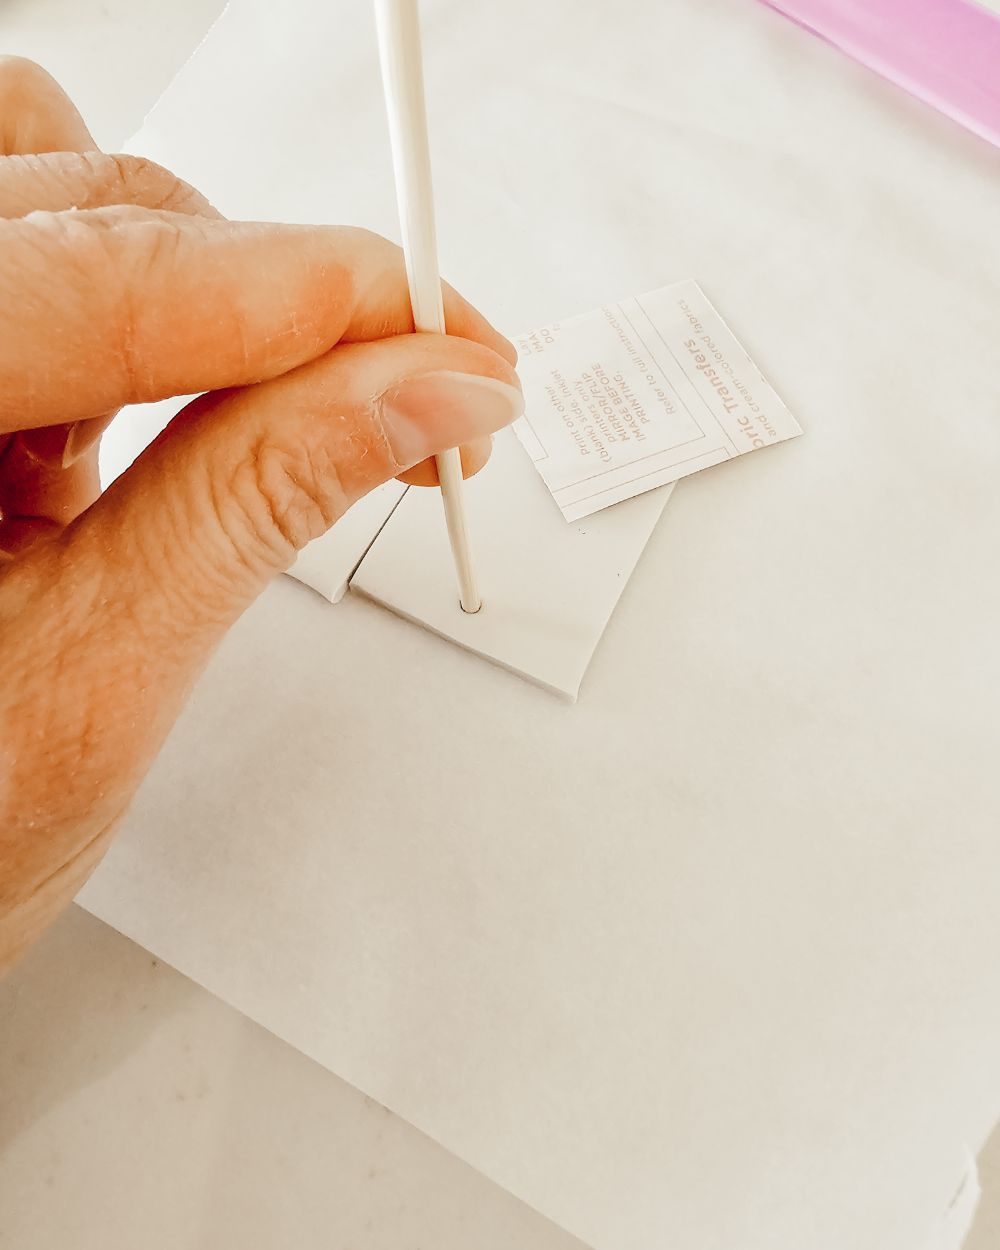
Once the clay is evenly rolled out, set a cut out image (facedown) onto the clay and use a paring knife to cut the clay in the shape of the image. Carefully lift up the edge of the image and use the flat end of the skewer to add a hole to the clay tag. Lay the edge back down onto the clay and carefully use the edge of the paring knife to burnish the paper image to the clay. I had some issues with this step, if you skip it, large parts of the image won’t transfer. However, burnishing doesn’t cause the paper to adhere perfectly so there’s a chance some parts of the image (especially the edges) won’t transfer to the clay tag. I don’t need perfection so I’m OK with this possibility.
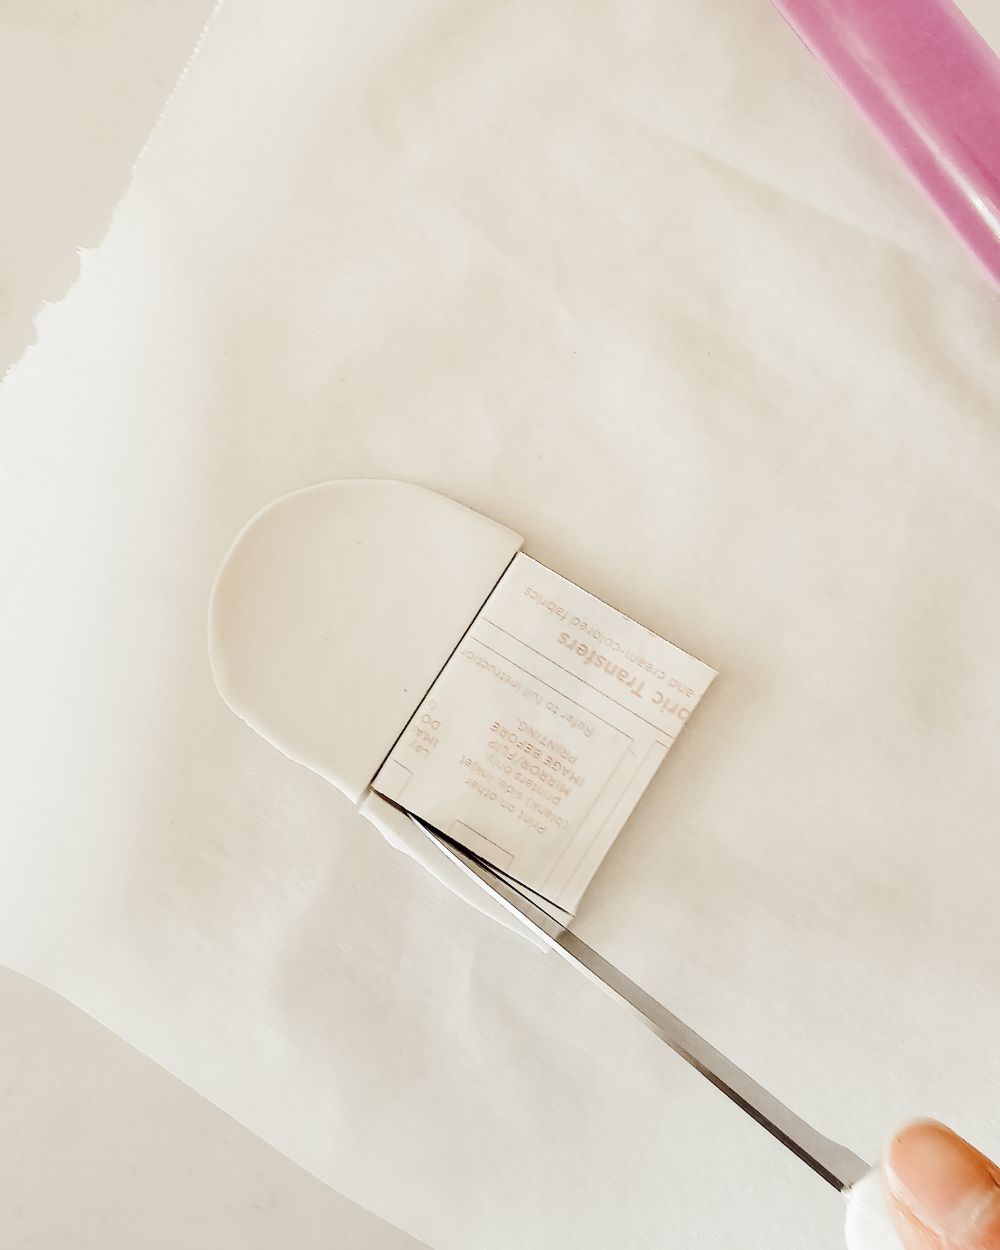
After the clay is cut out the same size as the images, be sure to use the flat end of the skewer to make a hole in the clay. If you don’t do this now, you’ll have to try drilling a hole after the tags have been baked – it could crack and split, so I advise doing this step before baking.
Transfer the image
At this point, you could have several clay tags rolled and cut out onto the piece of parchment paper. Move the sheet of tags onto a baking pan. One of the most important tips is to take a moment to burnish the image onto the clay – I just used the edge of my paring knife. With the tags and images sandwiched between parchment paper, carefully iron each clay tag making sure that the parchment paper doesn’t brown. The paper will start to wrinkle and that’s how I knew it was long enough. This step was crucial for me and forced the transfer step of the process. I even took a moment to burnish each one again.
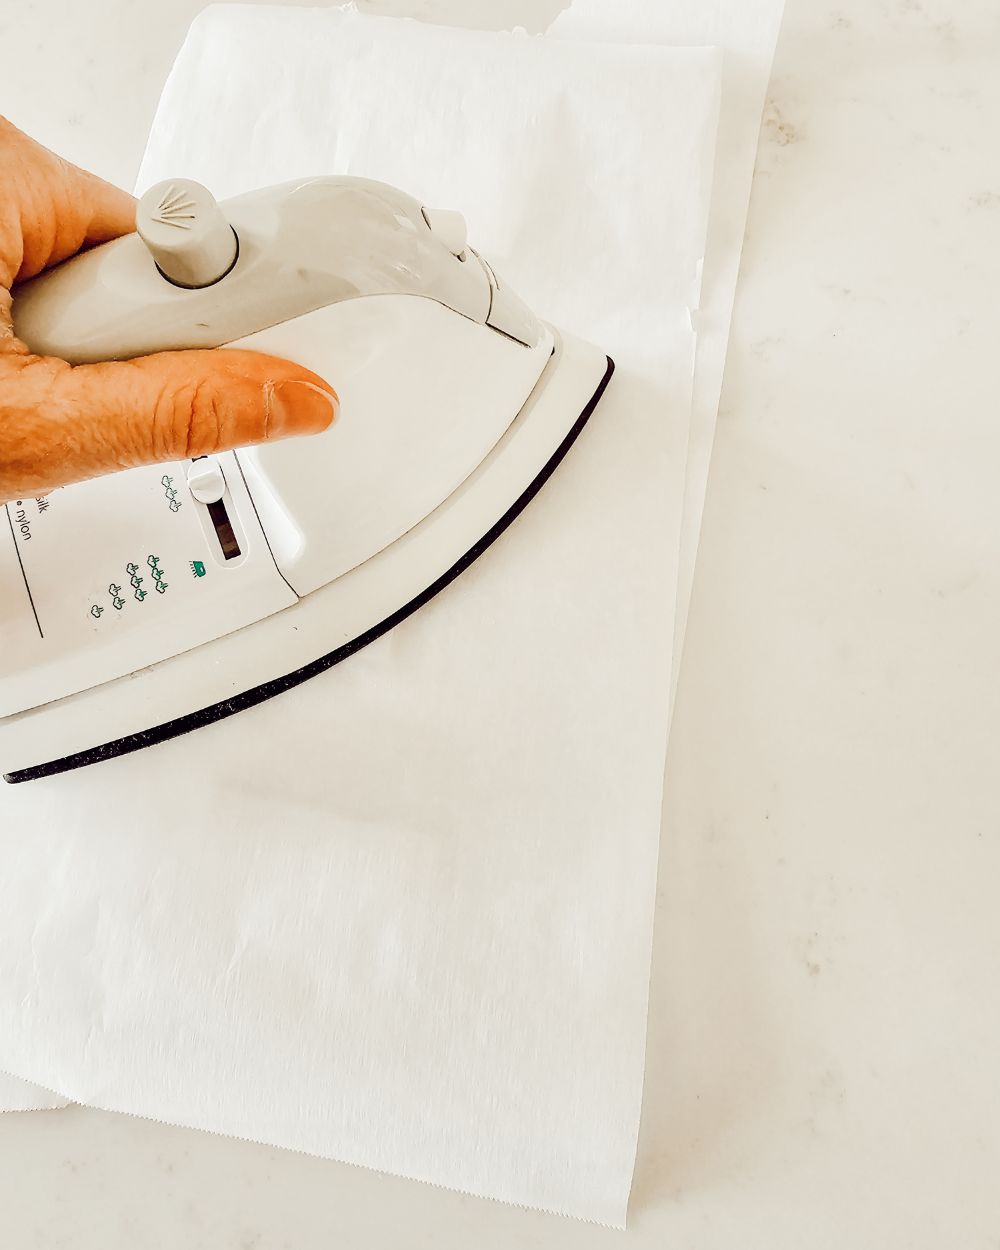
After you have carefully ironed each tag (making sure to not press too hard) you can remove the top sheet of parchment but NOT the image and bake the tags at 275 degrees for six minutes. After six minutes, use a baking mitt to remove the pan from the oven. After a few minutes of cooling, burnish the paper images again – this helps to get the entire image to transfer. Carefully remove each piece of transfer paper from the clay tags (I used the sharp point of the skewer to help). You’ll see the results at this time and how great the tags look. Then return the tags to the oven for five more minutes to fully bake the clay. Allow to cool and then add string.
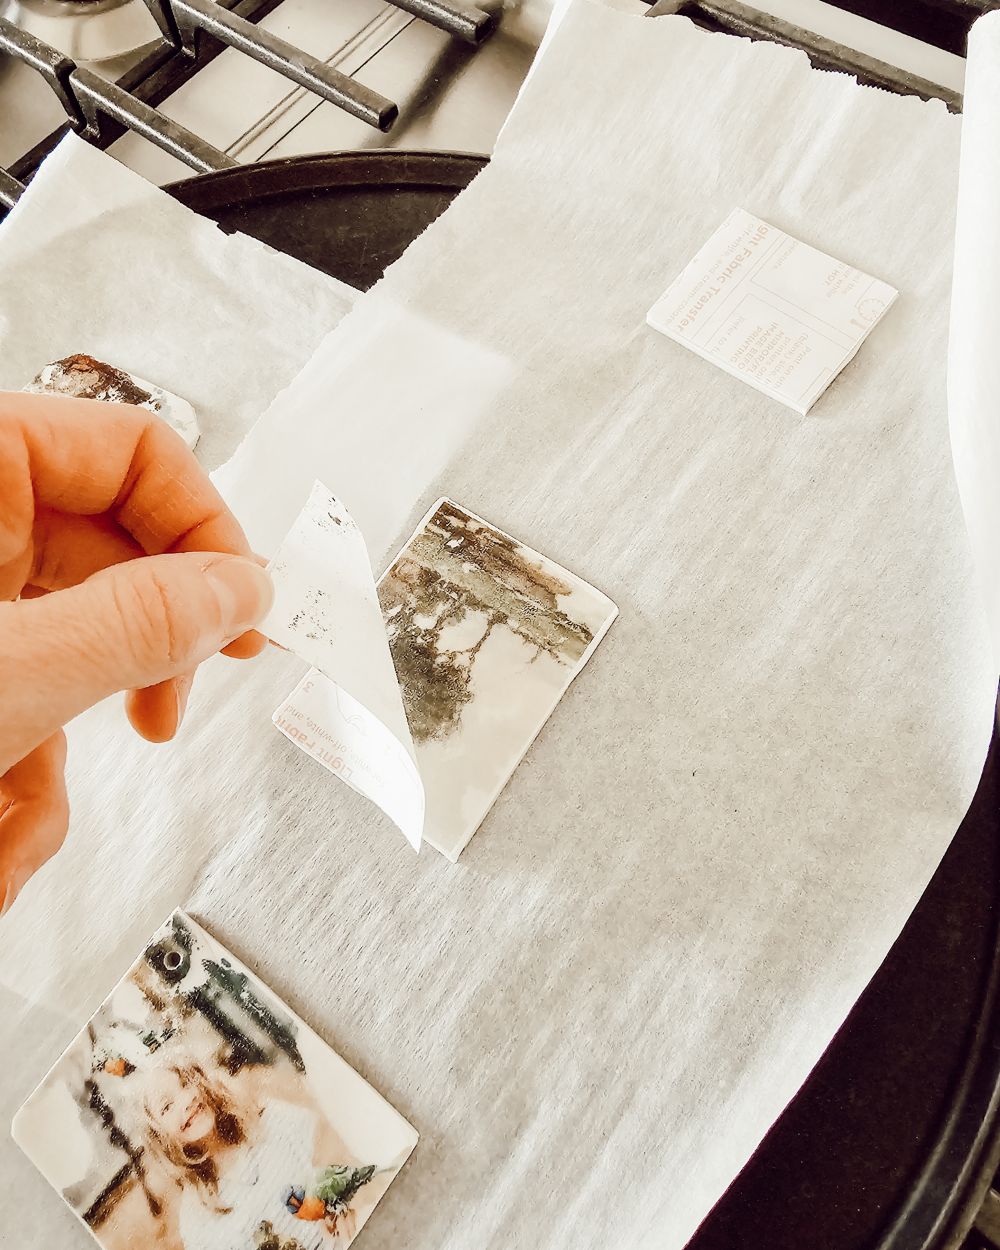
All my tags are rectangular, but you can use clay cutters to create different shaped tags, or a paper punch to the image and then cut the clay with the knife. You can make large tags, cute mini tags, or even kids’ drawings to these clay tags. I’m currently brainstorming this craft for Sawyer’s high school graduation… we’ll see. At any rate, your creativity is the limit, and these unique tags are just so fun and special.
I hope this post inspires your creativity and crafting. Be sure to reach out if you have any questions. Thanks so much!
POSTED IN: DIY crafts
