DIY Fabric picture frame mat
DIY Fabric picture frame mat
This DIY is such a great technique to save money, repurpose what you have, and to give your wall art a snazzy update. For this post, I used matting board because I couldn’t repurpose the old mat (odd shape), but in the future, I will most likely use the cardboard from a cereal box unless I can use an old mat that’s already cut and ready. The mat board was affordable but so thick that it was difficult to cut cleanly. Anyway, the possibilities are endless for this DIY and I absolutely love the look of fabric covered picture frame mats.
Let’s just get into it, here’s a list of what you’ll need:
- cardboard or frame matting
- frame and photos
- fabric (too thick or too flimsy will be a challenge)
- double sided tape (or spray adhesive)
- a very sharp craft knife, X-acto knife
- ruler and pencil
Here is a BEFORE photo of an older frame, professionally matted. The frame is a non-standard size and the blue mat doesn’t work with our decor. I’m currently designing Jeremy’s home office and I wanted to hang these photos in his space. His father had these photos of their Washington D.C. trip framed as a Christmas gift in 2000. The photos bring back wonderful memories for Jeremy, and I wanted them out on display so that he could see them. So, I found a frame I already had and decided to create a new mat covered in fabric.
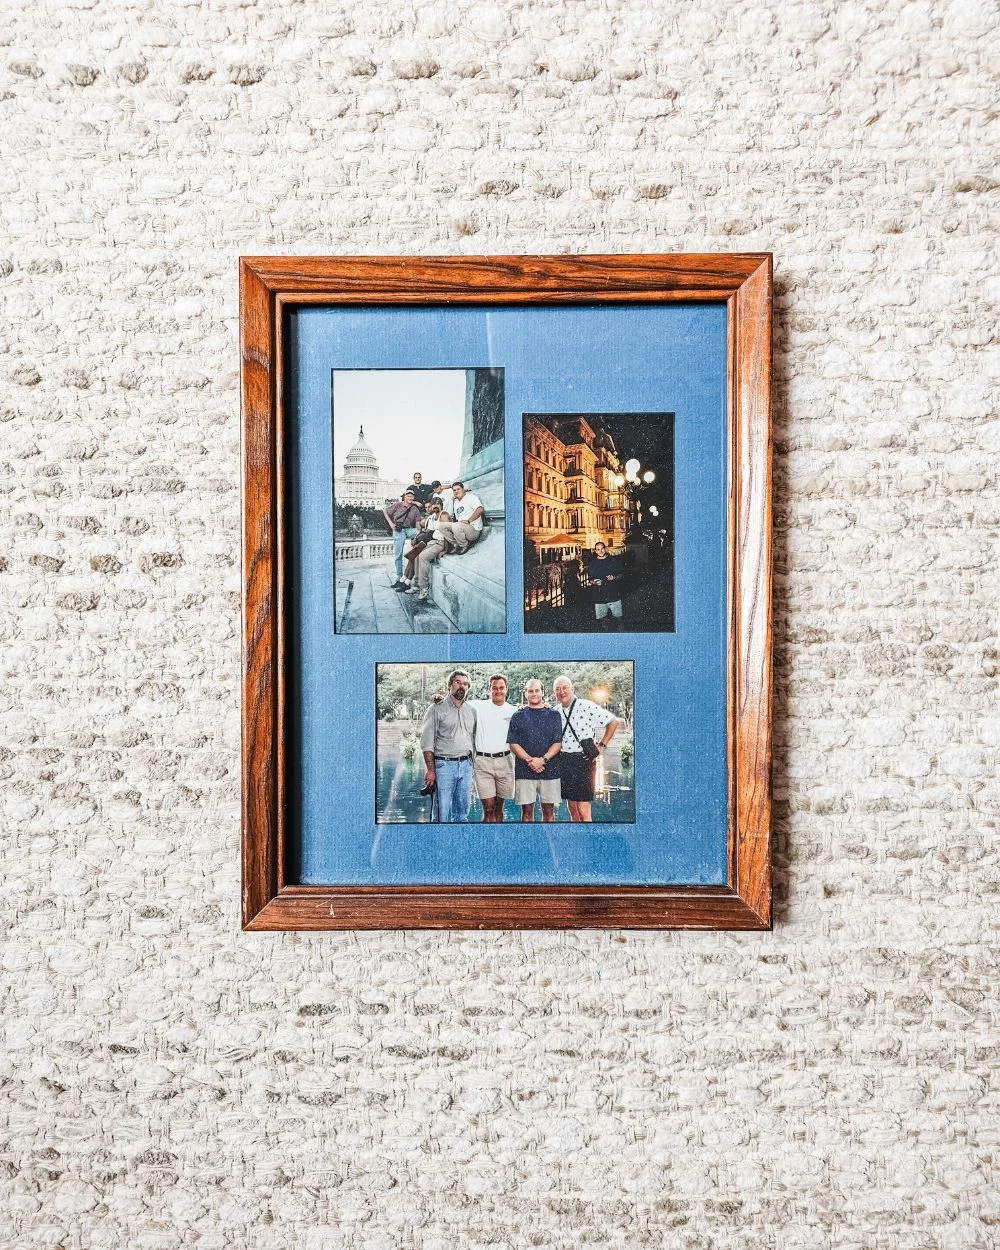
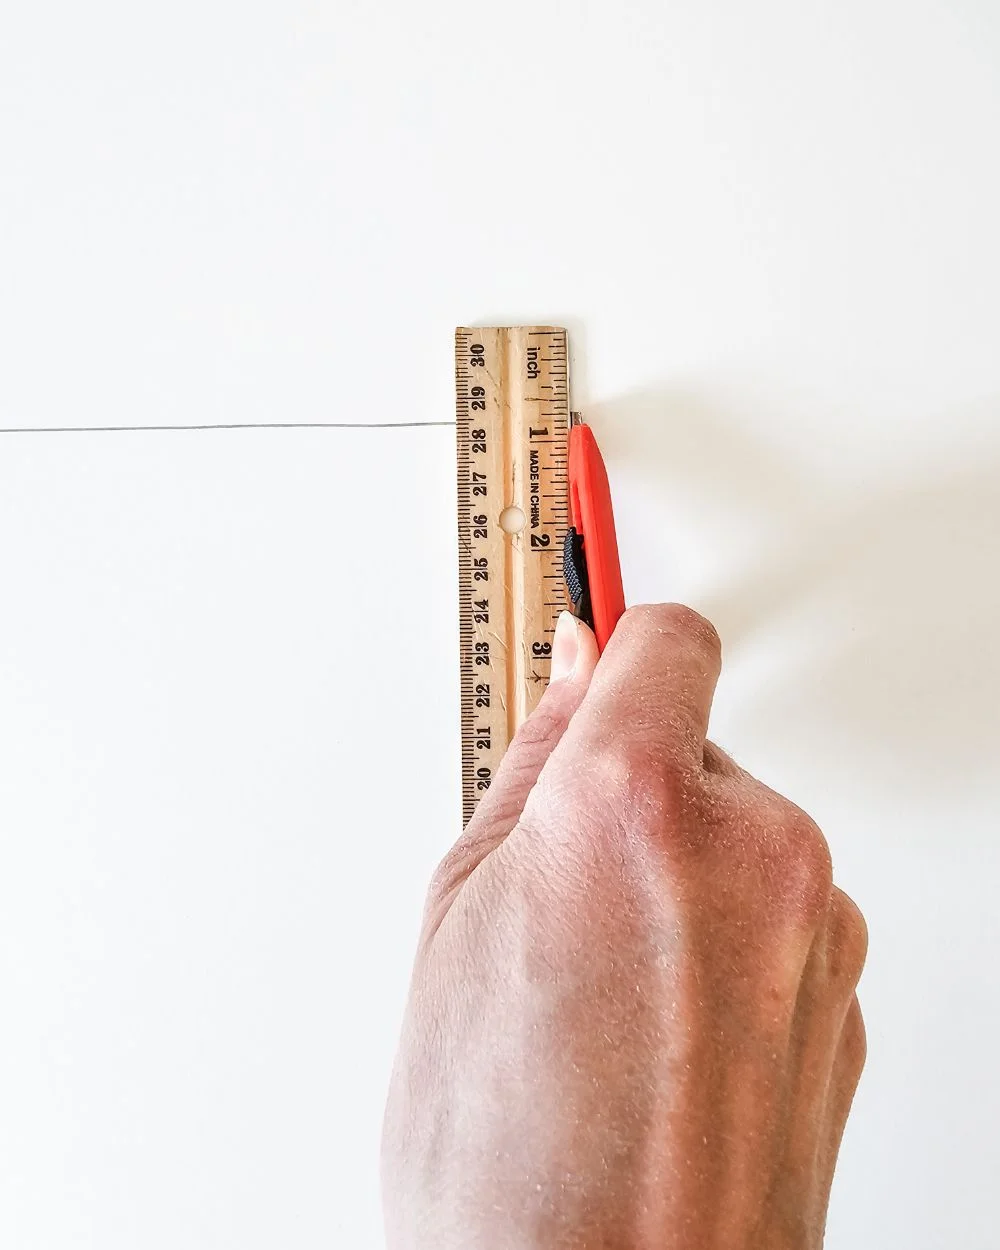
If you need to create your custom matting board, measure the inside dimenstions of the frame and then cut the cardboard or matting board first. Make sure it fits in the frame before continuing. If you already have a mat, skip down to the fabric step.
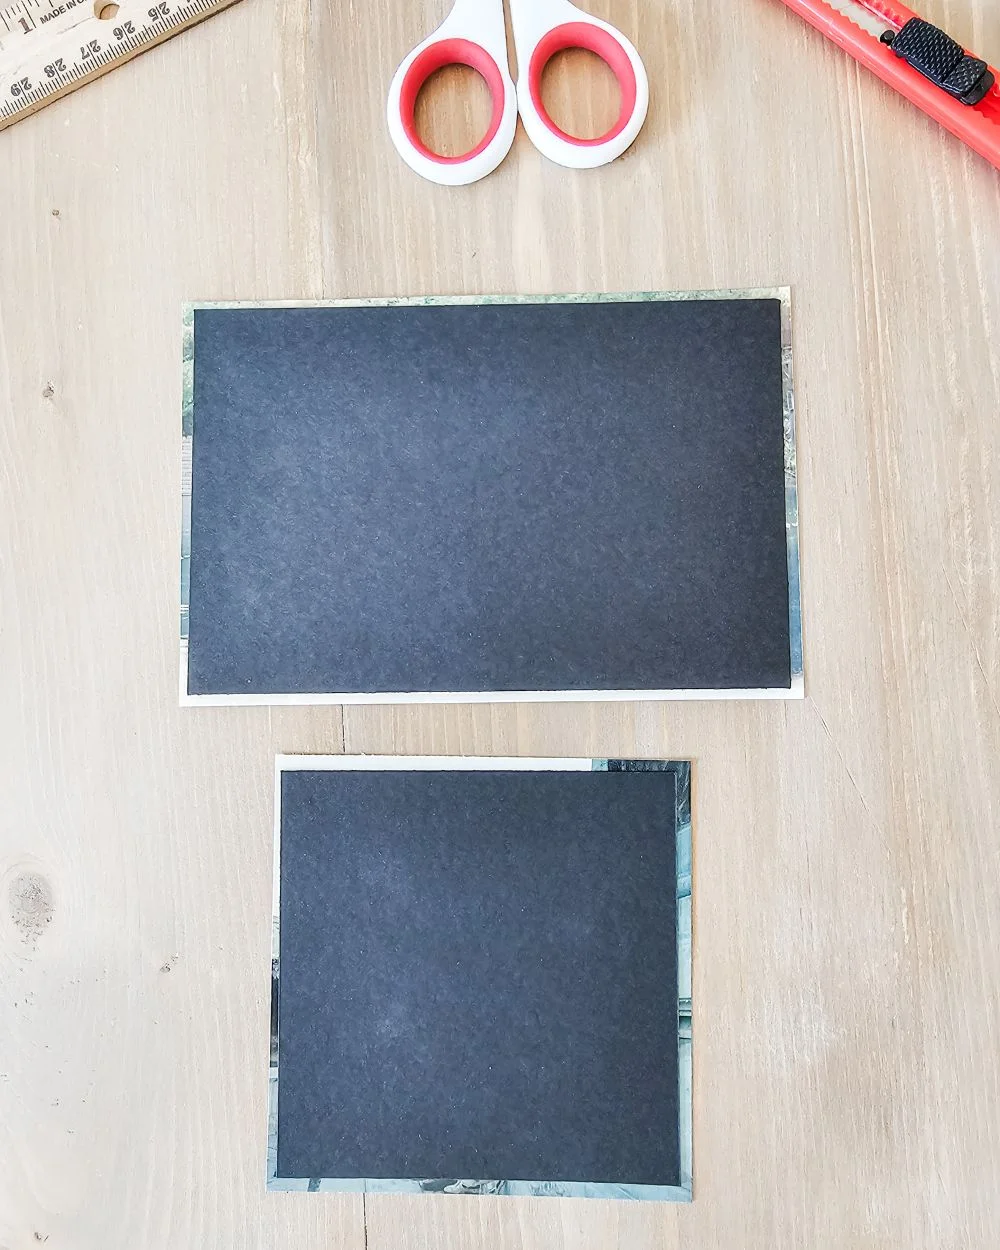
Measure the photos, and then cut out some cardstock almost the same size minus 1/4″ on each side. This cardboard will be used to mark the photo holes on the mat board. I like this technique because I don’t like measuring and calculating fractions of measurements. In the photo below you can see that the photographs are just a bit larger than the black paper which is the size I need to cut out on the matting.
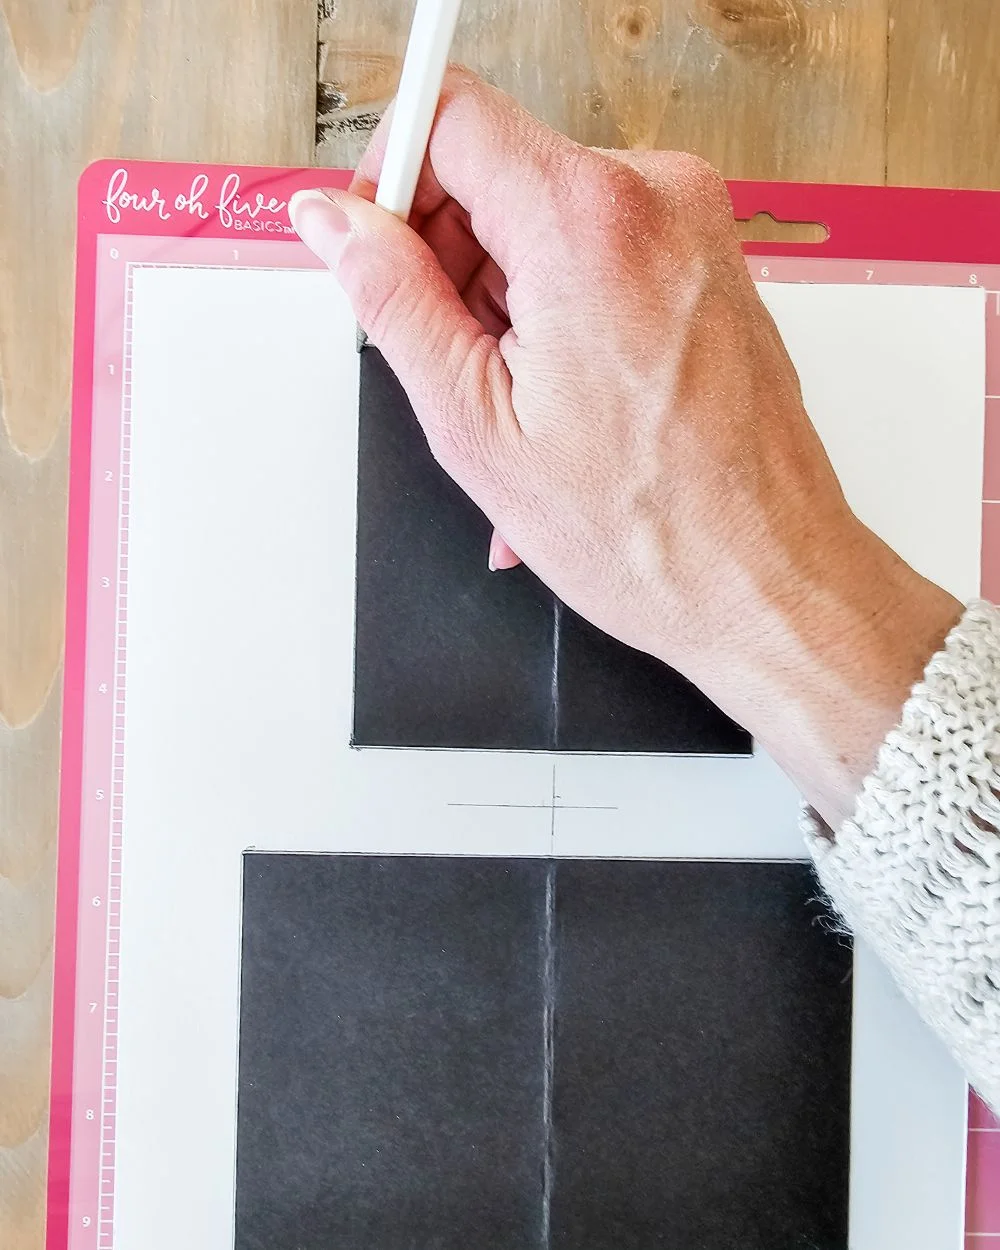
If you want your photos symmetrically placed on the mat, find the center of the mat as well as the centers of the black cardstock. Once you have the black cardstock pieces in place, just trace around them to make your cutting marks. If you don’t mind measuring and marking, go for it – this method was easiest for me.
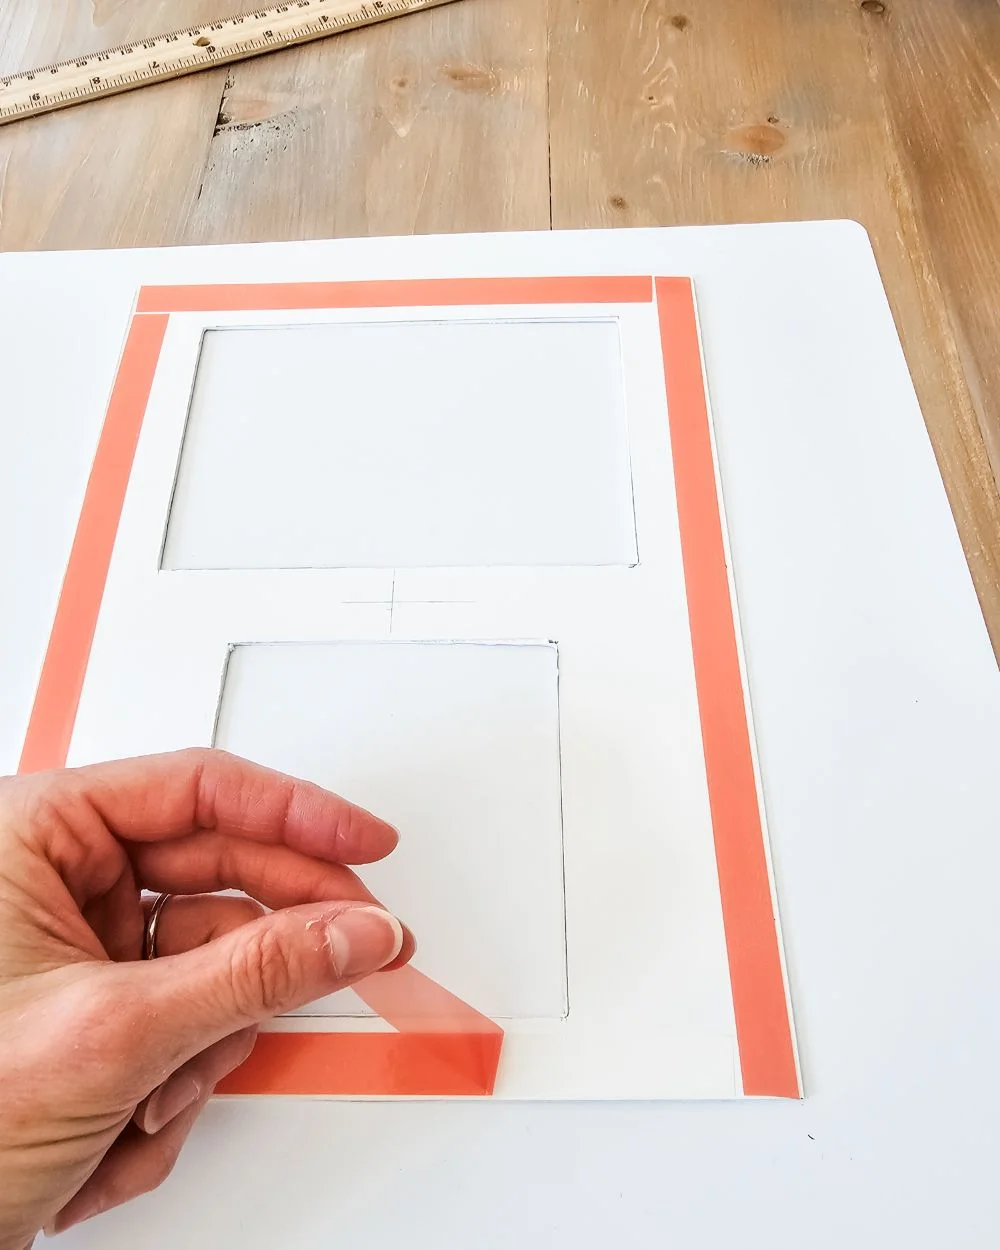
Once you cut out the photo cutouts, add double sided tape on the front side of the mat to attach the fabric. I should have added a piece of tape in between the two photos cutouts – lesson learned.
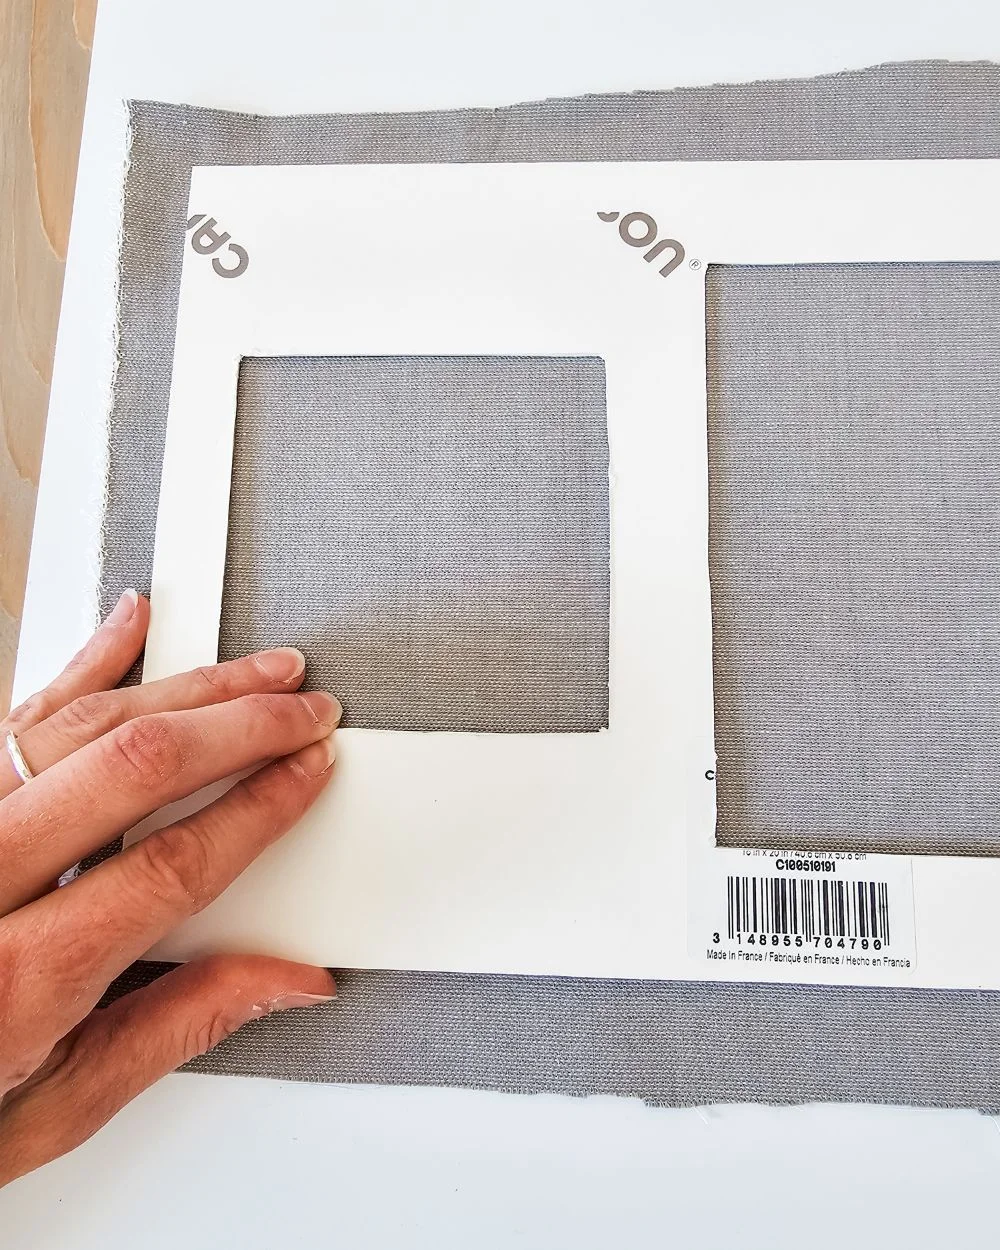
I found this grey fabric on sale at Hobby Lobby. It has a nice texture and similar look to linen. You may need to iron the fabric first. After doing this project, I wish I would have used spray starch while ironing – this would have helped reduce the give of the fabric while cutting it. Next, remove the backing from the double sided tape, carefully lay your matting onto the fabric, press down and make sure that the fabric is laying flat without wrinkles, and then cut the fabric around the outside leaving a bit of fabric around the border. Don’t worry about a perfect cut, we’ll be removing this excess next.
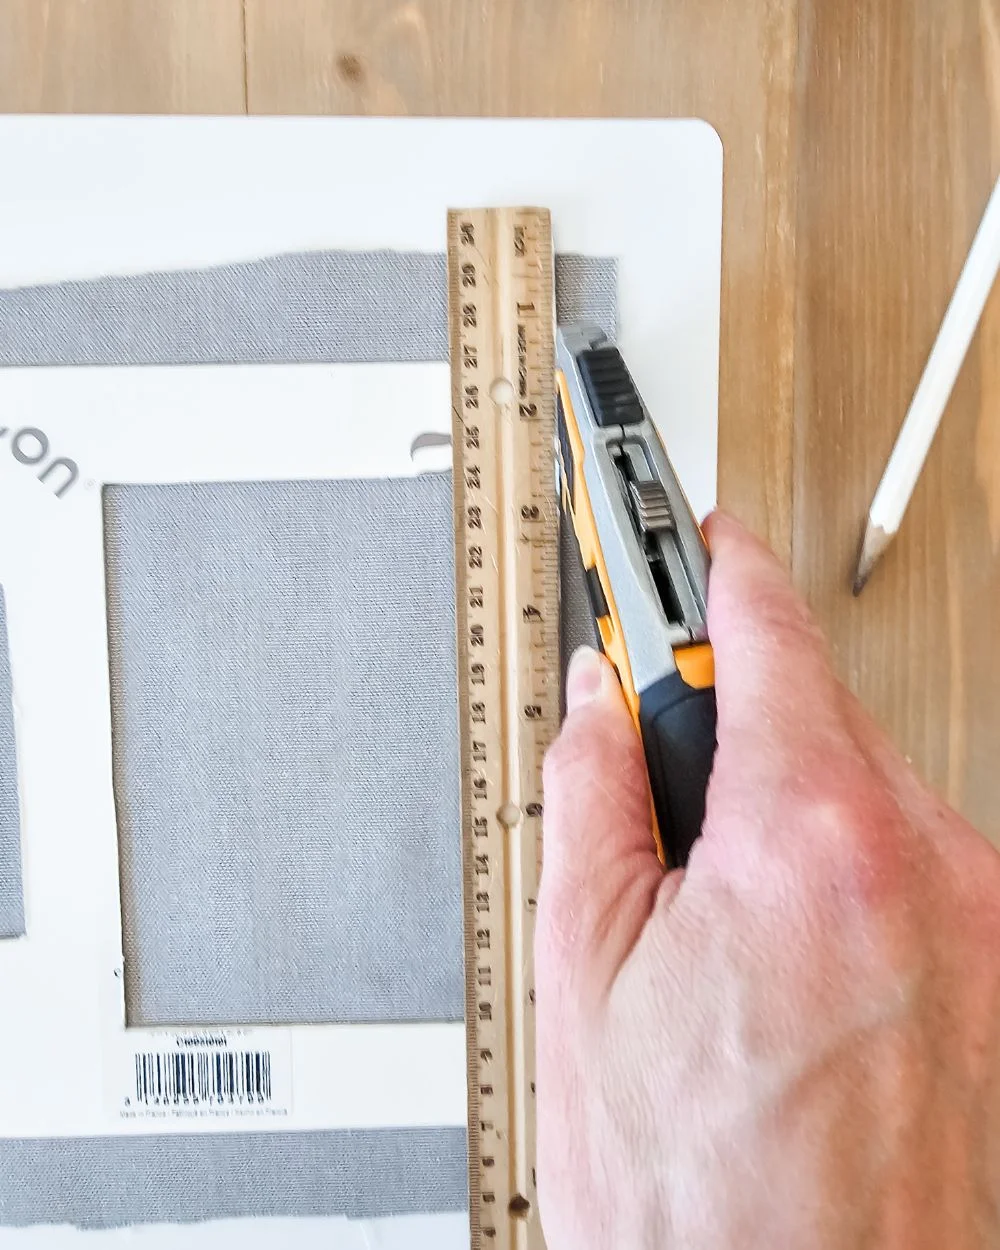
Then use a ruler and craft knife to cut the fabric edge off from around the border. It’s very important to use a new or very sharp blade to cut fabric. I think the spray starch would have been a big helper with this step and the next.
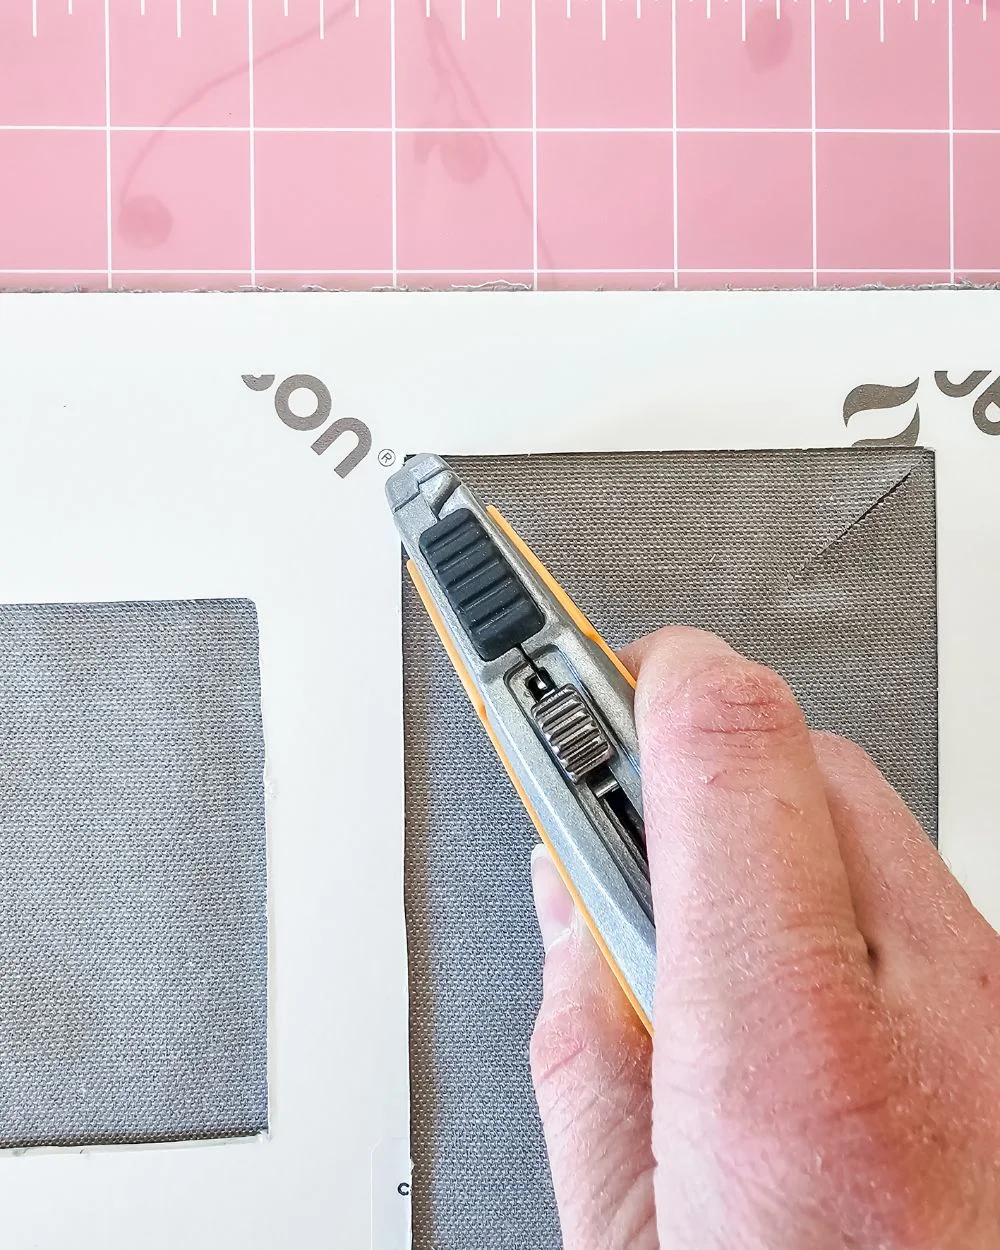
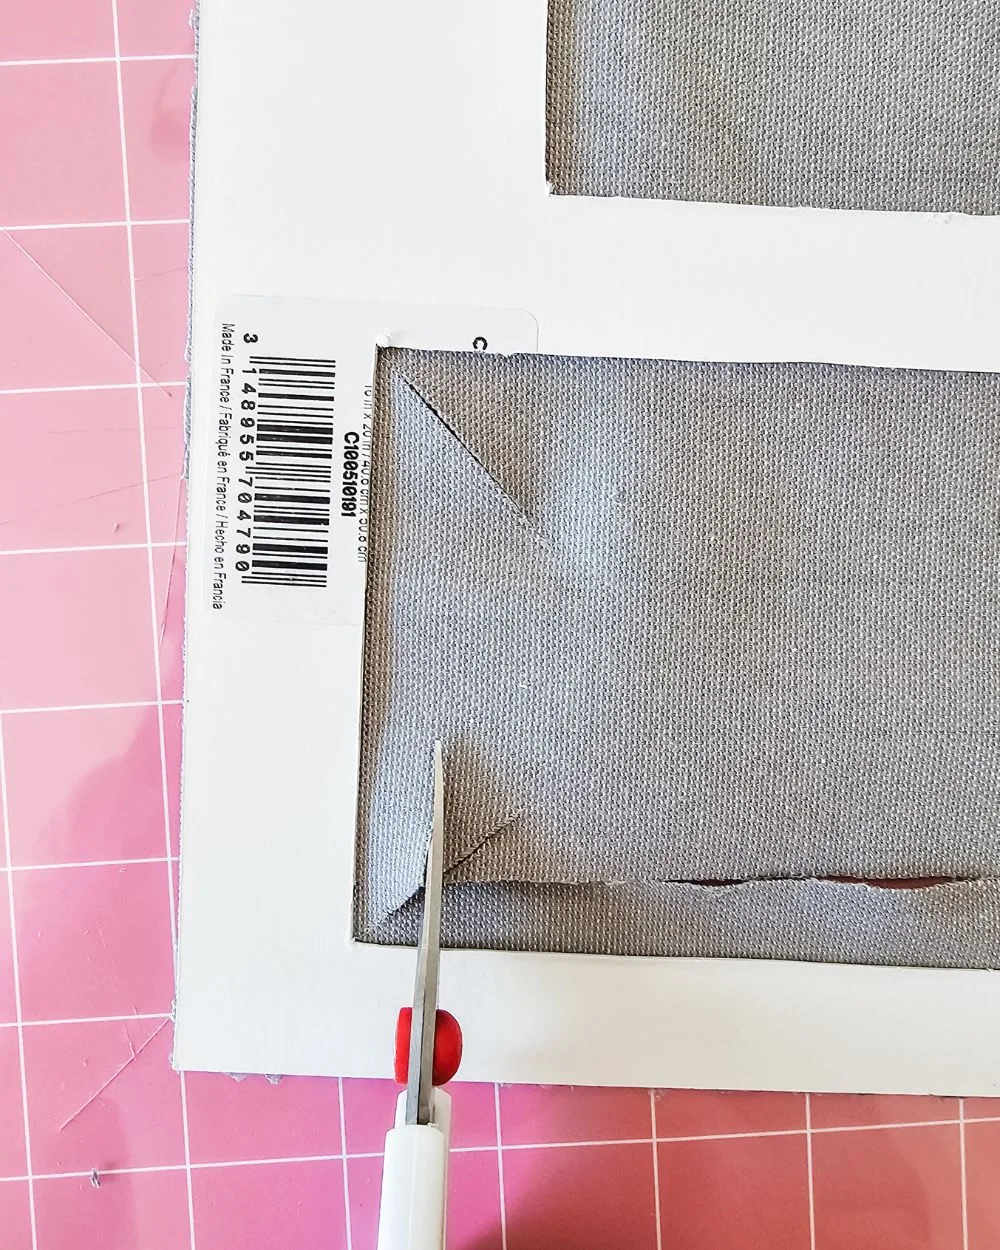
Once the outside excess fabric is cut off, place the tip of the knife in the corner of the photo cutout spot and cut a diagonal line towards the center. I cut in just under 2″ in length.
Using sharp scissors, cut straight lines connecting the diagonal cuts. Make sure to leave about 1/2″ of fabric to wrap around the mat.
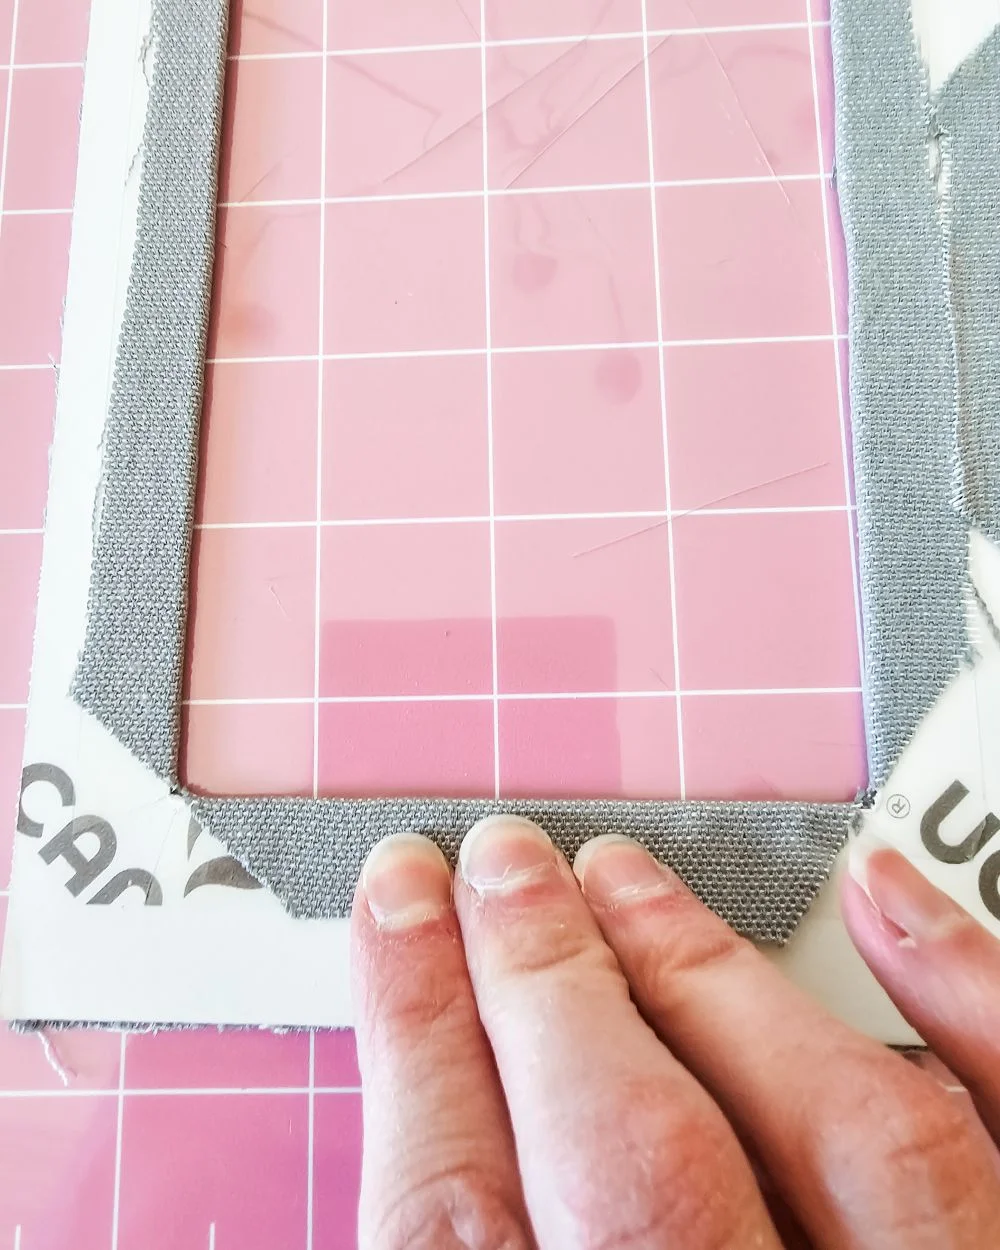
Add double sided tape around the inside edge of the photo cutouts, getting it as close to the inside edge as possible. Remove the tape backing and carefully wrap the fabric around the edges. Press firmly and then check the front side to make sure the fabric is smooth.
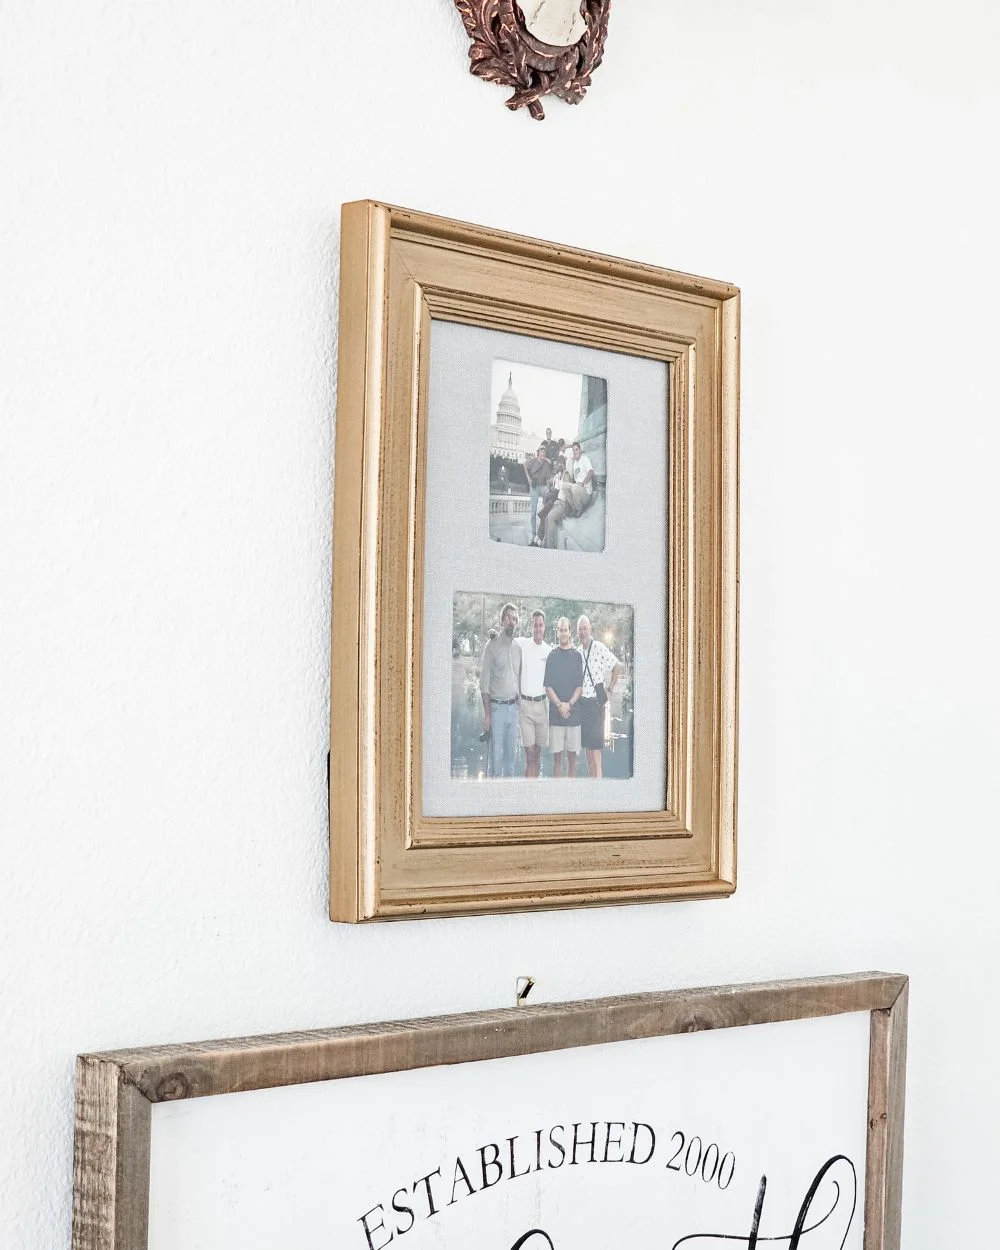
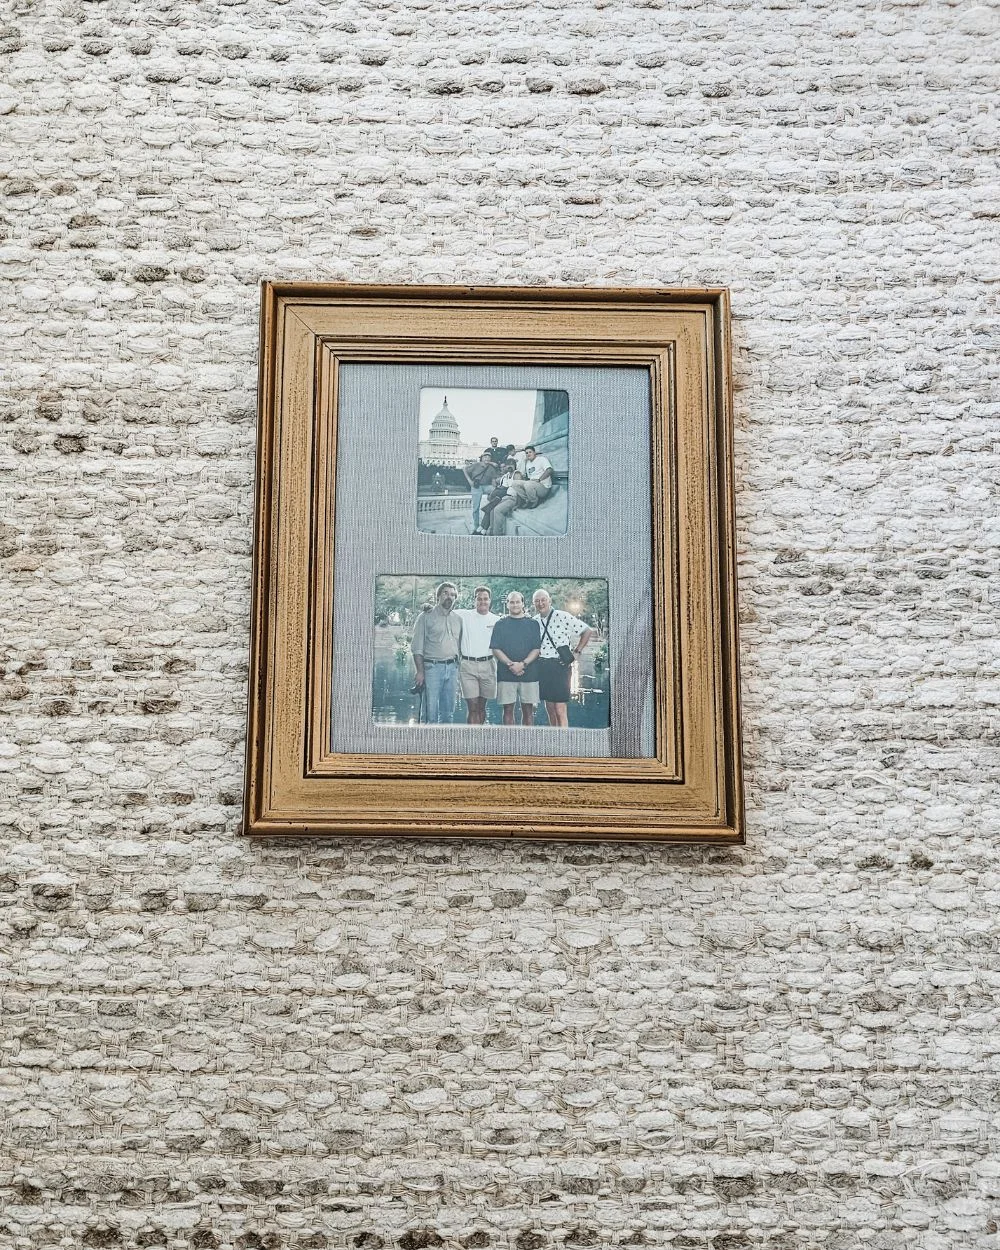
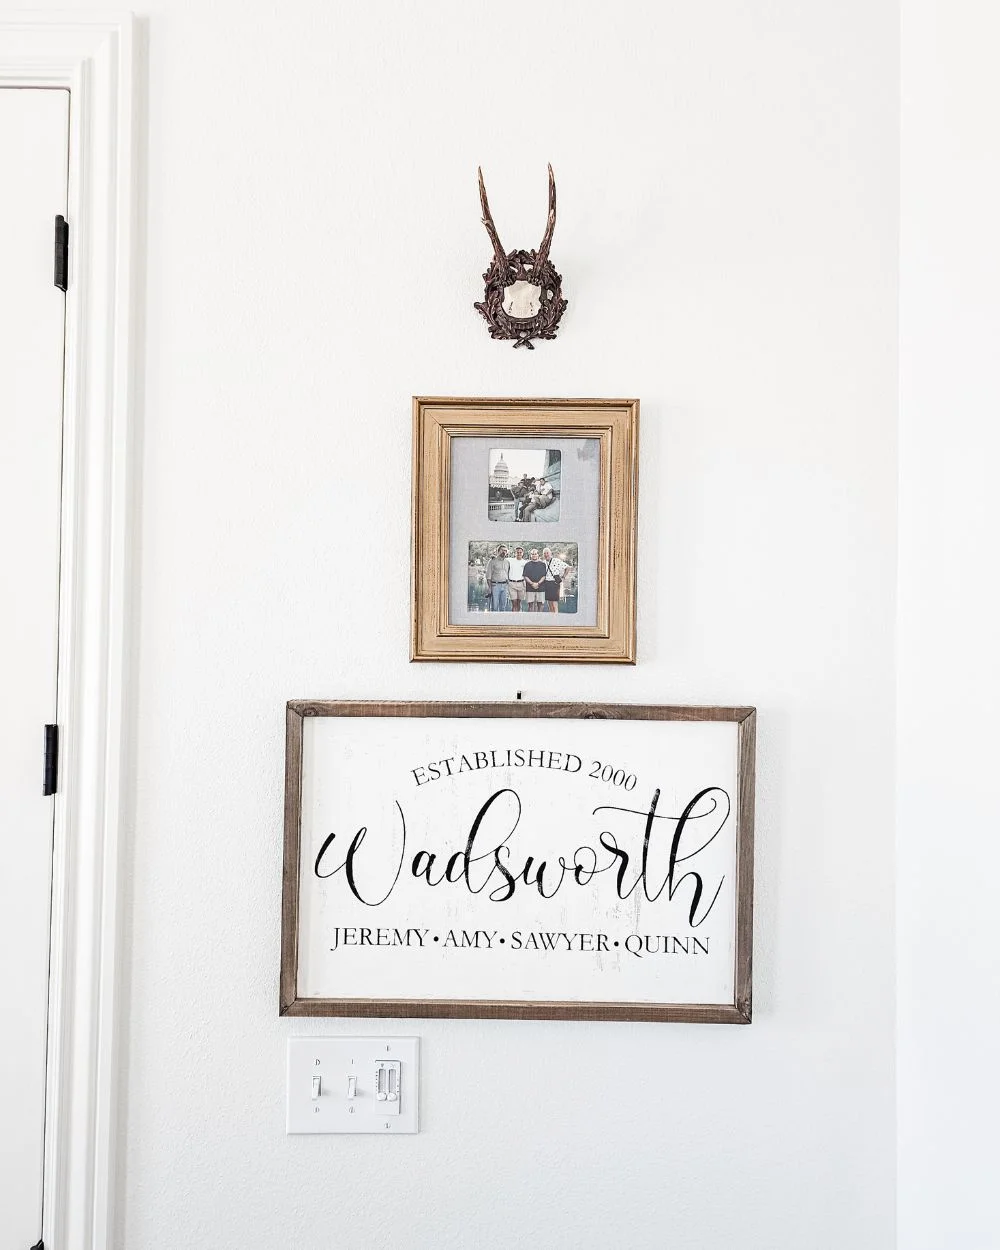
Here’s the completed mat in the frame with the photos. I just taped the photos in place and assembled everything in the frame. This is one of my favorite frames and I love the gold with the grey fabric. The masculine combination looks great in Jeremy’s office, and I love that he can enjoy these memories whenever he glances up over his four computer monitors.
Thanks so much for checking out this post. I hope the steps were easy to follow and that you can add some texture and color to your photo mats. There are so many possibilities and covering cardboard with fabric is a lot cheaper than buying custom cut mats. If you enjoy DIY and decorating ideas and inspiration, be sure to sign up for my free email.
POSTED IN: DIY crafts
