How to Make Faux Mushrooms
How to Make Faux Mushrooms
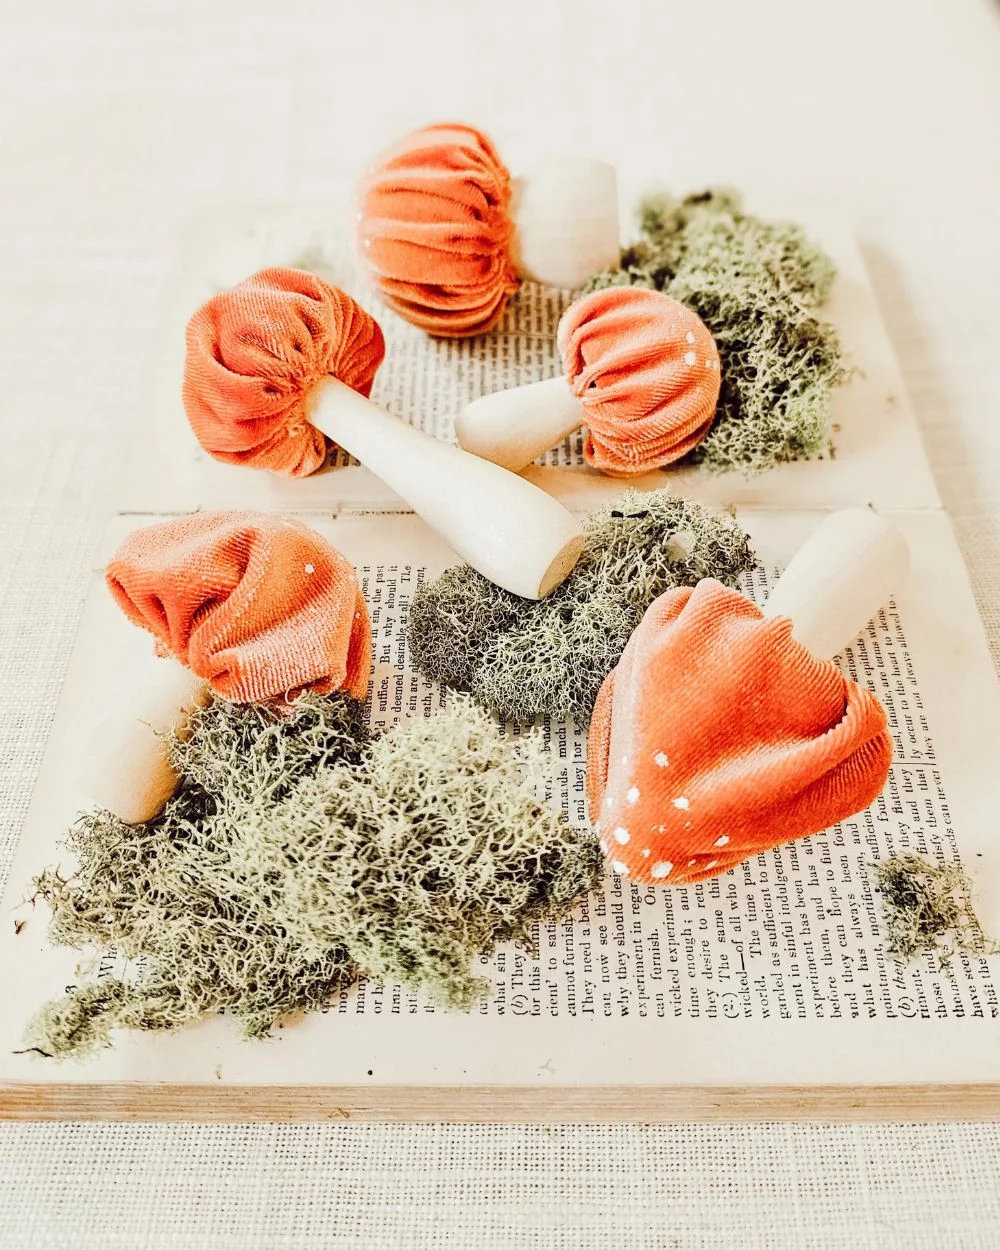
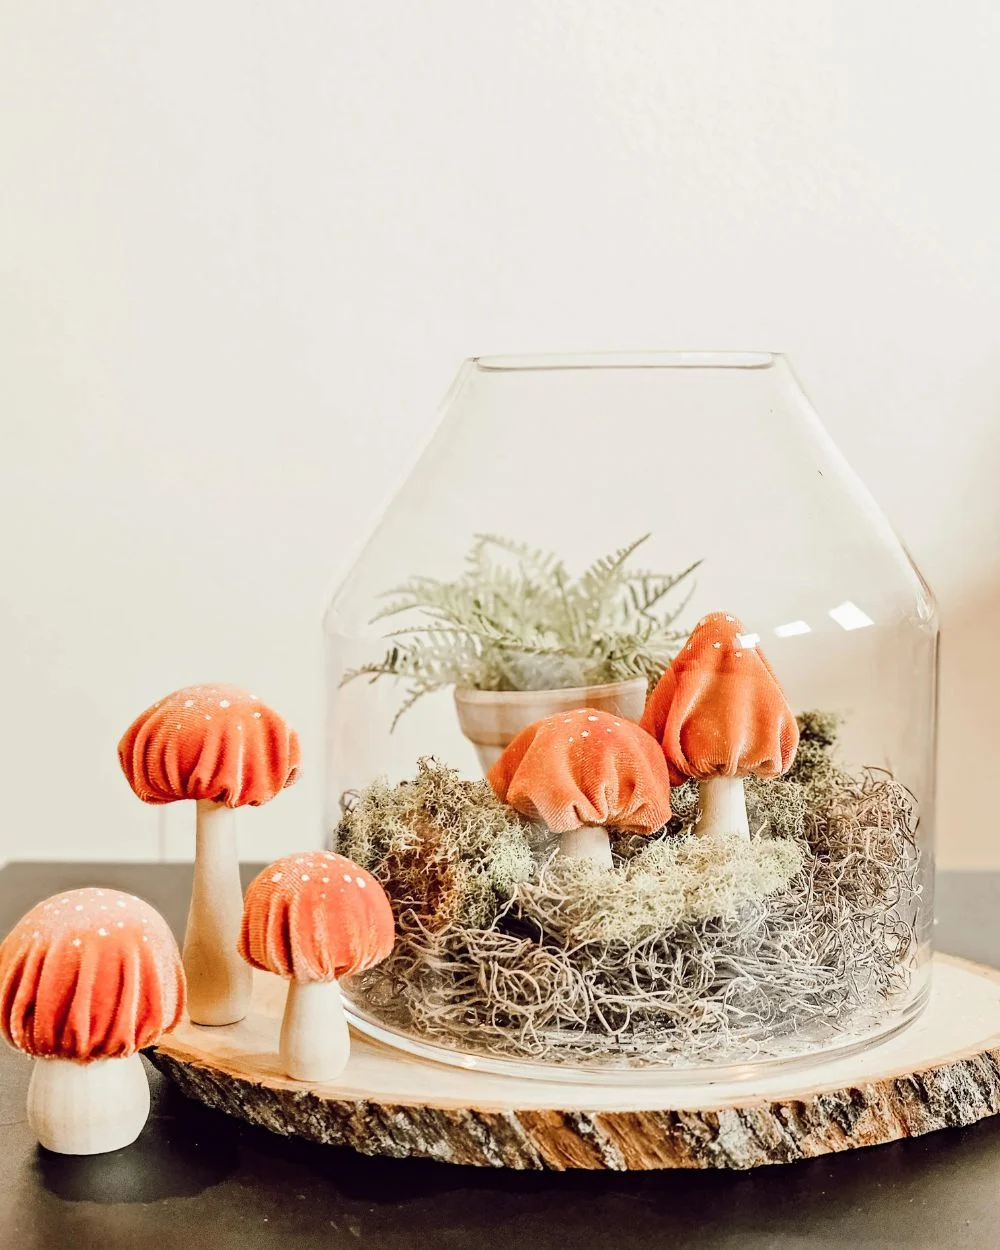
In preparation for my next DIY luncheon, I’m currently working on the tablescape. For this party, it’s a working tablescape, meaning that the DIY supplies are a part of the table decor. But that doesn’t mean that it can’t be pretty and whimsical too. Be sure to sign up for my weekly blog posts so that you can learn more about my upcoming DIY luncheon. For now, I’ll share with you how to make faux mushrooms.
When I decided that some faux mushrooms would add some whimsey and color to my tablescape, I had a few ideas about how to make them, but I love looking at Pinterest for inspiration and ideas. I found this inspirational blog post and love how Julie shares three different styles. If you have fabric and sticks around the house, you could create faux mushrooms for almost nothing. For my purposes, I needed my mushrooms to stand on their own, and I love the look of velvet, so I purchased a few supplies to make my mushrooms.
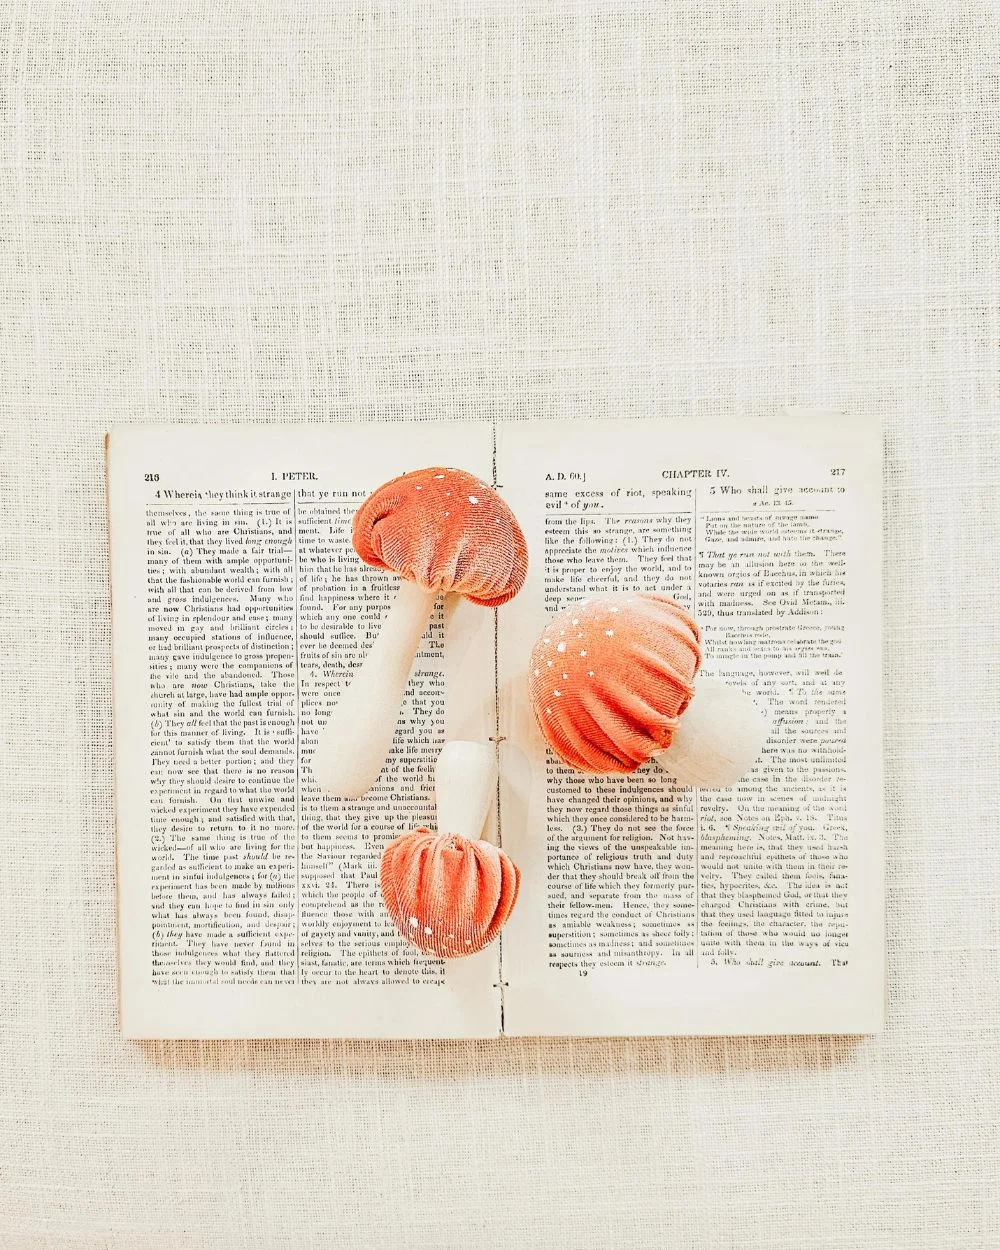
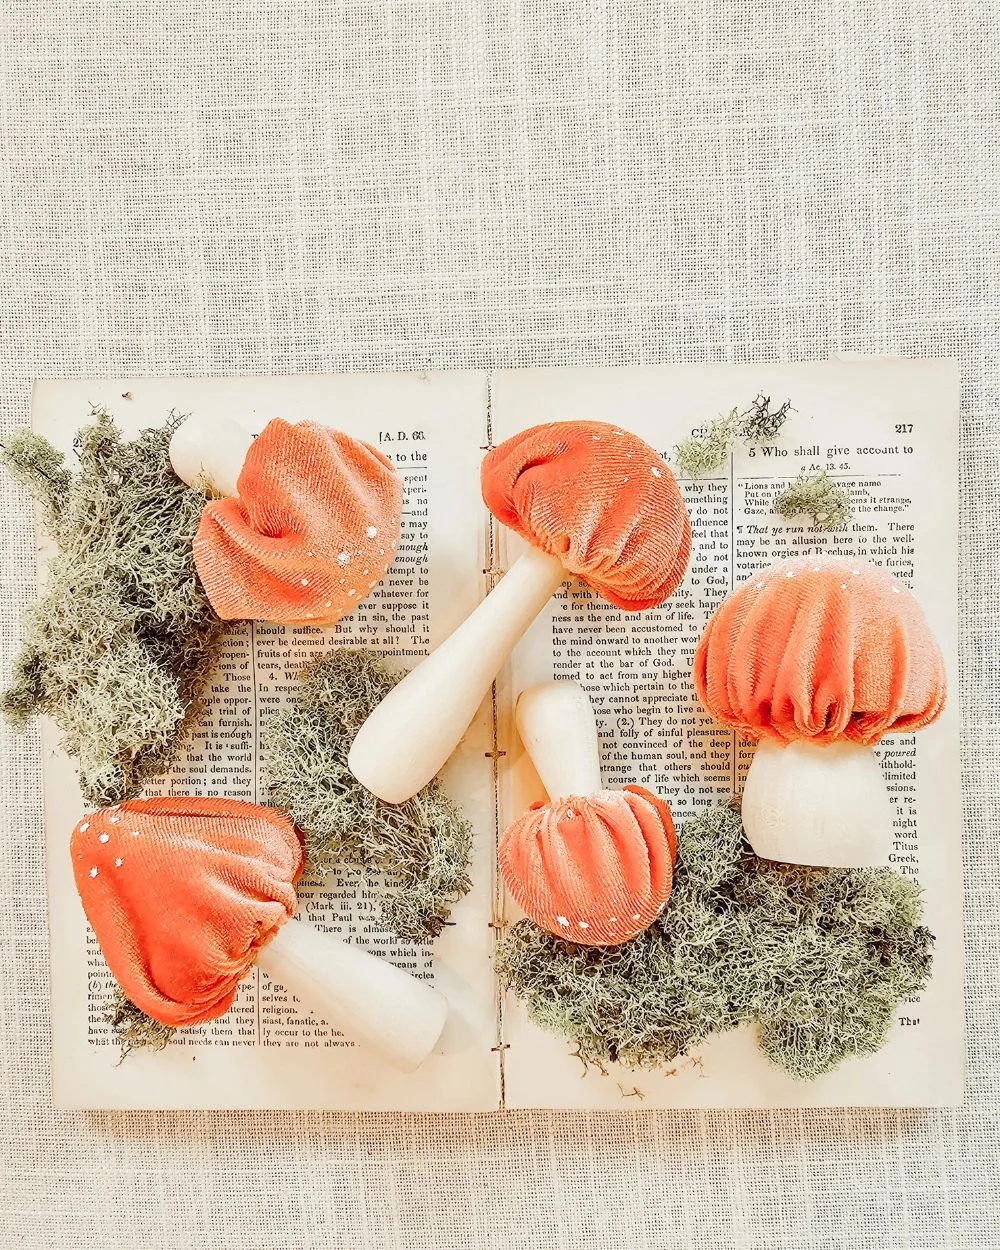
To make these faux decorative mushrooms, you’ll need the wooden bases from Amazon, and I found affordable velvet at Hobby Lobby. Felt would be another nice option if you want to save money or go for a pretty woodland style. I love the wooden mushrooms because they come in four different styles and in various heights. You can stain, paint, or leave the bases a natural wood color. I liked the light wood, but a medium stain would also be nice on my table.
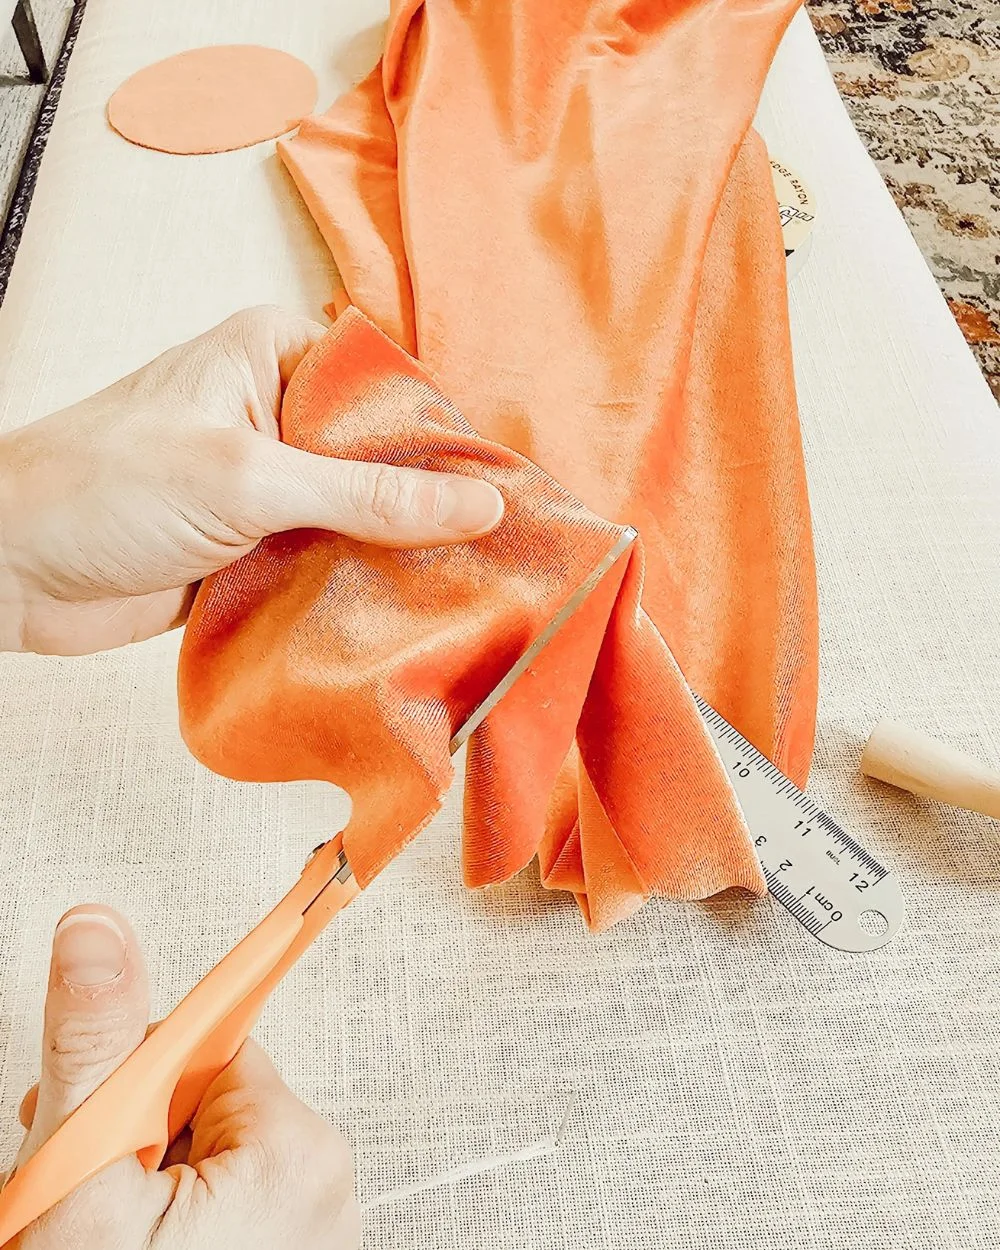
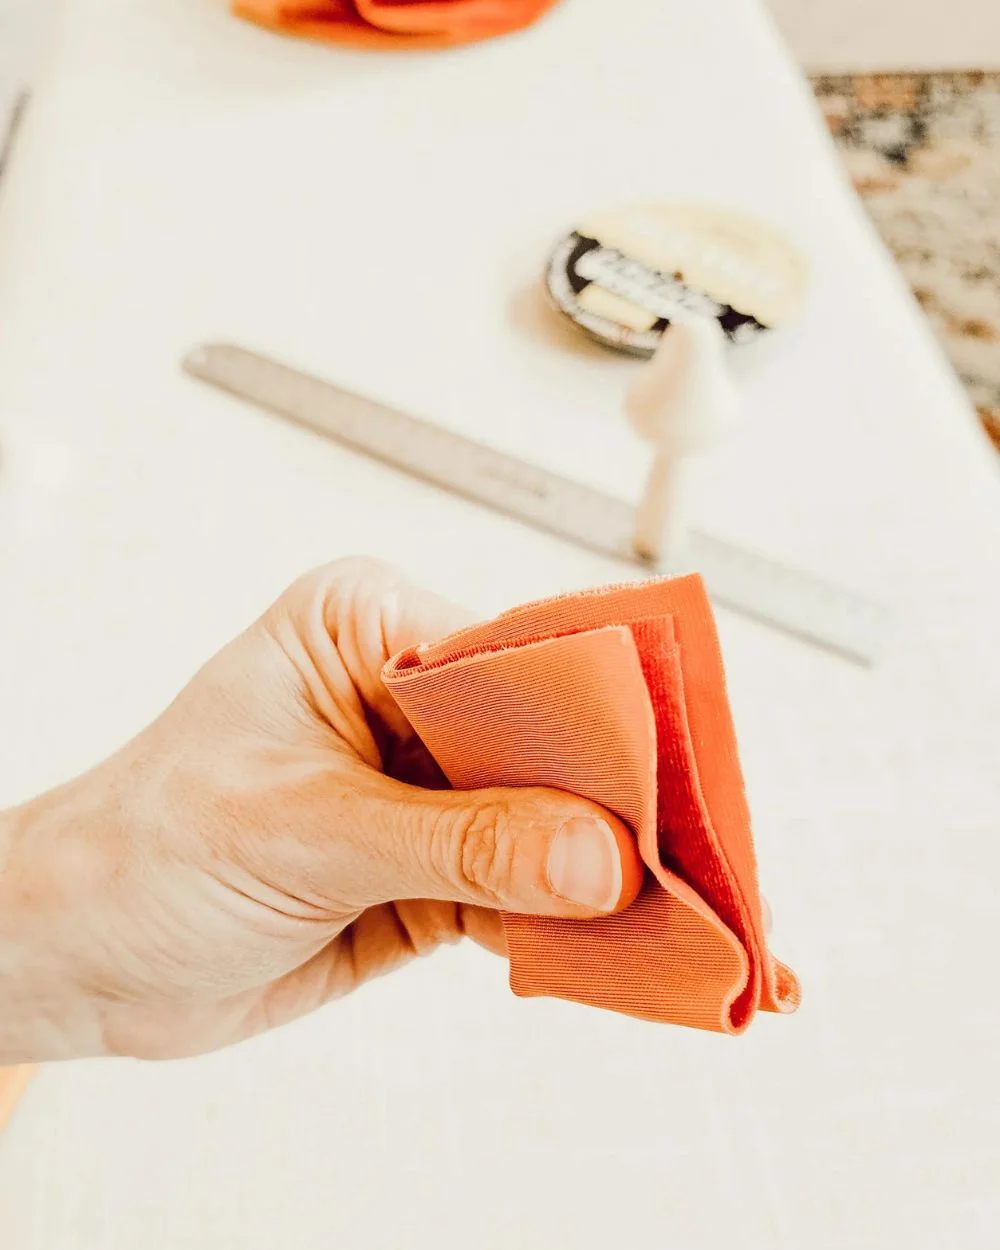
Once you decide on how you want the stems to look, you’ll want to treat all the bases at the same time and allow them to dry if necessary. Next step is to add the fabric top. If you prefer a perfectly fitted fabric top around the mushroom, you can create a paper template to use when cutting out the velvet. I’m not a perfectionist in this aspect so I just measured a 4.25″ x 4.25″ square, folded it into fourths and cut an arc around two sides. Once the fabric was unfolded, it was a circular shape (not perfect, but good enough). I used embroidery floss and stitched a short blanket stitch around the edge so that I can cinch it up around the mushroom top. Tie a knot and adjust the scrunched fabric if necessary.
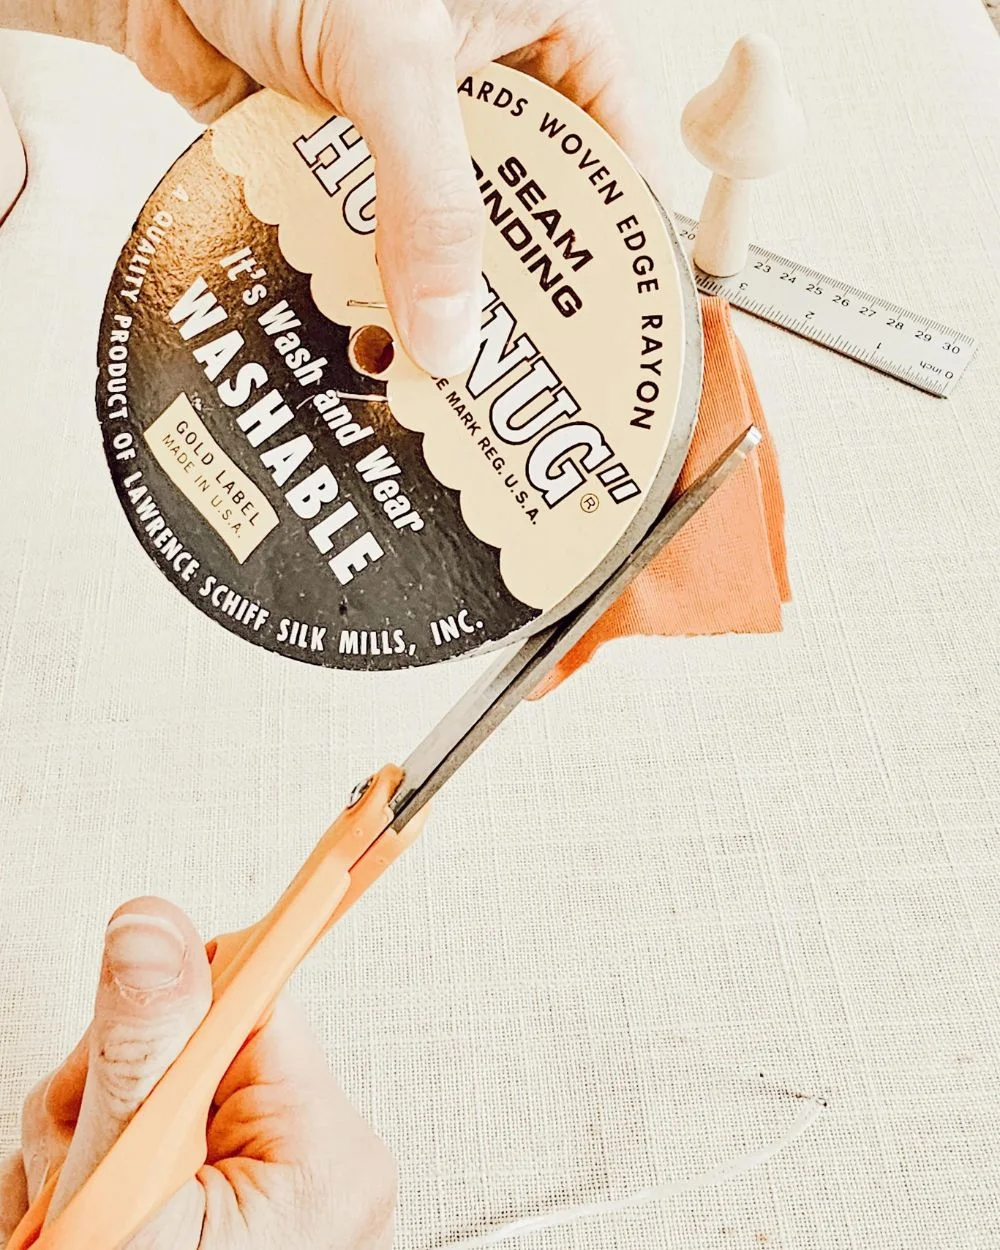
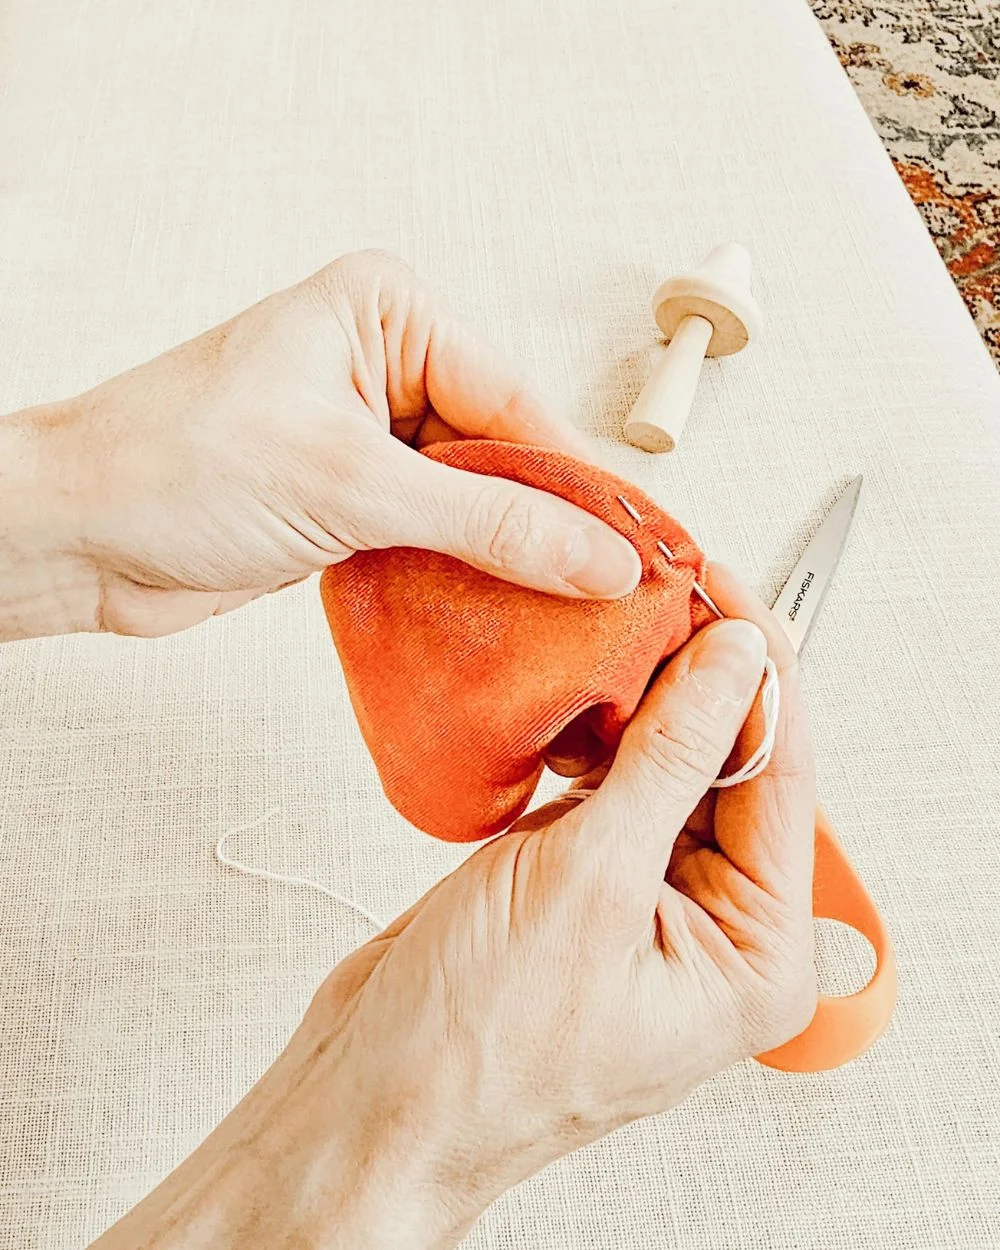
For the two smaller sized mushrooms, I used 4.25″ squares, and for the two larger mushrooms, I used 4.5″ squares of velvet. The tomato red velvet I found at Hobby Lobby has a nice stretch to it, but only in one direction. I recommend cutting and sewing the caps for the larger mushrooms first because if you end up with a cap that’s slightly too small, you can just use it for one of the smaller mushrooms.
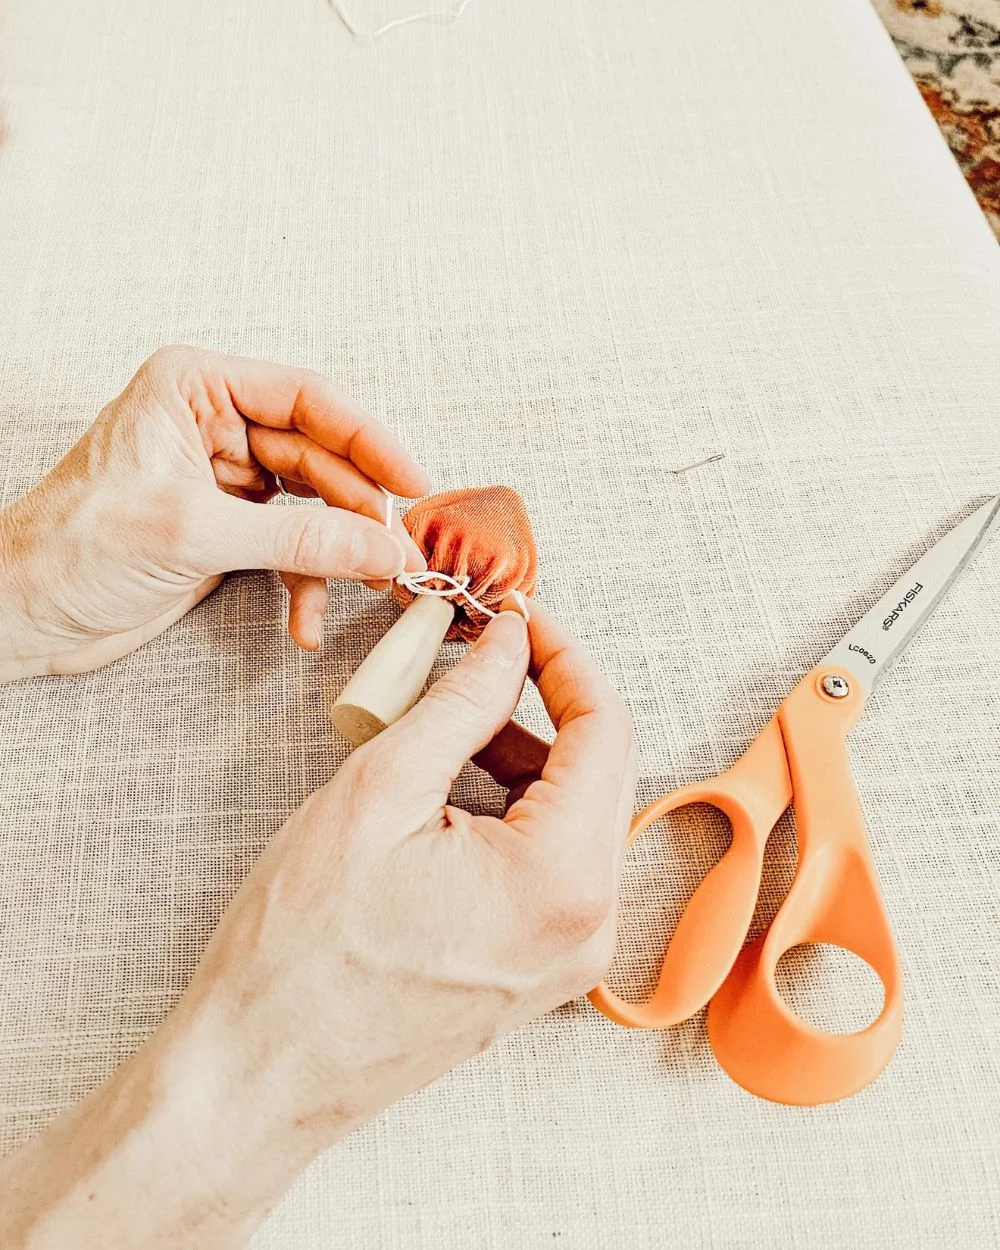
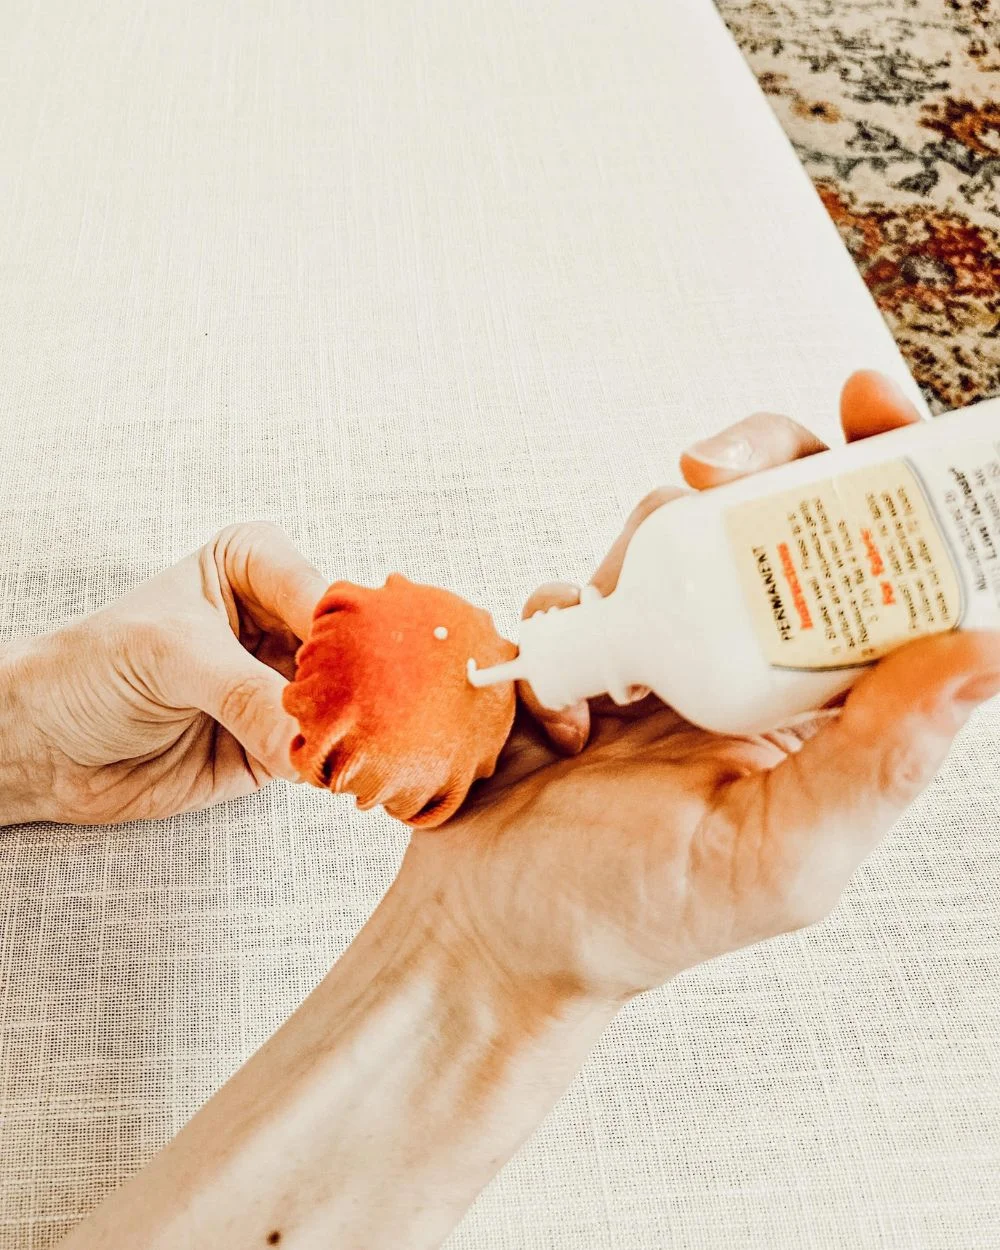
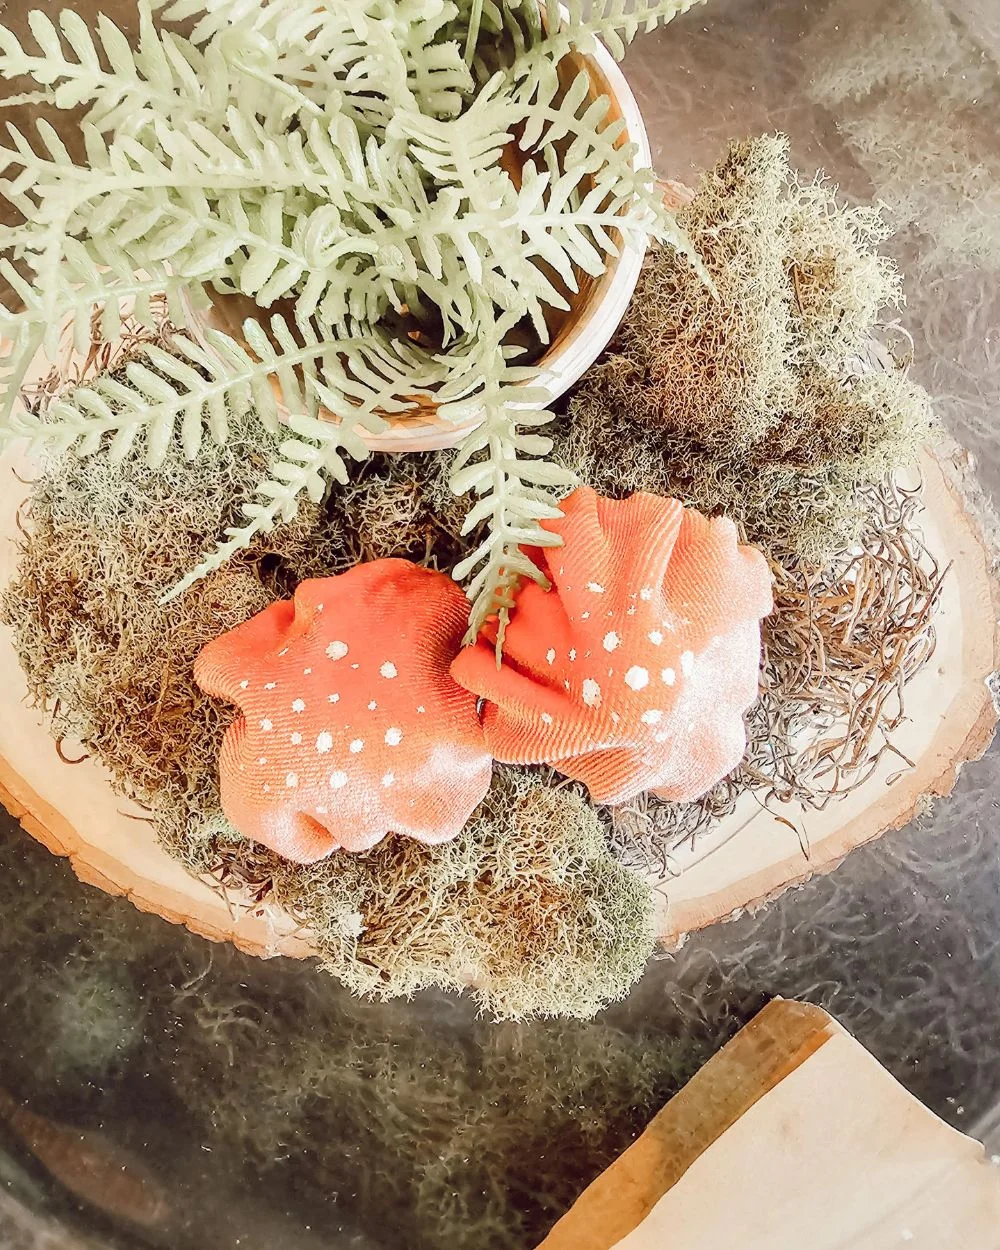
After sewing the caps, I used some white puff paint to lightly dot spots across the tops of the caps. I started by adding small dots and then placed tiny ones all around them. The puff paint dried rather quickly but be sure to set them aside someplace safe to dry. That’s it, super simple and even fun to make while watching a show or movie. I can’t wait to place these among my tablescape and I’m sure I’ll find another purpose for them later on as well – they’re pretty cute for fall decor as well. Thanks for checking out this fun DIY craft – they are such a fun and easy decoration to make.

Watch the tutorial
POSTED IN: DIY crafts
