How to Limewash Textured Walls
How to Limewash Textured Walls
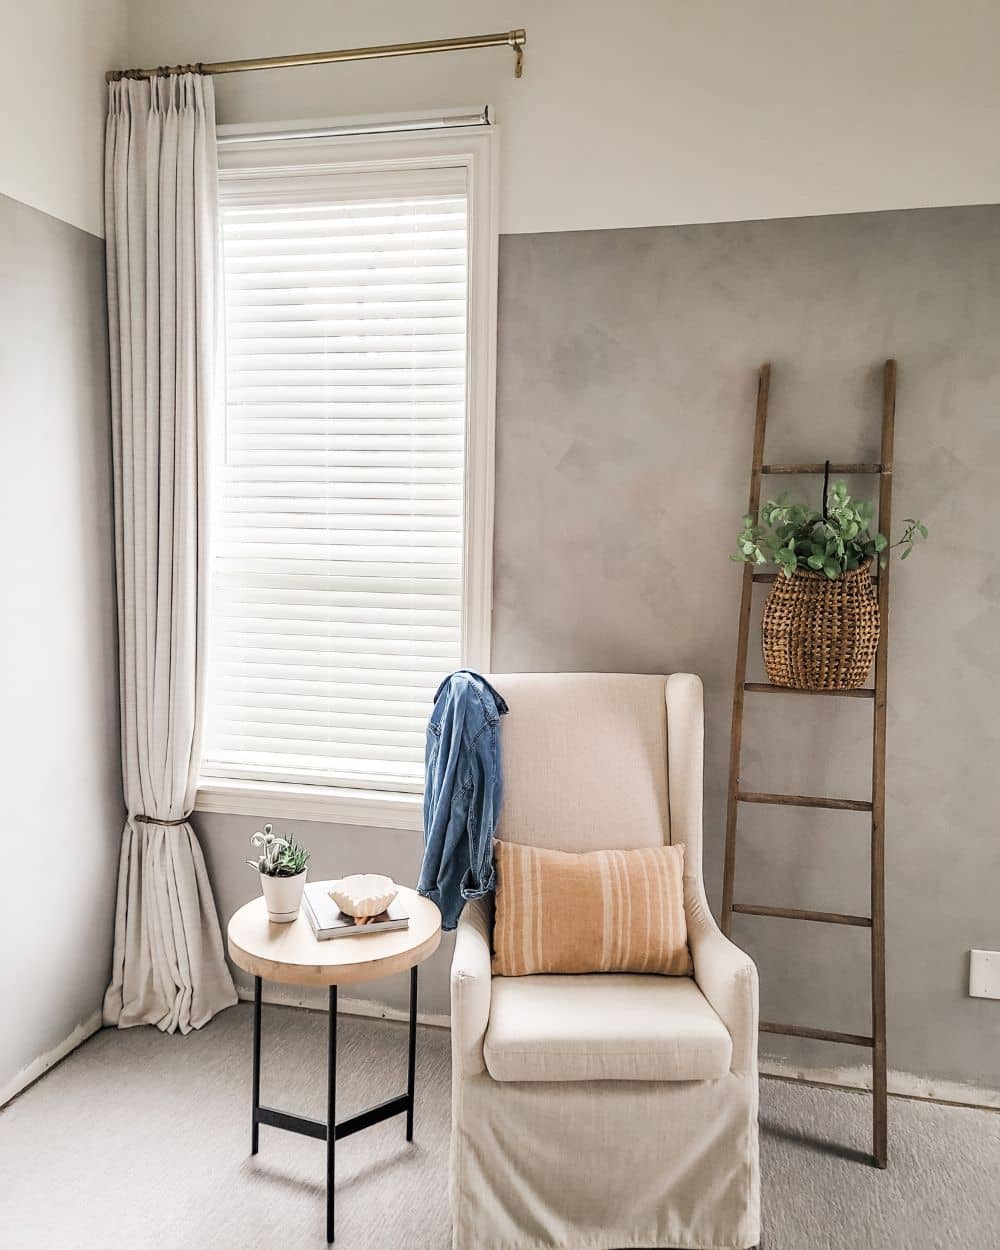
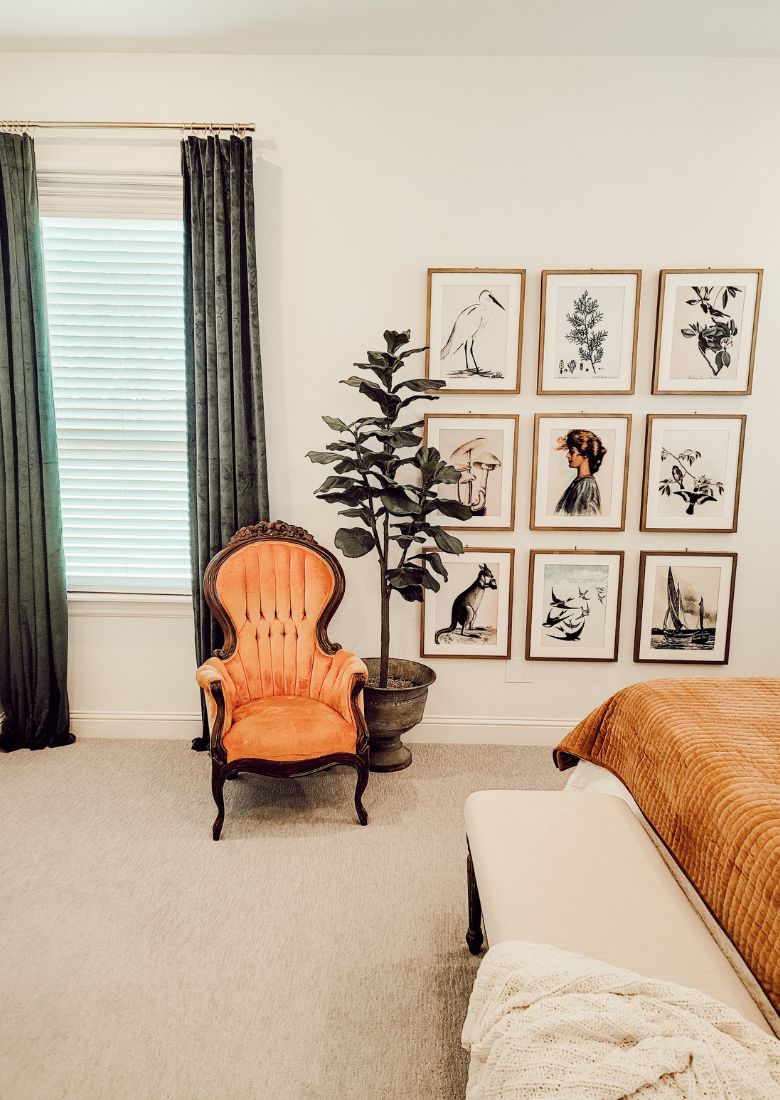
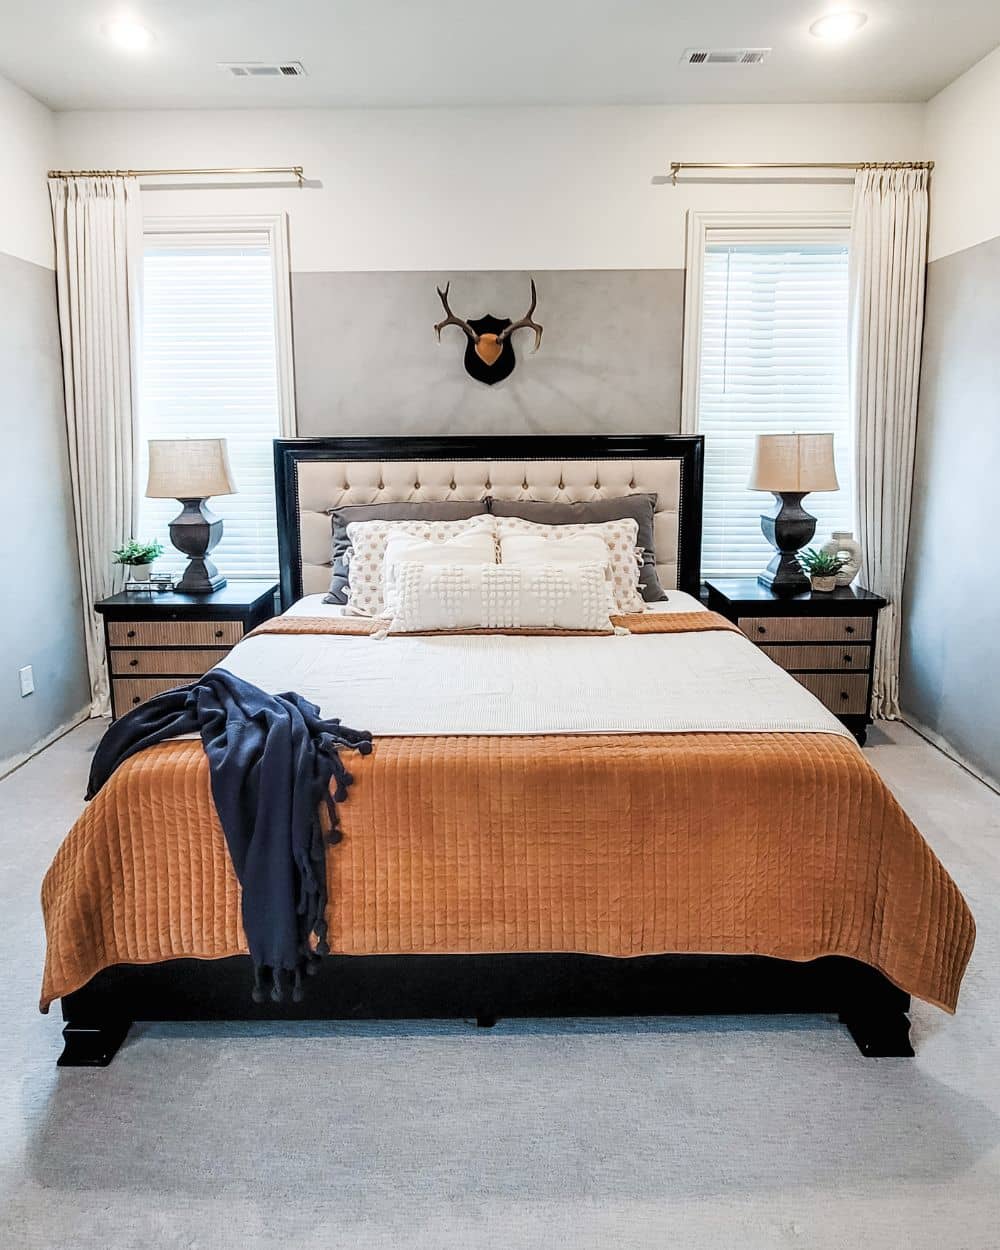
Creating this wall treatment in our primary suite was a big project, but the process is easy. We have ten-foot ceilings, and I knew I didn’t want the limewash to go all the way to the ceiling. The best practice for adding a partial wall treatment is to use the rule of thirds. If you use this rule, you can go 1/3 or 2/3 up the wall with a treatment. So, I went up seven feet with my limewash. I think 1/3 would have worked with wainscoting, board and batten, or even shiplap, but the look would have been more country or farmhouse. I like the look of going up 2/3 of the wall, it’s modern, casual and relaxed, and seems more natural to me. We are also planning some faux beams across the ceiling which will add some warmth and dimension to the space as well. Here is the bedroom before applying the limewash treatment.
There are different brands of limewash, but I’m only familiar with limewash by Portola Paints. This company recommends applying their natural limewash onto a flat untextured wall. I didn’t understand why until I applied the limewash, but I know that other DIYers have limewashed onto textured walls and it appears to look great too – I’m not sure what brand they used though. My first step was to measure seven feet up from the floor, mark several spots, and then draw my border line. Then, I taped along the line. Before I could add the beautiful limewash, I had to skim coat my walls and that was quite a job.
I started out as a perfectionist with the skim coating, but I didn’t have to be. The mud compound could have been thinner or thicker in some places and it would not have mattered. I could have left some lines from the drywall knife; I could have even intentionally done some artistic lines and it wouldn’t have mattered. This step took me a while, and moving around furniture was annoying, but once it was done, I could apply the limewash and things were getting exciting. Portola Paints recommends applying their limewash primer first, so I went ahead and rolled that on. Then I applied two coats of the limewash – making sure the first application was completely dry. There is a technique to applying the limewash and if ignored, the final product will show it, and you won’t love it. Be sure to watch my YouTube video to see the application process. Portola Paints recommends that you contact them before attempting to touch up any mistakes.
To help with creating a clean line around the perimeter of the room, I first painted the original wall color along the bottom edge of the painter’s tape. The original Sherwin Williams Alabaster white seeped into the little spaces along the tape so that when I applied the limewash, the line was clean and straight – no touch ups! This is an extra step, but so is touching up and I have never regretting doing this step to save me time and irritation later on. The limewash paint can also be sealed with a special sealer by Portola Paints, but I didn’t seal my walls because our bedroom walls aren’t touched a lot or exposed to humidity and water.
The most important thing about applying limewash is that the edge must stay wet while you’re brushing the x strokes and such (see video for a demonstration). Once the limewash begins to dry, if you paint over it the result will be a very dark spot. You cannot do touch-ups to this treatment. I used a misting water bottle to keep my edge wet, especially when working across a large wall. I wish I would have had a helper to get it done faster and prevent any darker spots. I applied two coats of the limewash, making sure the first coat was completely dry before applying the second. There is plastic underneath my drop cloths for extra protection. The limewash is thick but very drippy and you’ll want to be careful to not drip down your wall. If you do, be sure to brush them out immediately with more limewash. Portola Paints says to work at a diagonal, and this is great advice. You will not do any cutting in, which is kind of nice. If you cut it, you will see the cutting in line when it all dries.
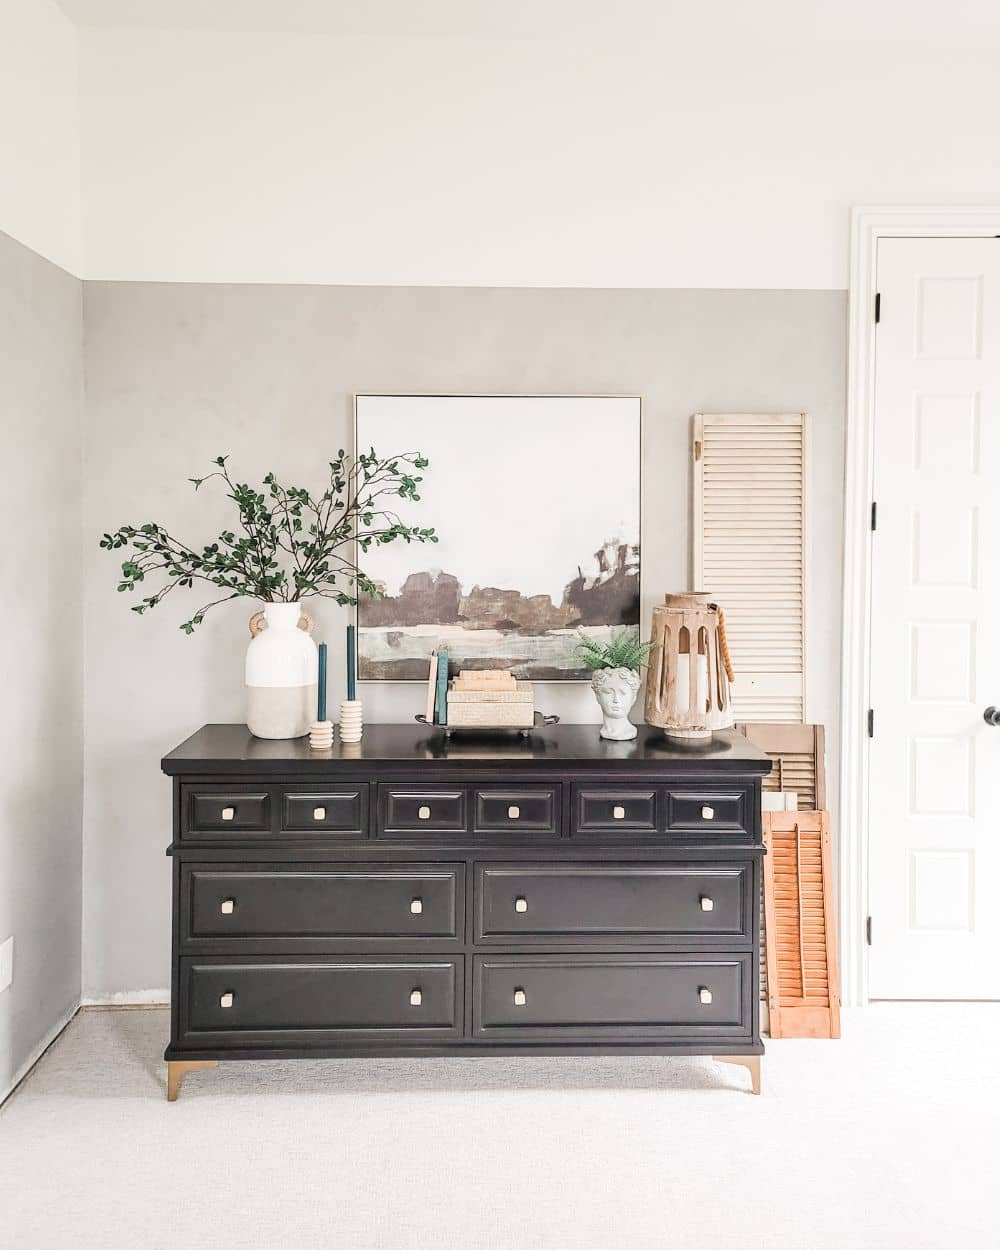
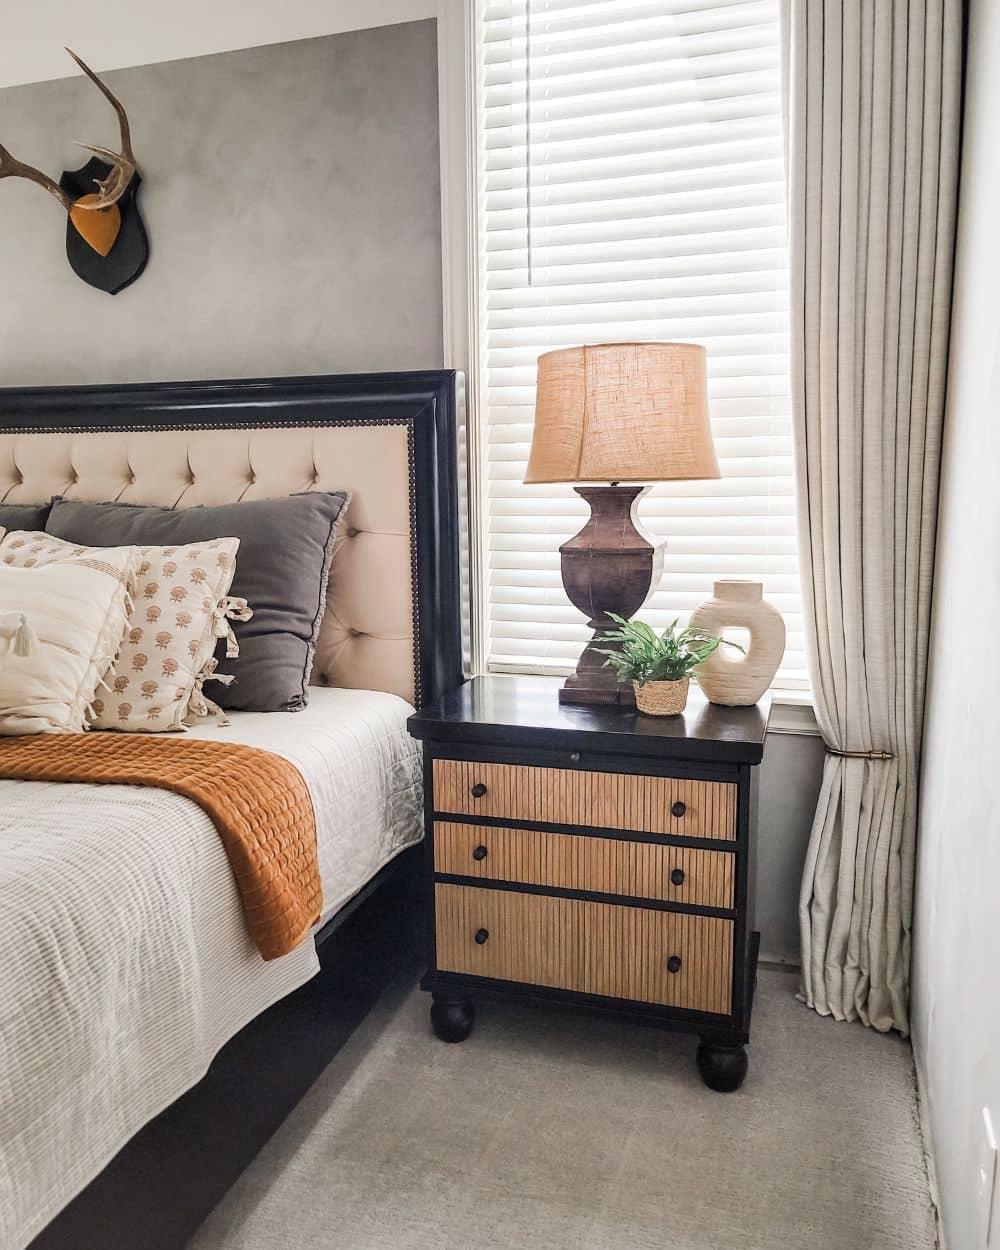
The original plan for the room was some millwork, but after pricing it out, I opted to change gears and go for a natural finish with a pretty texture and a relaxed look. Unfortunately, I removed our original baseboards in order to prep for the original idea, so until I order some 16′ boards, we don’t have any baseboards in the space. Otherwise, the walls are done, and I truly love them. Portola Paints has so many colors to choose from, and you can order small samples to help you decide. I ordered a few and loved the medium gray tone that I used, it works well with our carpet and has a bit of a blue and brown undertone which looks great with our bedding and furniture. The color is called North Woods.
Video tutorial
Portola Paints also offers a Roman Clay treatment, and the specifics on that treatment on their website. Keep in mind that Limewash isn’t just like sponge painting, the look and texture are different and unique, and limewash looks completely natural, and the feel reminds me of a cement surface. I’ve never seen any wall treatment like this, and not only is it beautiful but it’s affordable and a great DIY treatment to try.
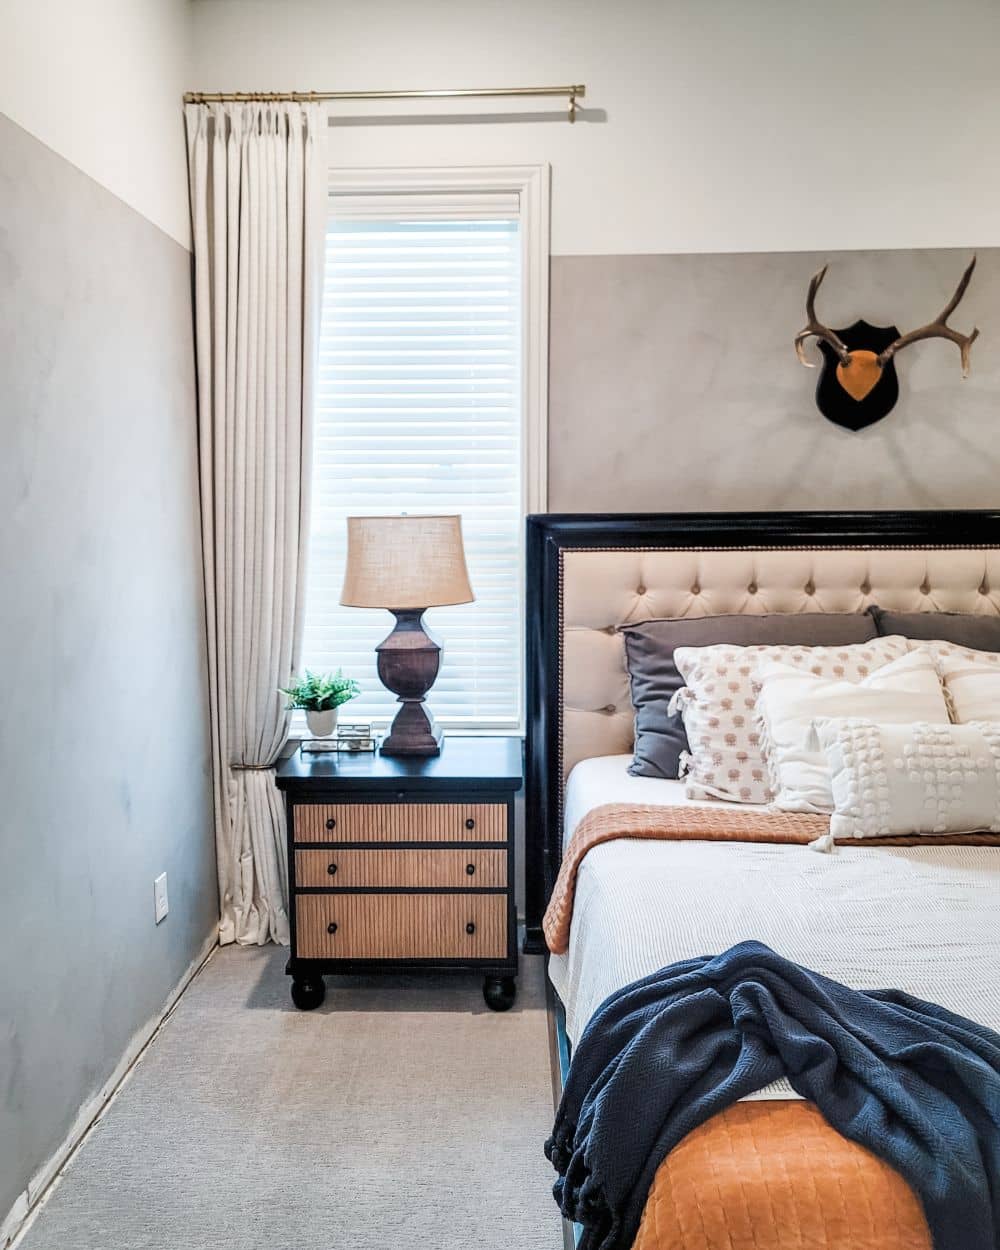
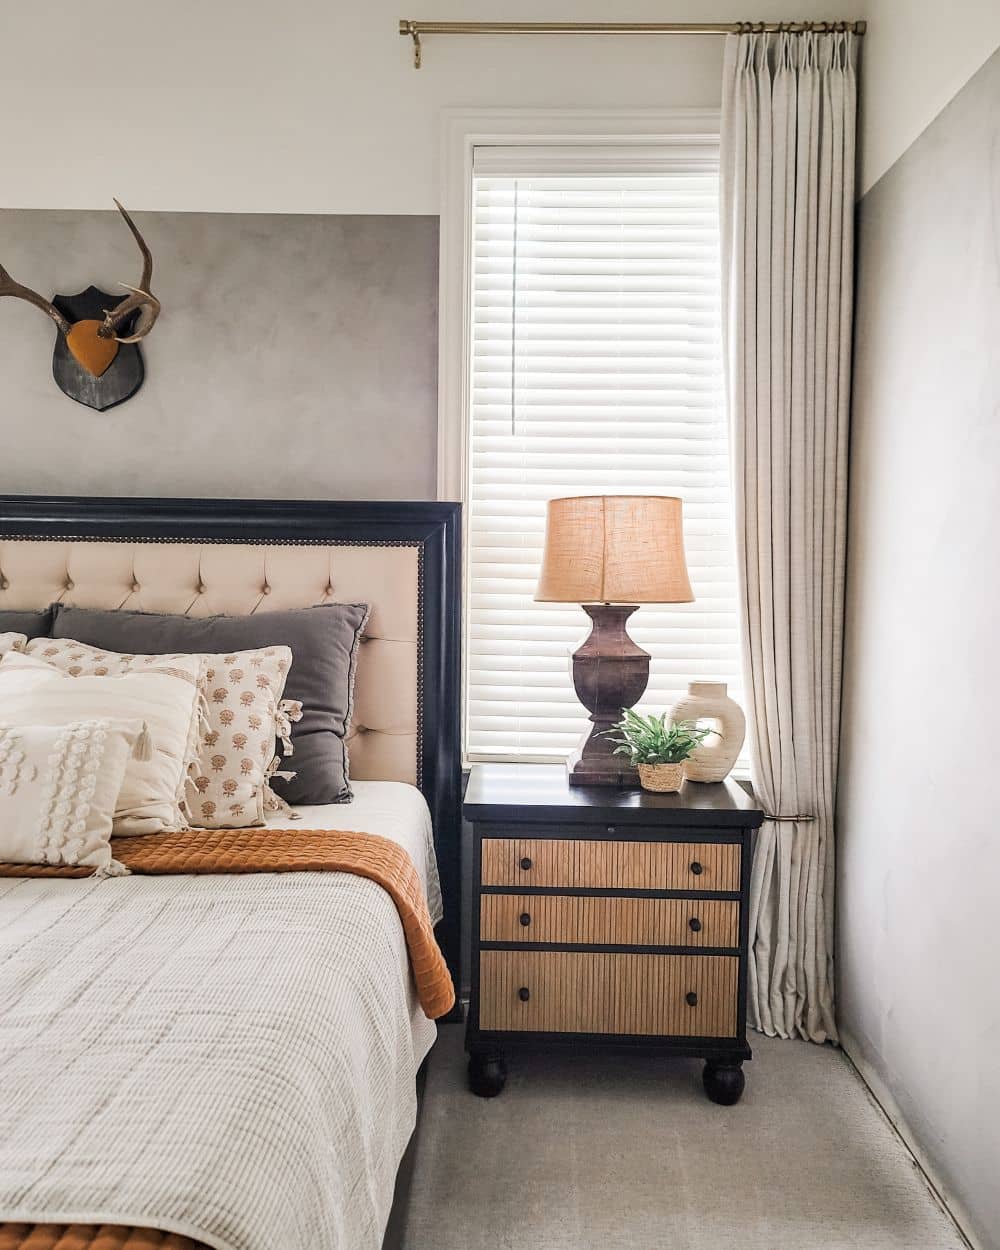
Thank you for checking out this post, let me know if you have any questions. Be sure to subscribe to my blog for more DIY and decorating ideas and inspiration.
POSTED IN: DIY Projects
