DIY Restoration Hardware Inspired Rolling Cart

DIY Restoration Hardware Inspired Rolling Cart
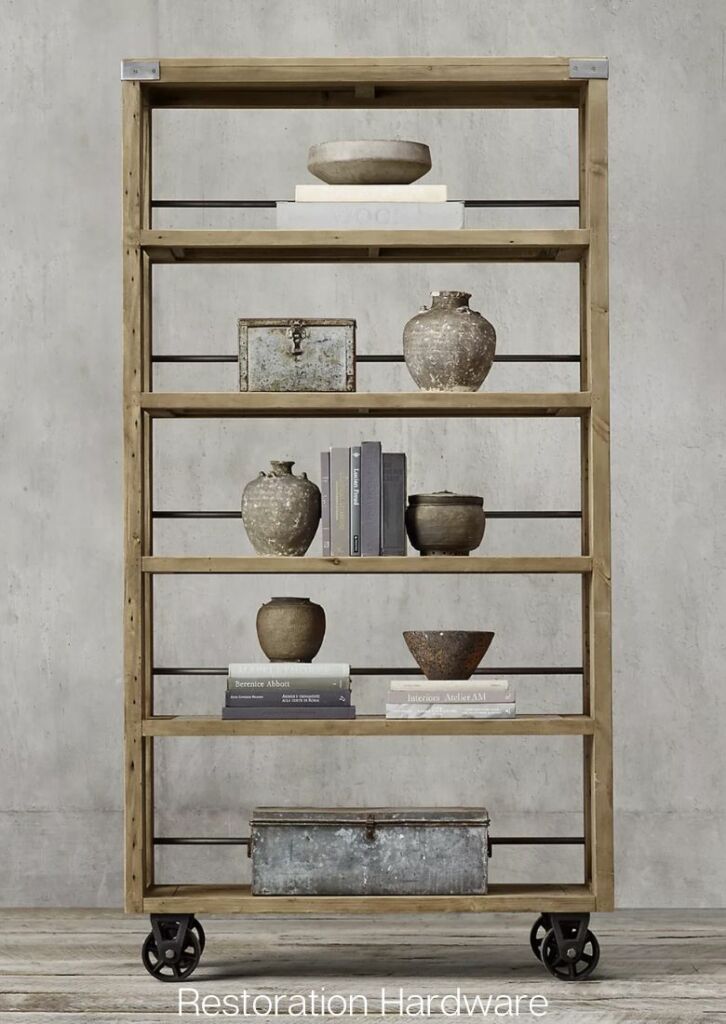
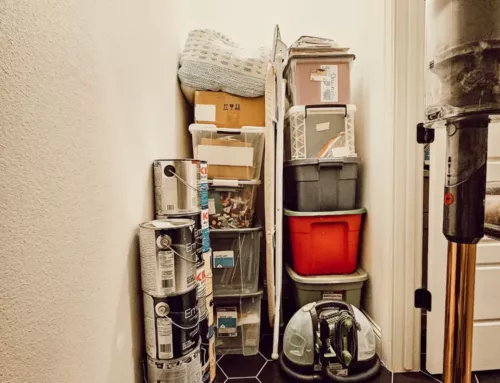
My husband and I have walked through Restoration Hardware a dozen times, admiring their designs and styling, and never once buying a thing. This changed when one of their kitchen pendant lights were very reasonably priced, and the quality was a standout compared to the others we were looking at. I’m not sure I’ll ever own a home worthy of their grand designs, or that my budget will ever allow it, but I love the style and inspiration this brand provides me. I have been looking for a piece of furniture to live across from the formal dining room. It’s a little nook and walkway so it’s been tricky. I finally came up with a solution, a DIY Restoration Hardware inspired rolling cart!
The journey to finally just build this piece has been long and winding. I first saw an amazing vintage bakers rack at 417 Vintage Market in Branson Missouri. Then I found a large rolling cart for gardening supplies at The Junk Ranch show in Prairie Grove Arkansas. Both were out of budget and I’m not sure they would have fit in my SUV anyway. It only recently occurred to me that I could and should build something when I stumbled upon Ana White’s rolling shelf build. With so much amazing inspiration, it was time to sketch out and plan my DIY Restoration Hardware inspired rolling cart. Here’s the original that inspired it all:
DIY Restoration Hardware Inspired Rolling Cart
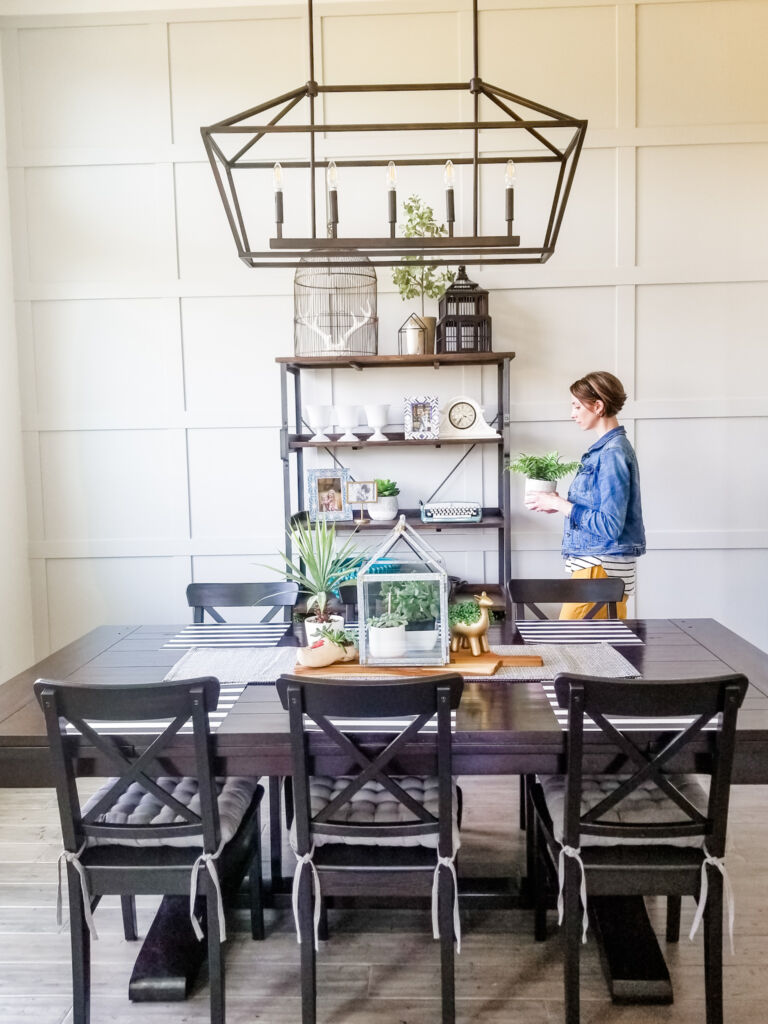
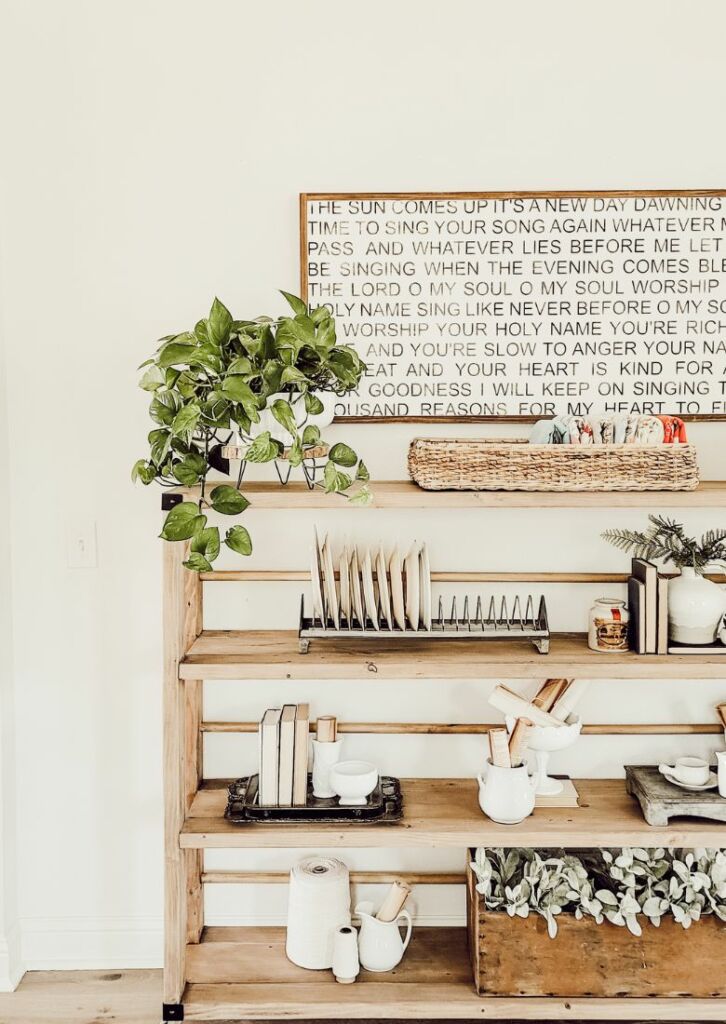
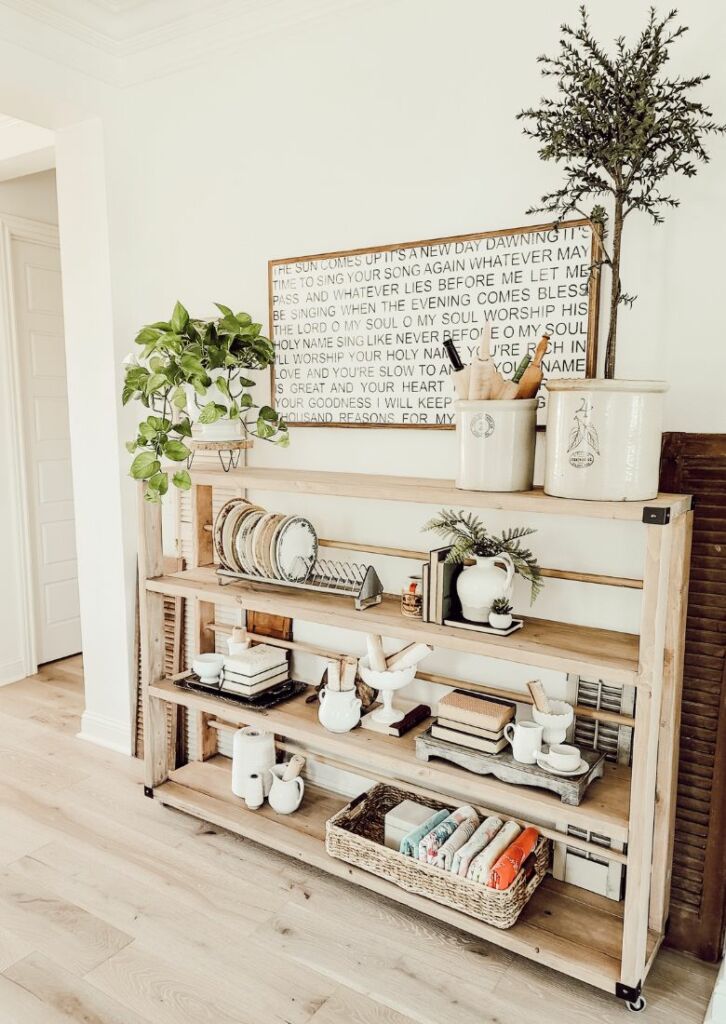
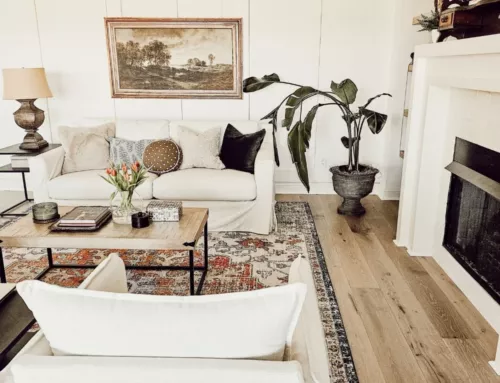
There are many other similar versions of this rolling cart for sell, but when you DIY, you can customize the exact size, color, and style you want (plus save a lot of $$). When we first moved into this house, I placed a tall bookcase in this space across from the dining room, the bookcase also used to be in the dining room of our previous home. So, I already knew what a tall bookcase looked like in this space, and it didn’t allow for much to go above it. I wanted a rolling cart that was tall enough to be useful, but not too tall that I couldn’t use the wall space above it. So, I built my DIY Restoration Hardware inspired rolling cart long, and not as tall. Here are the exact dimensions of my design: 6′ wide, 50″ tall, 14″ deep. Adding two-inch nonskid wheels brings the total height to 52″. This design can be created to fit any space you want. I used 2×8 boards as the center board of my shelves because I had them on hand. However, if you need deeper or more shallow shelves, you can create whatever size shelves you need.
You may have noticed that my support rods across the back of each shelf are wood dowels. After pricing out various pipe, I decided wood dowels were much more my speed and I already had the drill bit to create the one-inch diameter hole that I needed. I stained the dowels with the cart, and I love how it looks less industrial and a little more vintage. However, you could use PVC pipe and paint it, or if it’s your style and in your budget, copper piping would also be stunning. So many possibilities – all customizable.
DIY Restoration Hardware Inspired Rolling Cart
I created a video (below) to show the process of building this DIY Restoration Hardware inspired rolling cart, but I will list the basic steps here as well:
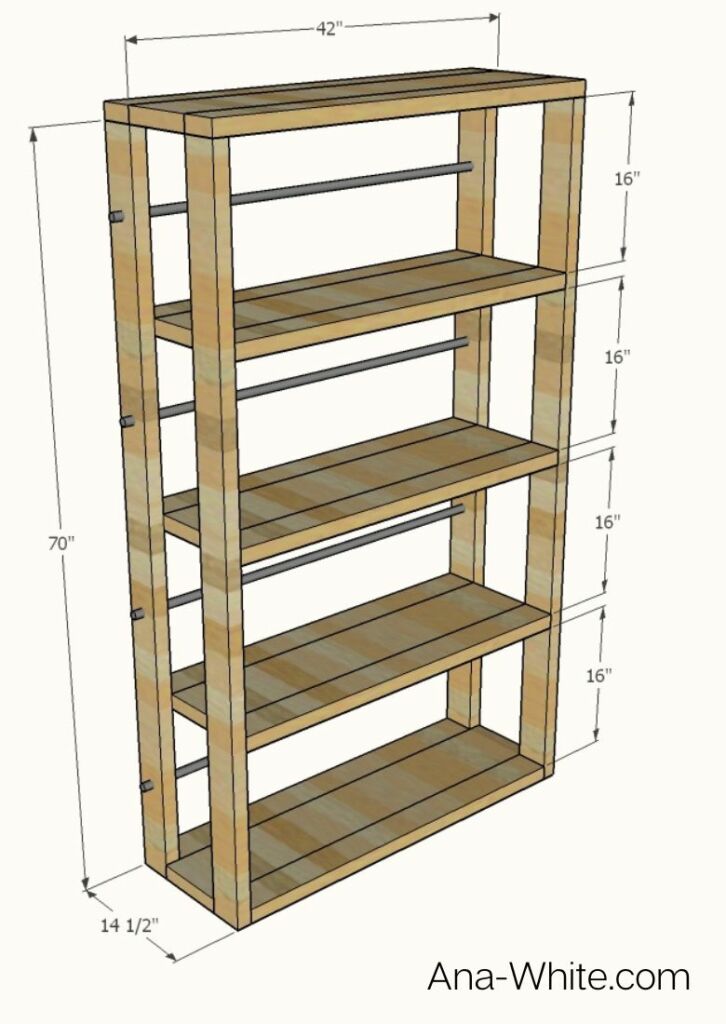
- Determine your dimensions and list out your shelf lengths. The top shelf is the longest because it sets on top of the vertical corner support boards. The inside shelves will be a total of three inches shorter because they fit inside the vertical corner support boards. And the bottom shelf has the inside 2×8 board the same length as the top shelf, but the outside 2×4 shelf boards are shorter like the inside shelves. Ana White created the image above to show her dimensions, but I want you to notice the lengths of boards for each shelf. Design your DIY Restoration Hardware inspired rolling cart and create a cut list for your pieces. Here is a link to my cut list.
- Assemble the shelves. I drilled pocket holes in the 2×4 boards and then attached them to each side 0f the 2×8. This construction created my 14″ deep shelves. Drill 1.5″ pocket holes and use 2.5″ pocket hole screws. I plugged the pocket holes on the top shelf because I thought the underside may be seen. You can plug all the holes, none, or the top shelves – your preference.
- Add the four vertical support boards. I also drilled pocket holes at the corners of the inside shelves. I added the four 2×4 corners to the bottom shelf first, then I added the top shelf, and lastly installed the in between shelves. For the top and bottom shelves I used 3″ self-drilling wood screws instead of pocket holes, but be sure to predrill holes to prevent the wood from splitting.
- I turned my assembled rolling cart onto one side and drilled my one-inch holes for the back support dowels. Be sure to measure carefully. I centered the hole on the 2×4 and then measured up 6″ inches from the shelf. I didn’t want my back support to be perfectly centered, so I adjusted it down a bit to look right to me. Add the wooden dowels by twisting and pushing. I centered the wooden dowel so that a little was hanging out on each side. Then I used a multitool to cut the end flush.
- Now it’s time to sand. I sanded down all the surfaces using 80 grit paper on my orbital sander. Then I finished with 220 grit. I usually do at least three grits, sometimes four on more finished pieces, but some of the boards had a reddish tint and the whole piece was more rustic and vintage so I wasn’t concerned about a perfectly finished look. I also hoped the white wash technique would even out the different colored boards.
- Dust and wipe after sanding and then add a preconditioner to the wood. This quick step also allows the wood to evenly absorb the stain. It dried quickly, but wait at least 30 min. before applying your first coat of stain.
- Be sure to follow the instructions on your stain. I used Rove & Dwell’s farmhouse interior stain. I use a staining sponge to evenly apply the beautiful color. Once dry, I used a 220 grit sanding sponge to smooth things out. Dust and wipe, and then apply the white wash stain. The particular white wash stain I used said to not sand between coats of white wash. I applied two coats of the white wash stain. Brush it on, let it sit for 3 minutes and then I used a staining sponge to wipe up the excess. You can add extra protection by adding a layer of matte finish polyurethane.
- Once dry, add the non-marking casters and any other decorative brackets you want. I did not use the screws that came with the corner brackets because they wouldn’t have worked with all my pocket hole screws. Instead, I used upholstery brass nails and they look and worked perfectly. The bracket is purely decorative, so two nails hold it just fine.
DIY Restoration Hardware Inspired Rolling Cart
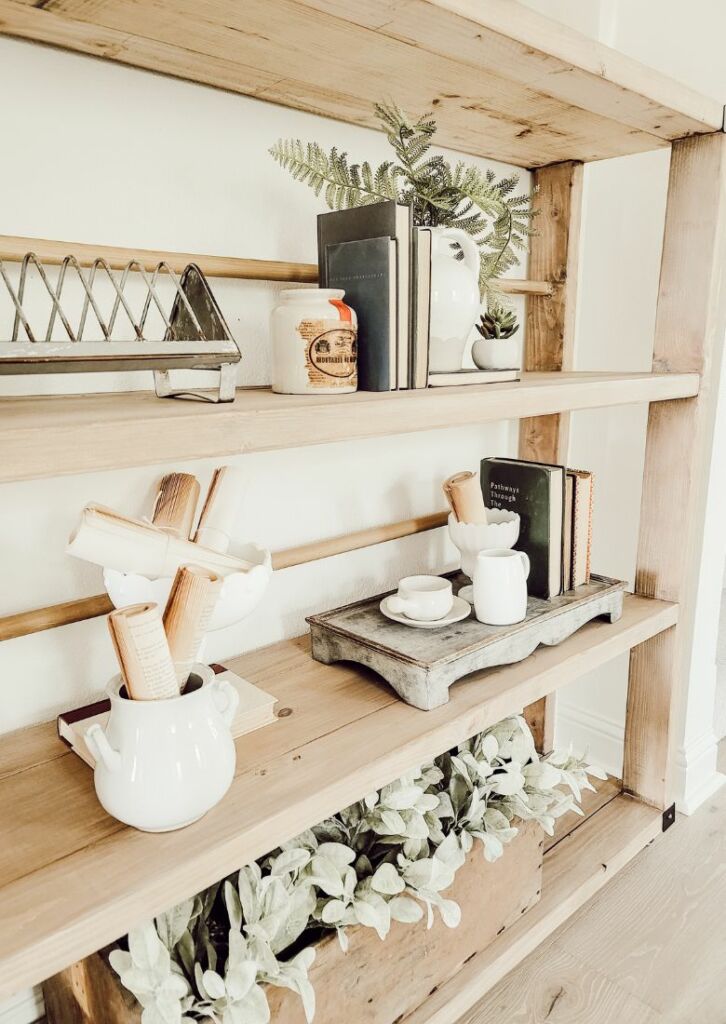
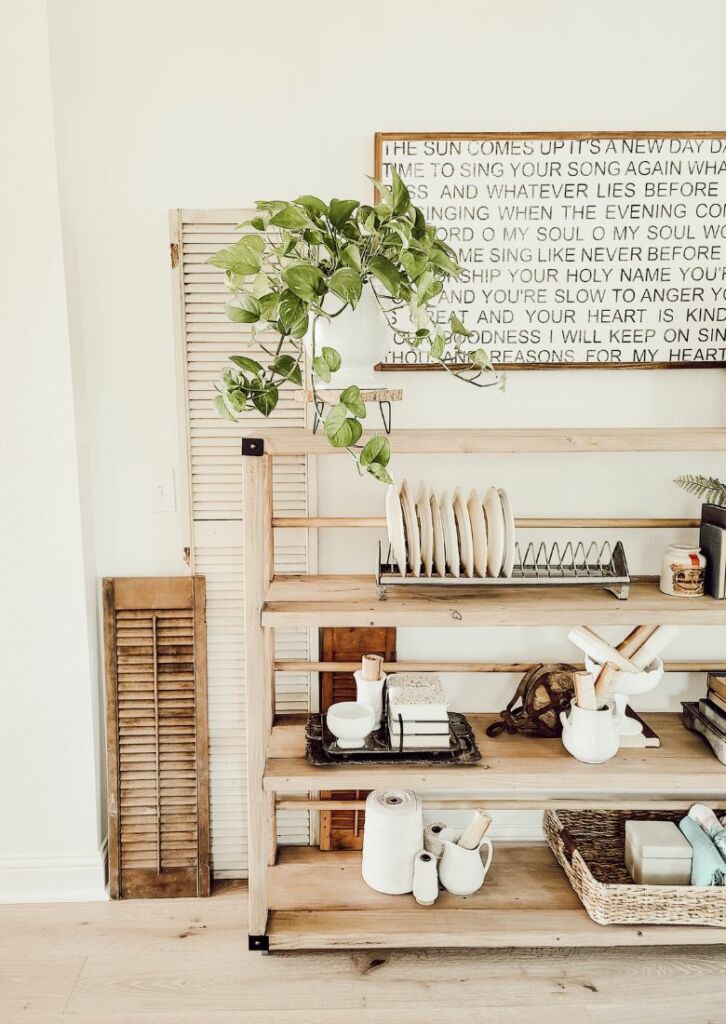
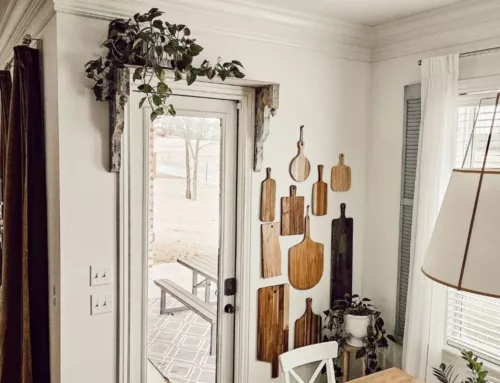
Full disclosure: My rolling cart has a little wobble. However, once I added some decor it helped. The most frustrating part of this design is that all the wood isn’t perfectly straight and square. This is especially true when using the cheapest common 2×4 boards I could find. Even if you check for bowed boards at the store, it’s just impossible to get every board perfectly straight. I’m sure there are tricks to correcting this, but in my beginner status, I’m still learning. And even with the imperfections I’m very happy with the way this DIY Restoration Hardware inspired rolling cart turned out. It looks better than I pictured and styling it is going to be so much fun. There aren’t a lot of places this new piece can fit in this home, but I’m so excited to enjoy it until I build my dream piece for this spot. Be sure to subscribe to my blog to get decorating and DIY inspiration and tutorials – including this dream piece of furniture I will make in the future.


DIY Restoration Hardware Inspired Rolling Cart
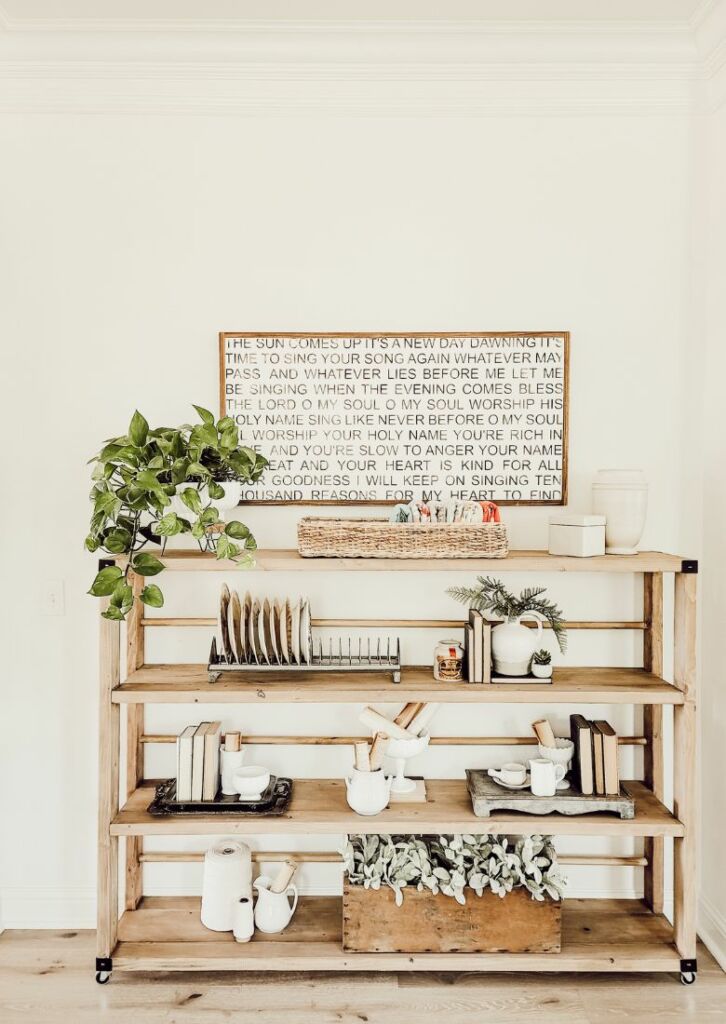
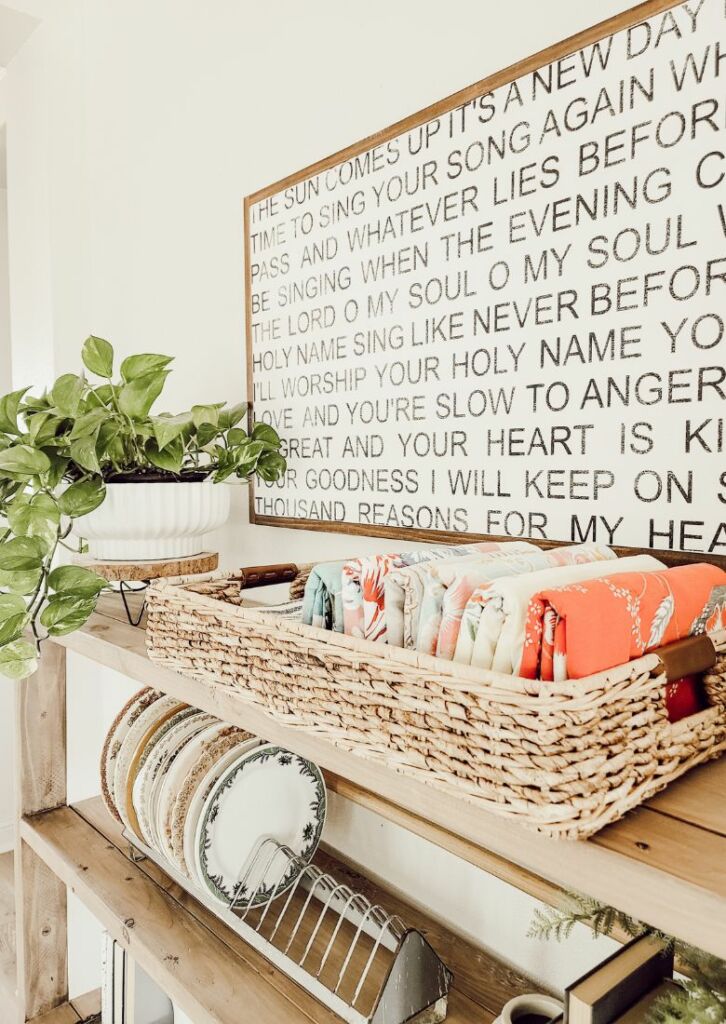
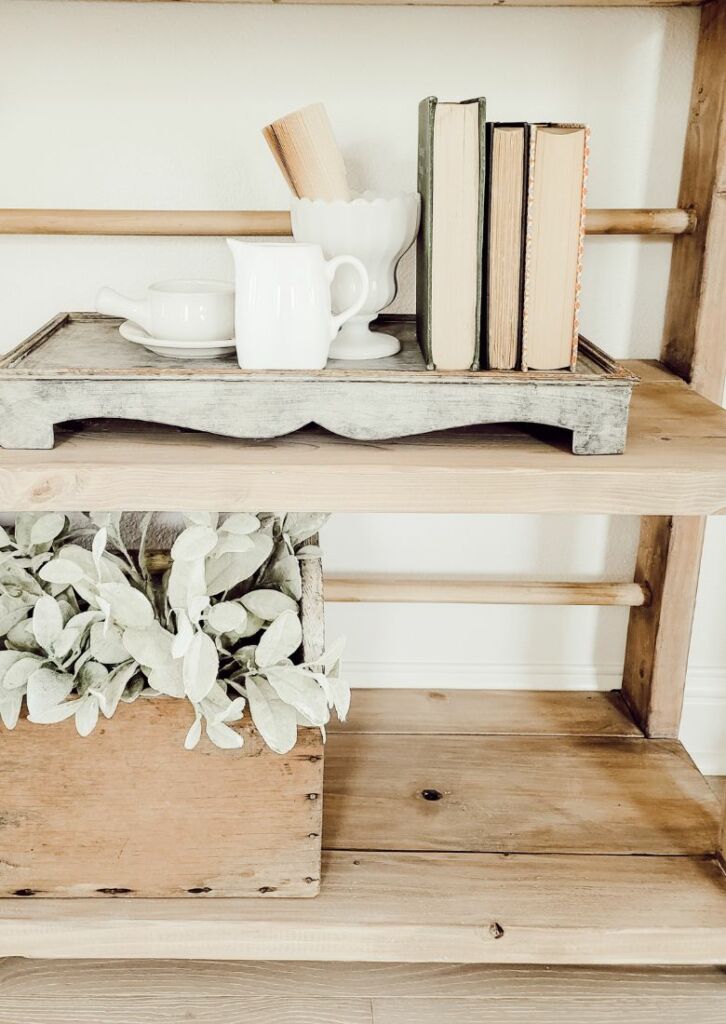
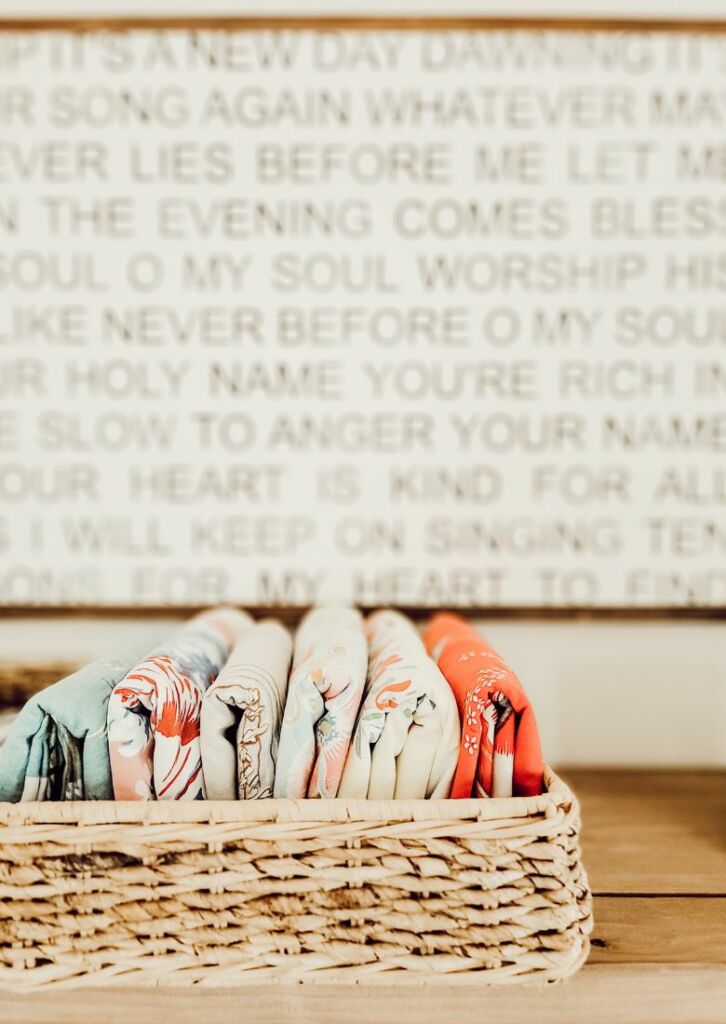
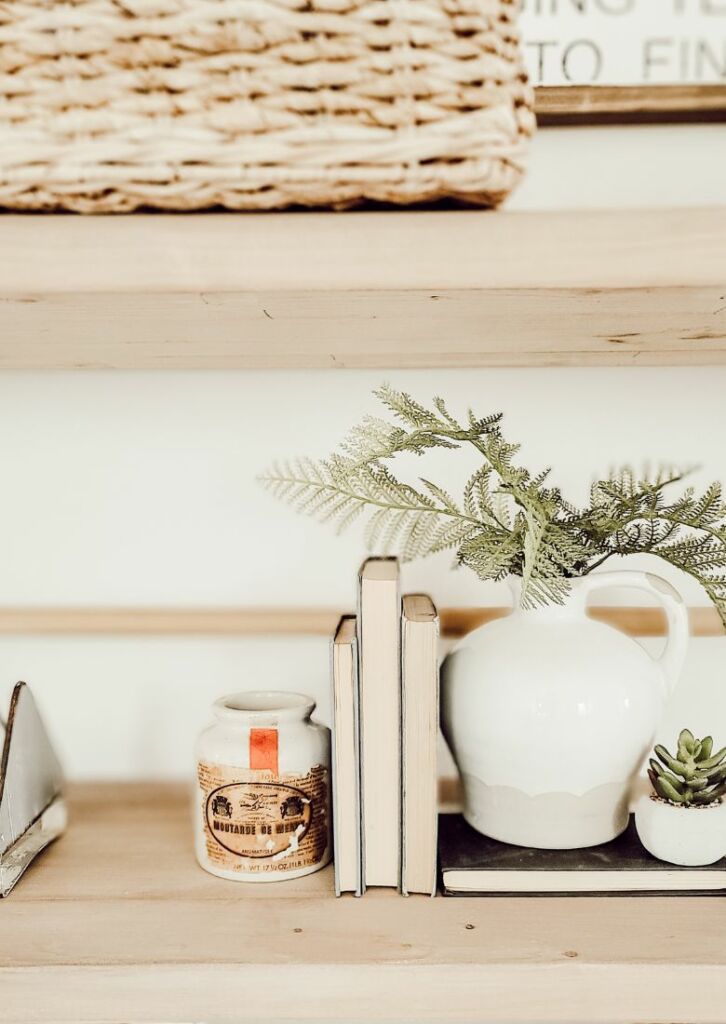
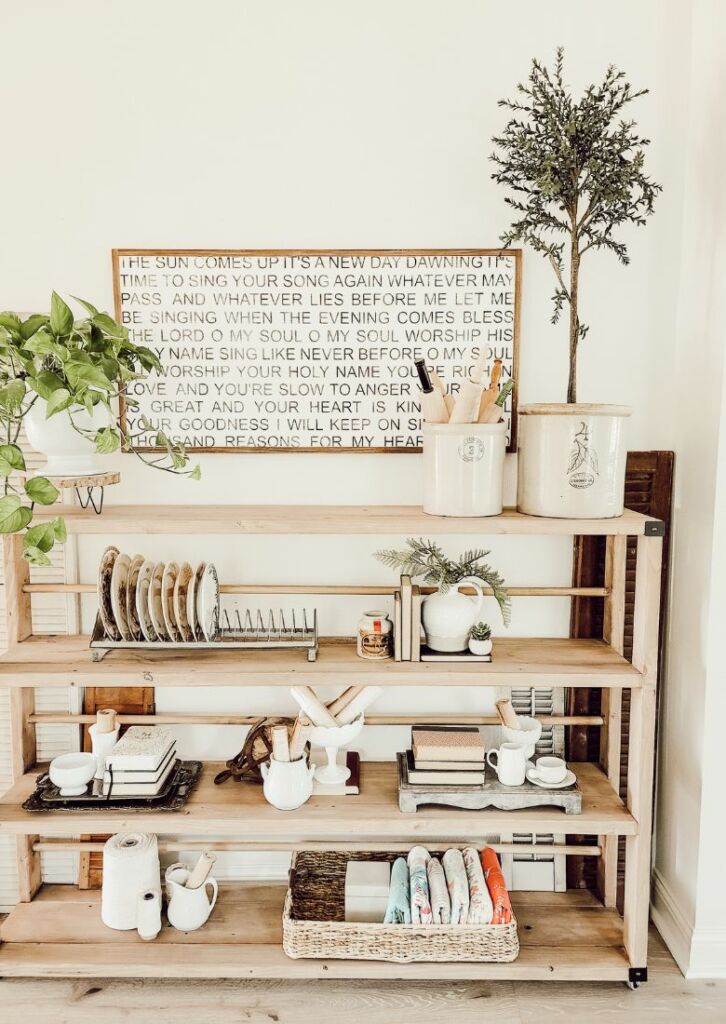
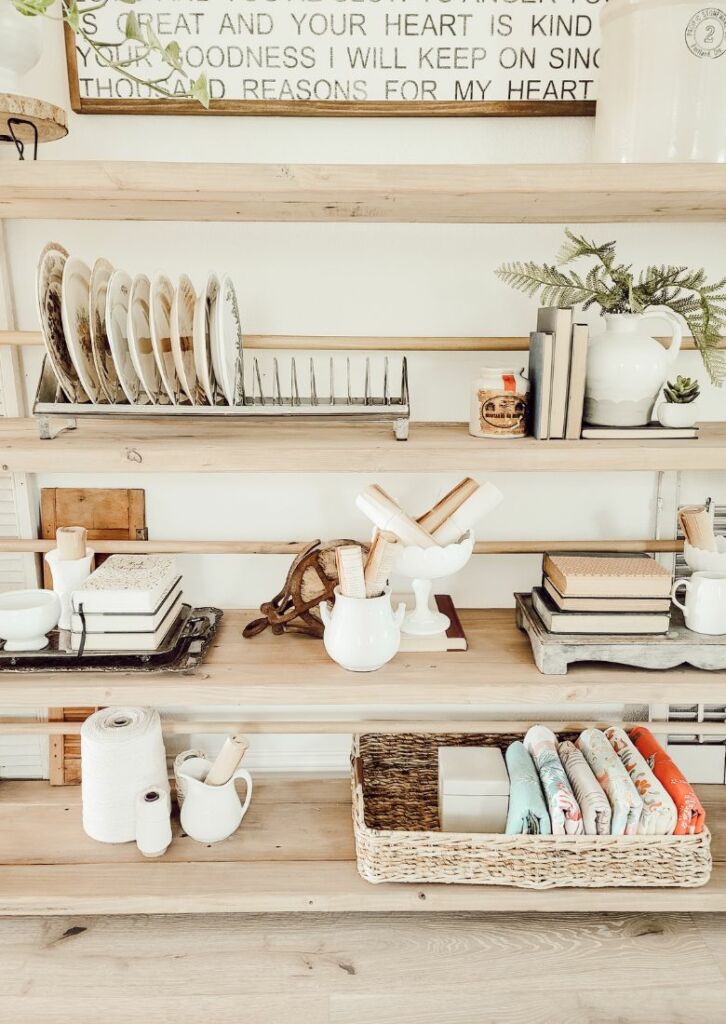
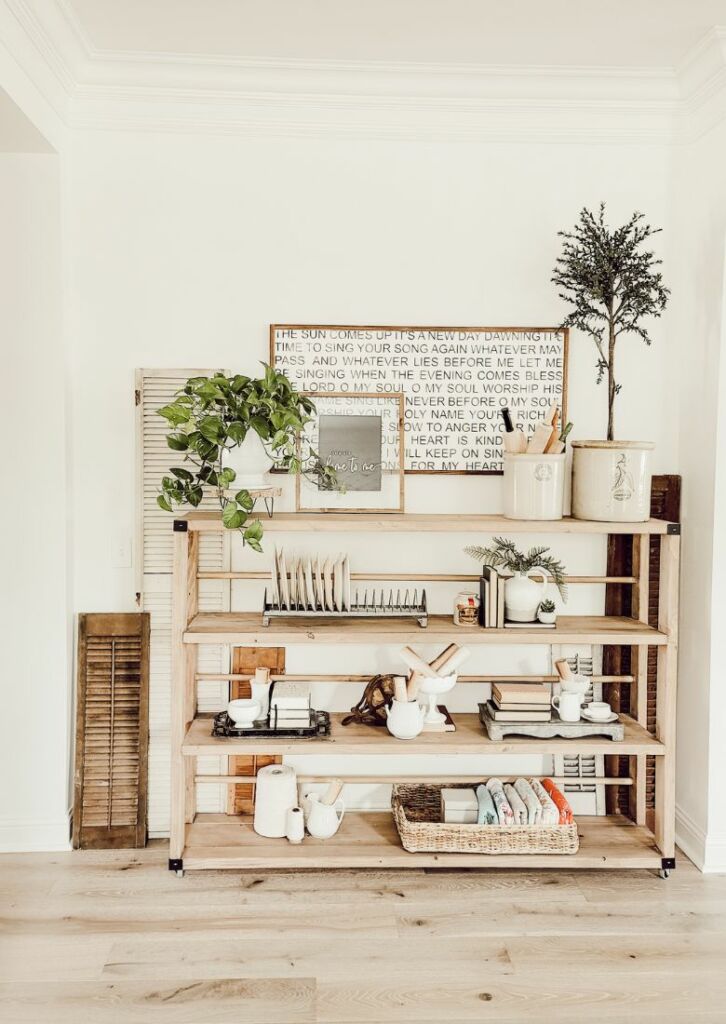
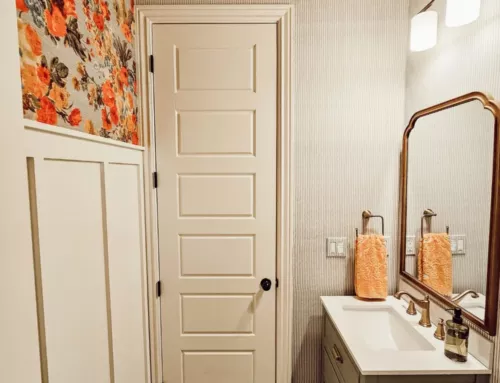
Well, that’s it – our new little rolling cart is done and I’m so glad I made a piece of furniture for this spot. Thank you so much for checking out this post. I hope it was helpful and inspiring. This last photo is how the cart is styled as I write this post. I’m sure it will be changing again soon, but with every little tweak I like it even more. Be sure to follow me on Instagram where I post more decorating photos and videos. Take care and be safe while building your DIY dreams.

POSTED IN: DIY Projects
Let's be friends!
Related Posts
Search
Categories
Subscribe
Get the latest posts, discounts, and design inspiration right to your inbox.
