DIY Baking Soda Christmas Ornament Hack
DIY Baking Soda Christmas Ornament Hack
It’s not even Halloween yet and I’m posting a DIY Christmas ornament idea. Too soon? Sort of sorry! Each year it seems Christmas comes sooner than it did the previous year, at least the commercializing of the holiday, but in reality, there are crafty people who like to get a head start on making things, which includes Christmas decorations. I have a few more DIY Christmas ornament ideas I’m excited to share with you this season, and now you’ll have time to actually make them if you want to or you can Pin for later.
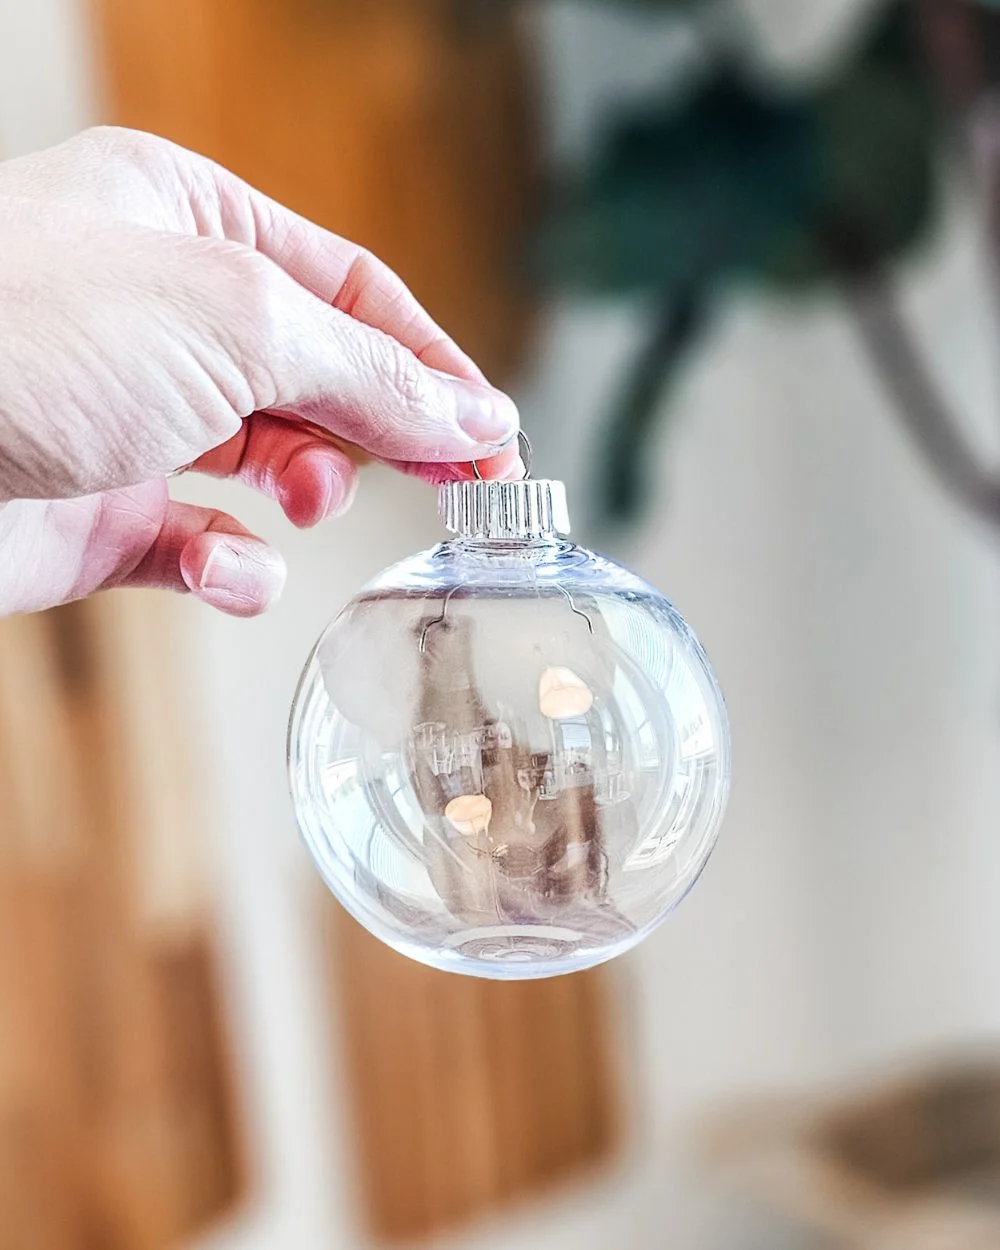
This DIY ornament idea isn’t original, but it’s a little different than versions you may have seen on Pinterest or Instagram. This one involves baking soda, but we’re not mixing it into acrylic paint – even though that technique is very cool and creates a pretty look. This technique is faster and more fun! For this DIY ornament idea, I highly recommend upcycling old, ugly, or grungy ornaments you already have. We can easily give new life to what you already have on hand. To get started, gather your ornaments, I’m using plastic bulbs; select two acrylic paints, I like using a light and dark version of a similar shade; a paint brush; a sponge brush; baking soda; cling wrap; and any color of Rub N’ Buff, I’m using gold leaf. If you don’t have Rub N’ Buff, acrylic gold paint will probably also work, although I haven’t tested it.
Here are the steps I took, but keep scrolling to view photos of the steps as well:
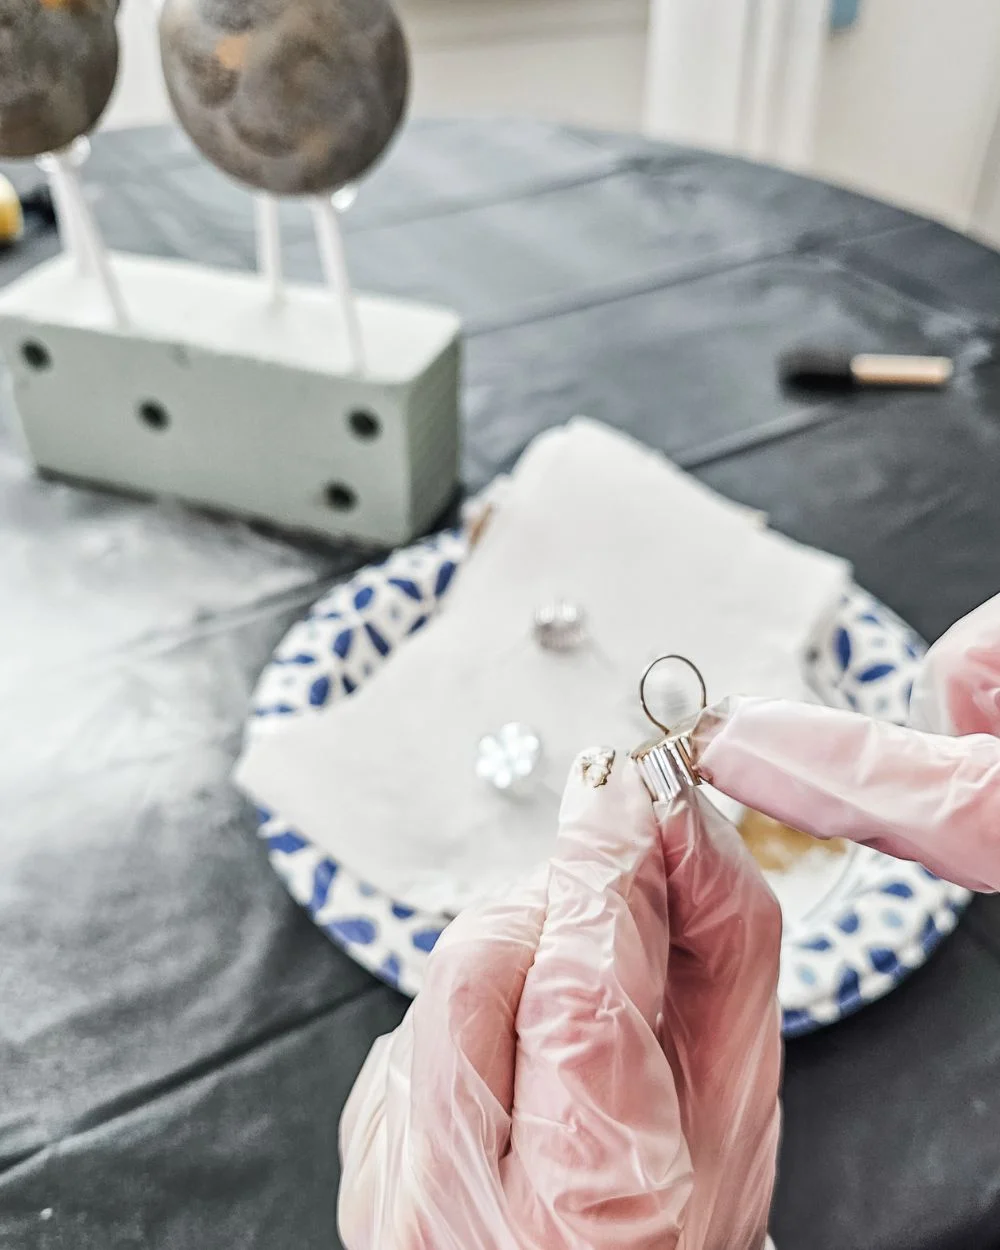
- Remove the hooks. Paint the light shade of acrylic paint all over the ornament. Allow the paint to completely dry.
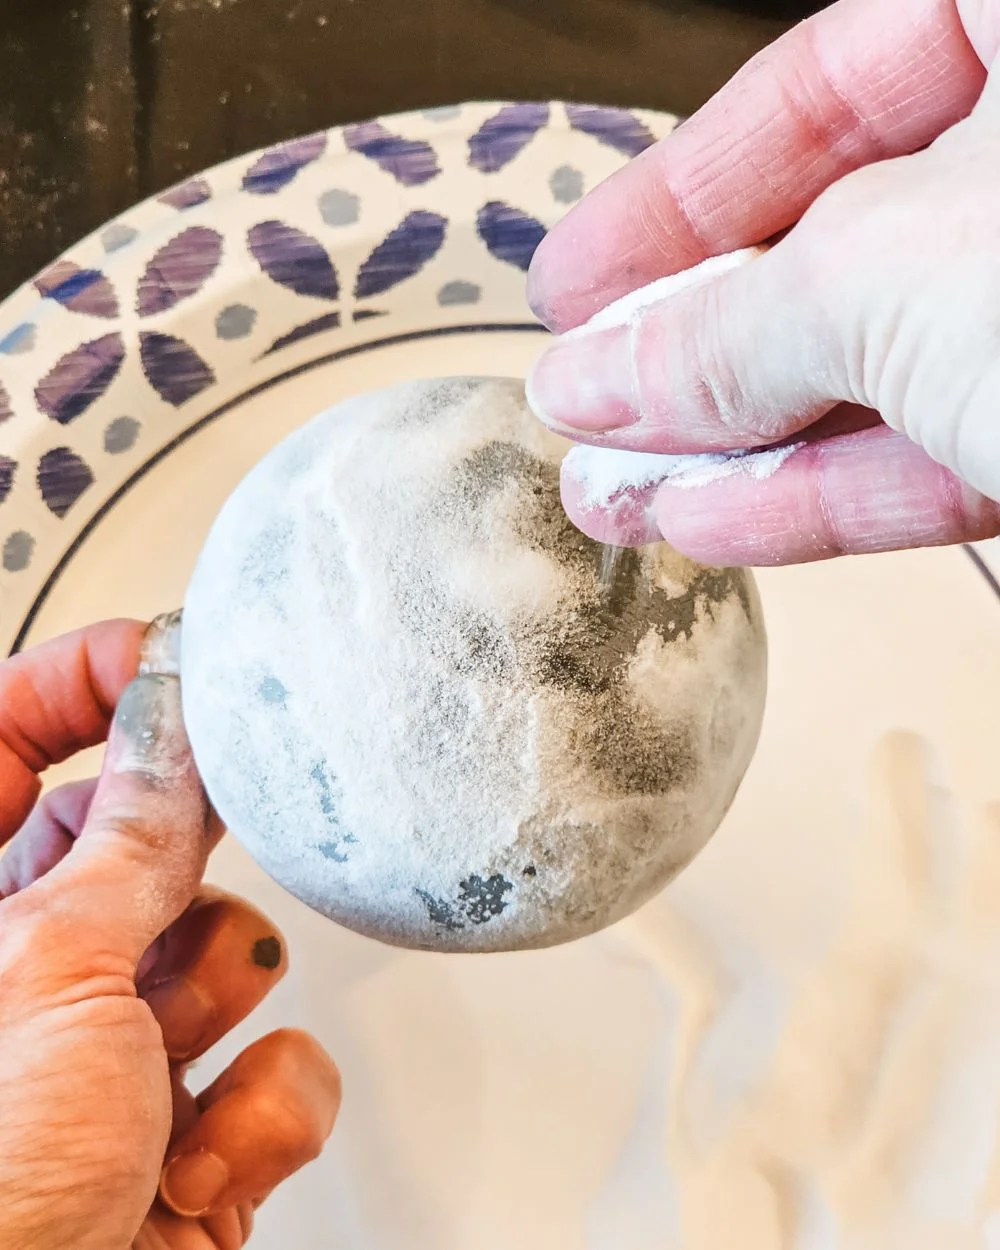
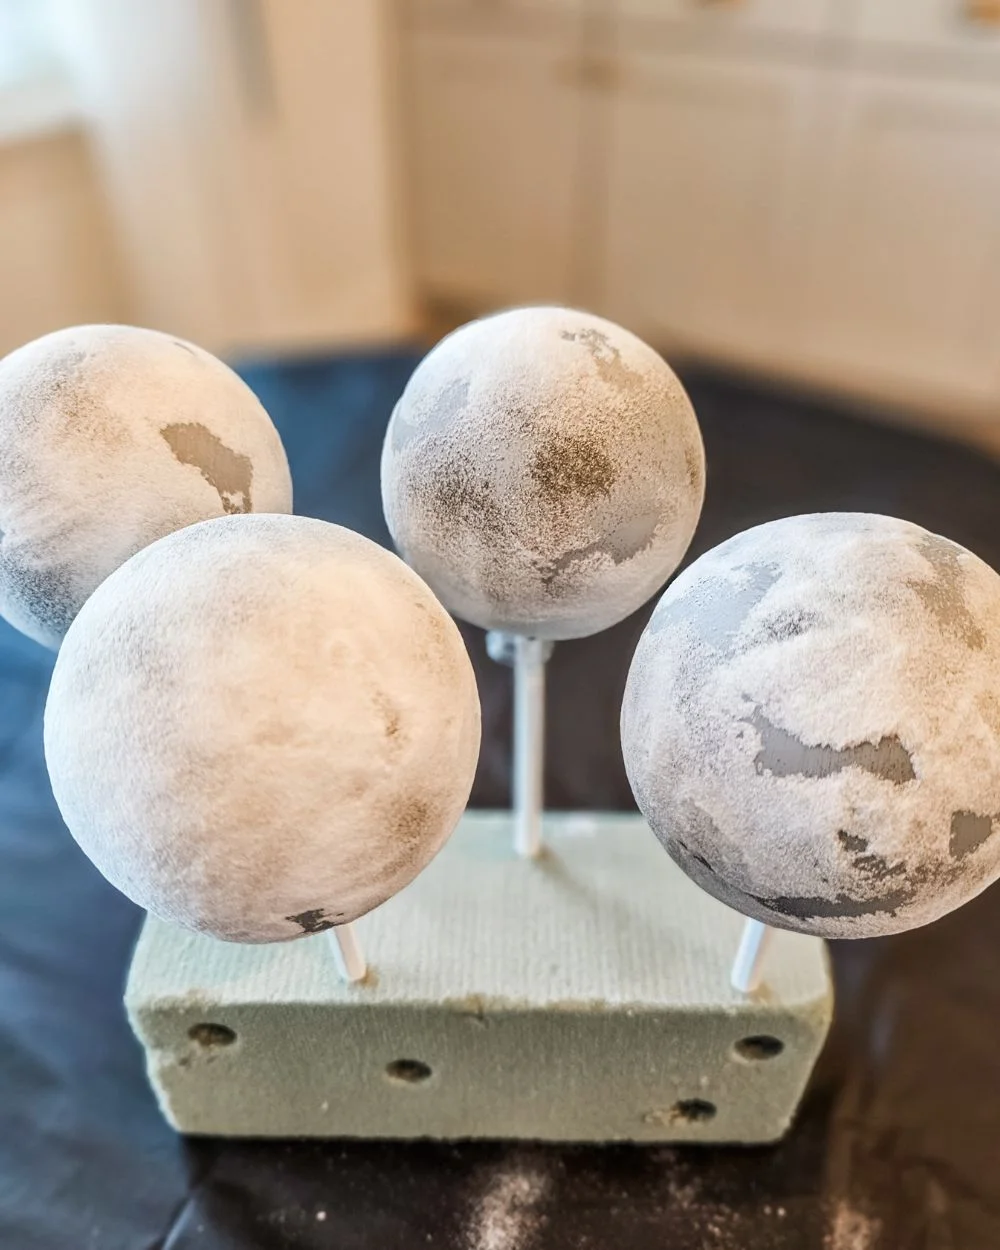
- Use a sponge brush and the darker shade of acrylic paint to sponge/blot darker paint spots all around the ornament. Immediately add baking soda all over the ornament – it will stick to the wet paint and rub onto some of the dry paint as well.
- Once the dark paint is dry, use a piece of paper towel or your hands to rub off excess baking soda from the entire ornament. This will create a rough matte dusty finish and a nice texture.
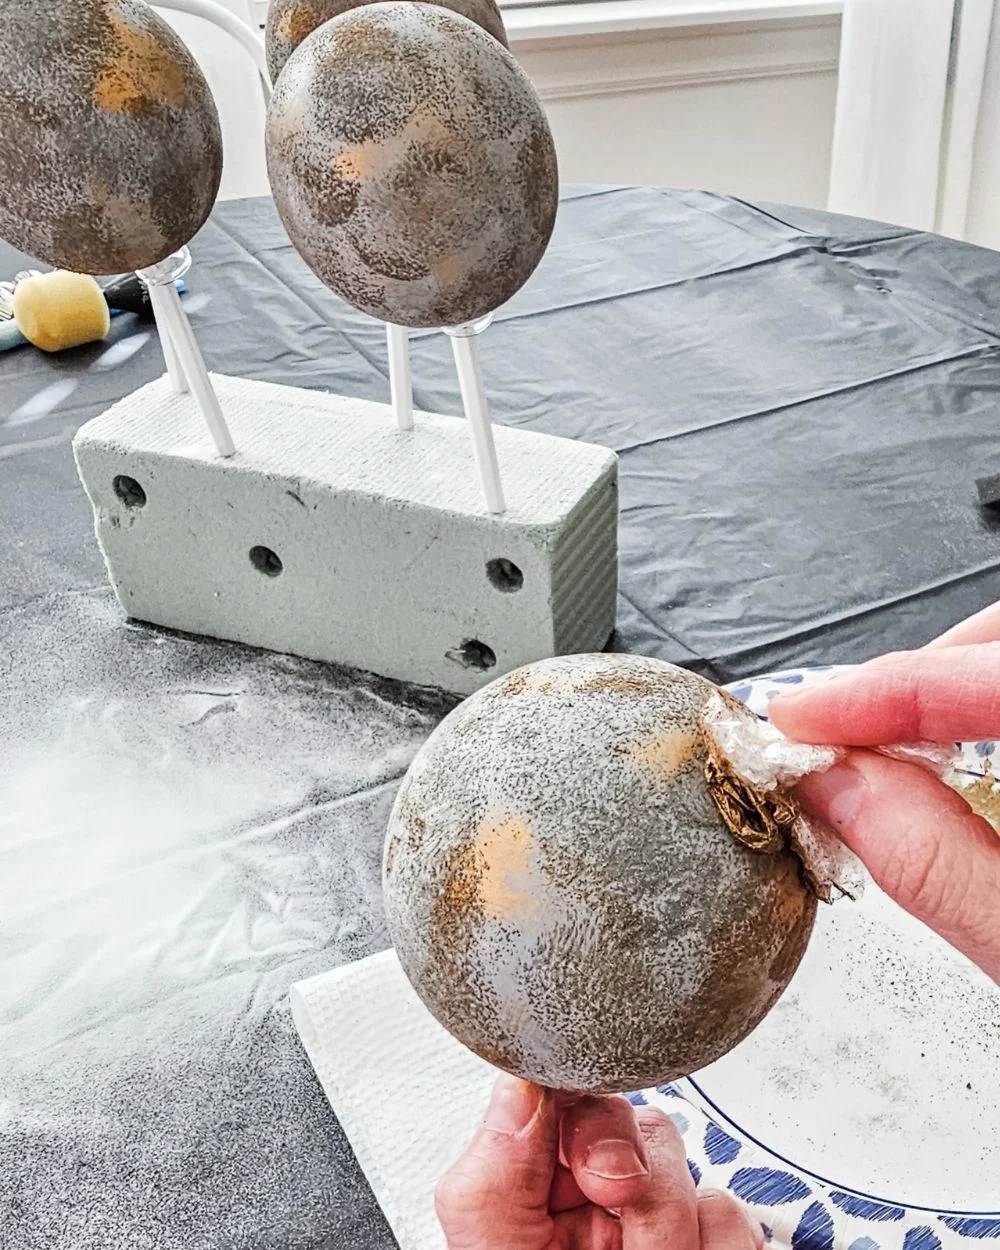
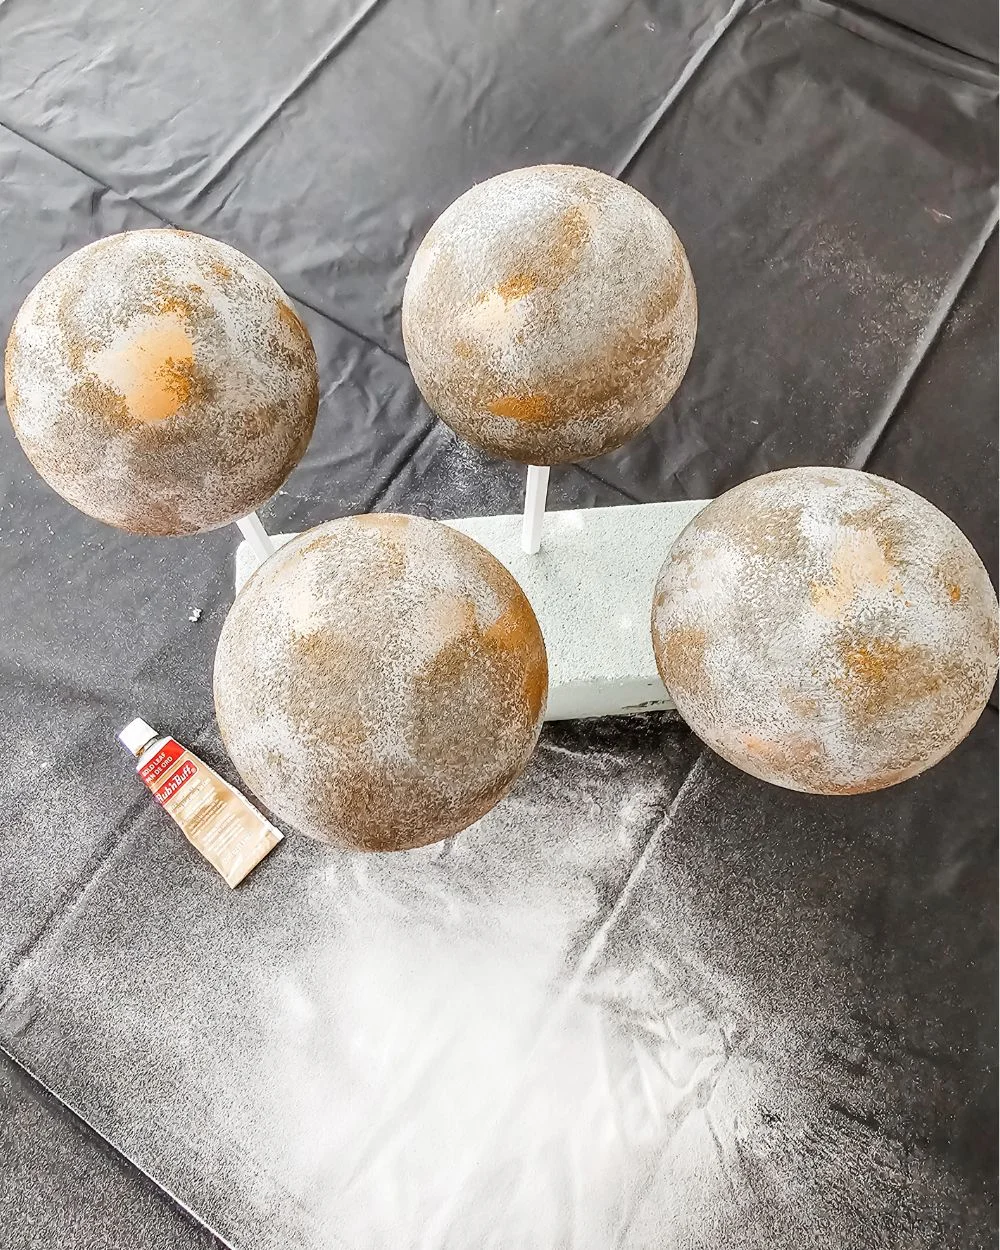
- The final step is to rip off a piece of cling wrap, wad it up to create a sort of stamp/blotter and then lightly apply Rub N’ Buff around the ornament. You can add as little or as much as you prefer. You can also smear it around a bit like I did, but it really only shines over the smooth parts of the original base color. The gold looks darker over the baking soda layer, so I focused on adding it to the base coat. This is the step that you can experiment with and get artistic.
- Finally, if you want to achieve a more high-end look, applying Rub N’ Buff or spray paint the ornament hooks.
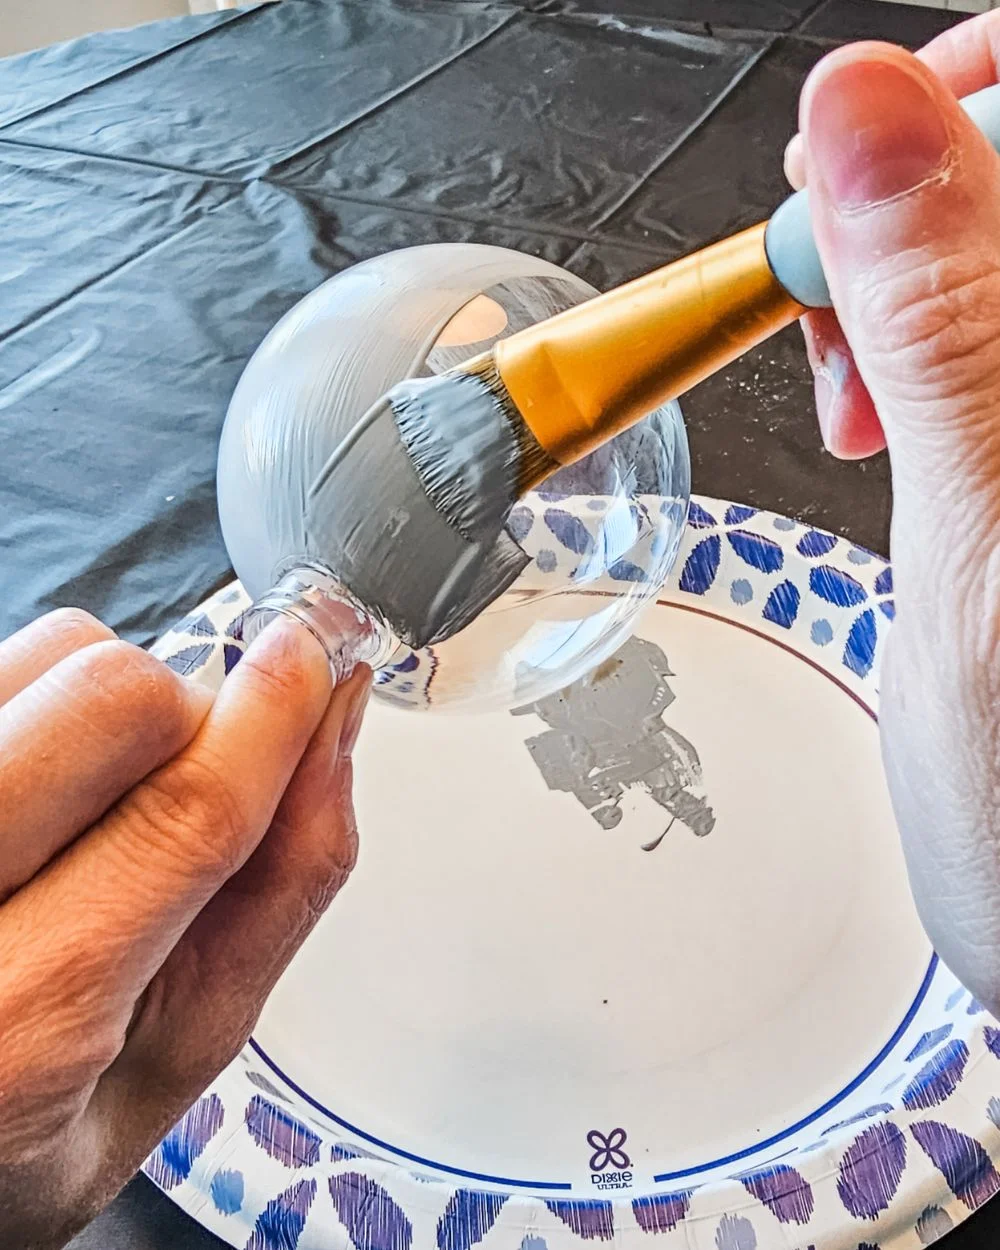
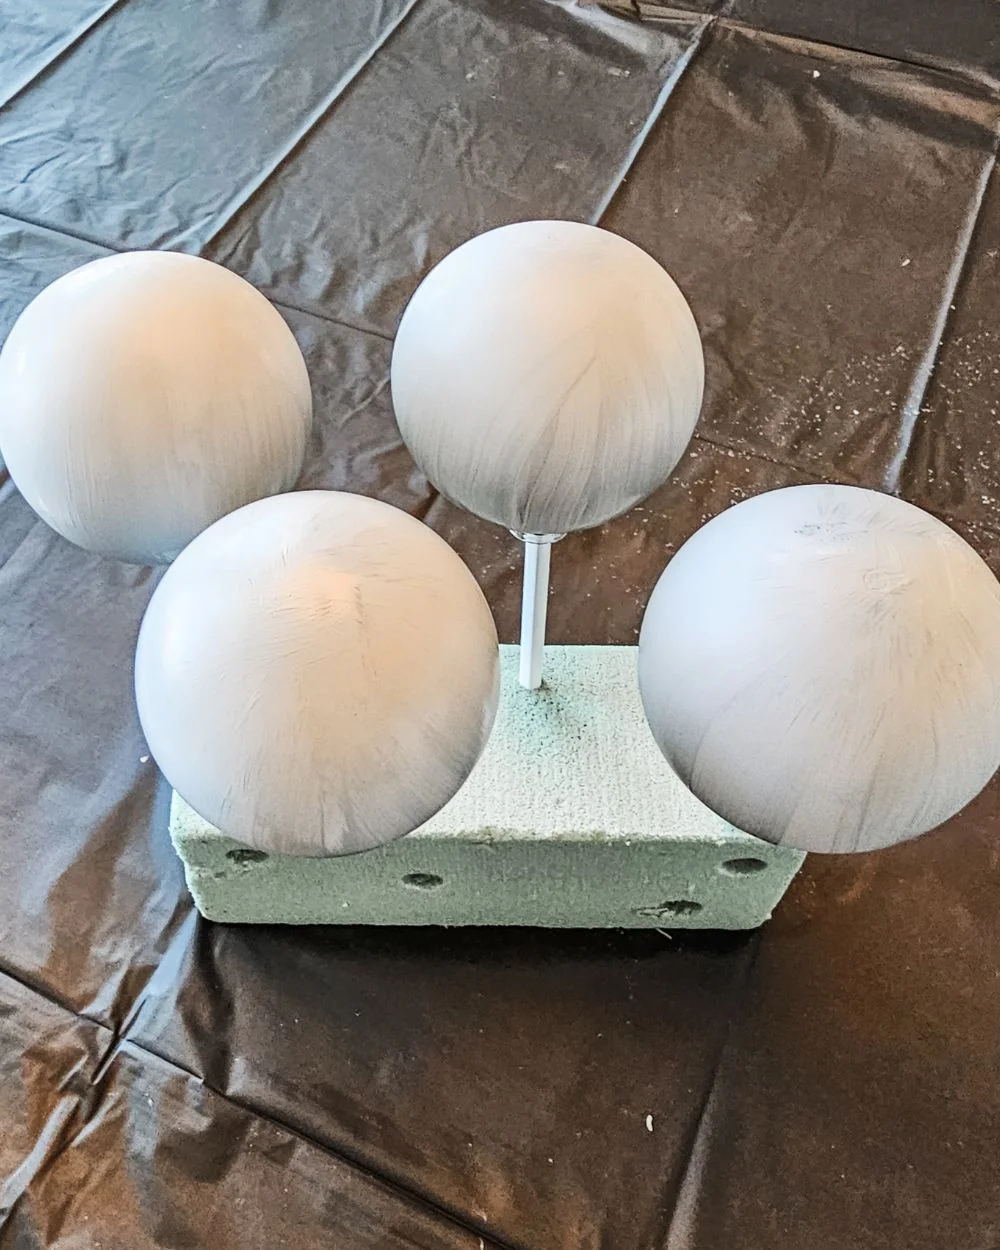
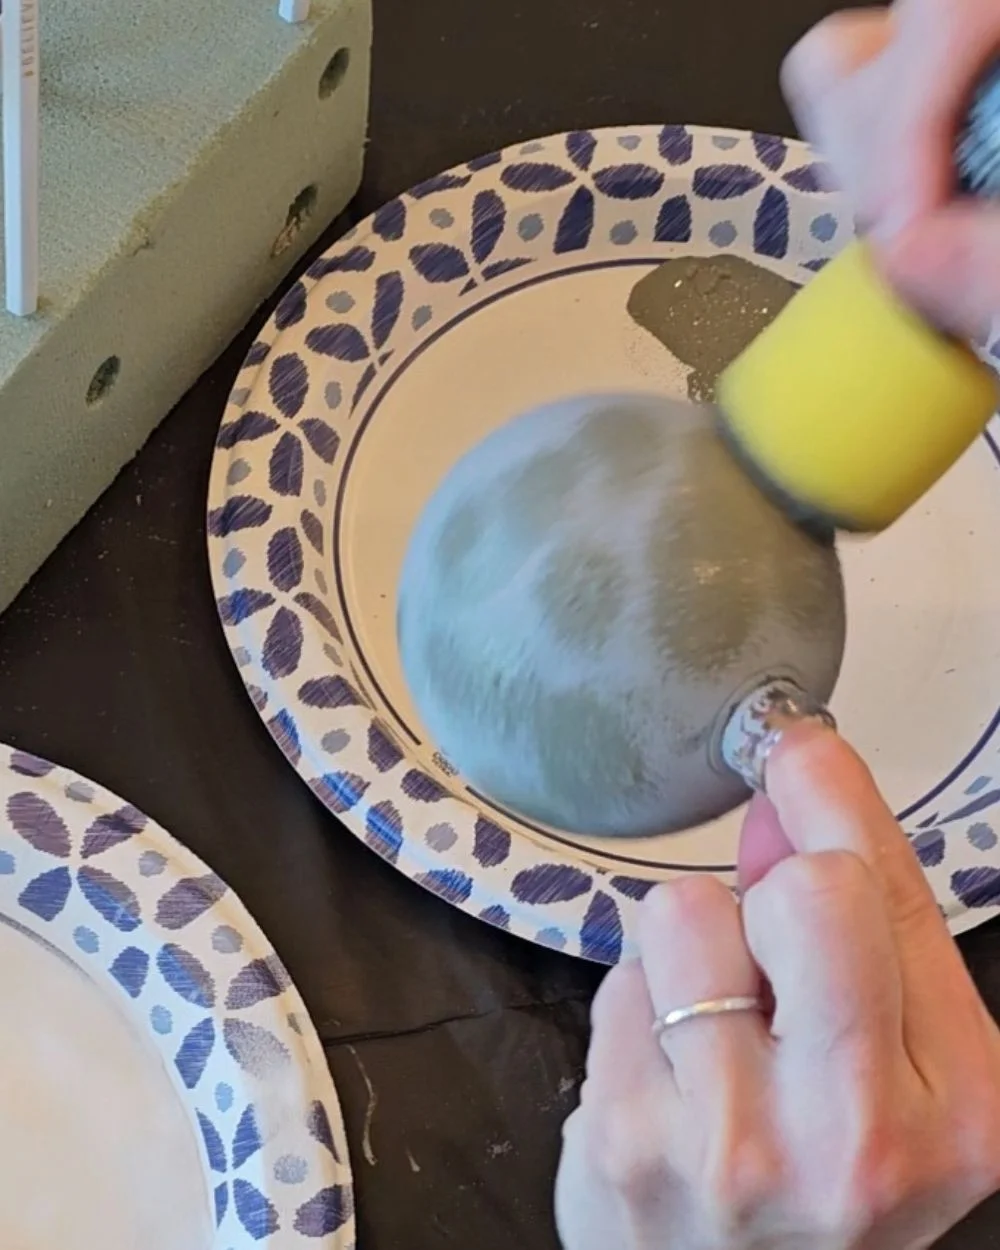
I haven’t tried this baking soda technique using two completely different paint colors because I believe that using two contrasting shades of the same color creates a more natural aged look and effect. However, you can get creative, try using different color combinations, maybe use more than just two colors – have fun, get crafty and decide what you like. These ornaments are also fun to do with kids, except I wouldn’t let younger ones use the Rub N’ Buff.
Like I said before, it’s not even Halloween yet so I don’t have a tree up to show you the final look, but I will shortly, and I will update this blog post. If you want to be notified when the styled photos are done, be sure to subscribe to my free email newsletter. Thanks so much for checking out this post. I really like how the ornaments turned out and I can’t wait to share some more DIY ornaments ideas with you.
POSTED IN: DIY crafts
