Air dry clay crafts

Air dry clay crafts
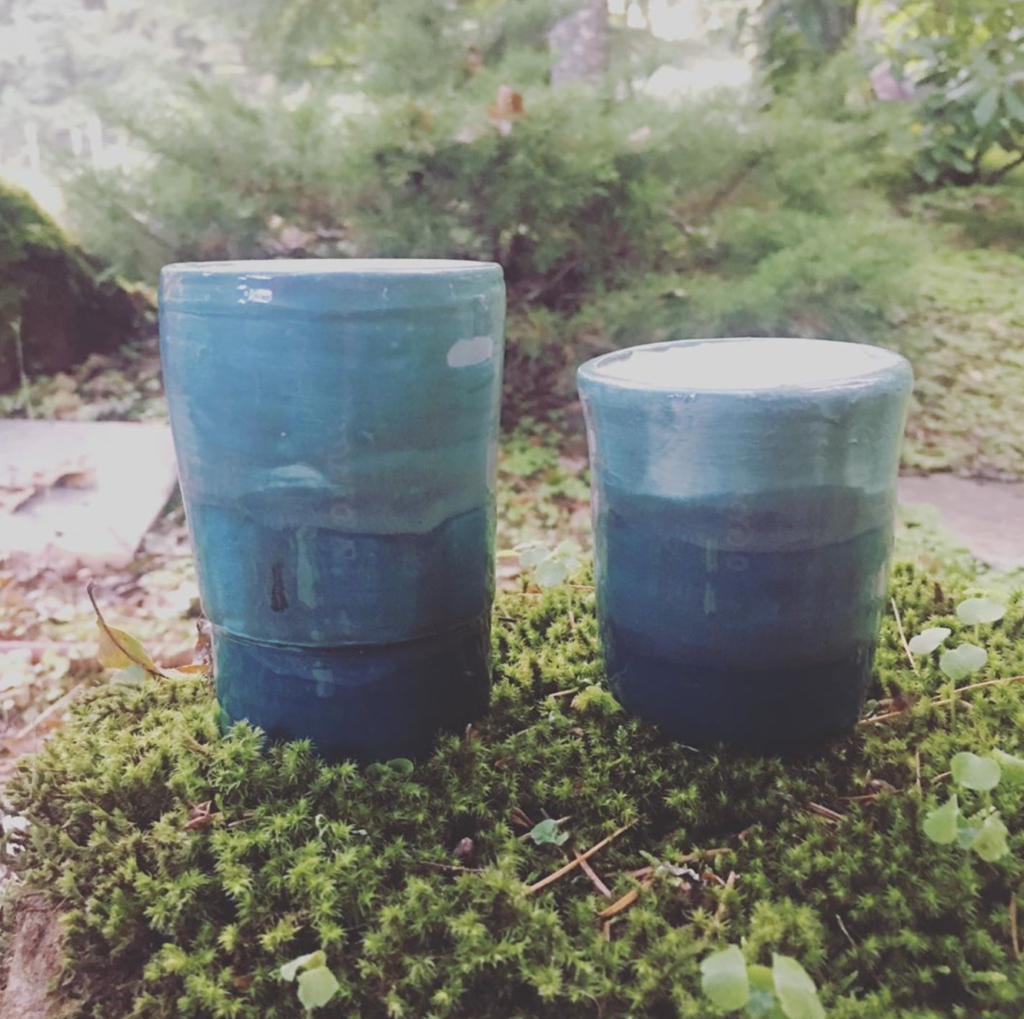
I am far from a potter, I’ll leave that to my sister-in-law, Stephanie. Here’s a sample of her beautiful work below. You can shop her designs on Instagram. Air dry clay is really all I have time for these days.
However, I took pottery in high school and my parents enjoyed my pieces so much that they decided to take a pottery class at the local community college. Then shortly after, they transformed our garage into a studio and purchased a small kiln, wheel, and a lot of glazes. They were busting out pieces left and right, things got a little competitive, and our family gifted pottery pieces for the next few Christmases! Needless to say, they really got into it and I’ve always admired the beauty of hand-thrown pottery.
Air-dry clay is a little different – it feels and handles differently from stoneware clay and it’s not waterproof or safe for eating on (but it is cheap, easy, and doesn’t require extra equipment).
The good news is that, like stoneware clay, air-dry clay can be sanded after it dries – so mistakes can be touched up. You can use toothpicks, foil, and cardboard inside your air-dry sculptures to help form your shape. Air-dry clay is just as messy though – so it may be an outside project for little ones.
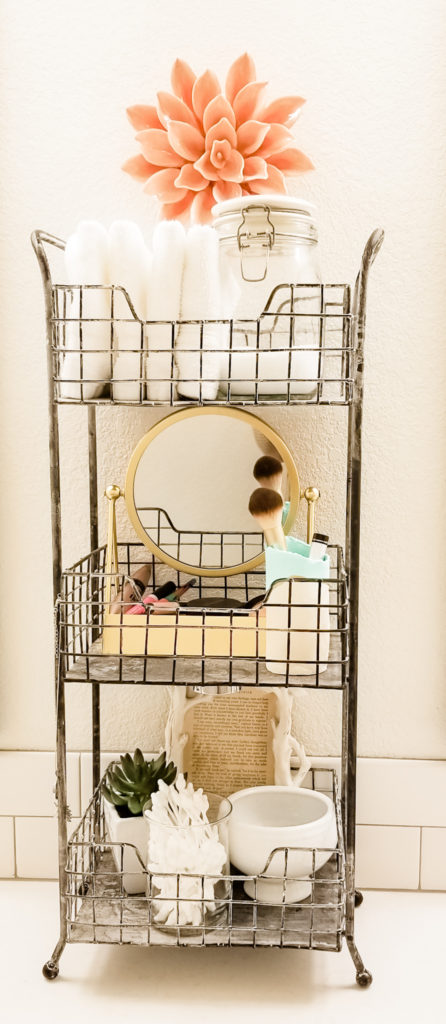
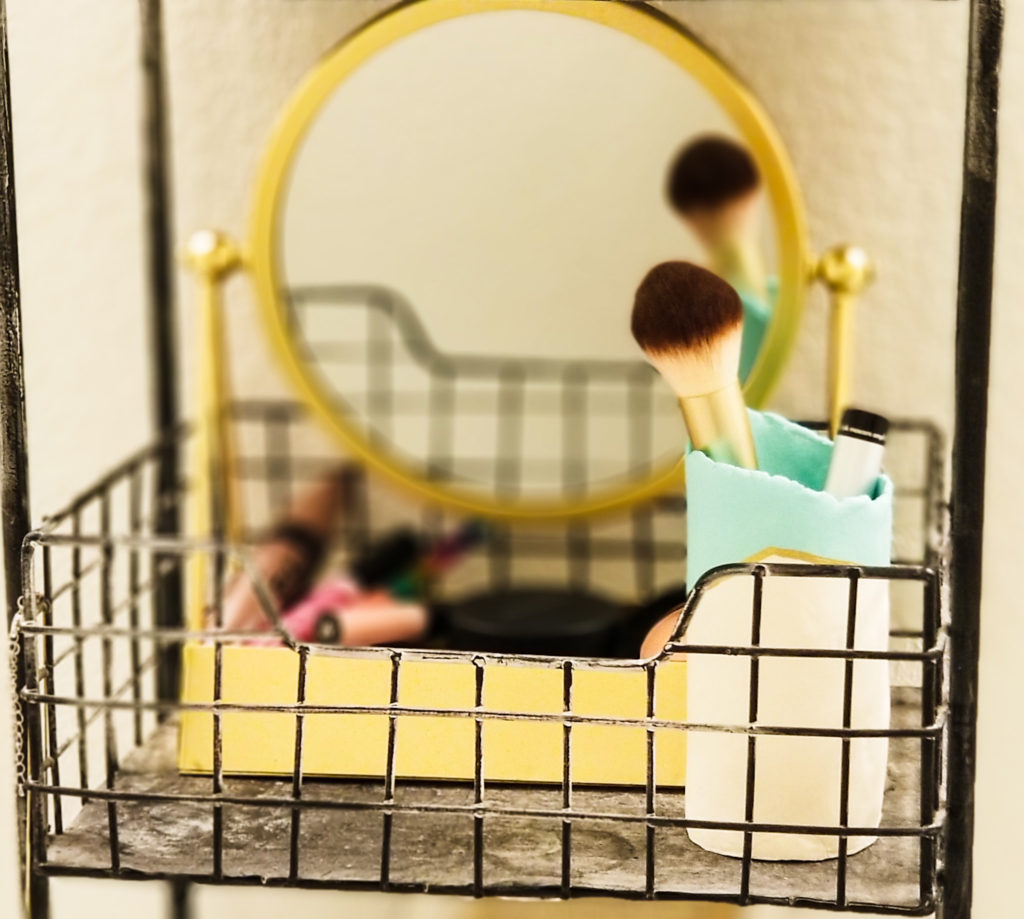
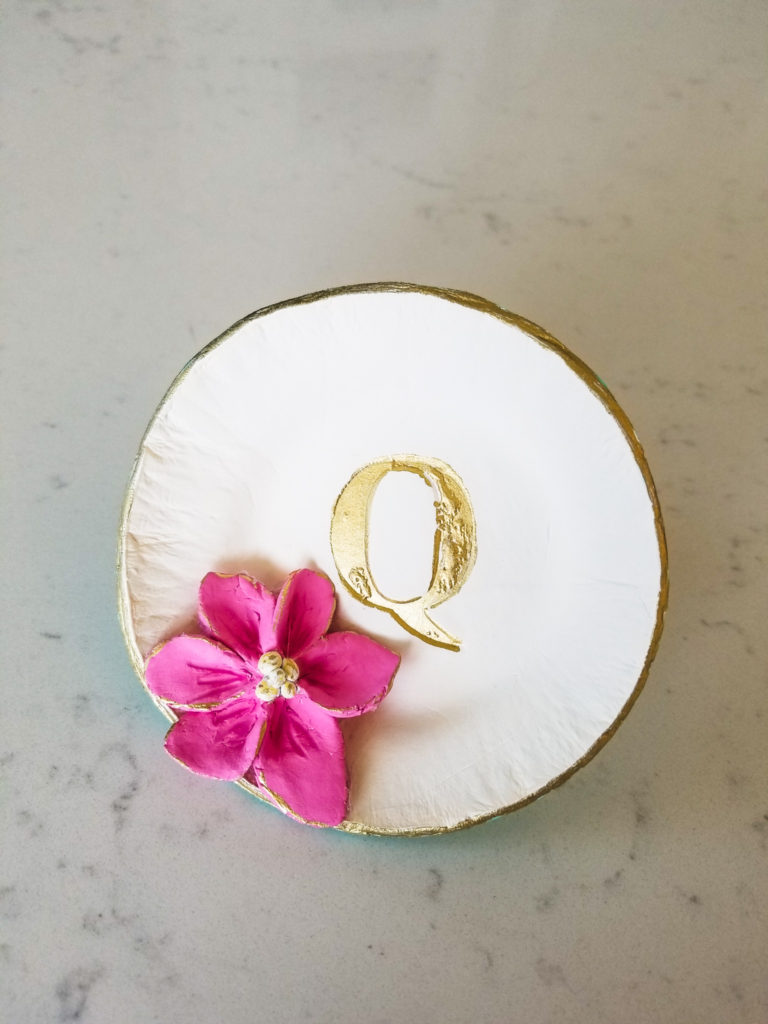
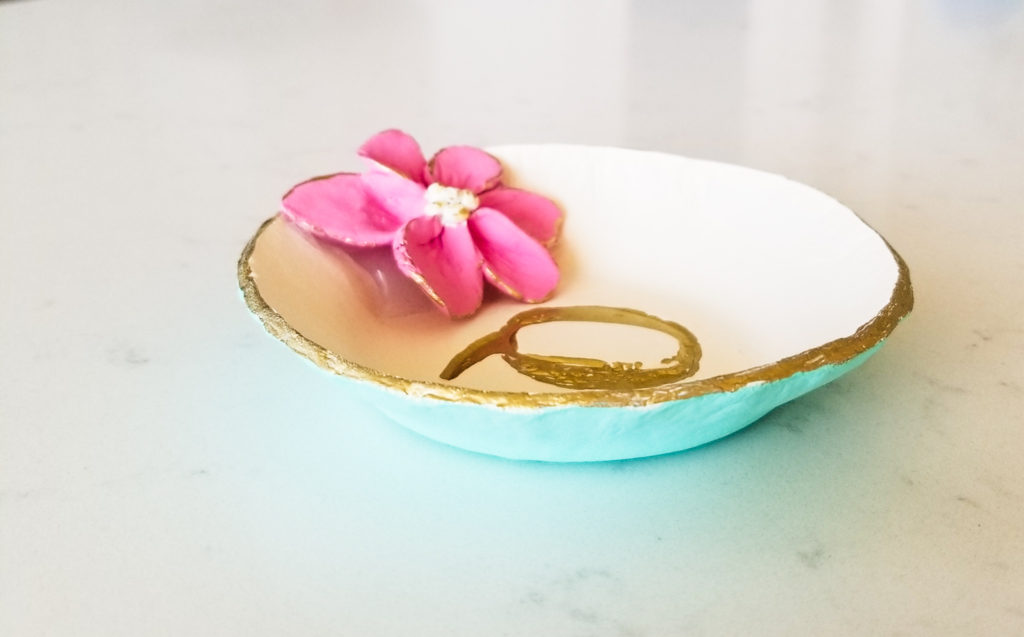
Since I’m not a sculptor, I rolled out the clay and made a utensil holder, a trinket dish, and some festive gift tags for Christmas!
These gift tags are so much fun! They’re lightweight and can be any shape. They can also be used as ornaments. The steps are easy and it’s a fun project to do with the kiddos.

Here’s what you need:
- Air dry clay
- Pigment ink stamp pads (use washable dye inks if kids are participating)
- Stamps
- Wax paper
- Rolling pin
- Skewers, long matches, or something to help roll the clay evenly
- Cookie cutters
- Spatula
- Straw or skewer – something to create a hole
- String/ribbon
If you’re a visual person, I also made a video (scroll down) making the gift tags, it’s a lot like making cut-out cookies. Here are the steps:
- Cut off a piece of clay, and roll it out on a piece of wax paper. Before rolling it out too much, add your sticks on each side to help you roll out an evenly thick piece of clay.
- Stamp your design onto the clay. Be sure to re-ink the stamp between each use. You can stamp the design closely or spaced a bit – depending on how you want the overall design to look.
- Don’t wait for the ink to dry, immediately cut out your shapes. Peel away the extra dough. Use a spatula to remove the cut-out from the wax paper and re-position.
- Use a stick or straw to cut out a hole where you want your gift tag to hang. Make sure that all corners are laying flat, if not gently push them down so that they dry in this position.
- Wait for clay to dry – usually 24 hours. You can sand, file, or scrape with your fingernail any rough spots or edges. You may need to turn your piece to get all sides dry.
- Hang using any string, yarn, ribbon, etc. you want. I use a sharpie marker to write the recipient’s name on the back of the tag. They can also use it as an ornament next year.
Musician: Fugue

POSTED IN: DIY crafts
Let's be friends!
Related Posts


Search
Categories
Subscribe
Get the latest posts, discounts, and design inspiration right to your inbox.
