Sensational merry and bright Christmas tree

Sensational merry and bright Christmas tree
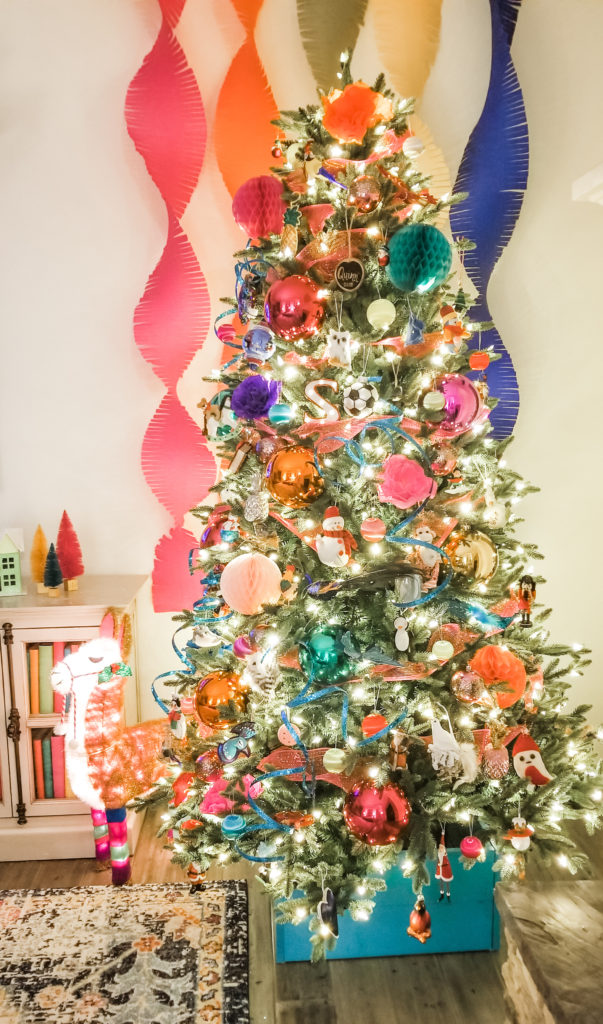
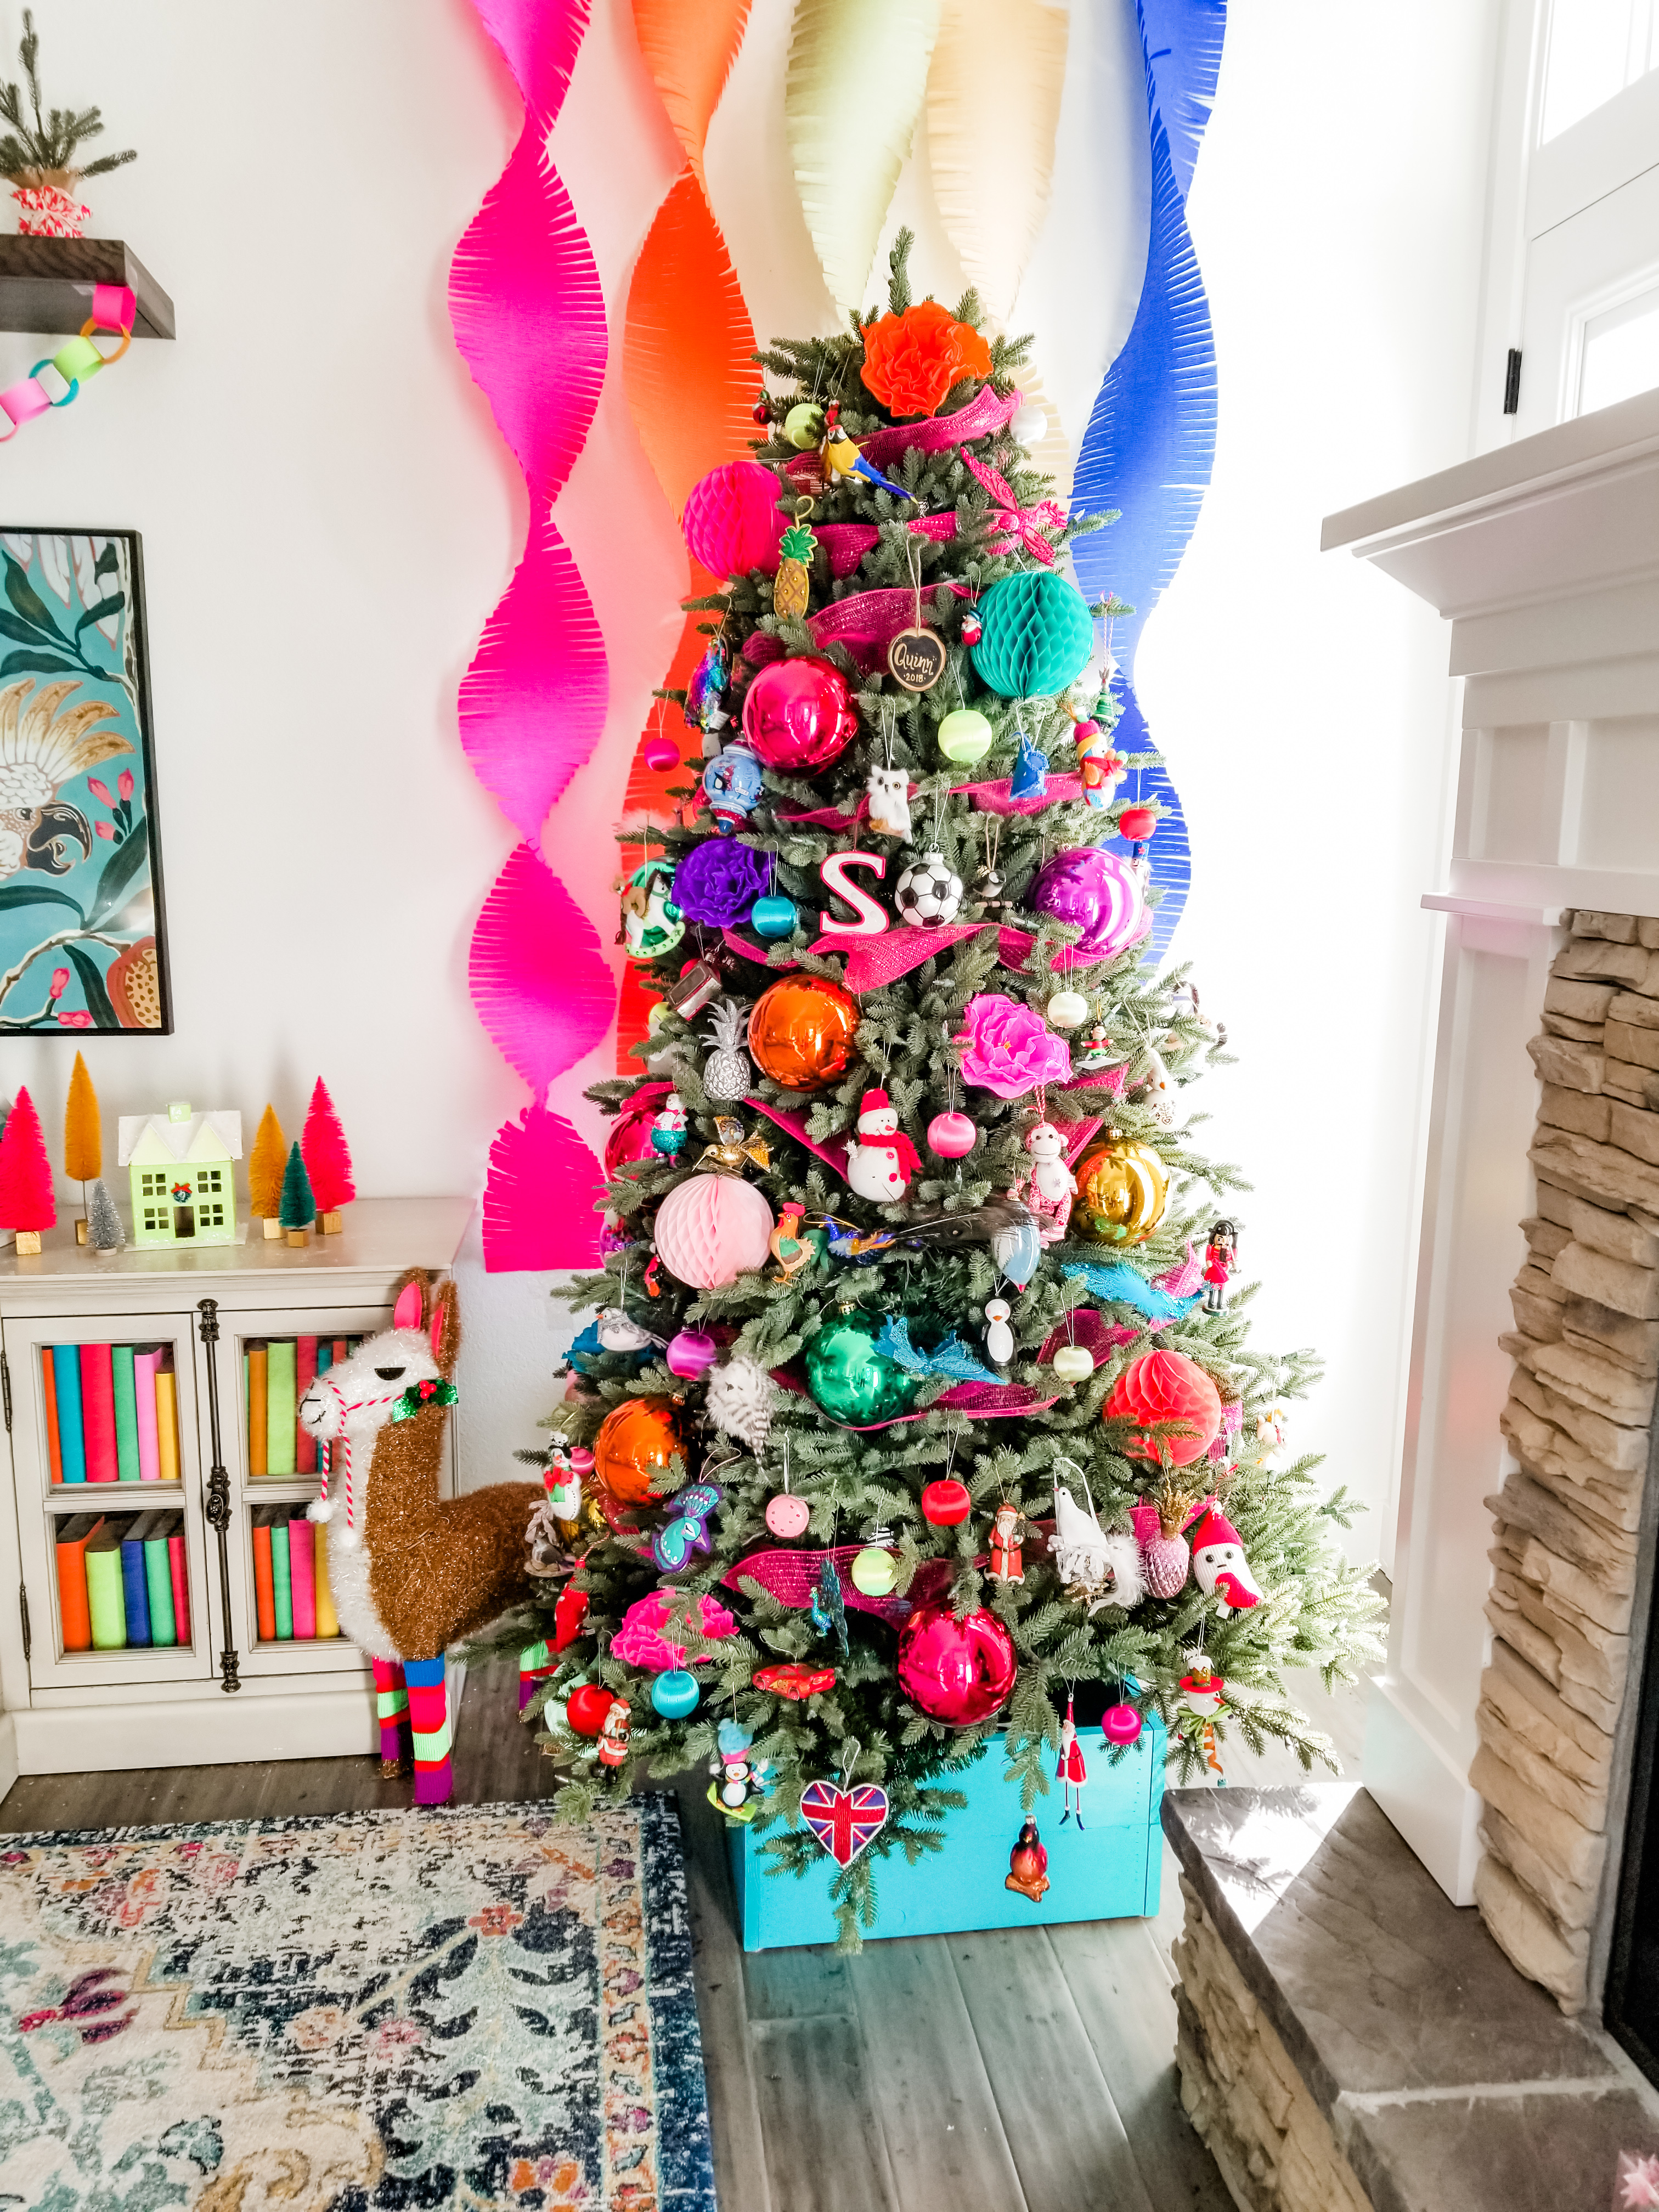
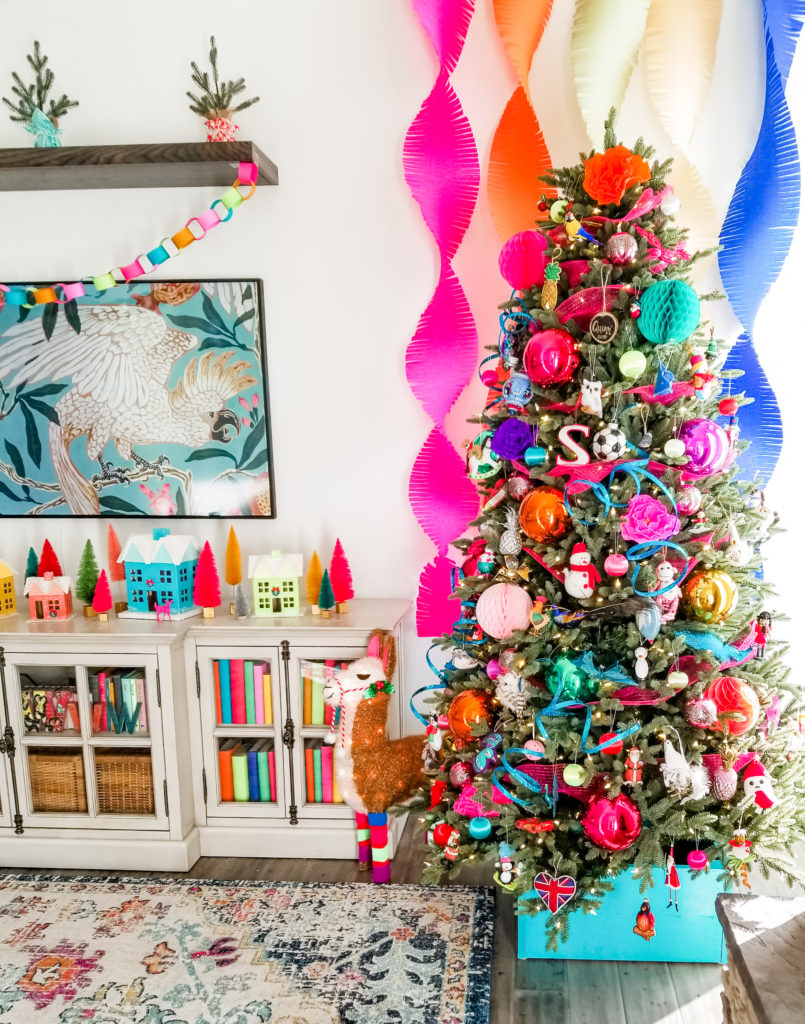
This year, our Christmas decor is all about being merry and bright. There’s something about decorating for the holidays that raises spirits and energizes the soul. There’s also something about lots of colors, glitter, and whimsy that makes Christmas come alive. I hope our sensational merry and bright Christmas tree inspires and delights you.

Sensational merry and bright Christmas tree

DIY Christmas tree crate
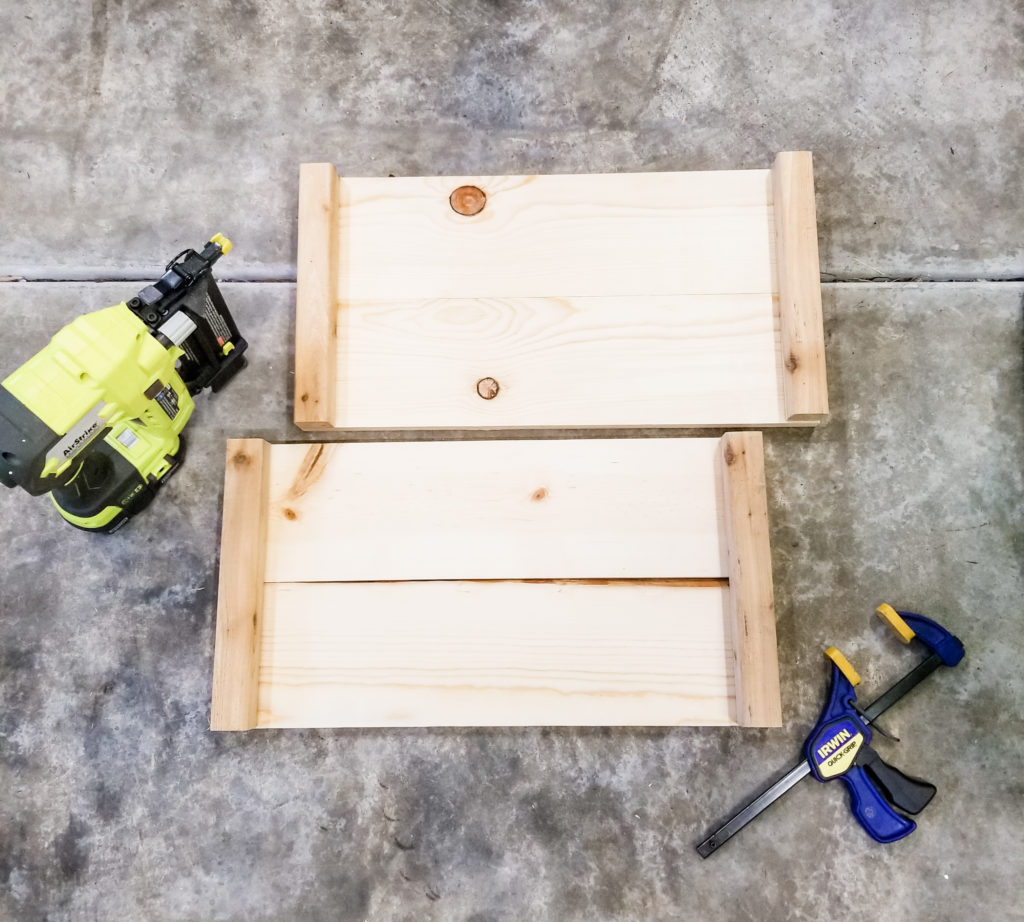
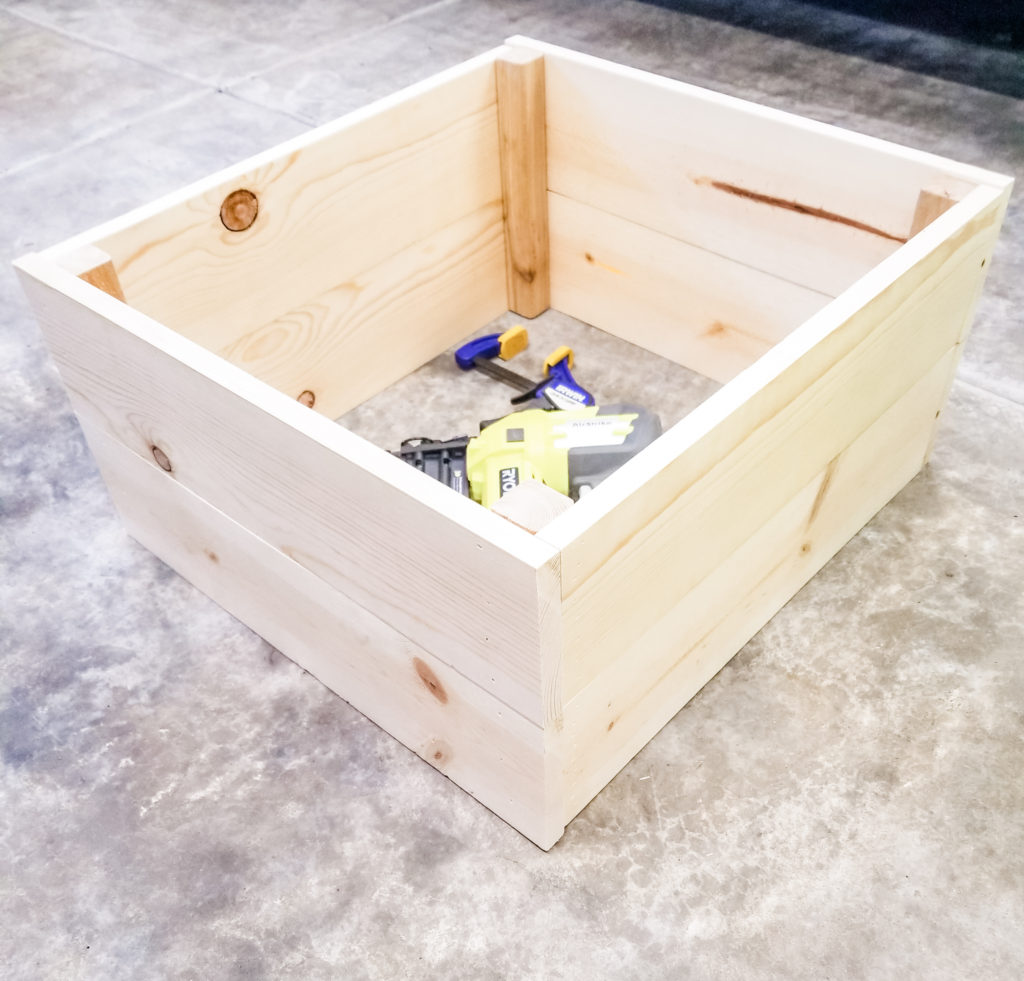
I have used our tree skirt for over ten years now, and while I still love it, I wanted to try something new this year. I love the galvanized metal or wicker tree collars, but I didn’t think it would fit with this decor style. So, with the help of my sweet husband, Jeremy, we made a tree crate.
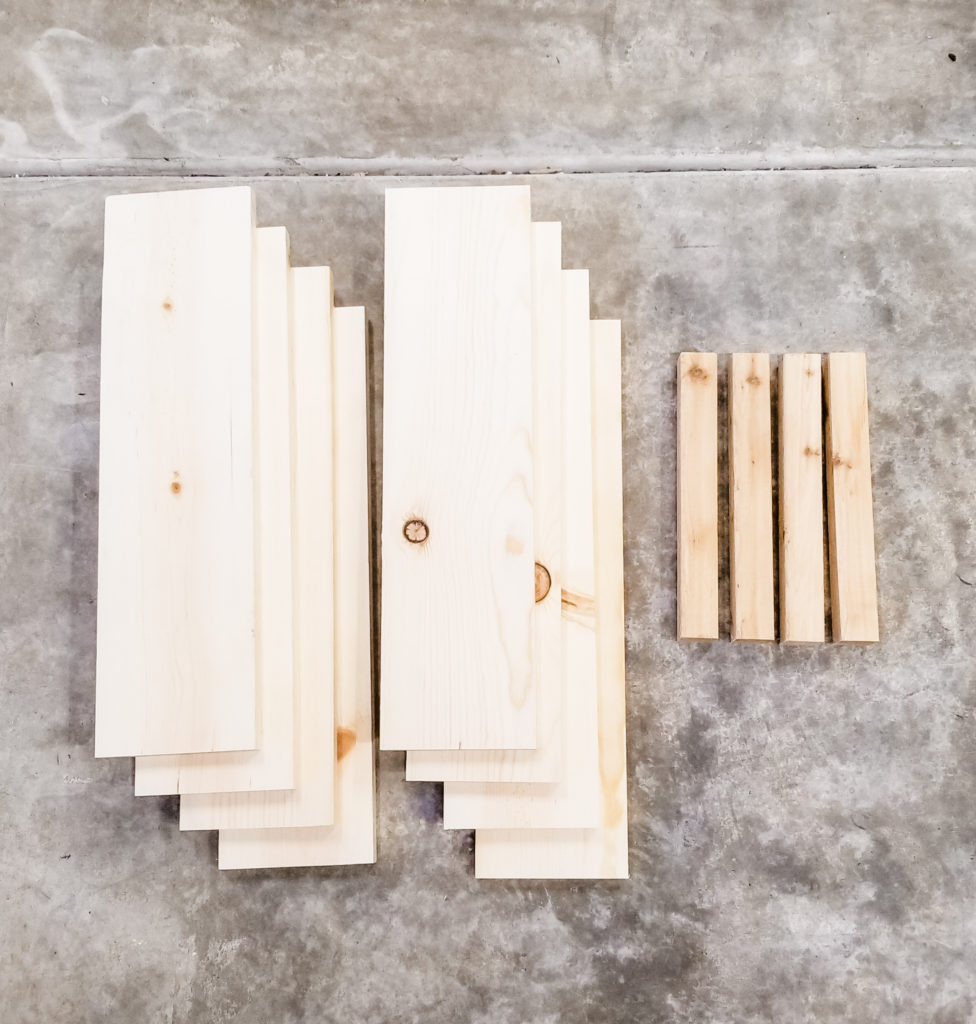
I measured the base of our artificial tree and determined how much wood we’d need. Jeremy made all the cuts for me and then I just used a brad nail gun to assemble it. Once assembled, I spray painted it to add even more color to our merry and bright Christmas decor.
I can imagine a reclaimed wood tree crate would be beautiful, very vintage and rustic. Or a bare pine tree crate would look great in a boho home. You could even paint your crate simply for a more traditional look.

DIY fringe backdrop
This is my new favorite backdrop – it’s so inexpensive, easy to do, and makes such an impact. There are many colors to choose from, but seasonal colors do sell out, so plan ahead. You’ll just need sharp scissors and packing tape to hang it on the wall. This crepe paper fringe would make a great photo booth backdrop!
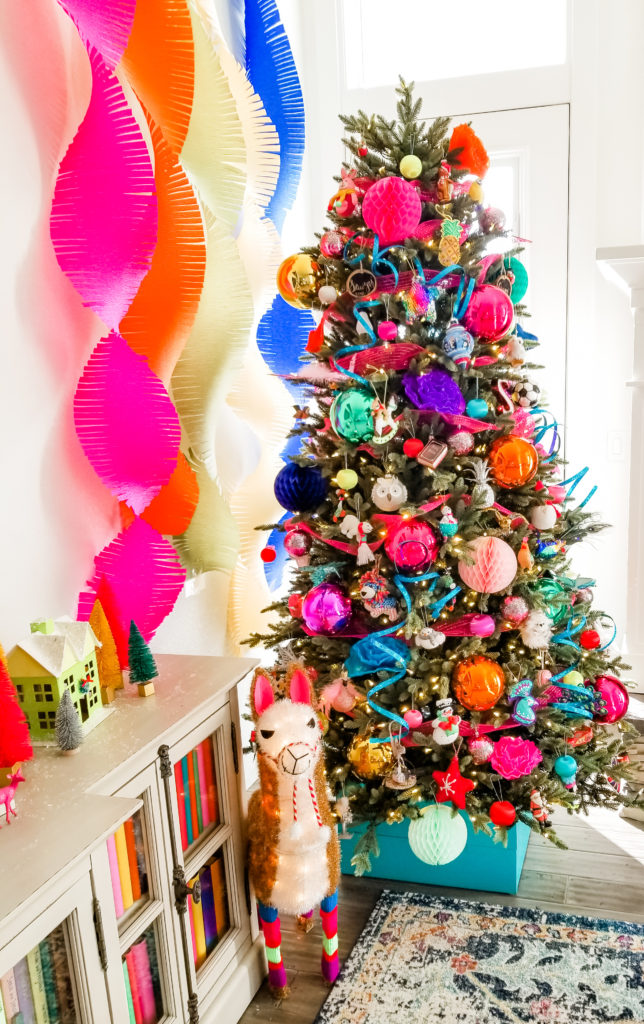
Just fold the eight foot length several times without creasing the folds and cut half inch cuts 1/3 of the way in. You’ll repeat this on the other side – leaving the middle third uncut. Once the entire length has it’s half inch cuts, tape the top to the wall and then gently twist several times. Tape the bottom to hold it in place and continue until your space is covered.
Easy tree decorating steps
When I decorate a tree, I add decor in stages and there’s a bit of strategy with my organization. You can see what I added to the tree at each stage:


We are loving our tree! The girls helped place the small ornaments (under my direction) and felt proud of what we created. However you decorate your tree, I hope you enjoy decorating it with family and creating something of beauty to enjoy this season! I would love to see your tree posted on Facebook – to inspire and encourage others.
More merry and bright inspiration
- Easy hot cocoa bar + free printable
- DIY colorful Christmas village
- Easy DIY Christmas mantel decor
- Simple merry and bright tablescape
- Free printable gift tags
- Colorful Christmas home tour

POSTED IN: DIY crafts
Let's be friends!
Related Posts


Search
Categories
Subscribe
Get the latest posts, discounts, and design inspiration right to your inbox.
