How to Refinish Chairs the Easy Way

How to Refinish Chairs the Easy Way
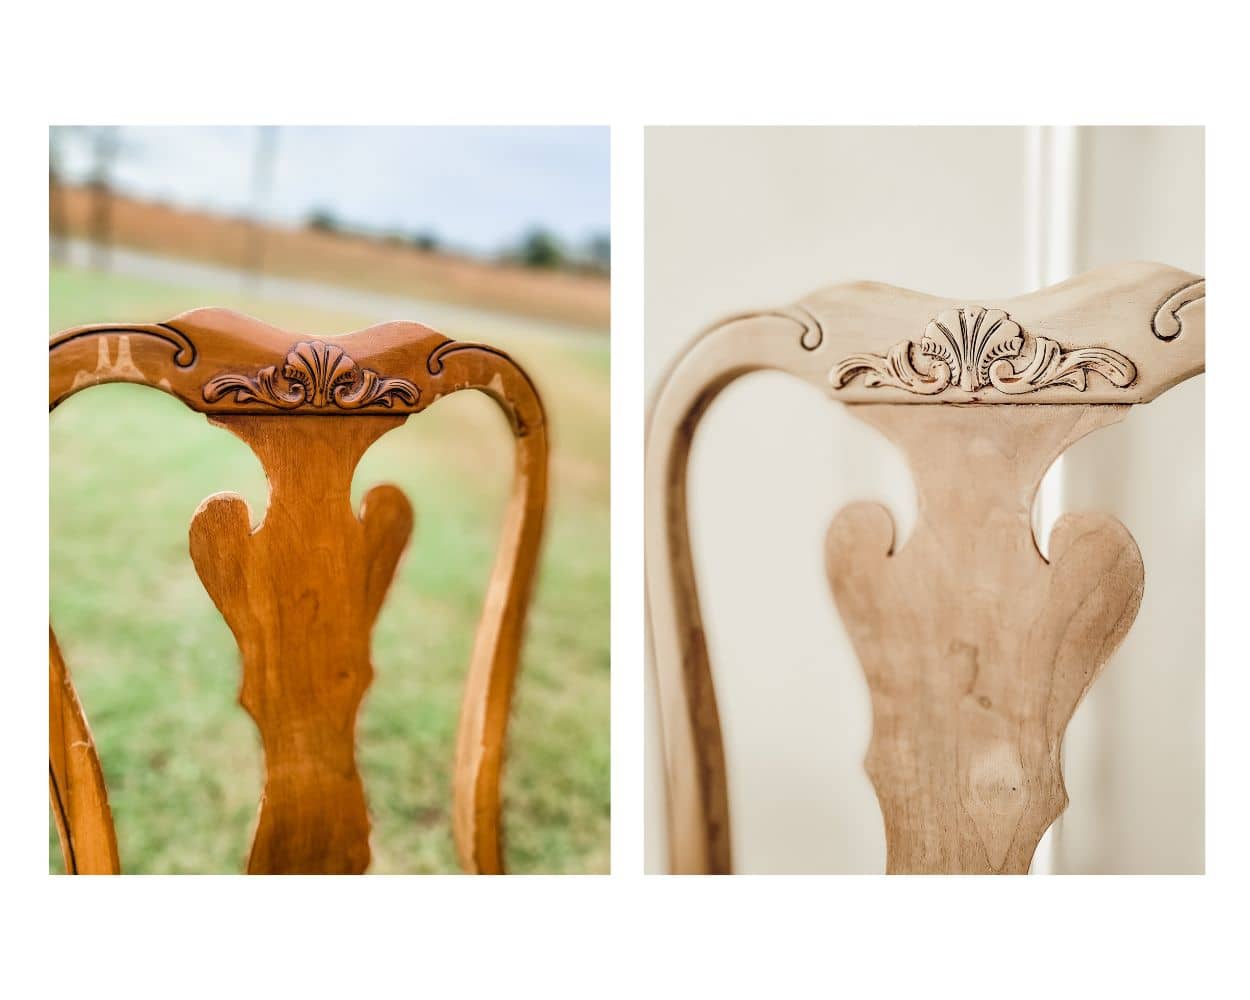
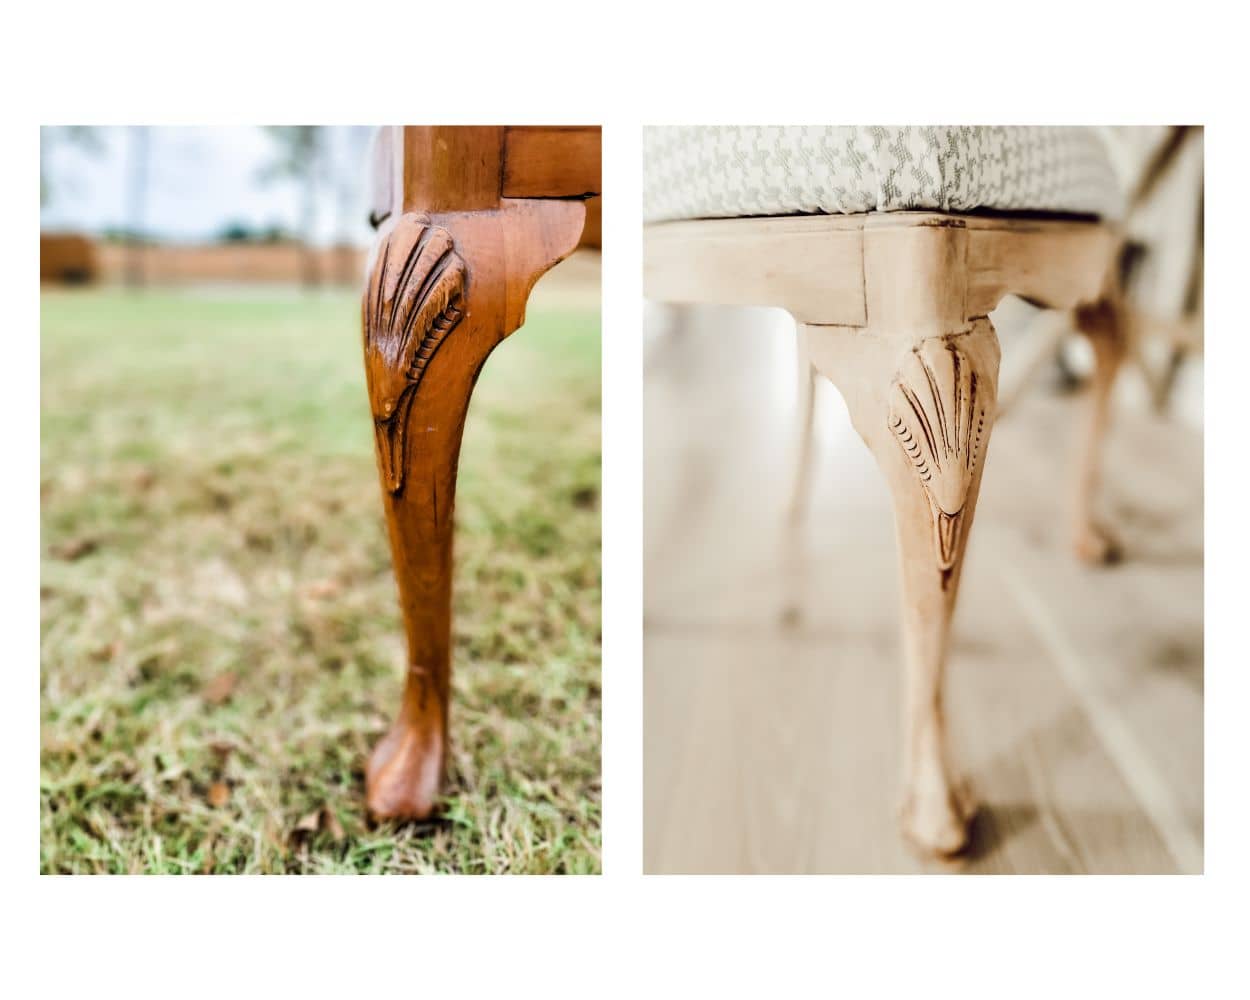
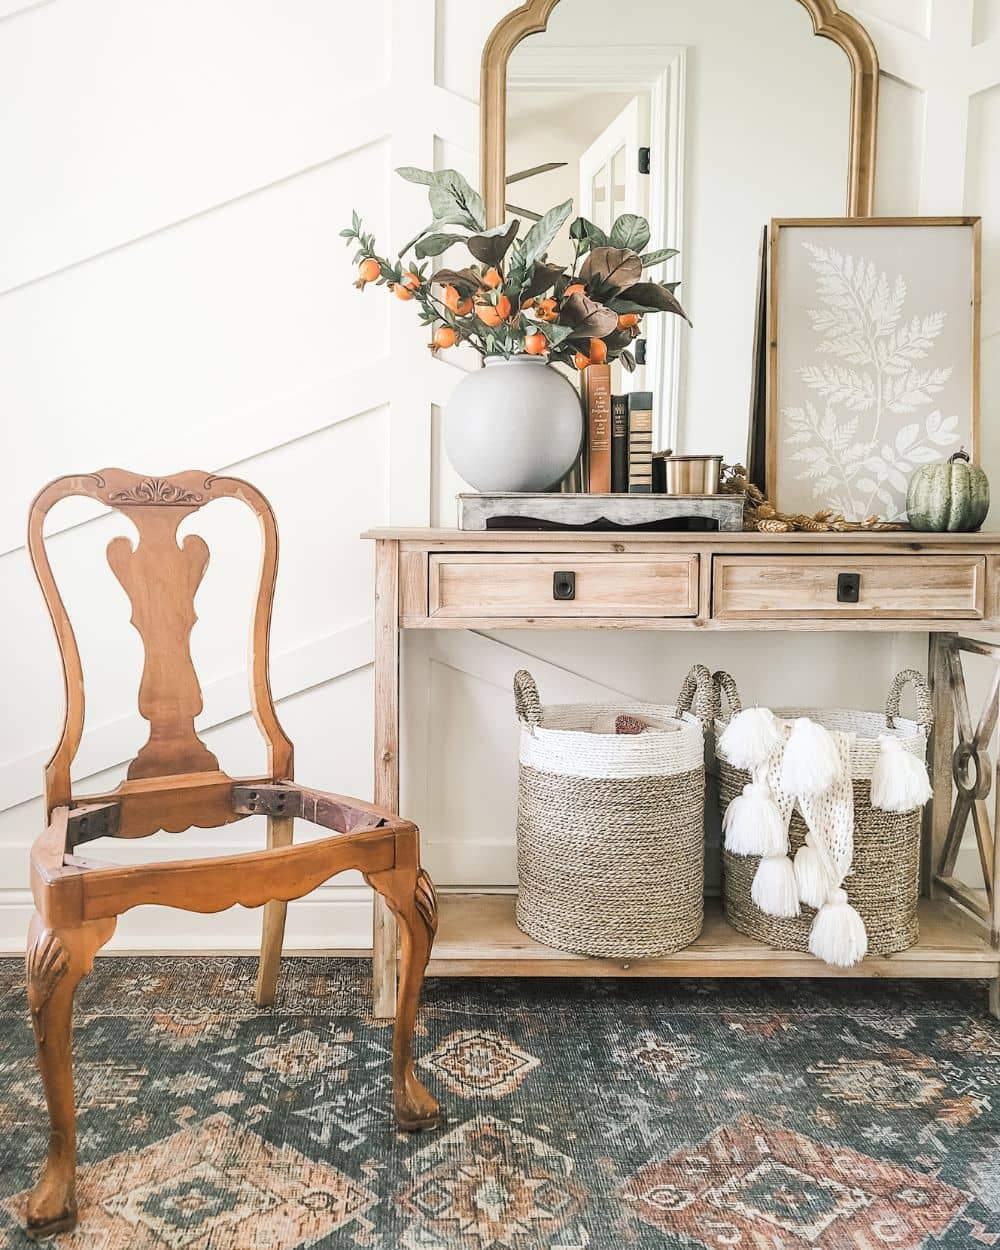
For several years now there has been a trend using oven cleaner to strip stained wood furniture. After thrifting this seatless chair with a shiny orange red finish, I knew it was the perfect piece to test the oven cleaner method on. If you’re interested but hesitant in trying out this method, you could test it on a frame or something small. I’m very happy with the results and love that this old sturdy chair looks great in my home and functions well too.
I went to Walmart to buy the oven cleaner and was really just looking for the cheapest stuff I could find. I figured that if this technique didn’t work, I have my Citristrip on hand to finish the job if need be. One thing I knew going into this was that the fume free oven cleaner may take more applications. The low fume version also may not remove the redness as well on some woods. That could be true with the regular oven cleaner as well, but you never know until you try it. I wasn’t worried about the fumes because I completely believe that this project should be done outside, away from people, animals, and plants, but it was all Walmart had available, so I got it. For my project, one application was enough. I also wore a mask and protective gloves (and should have worn protective eye wear the whole time too).
To get the chair ready, I gave it a light sanding using a 180-grit sanding sponge. It seemed like the oven cleaner could work better if I removed some of the clear coat to start. I don’t think this step is necessary, but it didn’t hurt either. Make sure to not spray the oven cleaner on a windy day, but make sure you’re outside because you’ll need to thoroughly rinse the cleaner off when done. For this furniture makeover, I didn’t just strip the chair; I also cut a new seat and upholstered it.
I created a 14-minute video to show how I refinished this chair from start to finish. As I write this blog post, I’m sitting in the chair and I’m very happy with the comfort of the firm foam cushion and how the height works so well at my desk. For the cost of the products used and the $10 thrifted chair, I consider this DIY a win and look forward to rescuing other cool chairs. I would love to have a She-shed or barn space to hold Bible studies, luncheons, DIY parties, etc. and I can just picture a craft table with beautiful restored mismatched chairs around it. Future goals for this crafty girl~
Below you will find the video tutorial as well as links to the exact products I used for this chair makeover. I only used a few power tools, a drill gun, jigsaw, and staplegun, but if your chair has the original seat then you won’t need a saw. This project was so much fun, and the results make me so happy. I highly recommend trying it out but be sure to wear safety gear and always be mindful of using harsh chemicals. Oven cleaner is about $5, so it’s an incredibly affordable and fast way to strip furniture.

Video tutorial
Shop this post
scrub brush (Dollar Tree)
This post may contain affiliate links. This means I may receive a small commission from each purchase, at no cost to you. As an Amazon Associate, I may also earn from qualifying purchases. Thank you for using my links to help keep this blog going!

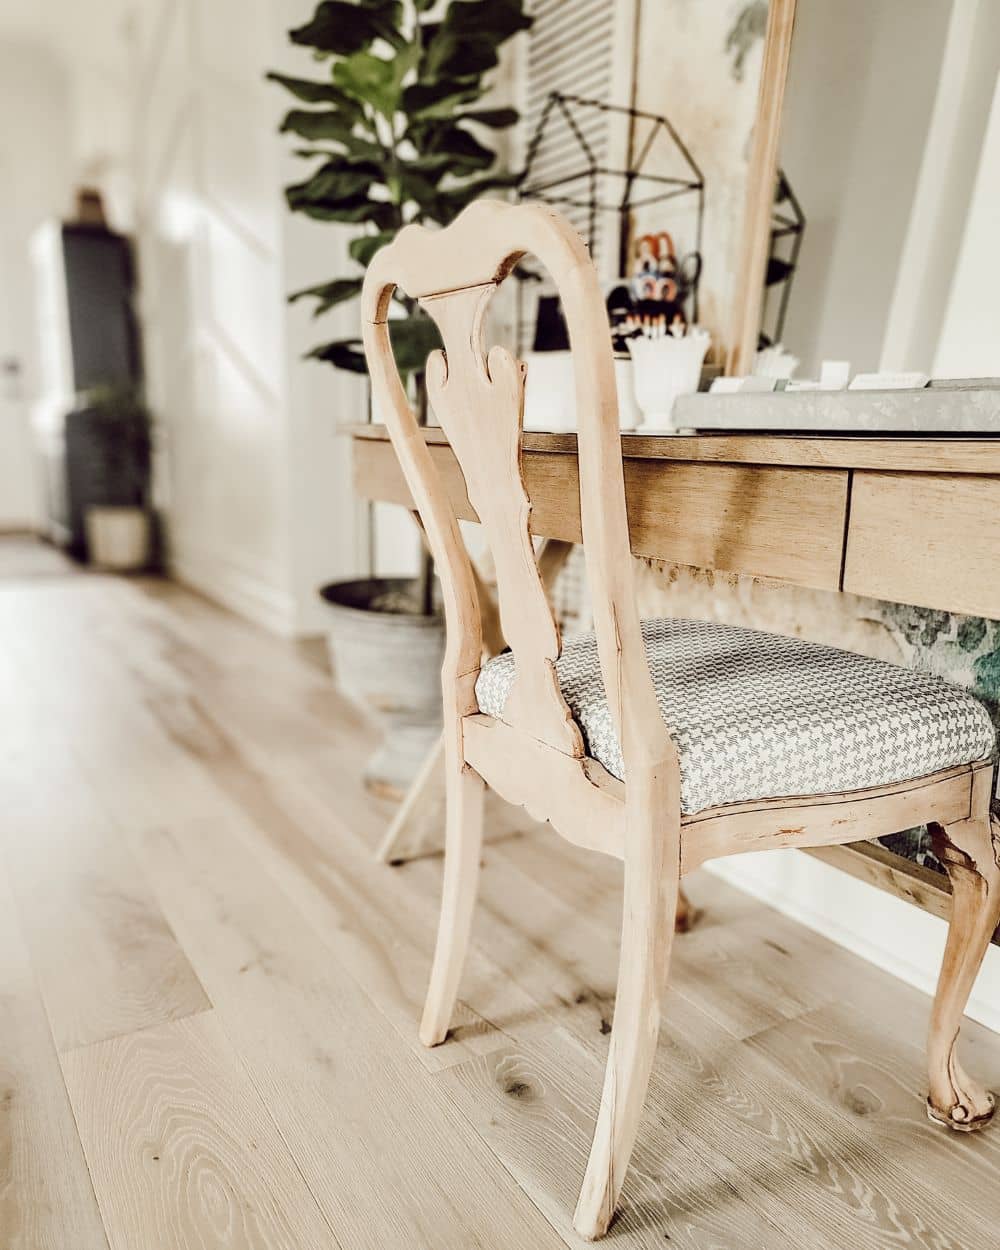

Well friends, thank you so much for checking out this post. Refinishing furniture can be intimidating and even time consuming, but I’m so pleased and excited about the oven cleaner method because it’s easy and quick. If I were going to strip a large piece, I would definitely apply the oven cleaner in sections so that it didn’t dry before I could get to it. If you have a painted piece of furniture, you will need to strip the paint first, but if you find stain underneath, then oven cleaner may be the technique for you. Be sure to check out the video because I added an extra step to my project to lighten the wood a bit more (and it isn’t bleach). Please subscribe and join me in my DIY, decorating, and party planning adventures.
POSTED IN: DIY Projects
