How to Make a Donut Board
How to Make a Donut Board
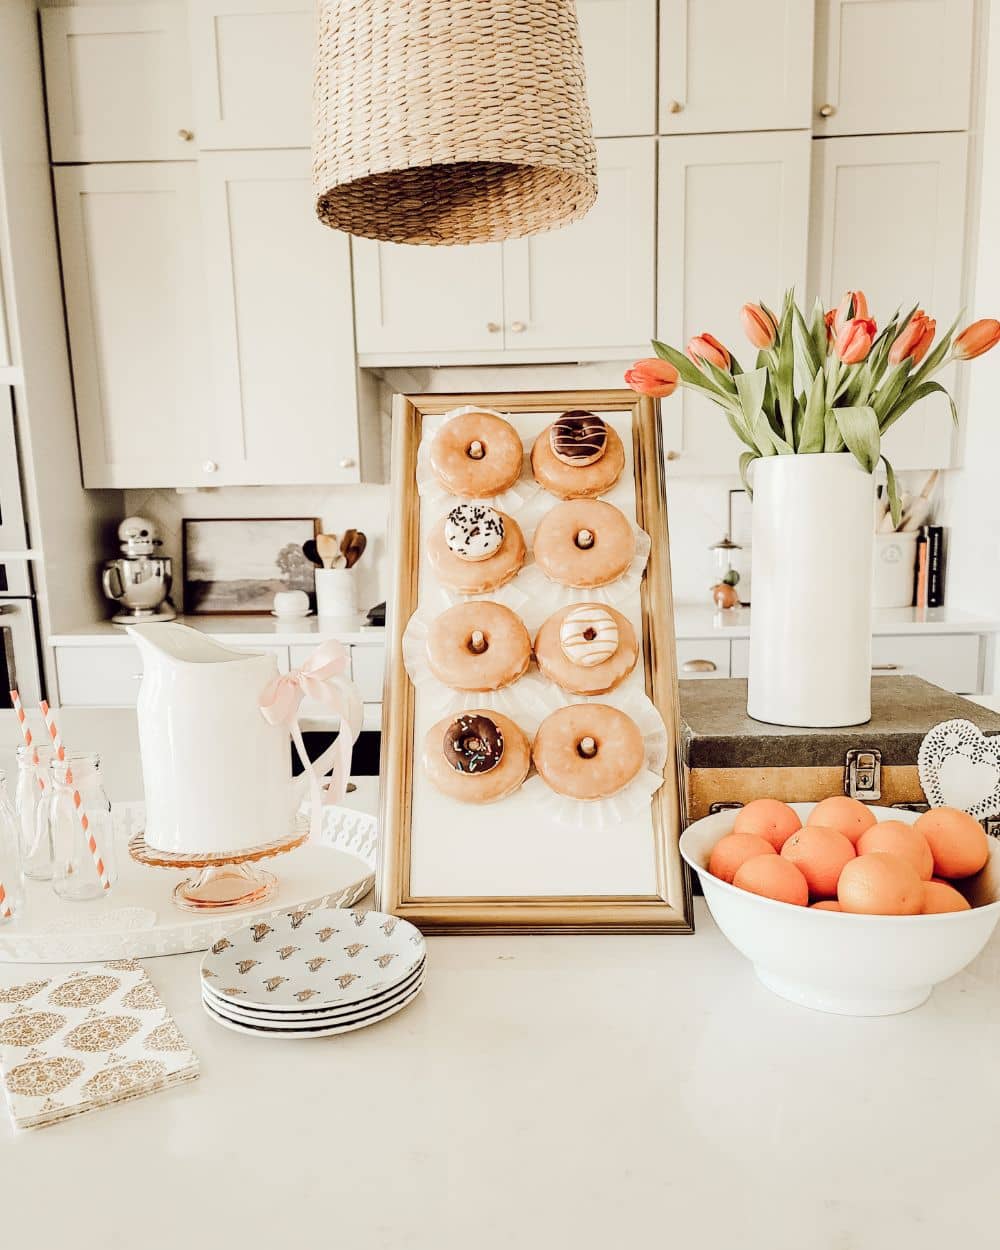
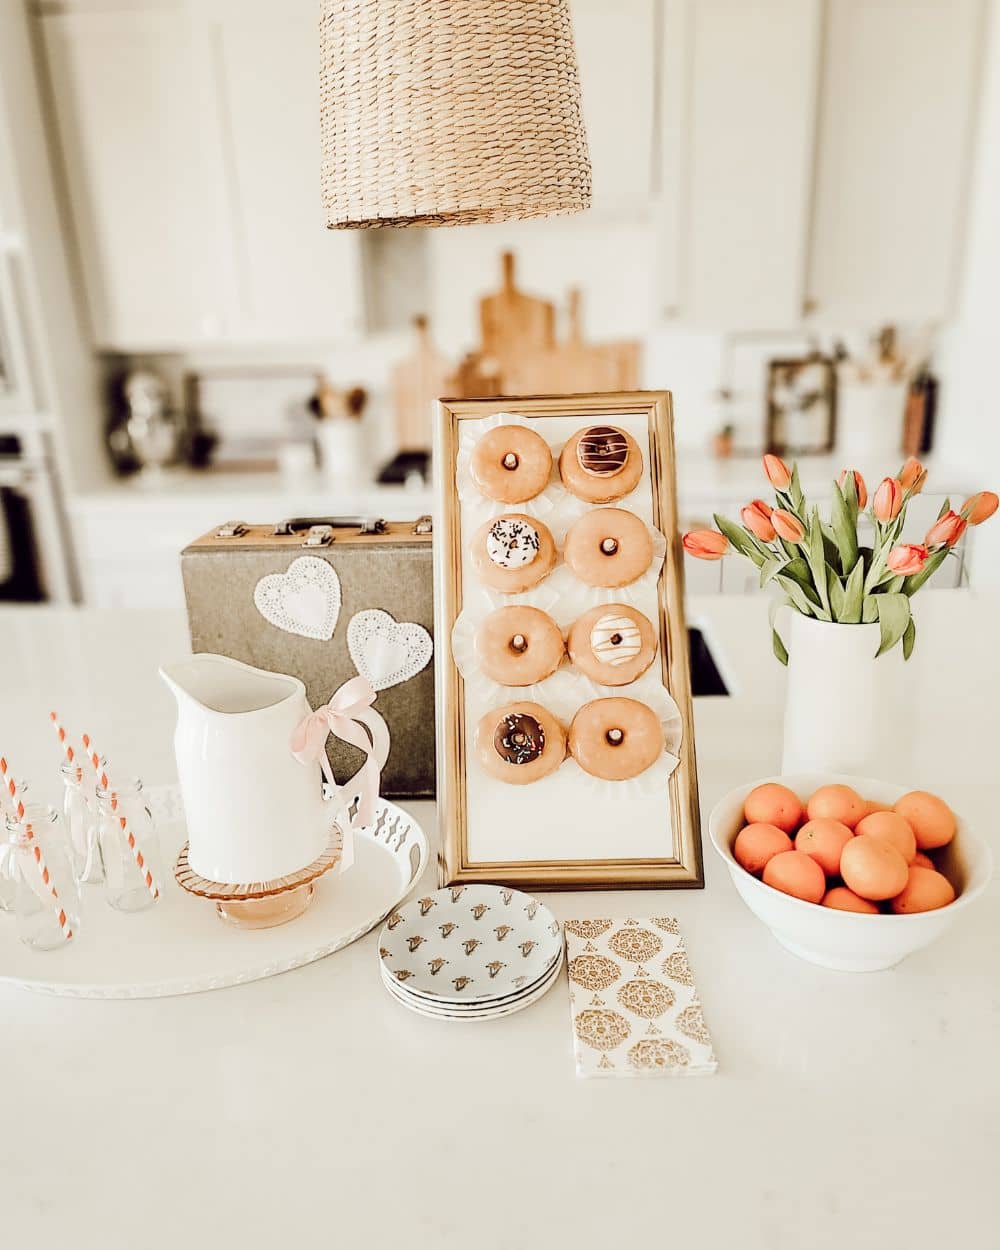
For Valentine’s Day, I decided to make a Valentine themed breakfast for my family. As part of my plan, I needed a donut display board. You can buy a donut board made out of cardboard from various shops including Hobby Lobby, but the quality feels like a one-time use piece. So, I took a look at my scrap wood and devised a way to put together a donut display board. Any time I can incorporate a vintage touch, I usually will and so I decided to use one of my empty vintage frames to really elevate the donut board.
I have several heart-shaped menu items planned for my family’s Valentine’s breakfast, and I cannot wait to share them with you. Make sure you follow me on Instagram if you want to see videos and photos of our Valentine’s celebration. The great thing about making your own donut board is that you can use it over and over again and for endless events. Showers, birthdays, mother’s day, father’s day, Sunday brunch, a playdate, or just because. And my donut board can also hold bagels, so that opens up even more ideas for hosting a meal that includes bagels.
To help explain the steps to create my particular donut board, I put together a YouTube video, but I also like to list out the steps as well for people who learn best by reading. Keep in mind, that you can fully customize your donut board to fit as many donuts as you’d like. You can also devise your own stand or just lean in against a wall. You can also customize the color and even add some vinyl lettering to your board if you’d like. There are so many options, but this is a very easy DIY beginner-friendly project, so just go for it.
Determine the size of your donut board, then cut the plywood. I used 1/4″ plywood, but 1/2″ would have been better. I cut my board to fit a vintage frame, so it was 9″ wide by 20″ tall.
Using a 3/8″ dowel, I cut eight – 2 inch long pieces. I have a few dowels in my scrap bin and liked the size of this for stability and aesthetics. Gently sand the ends of each dowel pin.
Once you know the size of dowel, you can use the same size drill bit to add holes into the plywood.
Since my plywood was 9″ wide, I knew I would be able to have two columns of donuts. For standard sized donuts, make sure to place each dowel 4 inches apart from each other, horizontally and vertically.
After the holes are marked, place scrap wood beneath the plywood and drill the holes. You may need to gently sand the surface around the holes.
Now, you can stain or paint the front side of the donut board. Allow to completely dry.
If you have a frame for the plywood, use E600 super glue around the inner edge and set the plywood face down for it to set. I used several boards to weigh down the plywood and hold it into place. Dry for 24 hours.
Gently hammer the dowel pins into the holes.
Apply an even layer of matte finish polyurethane to the board and pins. Once it’s dry and cured, it will be safe to serve food on and you can wipe the surface with a wet cloth.
To create a stand for the donut board, I used a scrap piece of 1×2″ pine board, and an old hinge. Find the center of the top of the frame and drill pilot holes before adding screws to half of the hinge. Find the center of the pine board, drill pilot holes, and attach the screws to the board. This creates a stand that folds flat making it easy to store.
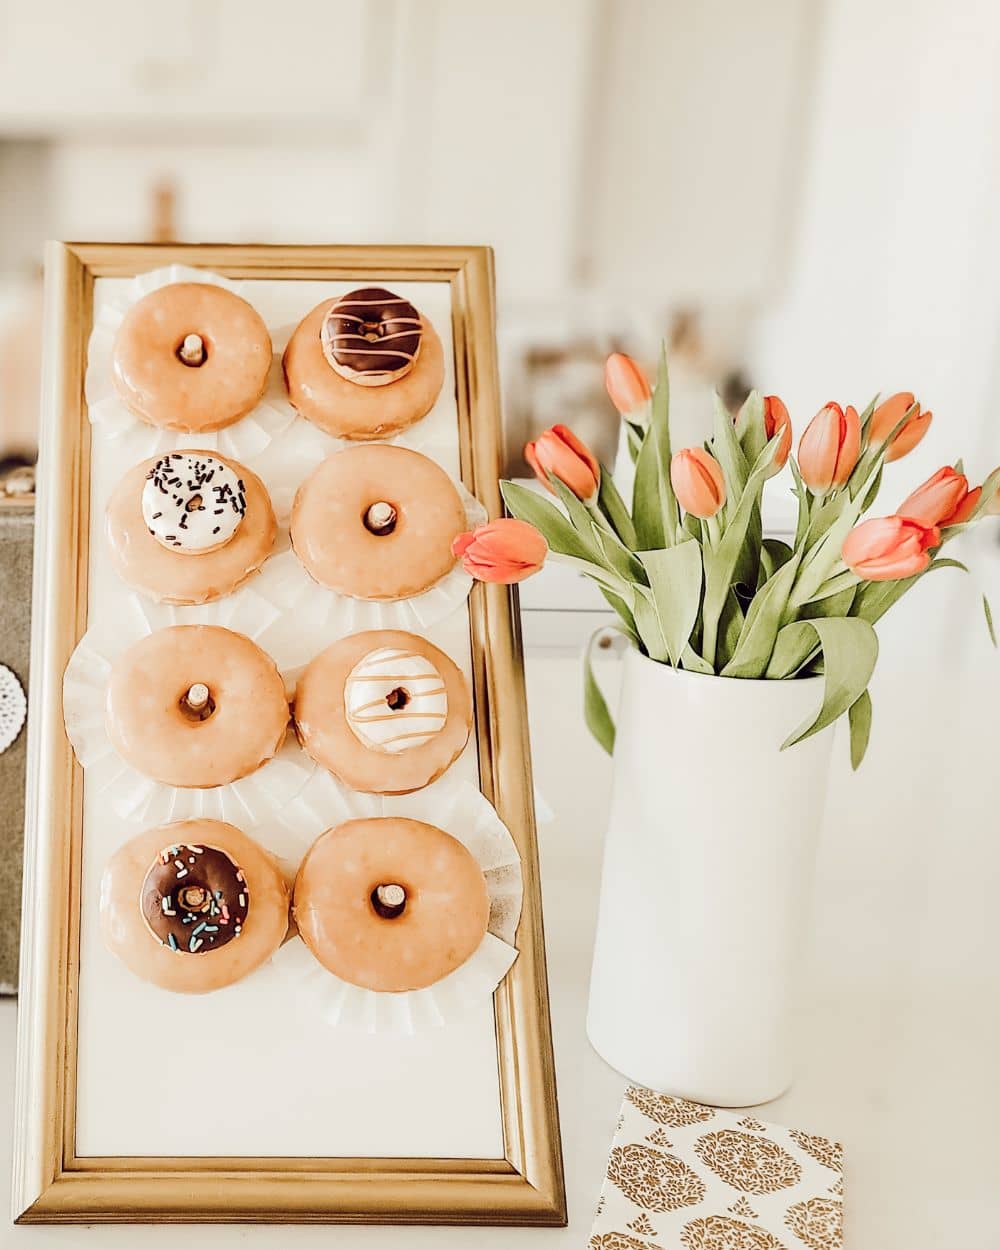
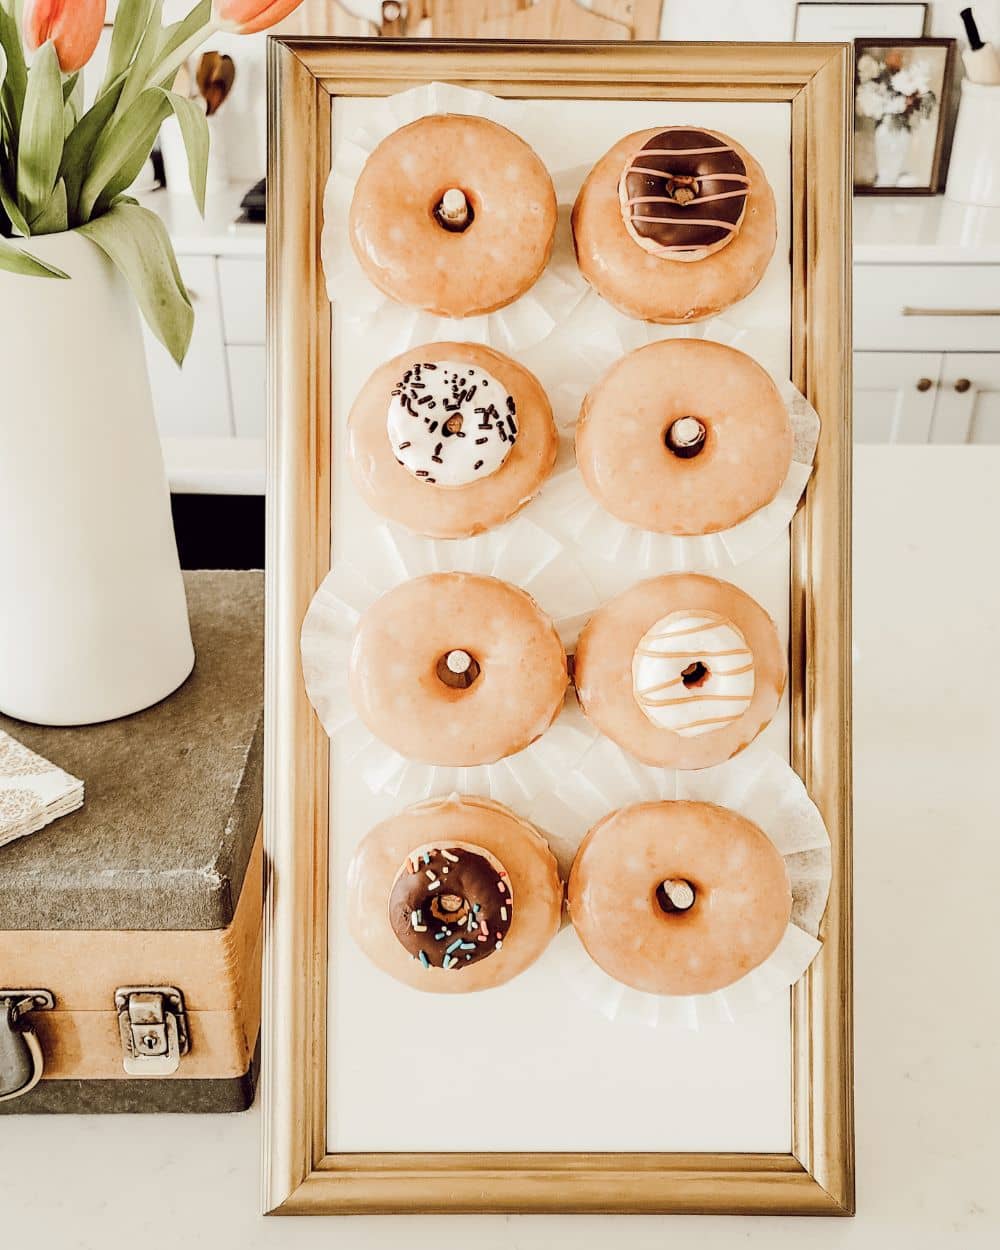
There are probably hinges that would work better, but for this donut board I only used things I already had on hand. I love the way it turned out and it’s just a fun way to display and serve treats for either just my family or when entertaining. To decorate my donut board just a bit more, I took coffee filters, cut a small hole in the middle, and then bunched it around some of the dowel pins. And if your pins are long enough, you can also layer a smaller donut in front of the larger ones.
Thanks so much for checking out this post! I’m convinced that with a few tools and some scrap wood, anyone can put together a donut board and create a beautiful display. Be sure to subscribe to the blog for more decorating, DIY projects, and party plans!
POSTED IN: DIY Projects
