How to Make a Boho Farmhouse Riser Stand

How to Make a Boho Farmhouse Riser Stand
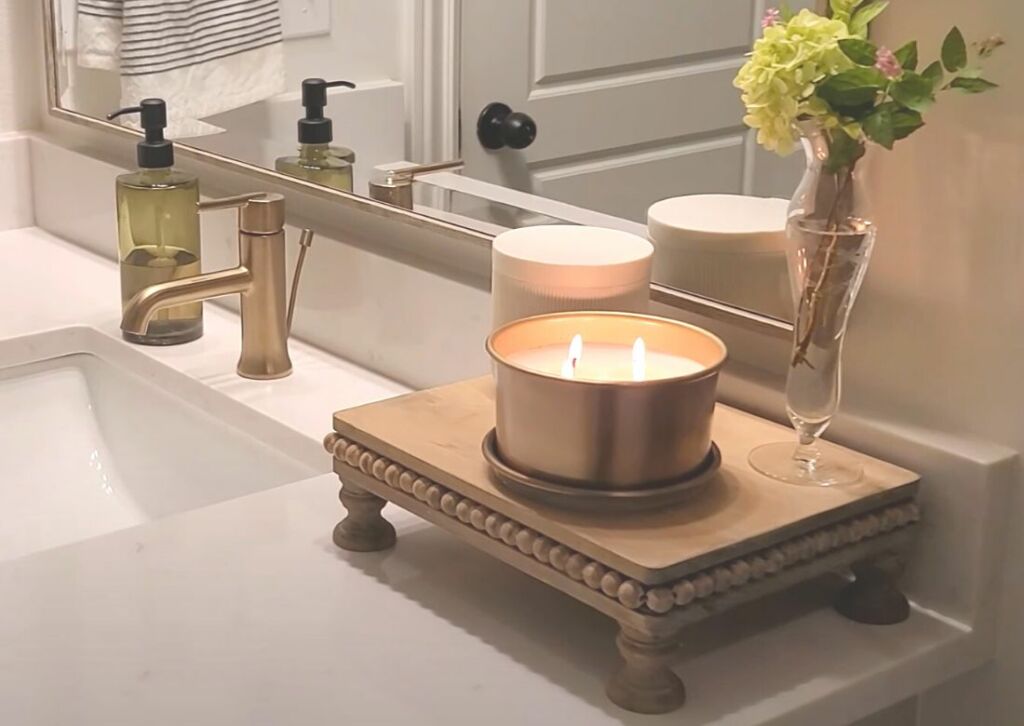
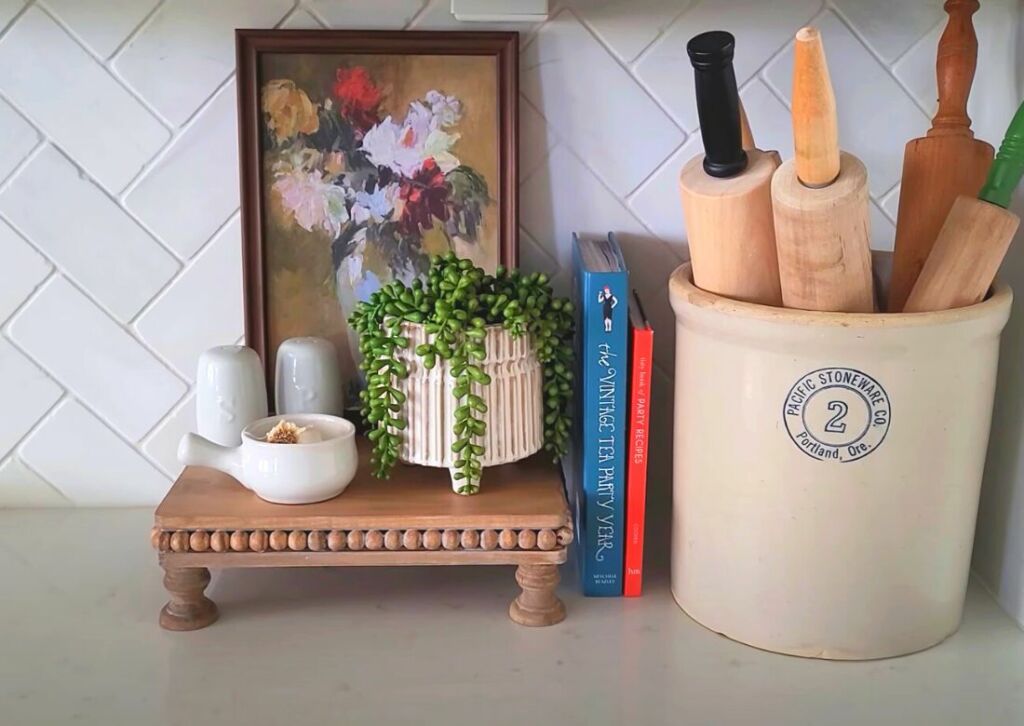
This home decor DIY looks store bought, and it’s highly customizable too! The best part is that it cost me $10 to make! I still can’t believe how great it turned out. The trick is buying the craft wood at Hobby Lobby when it’s 50% off – which happens frequently, and already having paint or stain that you can use to finish it. I also had the wooden beads on-hand, but they’re not spendy. I can’t tell you how excited I am to share this DIY, and I know I’m not the first to DIY a farmhouse riser, but my design and approach are so easy, there’s no cutting wood, and it seriously turned out so beautiful. My husband was very impressed and made several comments about how nicely it turned out. That’s the thing about this DIY, it really looks amazing, has character, and it doesn’t have that obvious handcrafted feel like some DIY projects can have. I’m so excited to share how to make a boho farmhouse riser stand and I hope you will try this one out. I think it would make a wonderful gift too.
How to Make a Boho Farmhouse Riser Stand – Supplies
To start, let’s get you set up with everything you’ll need. Here’s the supply and tool list to help you gather everything you’ll need onto your work surface. Keep in mind that this project involves dry times and stepping away from the project for long periods of time, so be sure to use a work area that can be left alone to complete over a few days.
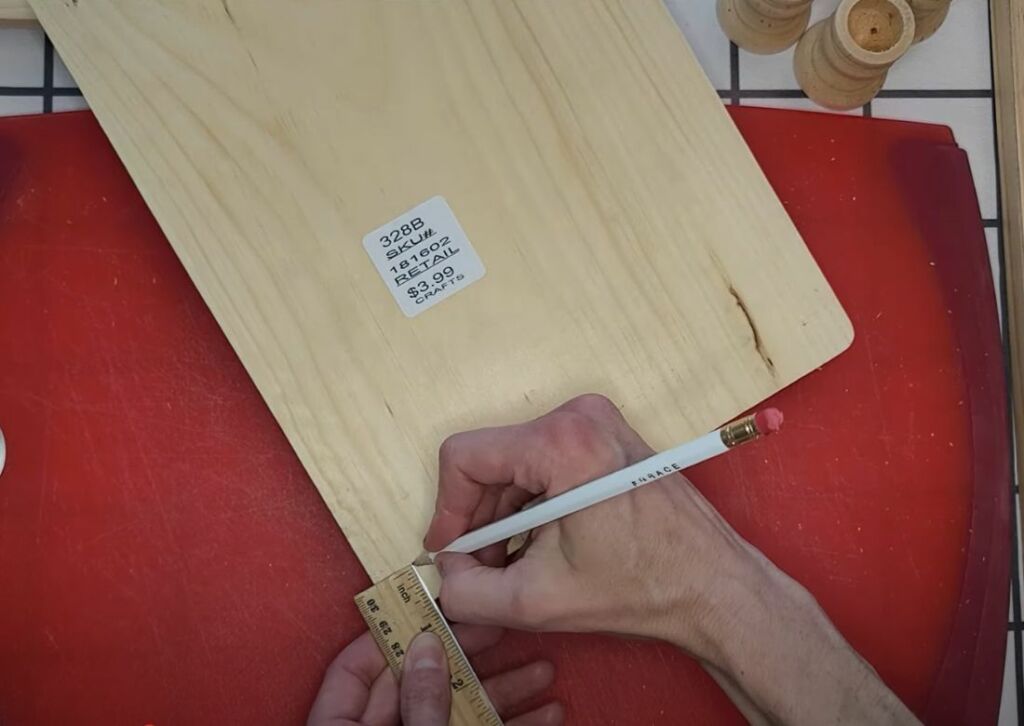
- 2 boards – with the decorative routed edge if you want to add wooden beads for a boho look (Any size and shape will do, but mine are 11.5″ by 8.75″.)
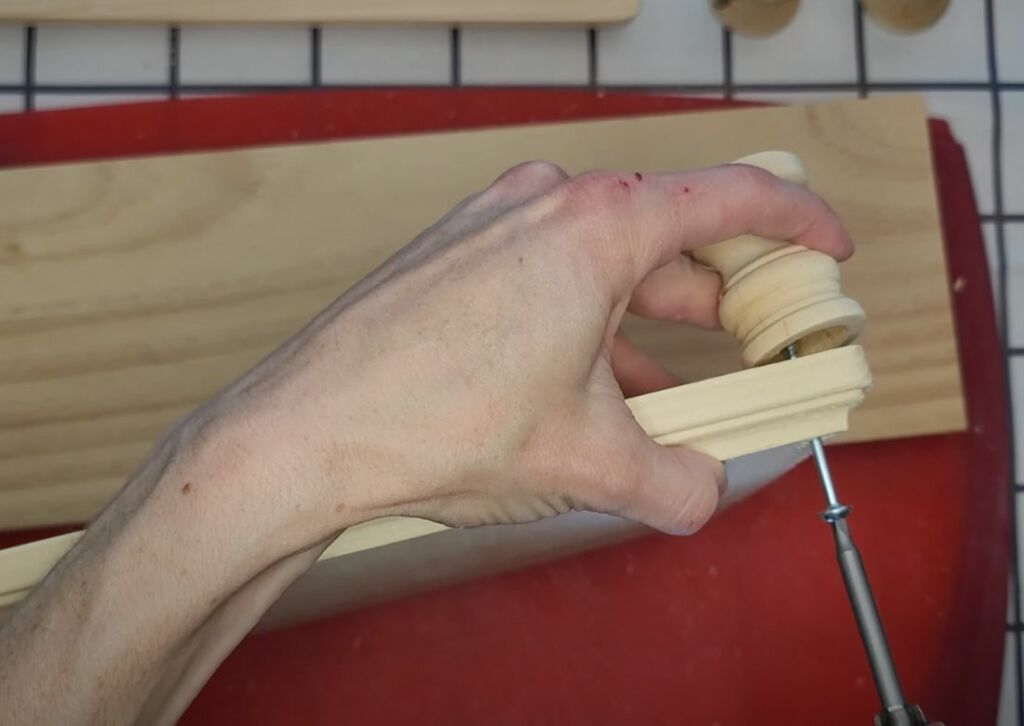
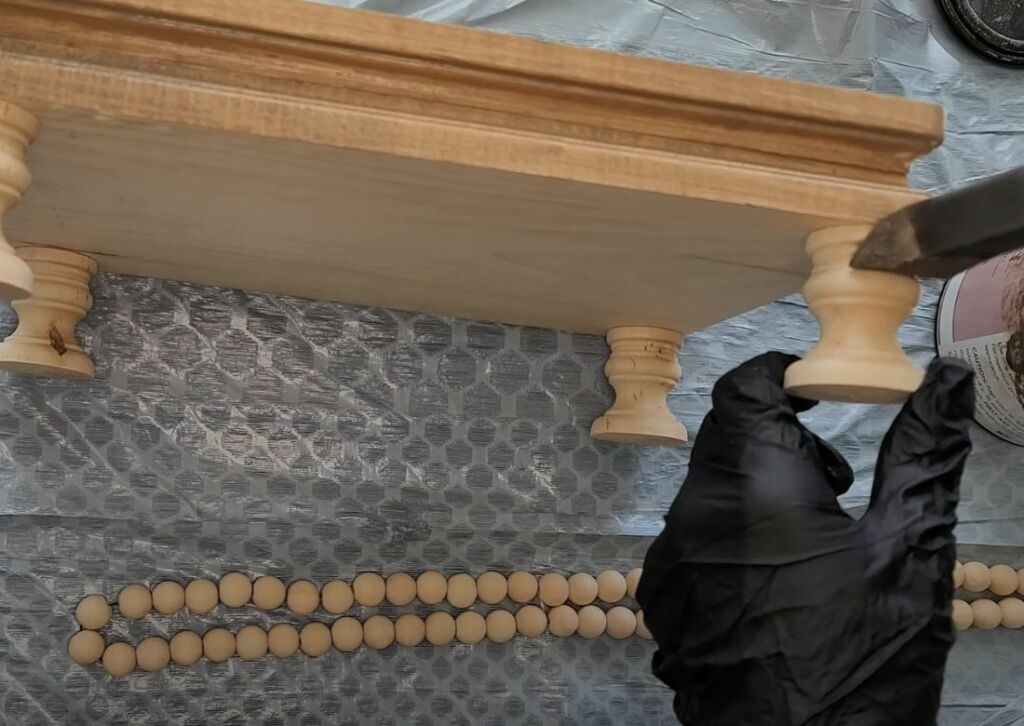
- Pack of wooden candle stick holders (these are the feet for your riser)
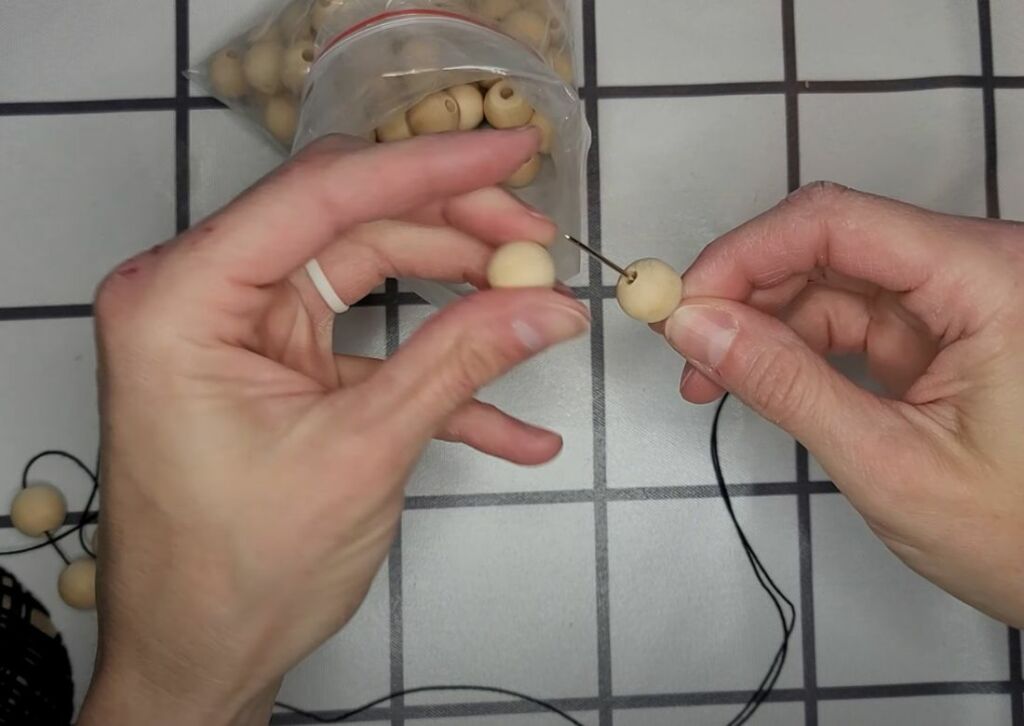
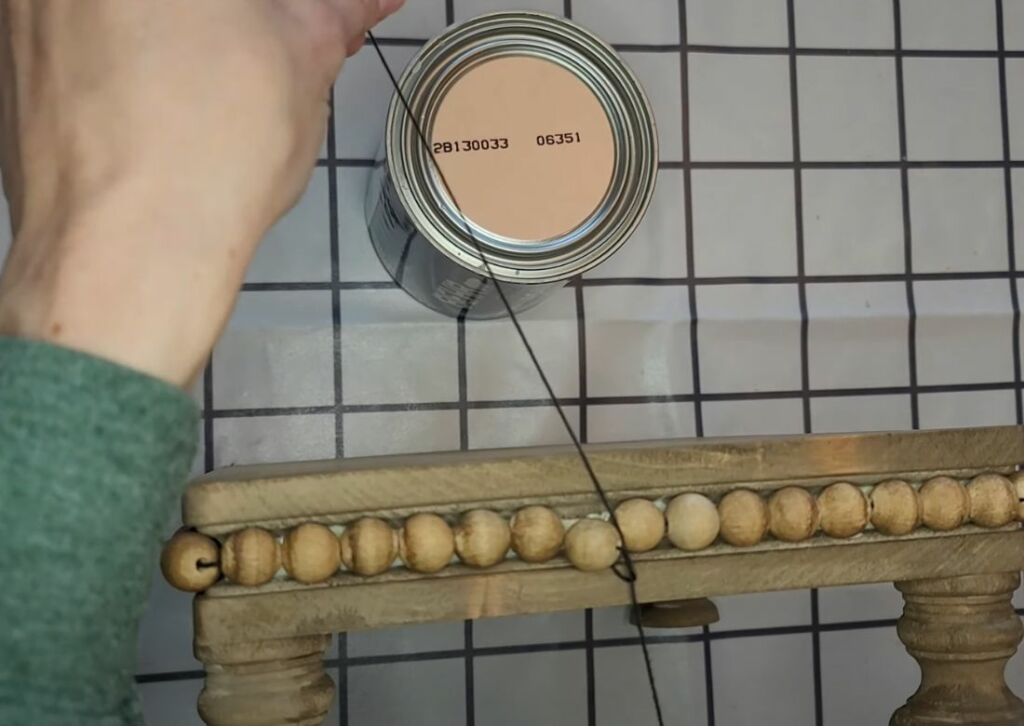
- 15 mm wooden beads
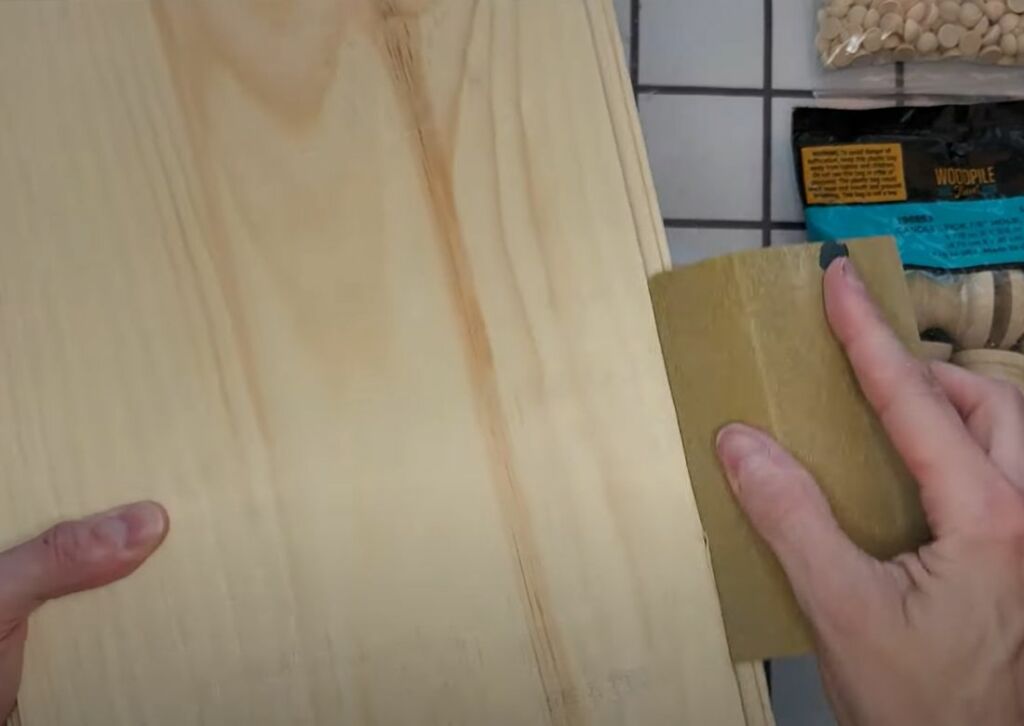
- sanding sponge/paper
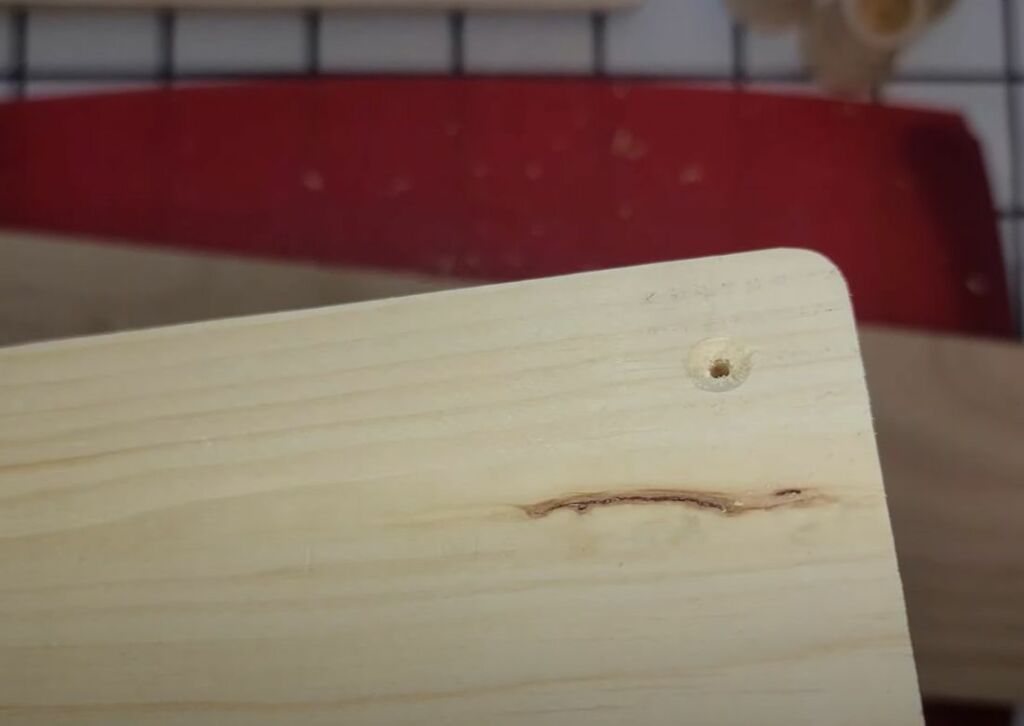
- 2″ Wood screws
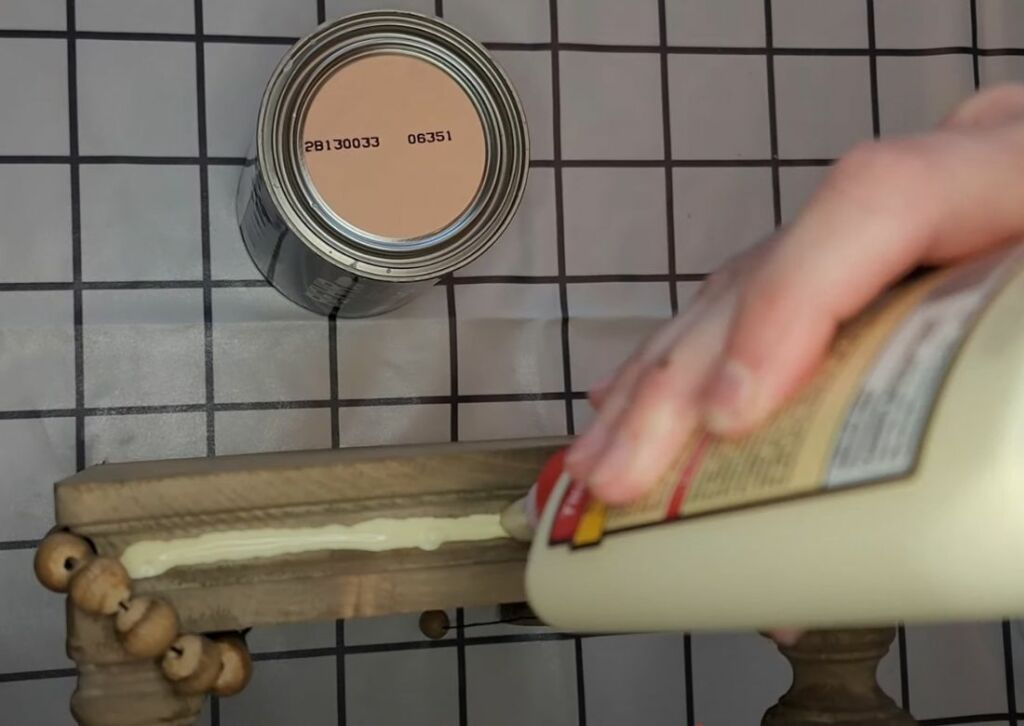
- Wood glue
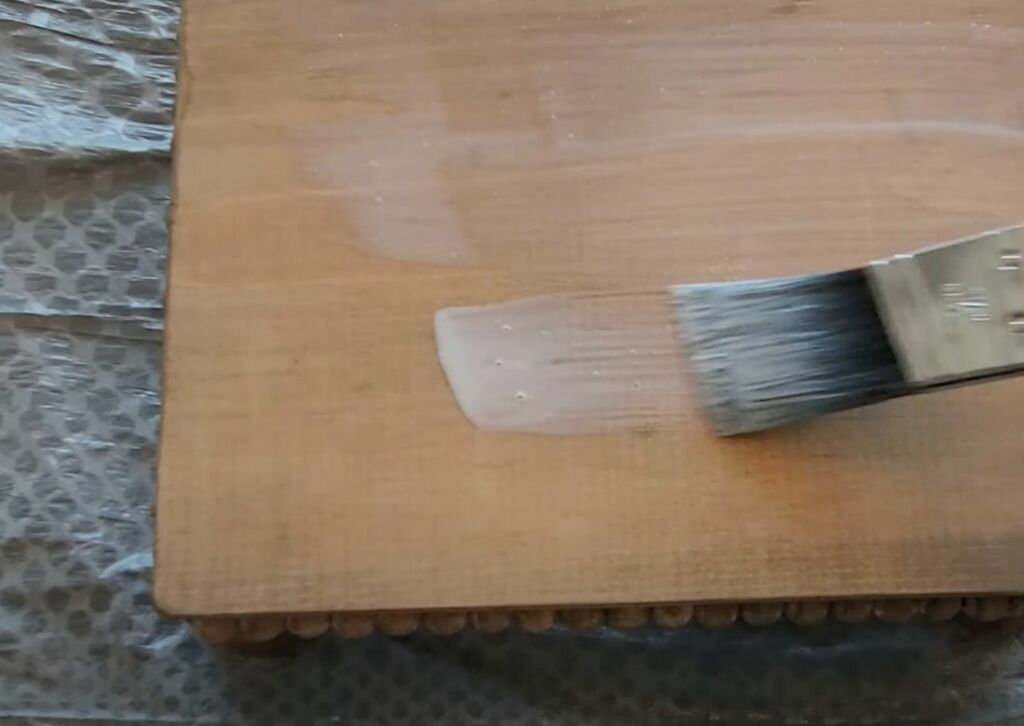
- brush, sponge, or rag to stain
- Farmhouse stain
- Whitewash stain
- polyurethane (for durability and water protection)
- string or twine
- Screw gun
- drill bit with counter sink
- clamps
How to Make a Boho Farmhouse Riser Stand – Video
I’ve included steps and photos below to create this boho farmhouse riser stand, but I share some additional tips in my video and sometimes watching steps can make the process easier to execute yourself. This DIY riser couldn’t be any easier to make, but you’ll want to do the steps in the correct order to save time and hassle.
How to Make a Boho Farmhouse Riser Stand – Tutorial

How to Make a Boho Farmhouse Riser Stand
That’s it, so simple and pretty! You don’t have to use wooden beads, but they’re a nice detail. You can use taller or shorter feet, or different sized boards. You can paint the riser or leave it natural – whatever you prefer. I think this DIY project makes a great gift and I intend on making a few to give this holiday season. If you like projects that are easy, that you can do quick steps for and then walk away for periods of time, you’ll love this one. Each step by itself is easy and quick, but the drying time takes time. I think I got my money’s worth on this $10 DIY. I absolutely love how it looks and I love that there’s now sawing required. If you like DIY home and craft projects and decorating inspiration and ideas, be sure to subscribe to my blog. You will also receive my free eBook on shelf styling which includes my easy-to-follow recipe for designer styled shelves. Thanks so much for checking out this post. Be sure to Pin it for later.

POSTED IN: DIY crafts
Let's be friends!
Related Posts


Search
Categories
Subscribe
Get the latest posts, discounts, and design inspiration right to your inbox.
