How to Host a DIY Party

How to Host a DIY Party
When it comes to parties and hosting, I’m more of a behind the scenes kind of gal. However, it’s hard to blend into the background when you’re the host. If you enjoy parties and want an activity for your guests to do, there are some simple ways you can prepare and enjoy yourself as well. I recently hosted a DIY party making wall mounted ferns, so I will share some general DIY party planning steps, but I will also focus on the details for my party. I hope this post helps you know how to host a DIY party for any project.
How to Host a DIY Party – Planning Steps
There are so many things to do when you’re hosting a DIY party, but that doesn’t mean it has to be hard or stressful. Here are the basic steps to take when you host a DIY party:
- Determine the project: Make a list of the supplies you will need
If you’ve never made the DIY craft or project, you’ll need to make it ahead of time. Knowing the steps to teach others will make your party a success. It’s also nice to have an example for people to touch and see. Feeling confident in how to create the DIY will reduce any stress and help you to know exactly what tools and supplies will be needed. - Determine who will be invited: Consider that about 1/3 of the people you invite will actually be able to or want to attend
I hosted a baby shower for a dear friend several years ago, and I created a little DIY station to make finger nail polish, so the guests were everyone who could come to the shower. I also hosted a succulent planting party for the wonderful ladies in my family and it was a blessing that they could all come. More recently, I hosted the party to create wall mounted ferns for my Bible study group. All the ladies know each other and it was so fun to enjoy another activity together. You can invite a group of people who don’t know each other, but I find that when people are comfortable, they tend to handle any pressure of doing something new much better. - Create invitations: Be sure to include all the pertinent details – not too much info at first, but enough to help them make a decision
I wasn’t sure if anyone would want to come to my wall mounted fern DIY party, so I sent out a little survey. I asked about preferred days and times. I had also determined the cost of the DIY in case that was a decision-making factor. Once I knew the date and time that worked for the majority, I created an invite using Canva and asked for pre-payment. Asking for money is usually awkward for me, I’d honestly rather just pay for people, but I didn’t want to be stuck with a bunch of extra supplies and this DIY was $25 each so it starts to add up. The $25 covered my costs for the plant and wood slice – I already had the other supplies on-hand so I chose to not charge for those things. - Decide on refreshments: Make a list of items to serve and a list of the ingredients you’ll need
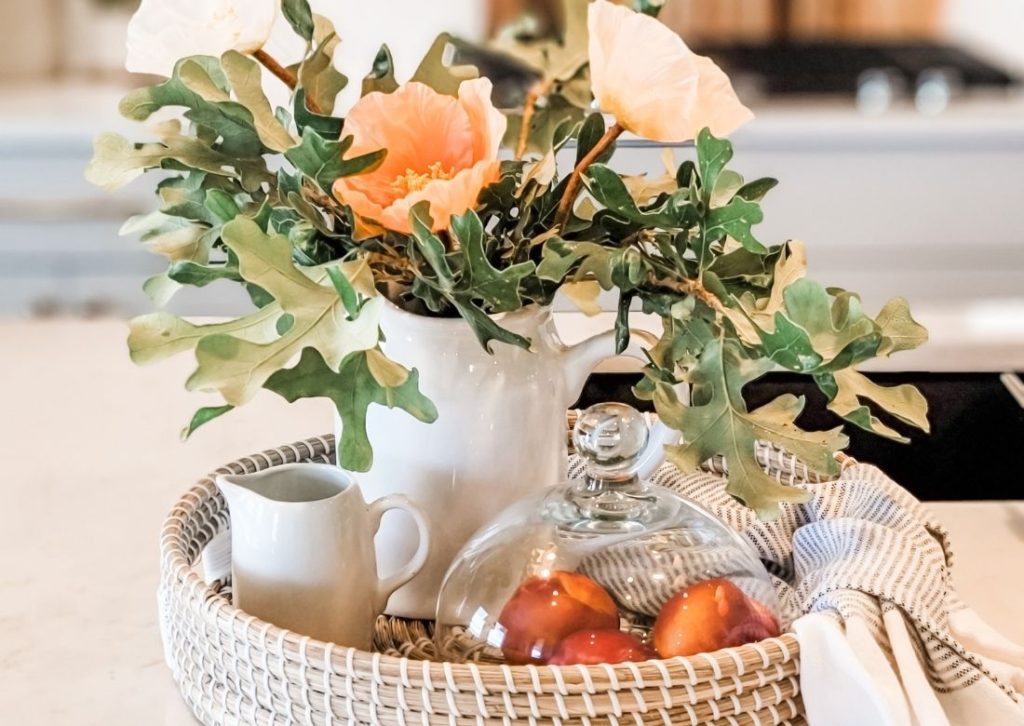
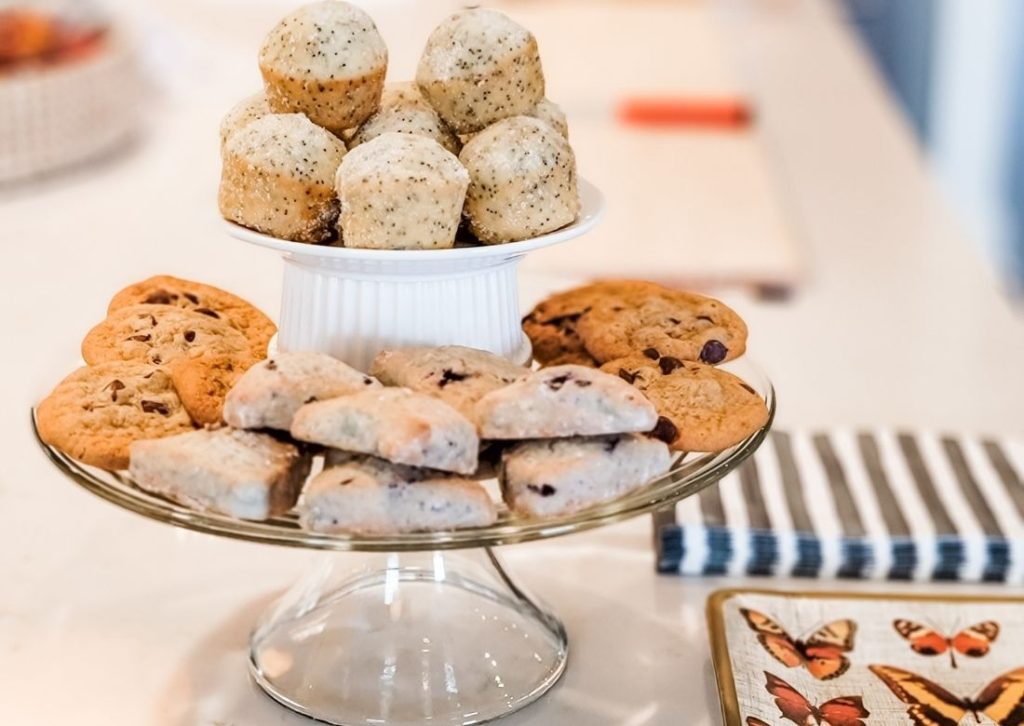
I knew that I probably wouldn’t have the energy to make something, but I still wanted a personal touch to the refreshments. If you do want to make something delicious and healthy, be sure to check out recipes by The Menu Maid. I also knew that this party wasn’t about the food – my guests were literally pulling apart dirt, but having a little snack is always great too. So, I decided to pick up some baked goods from a local market that carries a nice selection, and then make spritzers to drink. I don’t drink alcohol (just a personal choice) so I don’t know anything about it or have any desire to serve it to others. And spritzers are super fun because they’re pretty with a garnish, and I love serving them in a pretty glass – it’s a fun go-to for me. I have a sweet tooth, so it’s no problem for me to put together punch recipes. This one was a hit and so refreshing for spring and summer month projects!
How to Host a DIY Party – Peach Lemonade Spritzer Recipe
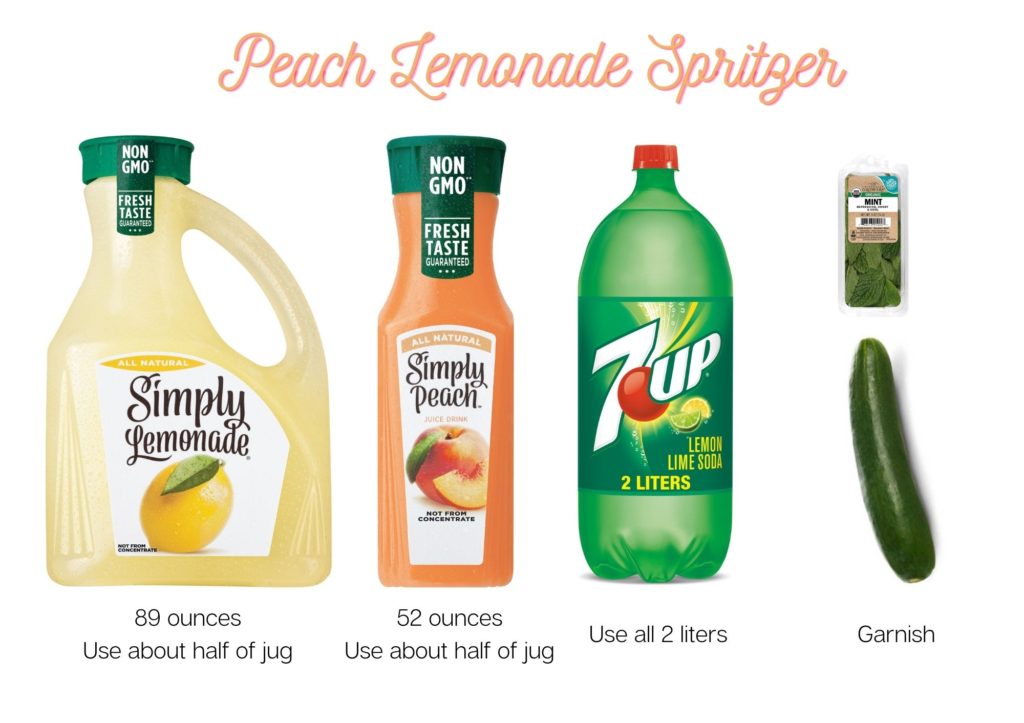
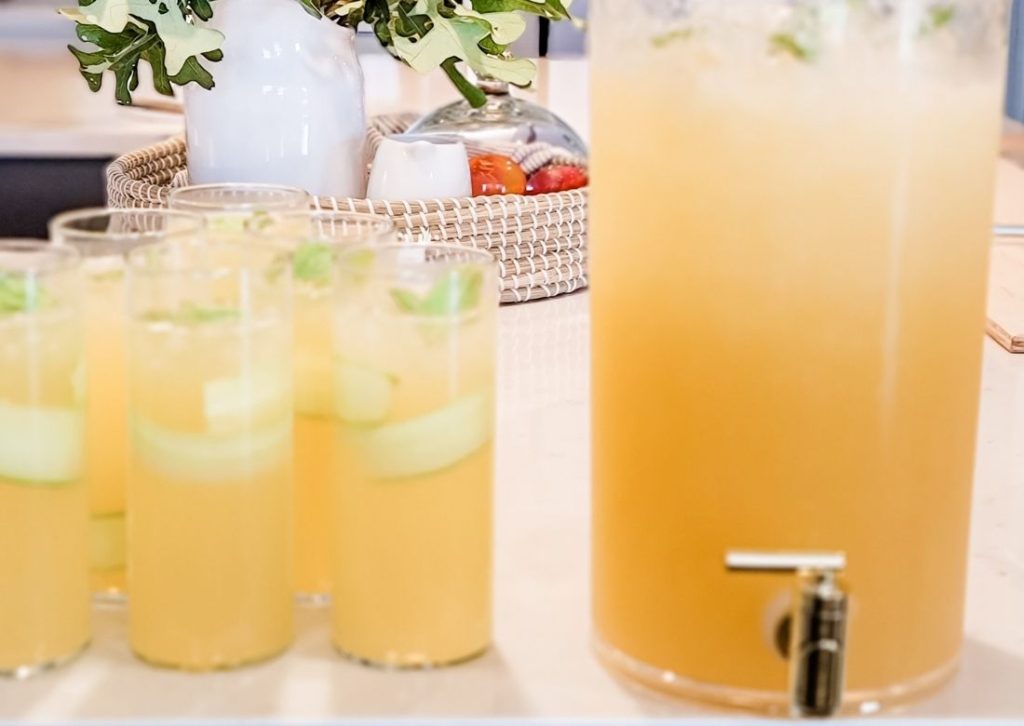
To put together this punch, follow the amounts provided above. I gathered my liquids in this fun plastic drink dispenser (that coordinates with the shape of my glasses too)! Once all the liquids are combined in the dispenser, I prep the glasses! Wash and peel a cucumber, then use a wide peeler to peel a thick long piece to garnish the glass. Cucumber also imparts a nice refreshing flavor, it’s faint, but so tasty. I coil the cucumber peel and drop it to the bottom of the glass. I prefer Sonic ice for my punches and spritzers, so I scooped about 1/3 of a cup into each glass. Then you’ll add the punch – fill to almost the top and add some fresh mint leaves on top of the ice. The lemonade is sour, but the peach is sweet, and the 7up adds some zing. The color is pretty and the taste is delicious!

This post may contain affiliate links. This means I may receive a small commission from each purchase, at no cost to you. Thanks for considering my links!
How to Host a DIY Party – Prepare
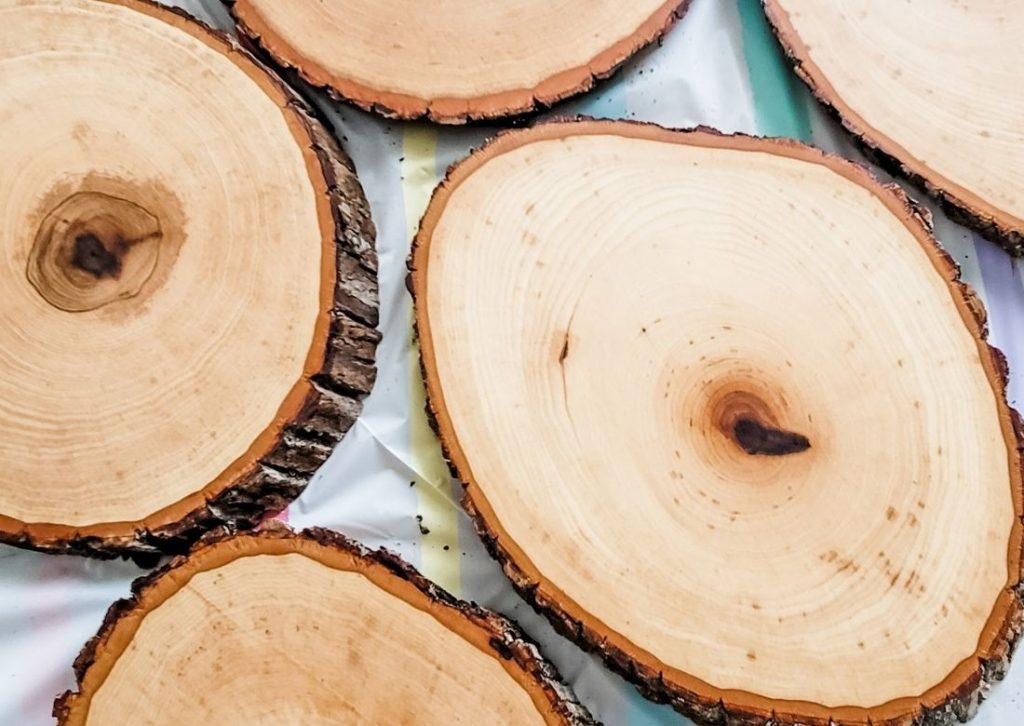
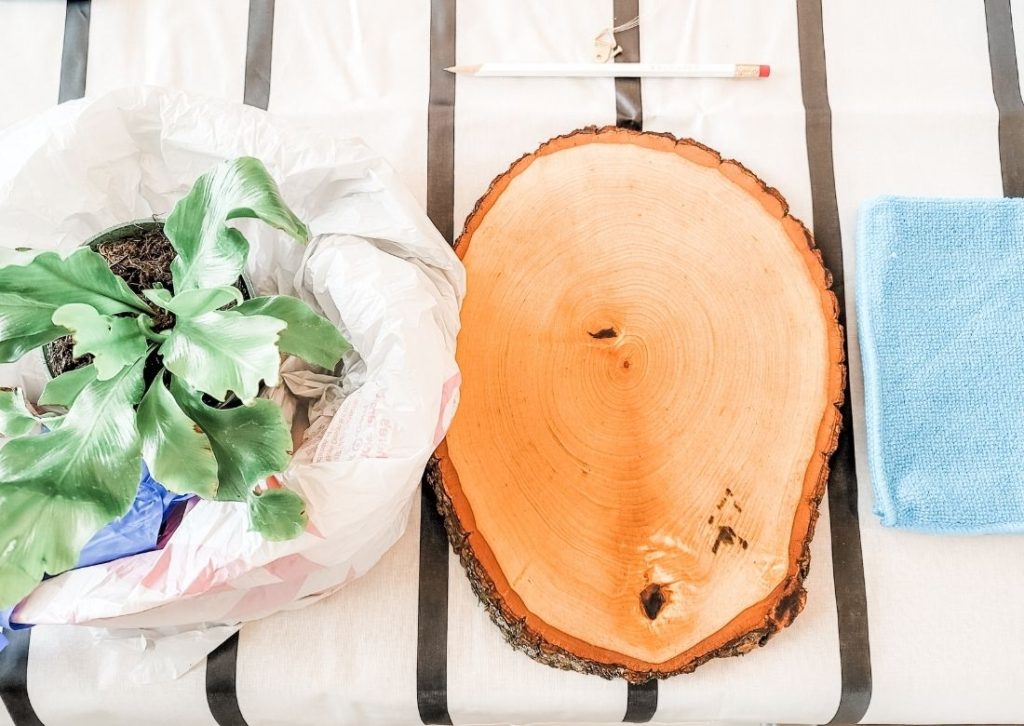
To host the wall mounted fern party, I created various lists and began to gather items that I needed. I ordered the ferns and wood slices ahead of time so they would ship on time, and also because I needed to prepare the wood slices. To prepare the wood slices, I brushed on a layer of beeswax and linseed oil on the front side. After the natural waterproofing dried, I brushed on a layer of matte polyurethane onto the backside. Once the polyurethane is dry, I predrilled a little hole at the top so that the hanging hardware could be easily added at the party.
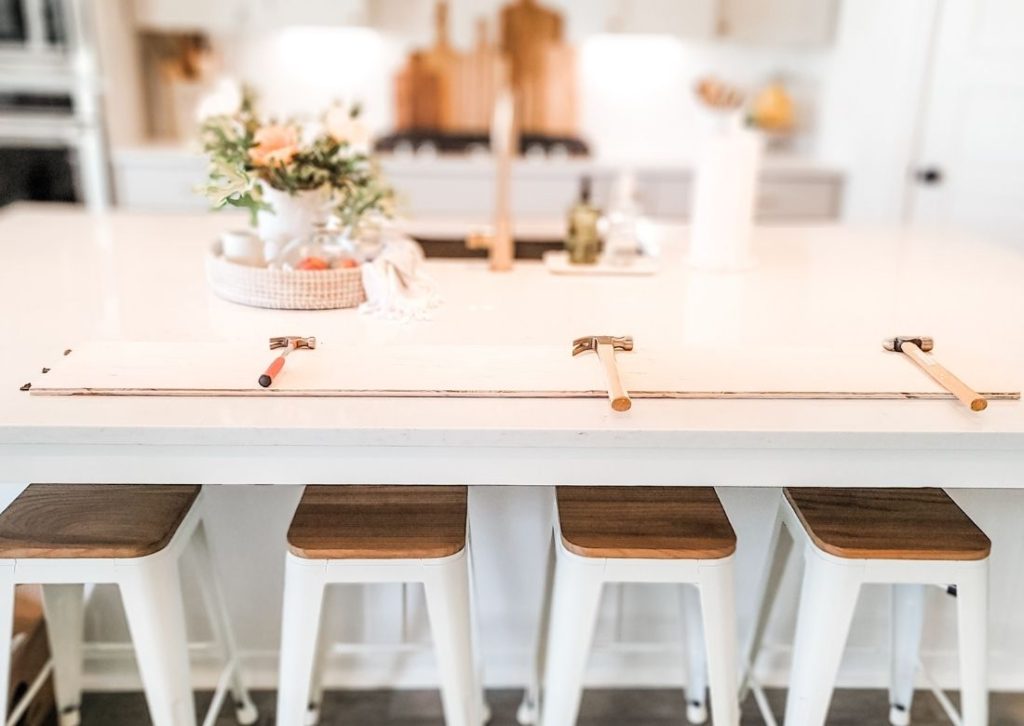
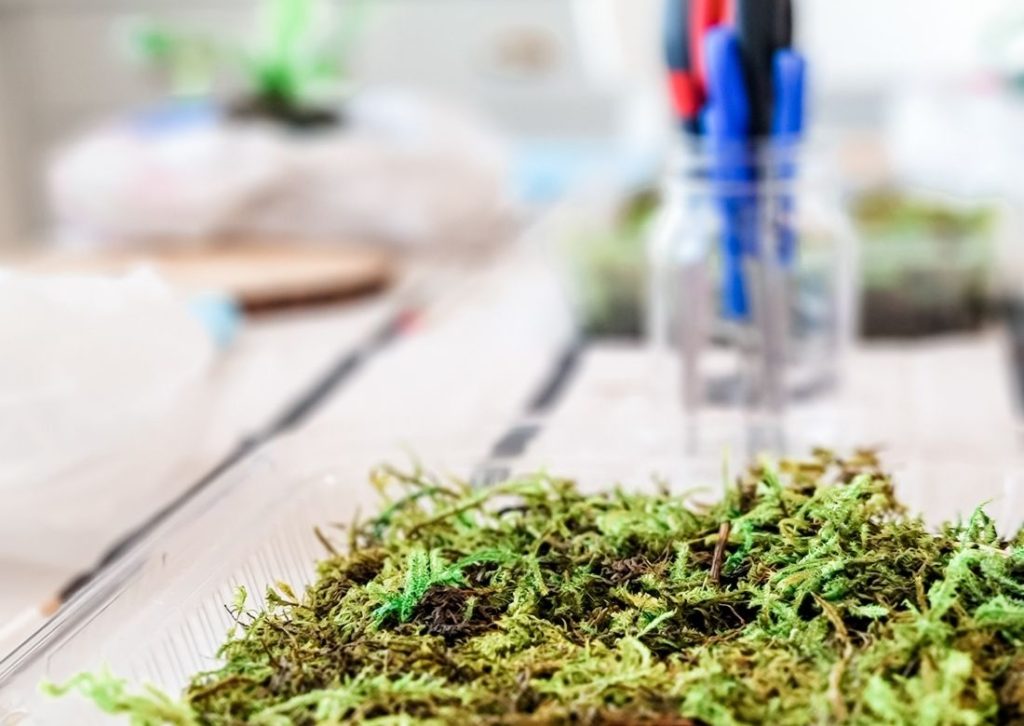
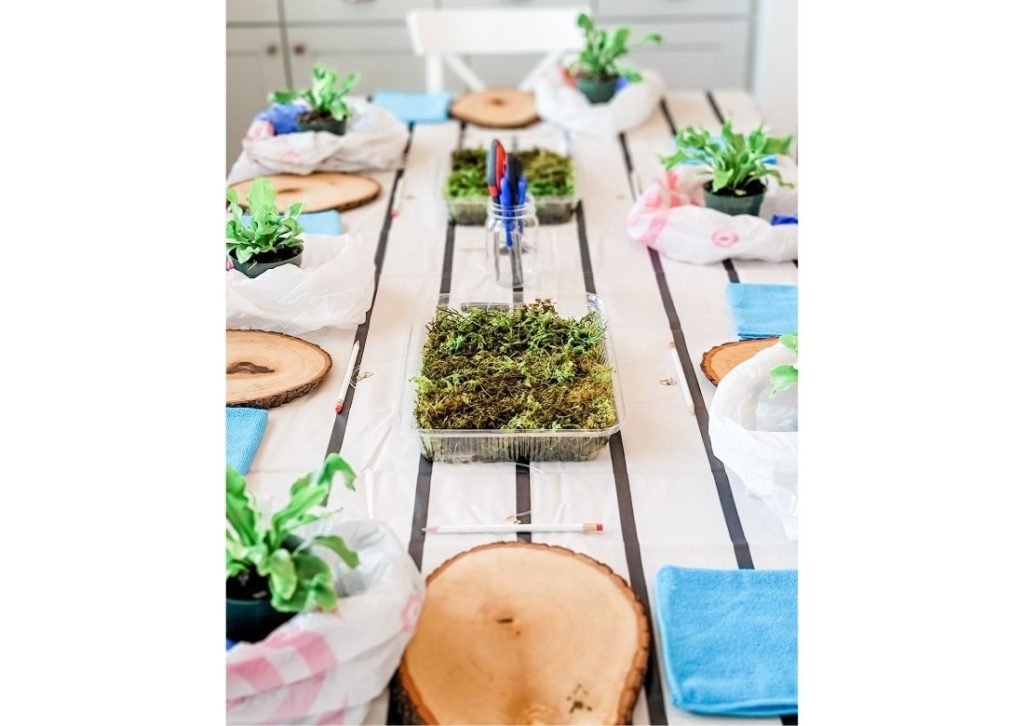
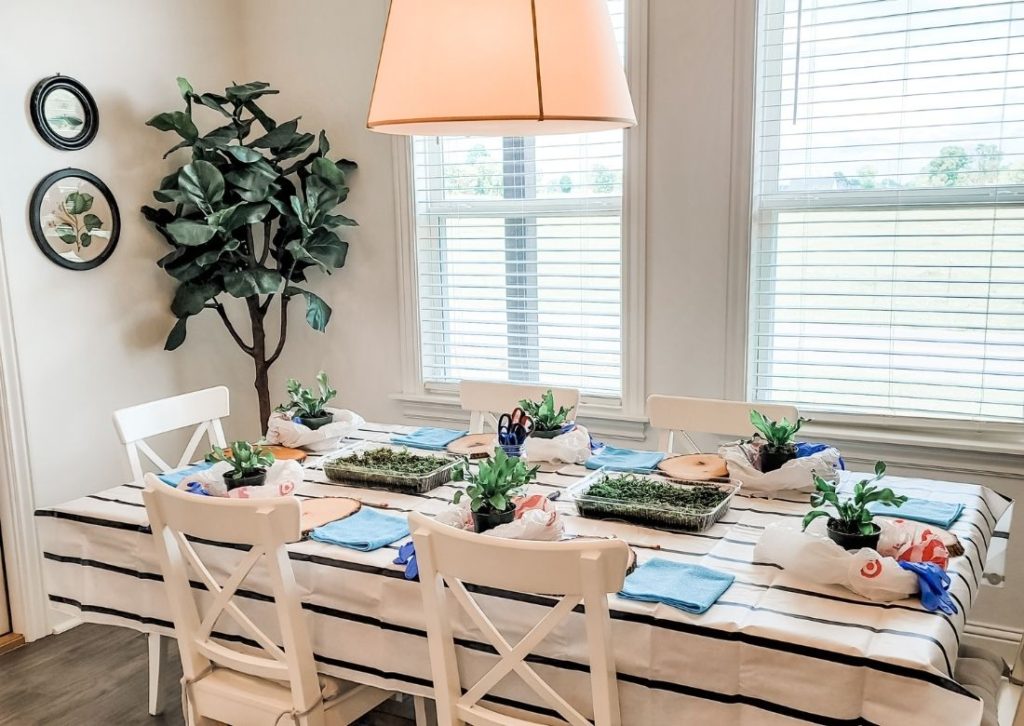
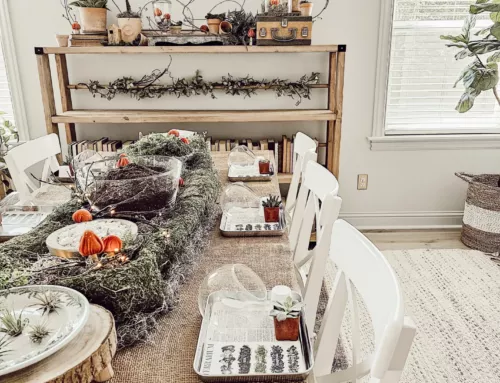
Once the supplies and tools are gathered, you’ll want to take the time on the day-of the party to set up a work station for the DIY activity. I covered our table with this ultra thick plastic table cloth by Magnolia. It wipes clean and is so pretty. I created individual work stations for each guest with all the items they would need, and then placed the shared tools down the middle of the table. This DIY required sporangium moss and I soaked it ahead of time so that it would be flexible to use and then placed the trays of moss down the middle for guests to pull from, as well as scissors to use when they needed them. On the day of of the DIY party, you’ll also need to set-up any other work zones. For instance, one of the steps to DIY a wall mounted fern is hammering nails into the wood slices. I laid a piece of plywood along our kitchen island with hammers and nails for three guests to use at a time. The island is a more solid surface to absorb the hammering than our table it and it’s nice to be able to spread some stuff out. With the extra punch and goodies nearby, we had everything we needed to complete this fun DIY project.
How to Host a DIY Party
The party was so much fun! I didn’t have to worry about getting this or that, all I had to do was walk them through each step and enjoy watching others create. I kept a few extra supplies nearby just in case (i.e. nails and fishing line). If you’re interested in hosting your own wall mounted fern party or just making one for yourself, check out the post here. Have you ever hosted a DIY party? I’d love to know what was made, please leave me a comment below and let me know.


POSTED IN: Party Plans
Let's be friends!
Related Posts
Search
Categories
Subscribe
Get the latest posts, discounts, and design inspiration right to your inbox.
