How to Handstamp Block Printed Curtains
How to Handstamp Block Printed Curtains
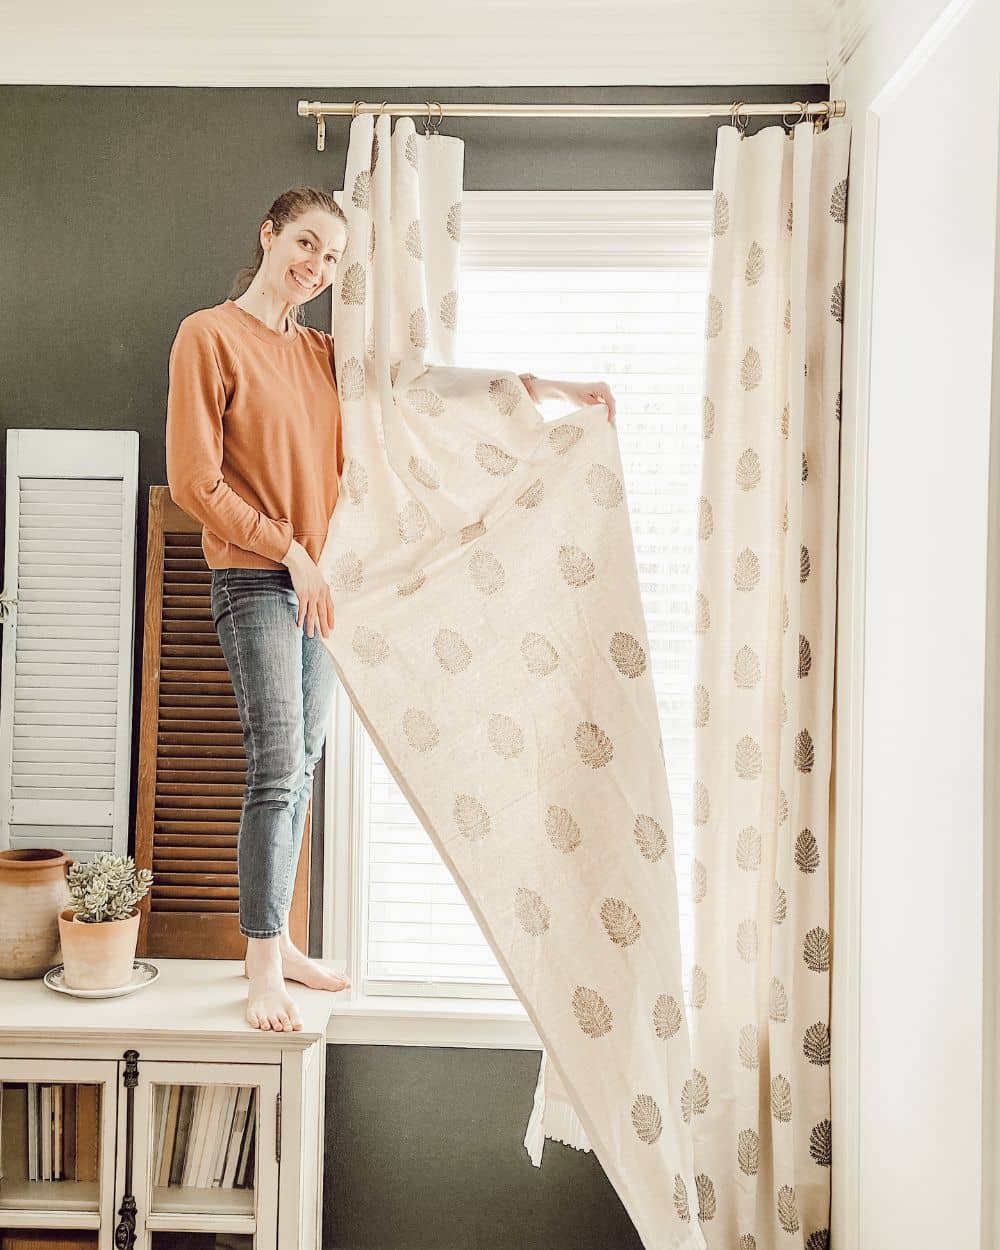
Have you noticed the simple, yet stunning block printed fabrics on wallpaper, curtains, table linens, pillows, rugs, bedding, and more? I love the repetition and floral designs, but the price tag is often higher than desired. I really wanted to find just the right fabric to use as curtains in the dining room. I looked online for fabric, ready-made curtains, or even a tablecloth to convert into curtains, but I couldn’t find anything affordable. So, I started my search for just the right Indian block stamp.
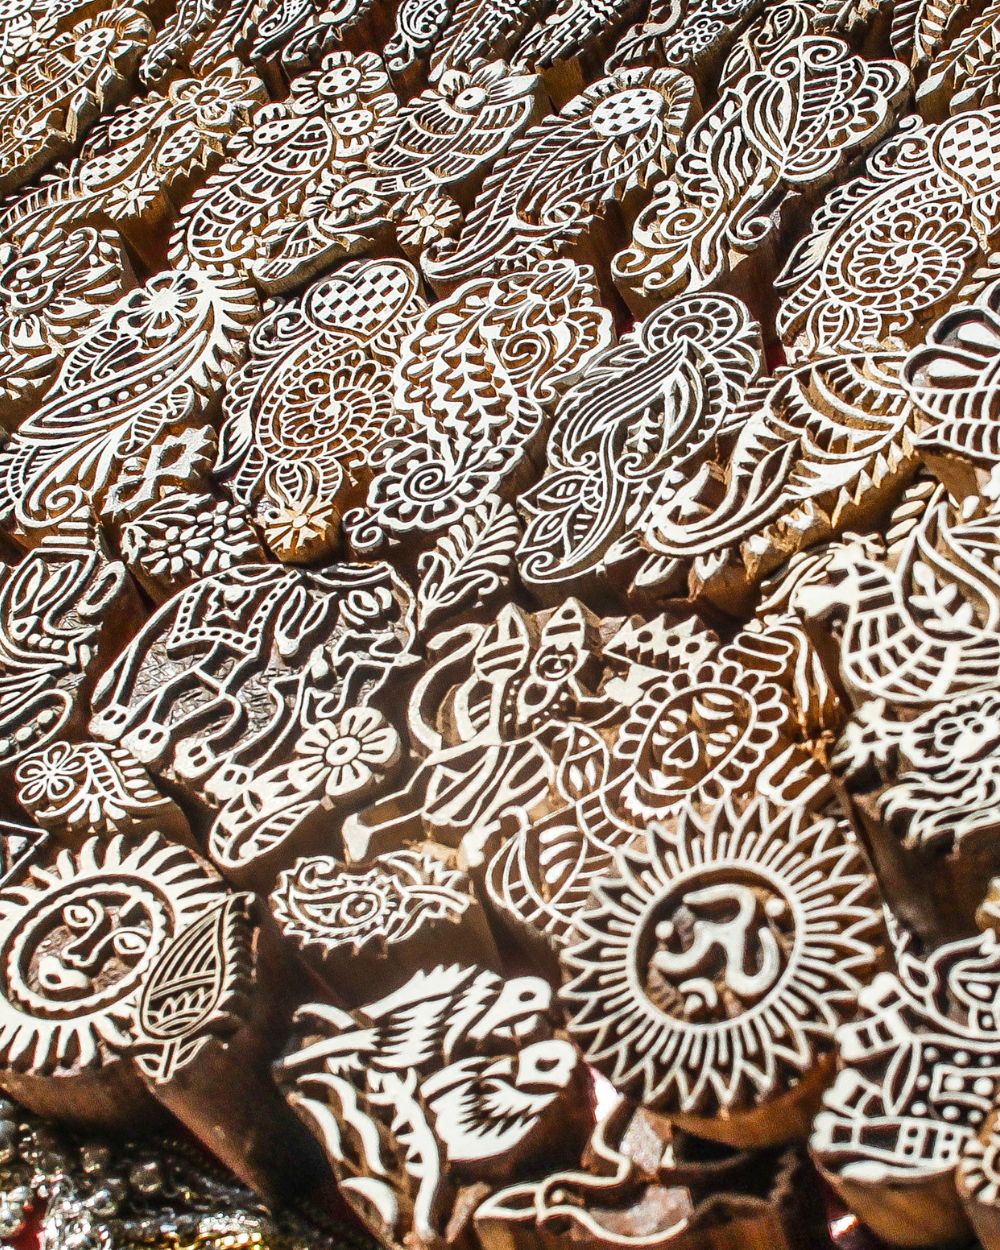
You can find spendy vintage block stamps, but I found a wonderful stamp on Etsy, and it was just the size I was looking for. The thought of having to stamp a design many times made me a little leery of this project, but I could handle less stamping with a larger stamp and spaced out. I had also never used fabric ink, but it was affordable at Hobby Lobby so that helps. If you take on a block printed project, be sure to test the stamp on a similar surface as the actual project. You’ll need to become familiar with how much ink to use, how much pressure to apply when stamping, and how the stamp feels in your hand.
You can use ready-made curtains, flat sheets, tablecloths, or even drop cloths – which is what I used for my curtains. I love the natural beige color of the drop cloth, they have a bit of a rugged vintage look, but the finished edge is not straight after washing (something to consider if that’s important for your project.). The biggest mistake I made on this project was buying drop cloths that were the exact length of fabric I needed for my windows. They shrunk four inches after washing them which I only noticed after I hung the first stamped curtain. Luckily, I found some pleated taffeta trim on Etsy that added the length I needed. The trim adds a touch of femininity that I wasn’t looking for, but love, nonetheless.
I hope you will check out my YouTube video tutorial to see how I stamped this pattern and created one-of-a-kind curtains for our dining room.
Video tutorial
How to steps
For your reference, I will list the steps below to help you get started and have an idea of what’s required.
Prewash the fabric
Iron or steam major wrinkles out
Protect the surface with a water poof table covering.
Lay out the fabric, right side up, and find the center of the fabric.
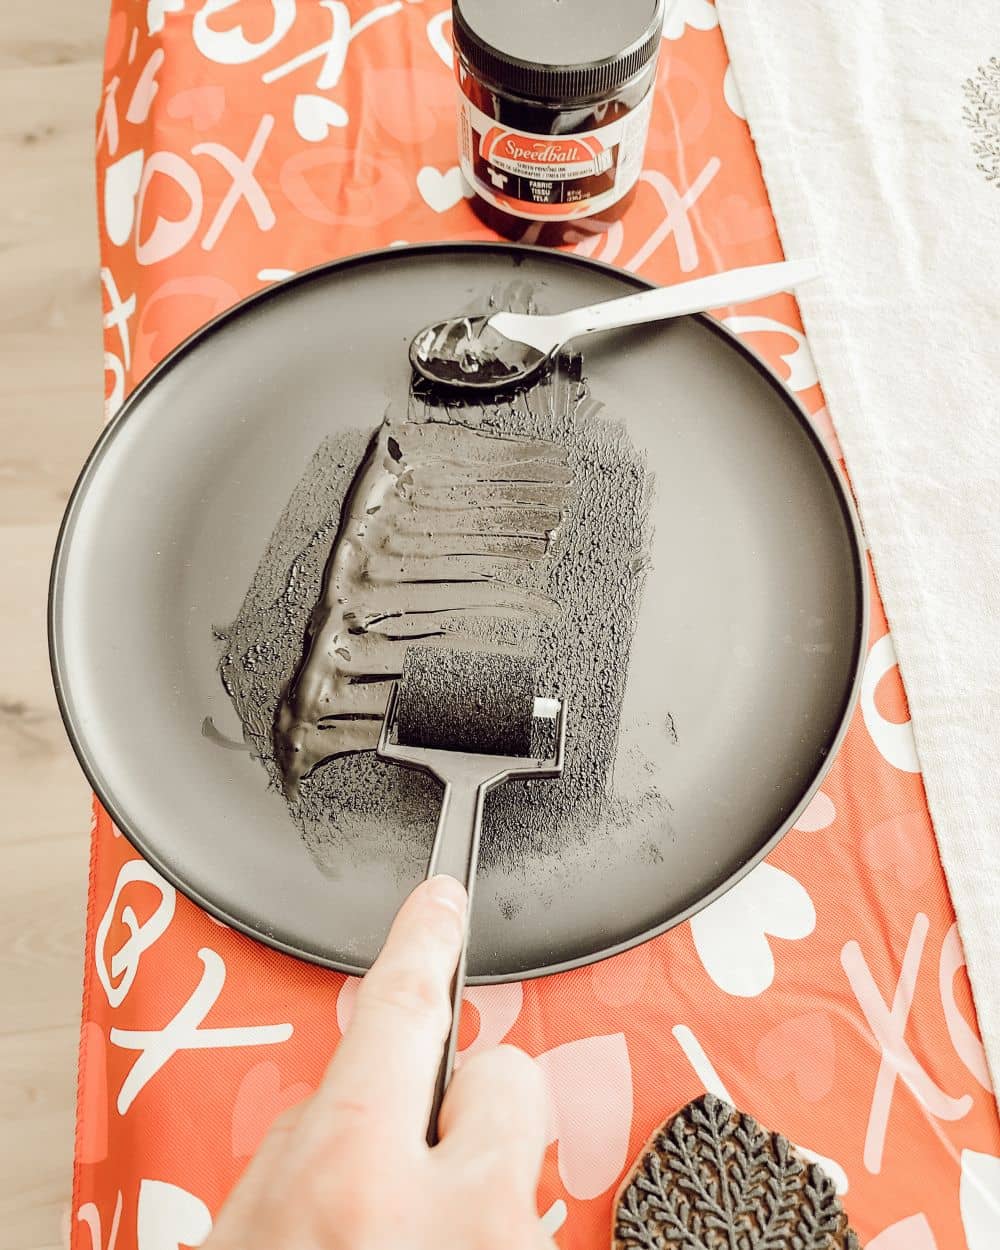
Spoon some of the fabric ink onto a plate and using a brayer or foam roller, load the roller with ink
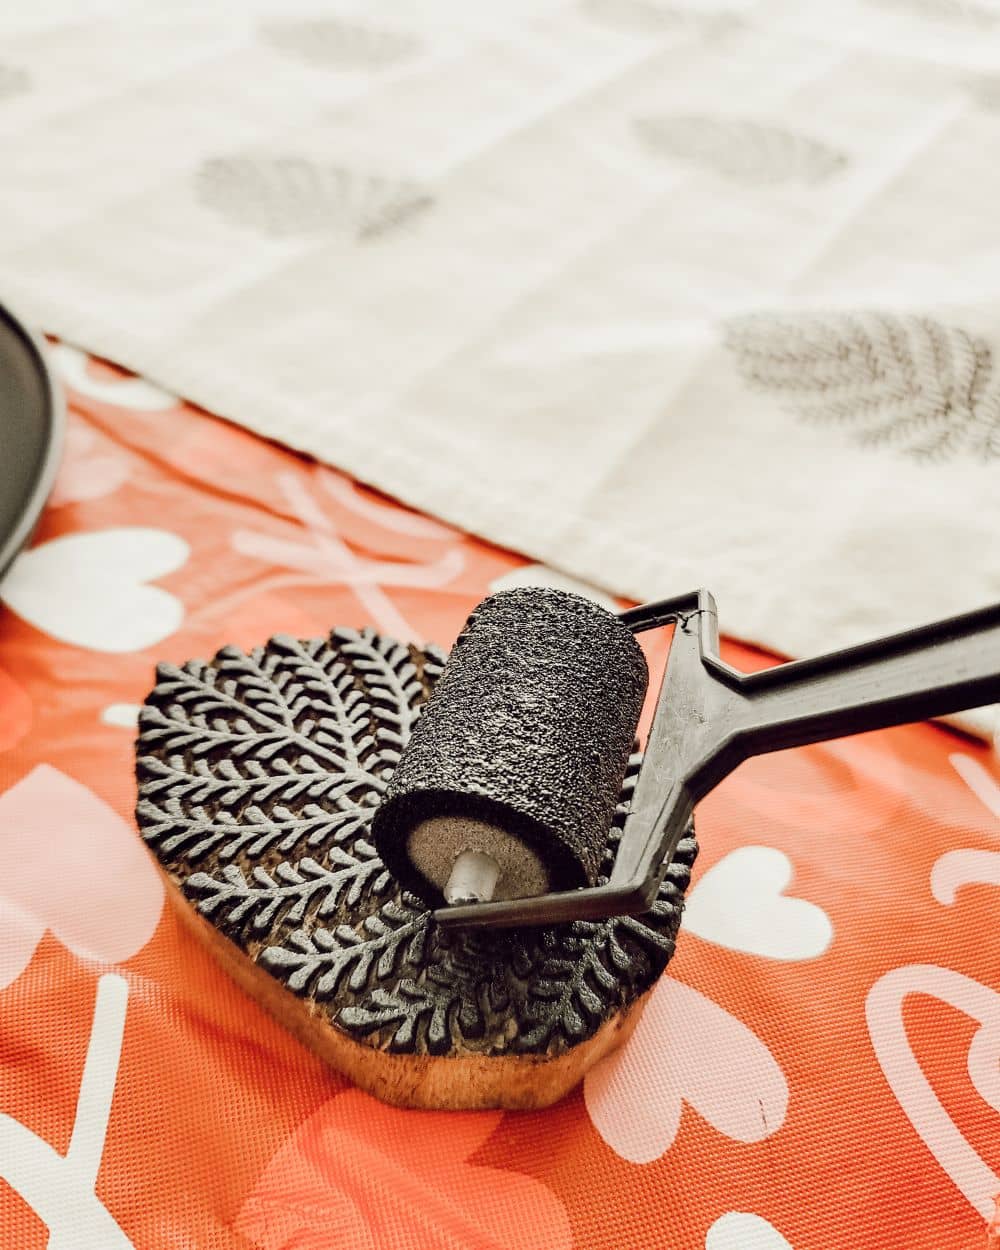
Roll ink evenly onto the stamp
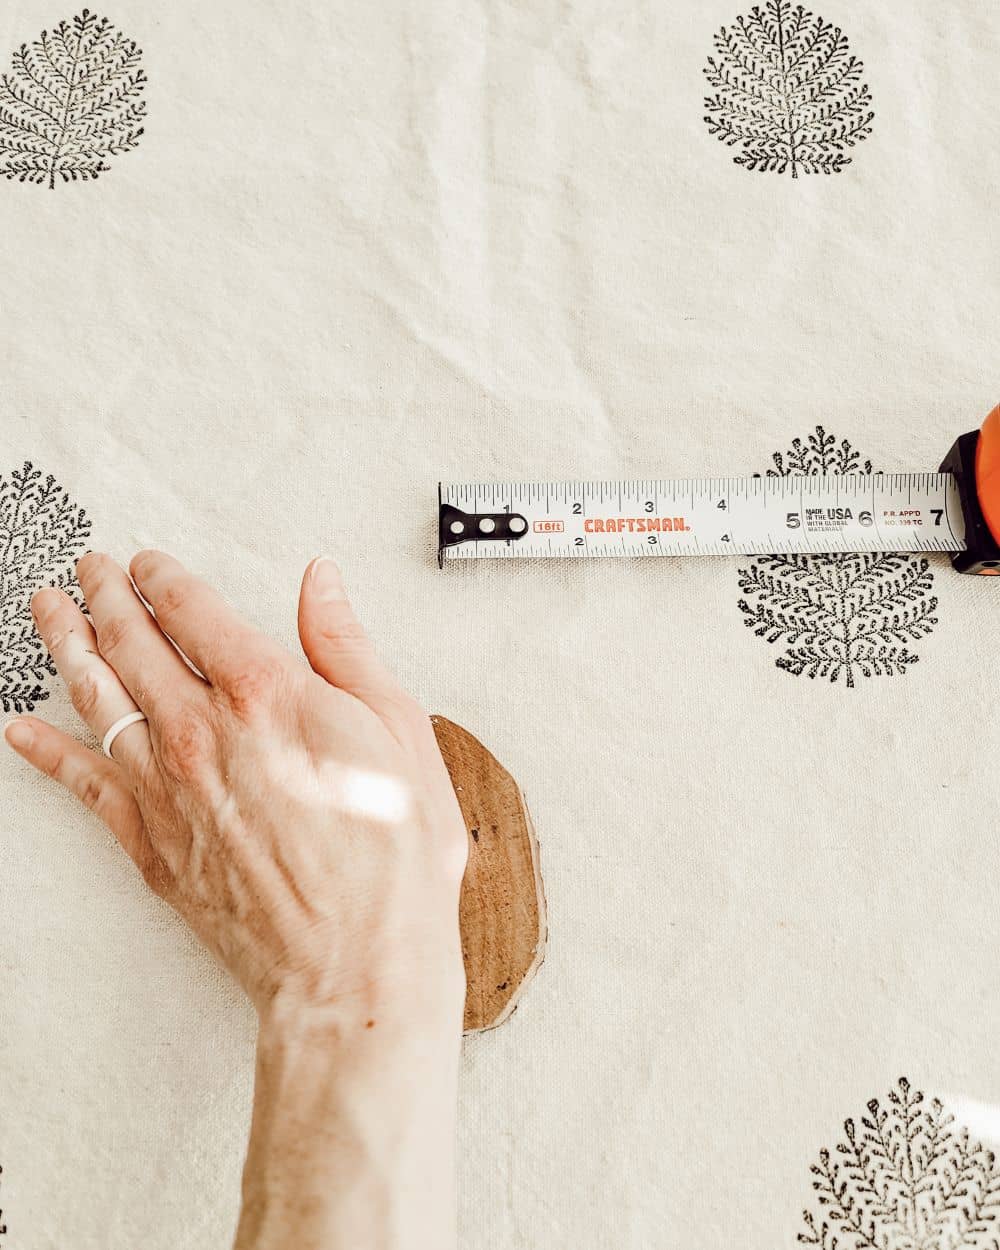
To help your stamp have some give onto the surface, place a thin craft foam sheet under the fabric where you intend to stamp (move it under each area to be stamped)
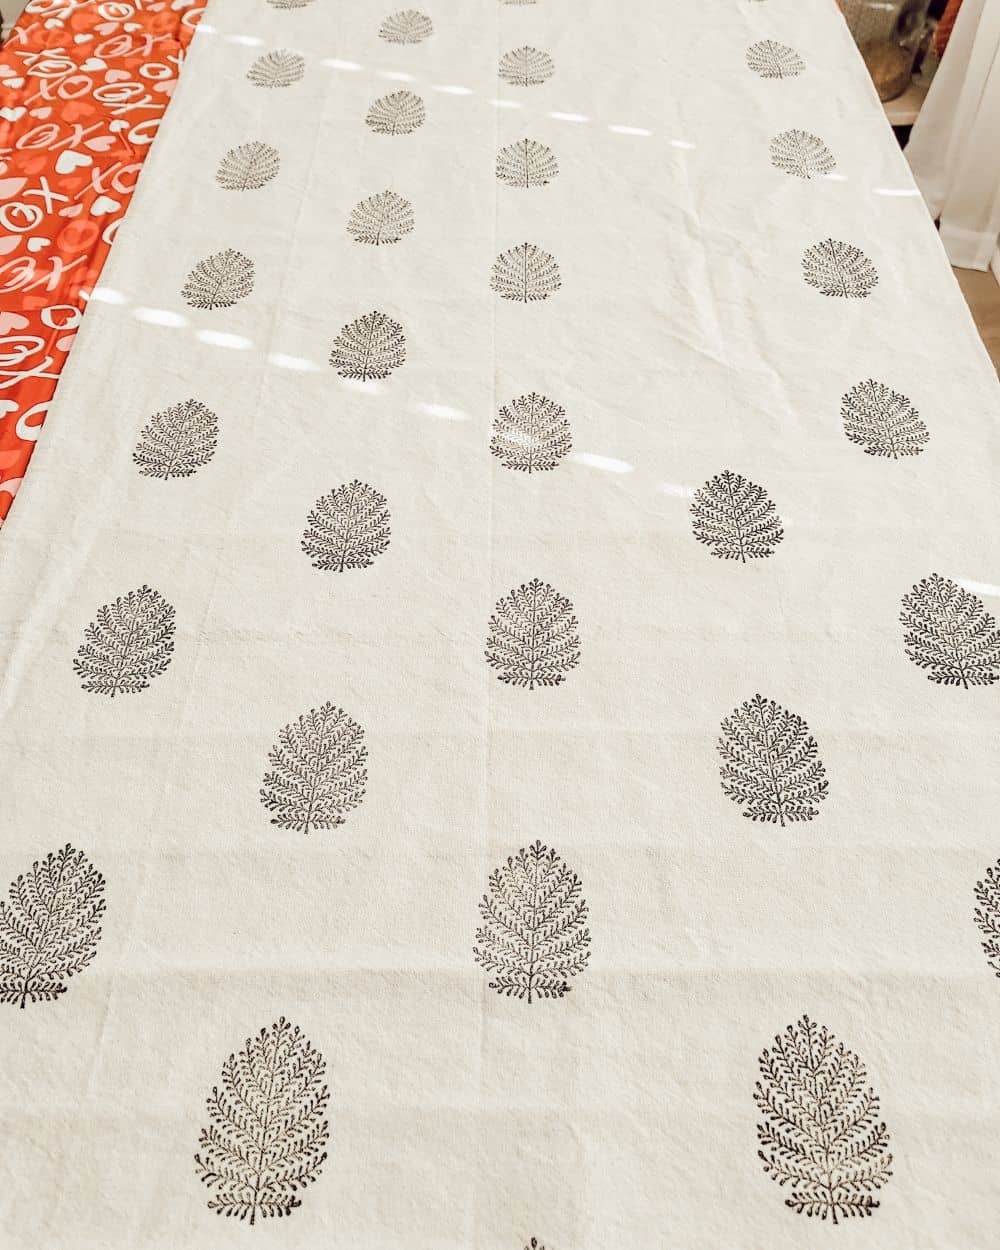
Place stamp above the fabric in the correct location and press it down in one motion
Carefully apply pressure over the surface of the stamp and then lift up the stamp in one motion
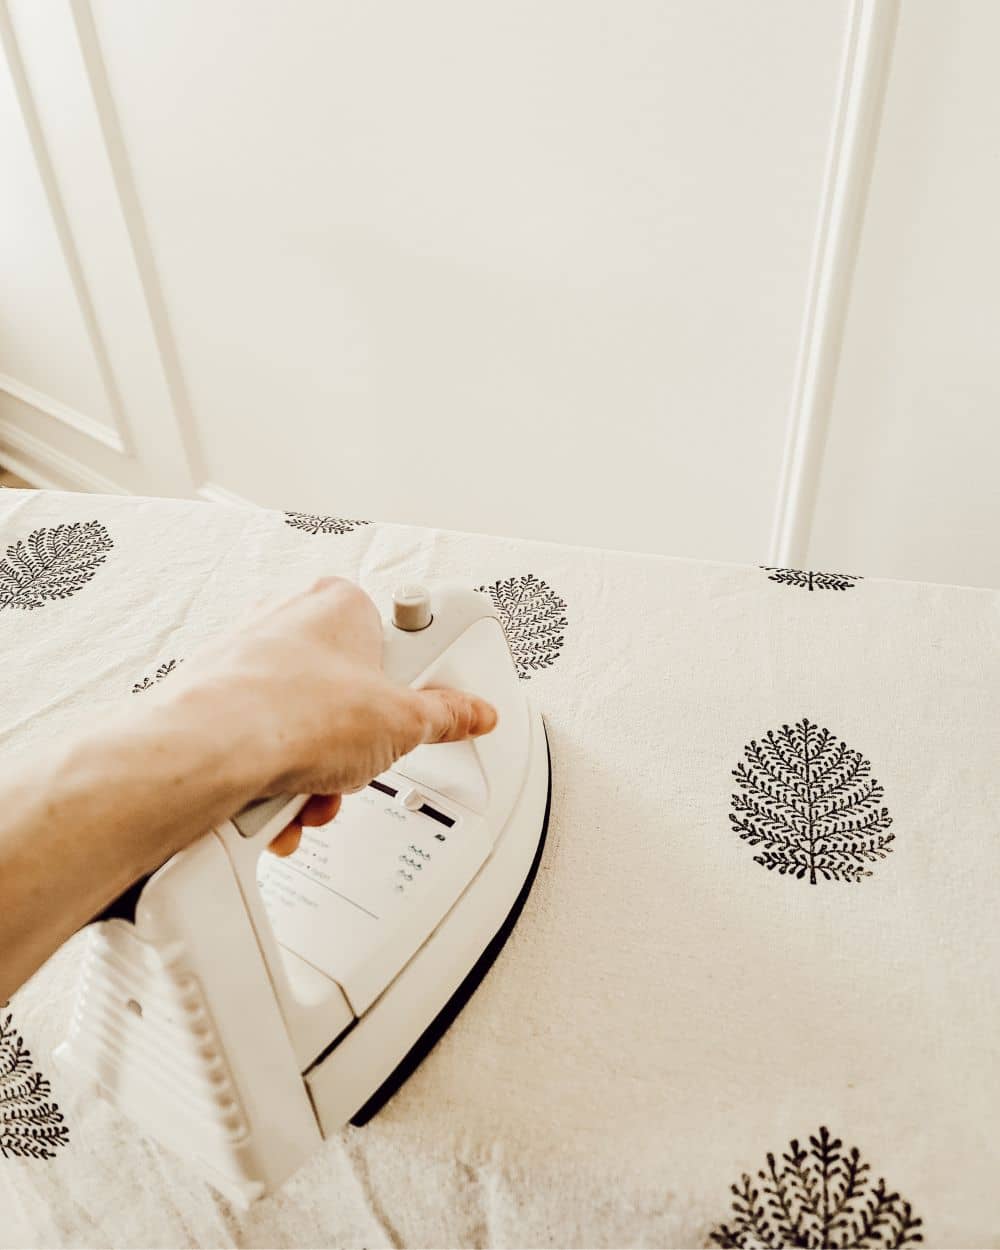
Once the ink has completely dried (overnight to be safe), iron over the stamped images to set the ink
Use curtain clip rings and attach the stamped fabric to then hang on a curtain rod
Shop this post

This post may contain affiliate links. This means I may receive a small commission from each purchase, at no cost to you. As an Amazon Associate, I may also earn from qualifying purchases. Thank you for using my links to help keep this blog going!
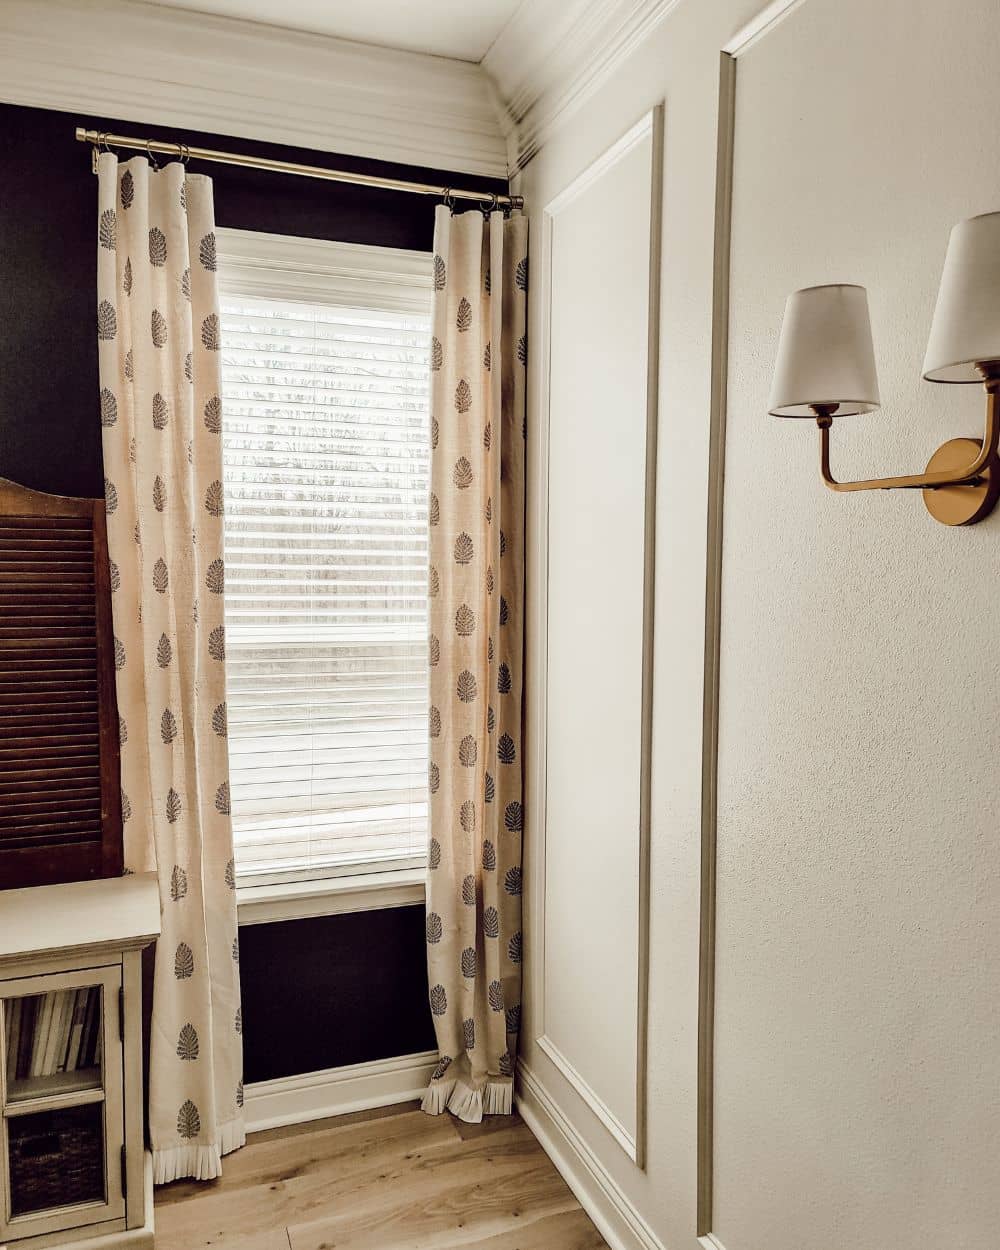
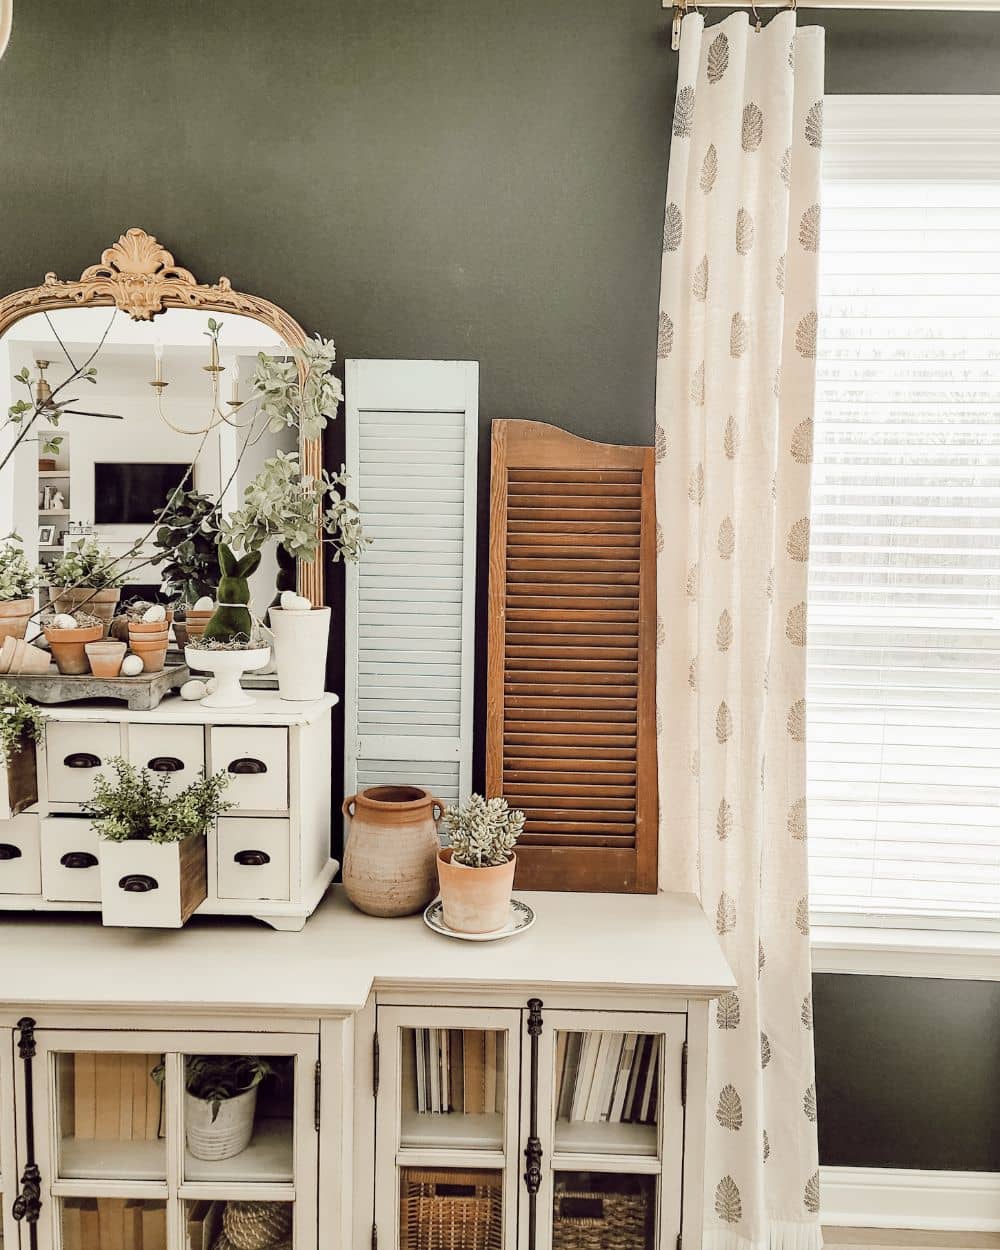
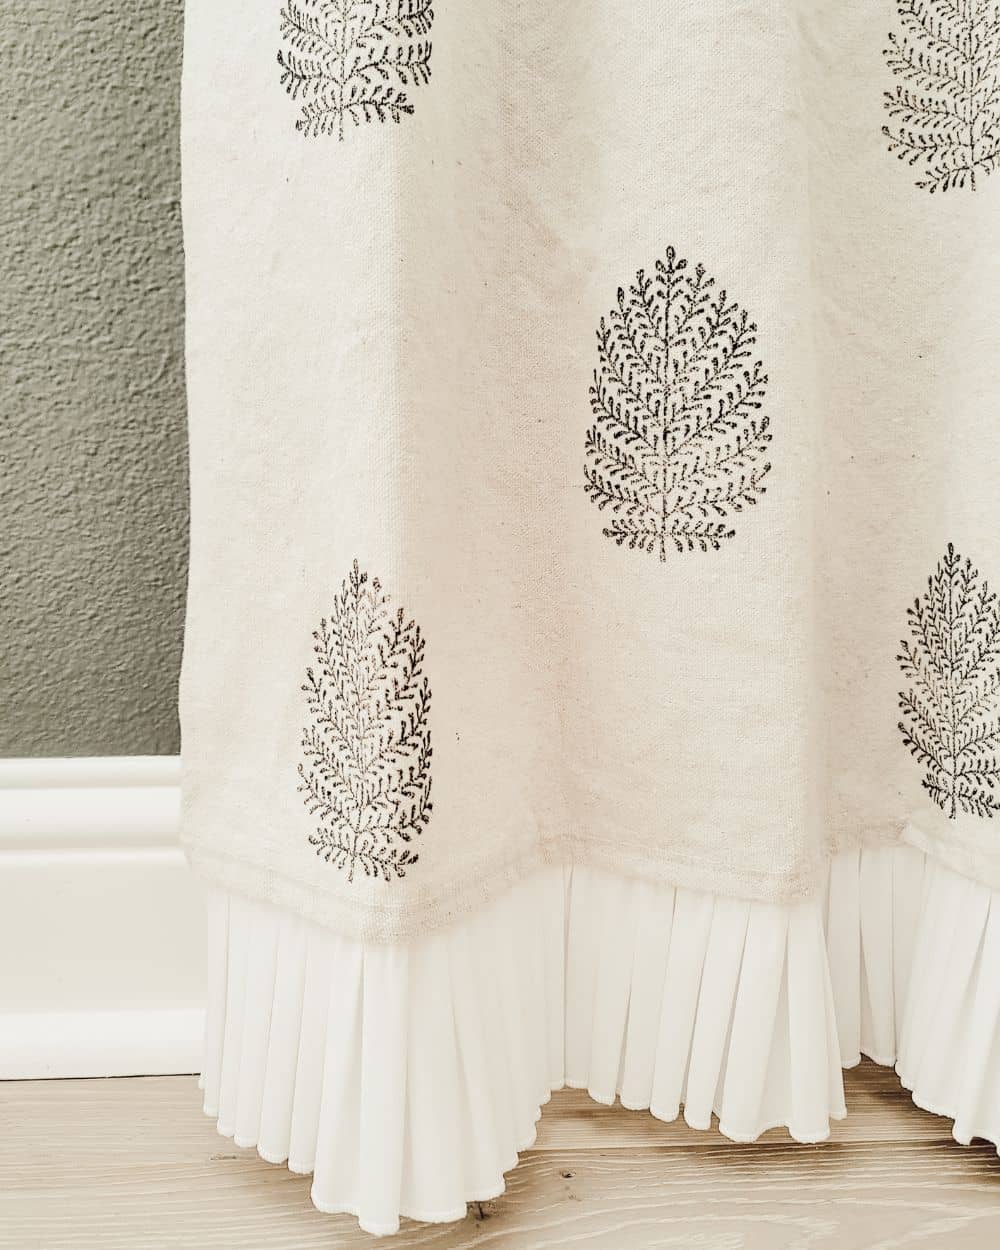
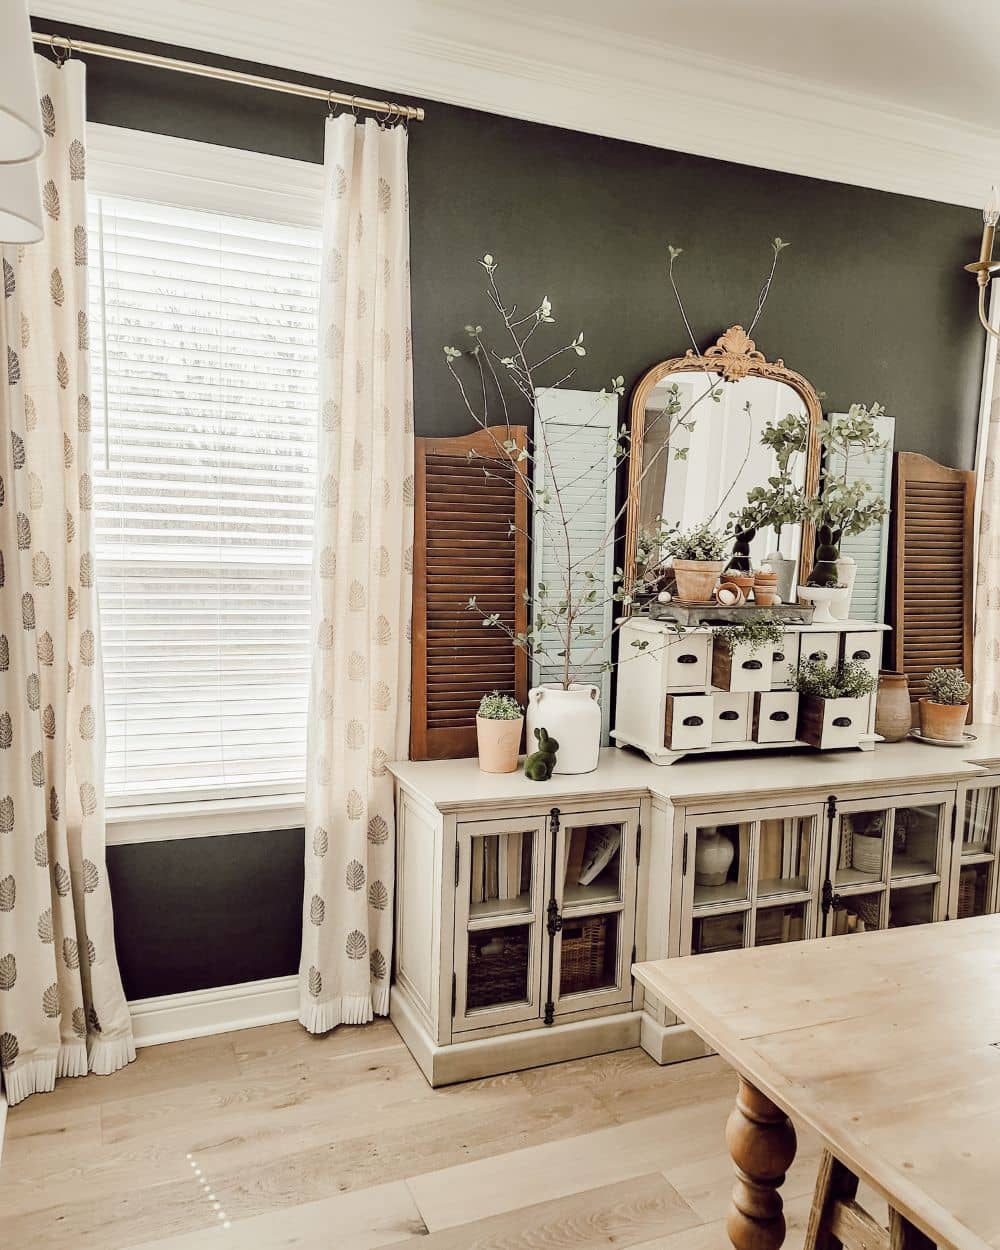
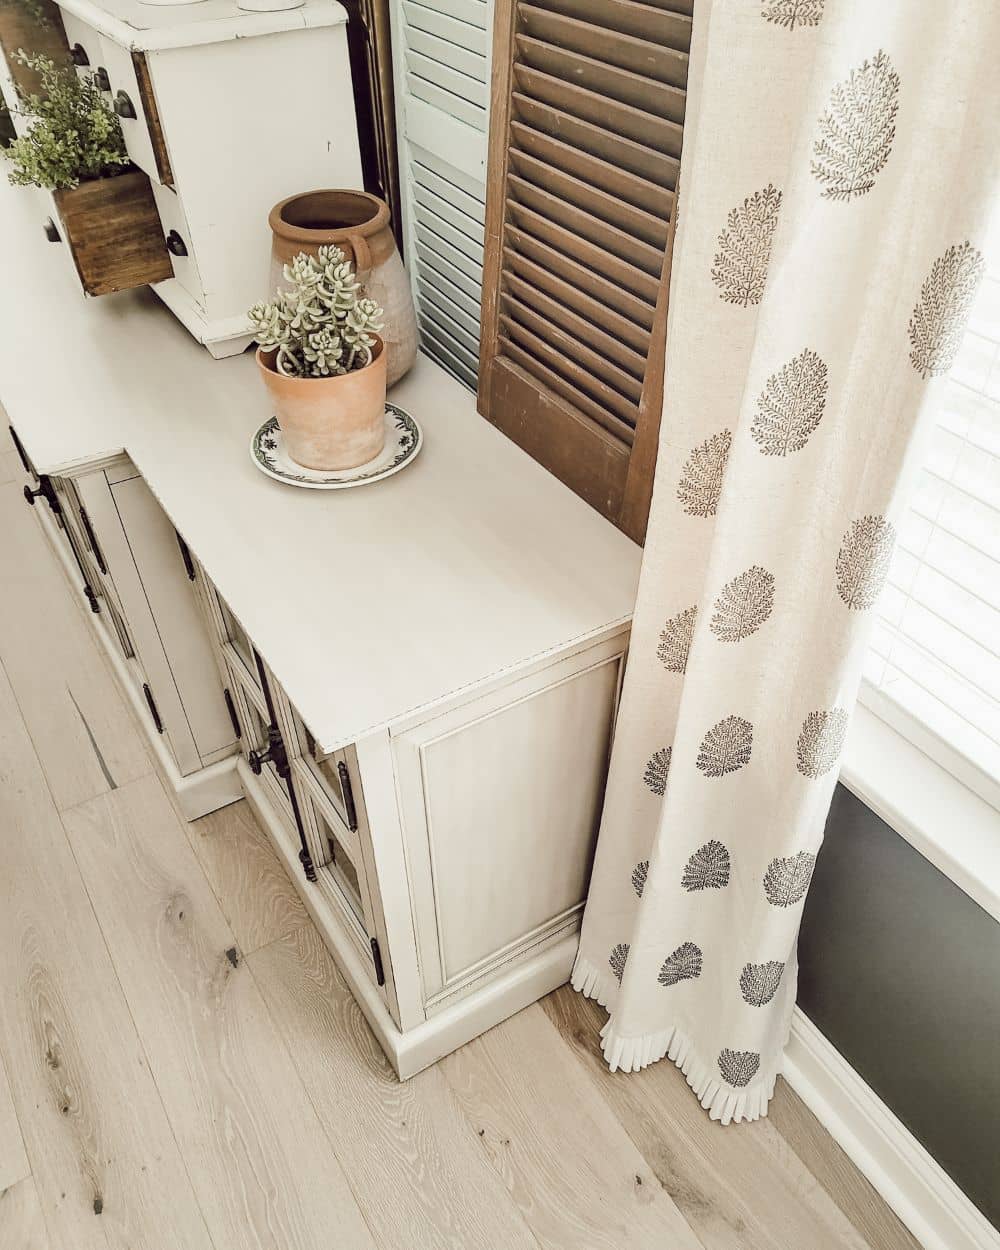
Stamping each curtain panel took me about 75 minutes, then I allowed them to dry overnight, and finally iron over the stamped design to set the ink. Once the panel is all stamped, it’s best to be able to leave it right where it’s at to dry. My curtains took additional time because I cut the drop cloths in half, sewed the cut edge, and then I also sewed on the trim. Instead of sewing a casing at the top for the curtain rod, I opted to use clip rings – they’re easy to open and close and I like the look too.
Finding, or making just the right curtain is so satisfying. I love the simple pattern and the charm they add to the dining space. There are so many possibilities with these Indian block stamps, and I hope you’re inspired to try one out yourself. Maybe curtains are too much, but a pillow cover is very doable. Check out Kristine, at the Painted Hive’s block printed pillow cover. Thank you for checking out this post, be sure to subscribe for more DIY, decorating, and party ideas and inspo!
POSTED IN: DIY crafts
