How to Embroider Any Design
How to Embroider Any Design
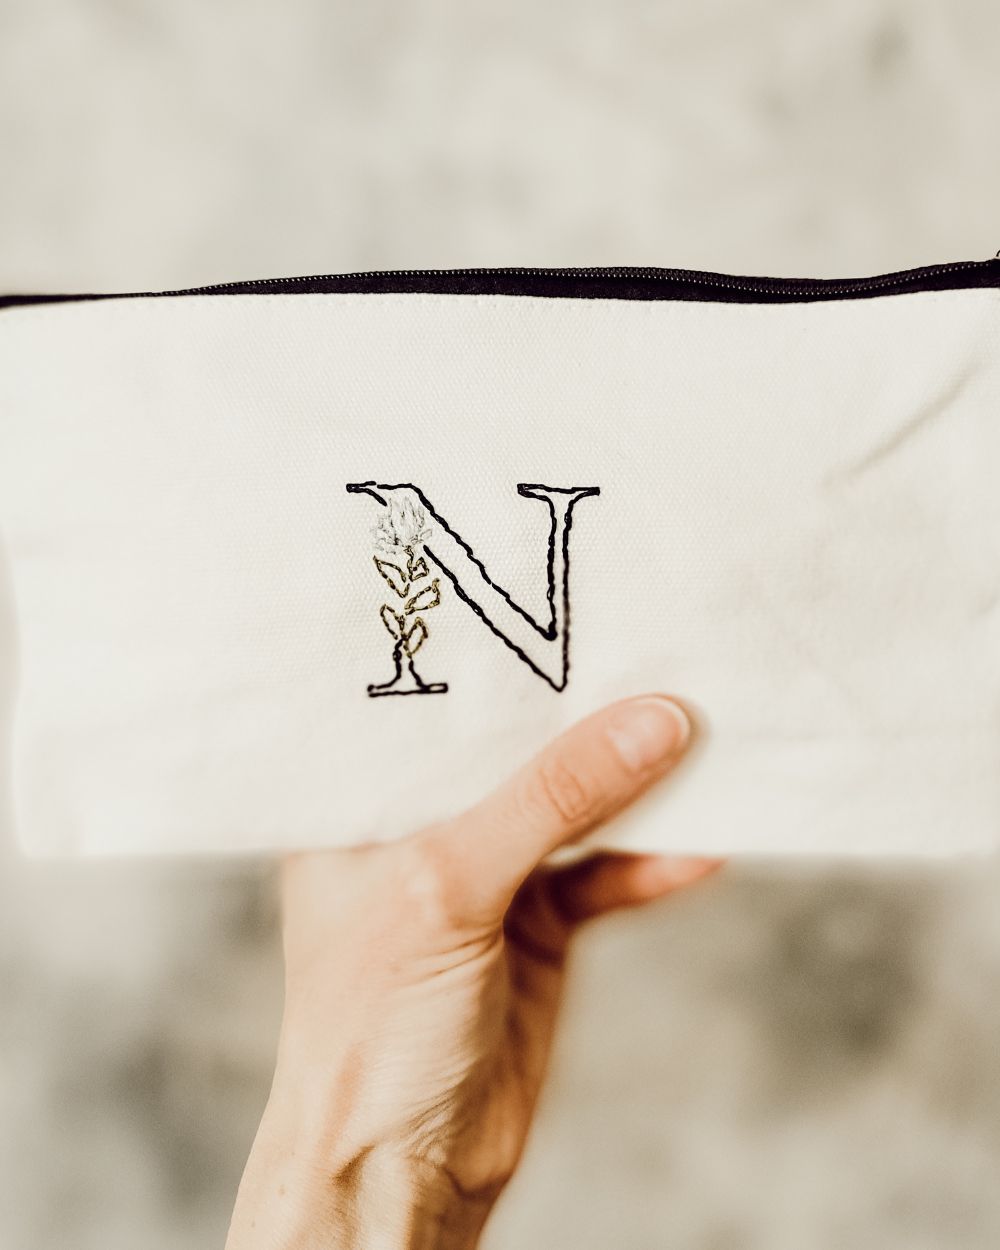
This year, we have two loved ones graduating high school. Our niece, Natalee, and my Goddaughter, Sofia, are 2023 graduates! I can still remember holding them as babies, so precious and angelic. Fortunately, they are still precious as young adults, ready and prepared to crush the next chapter. Sending a card is nice, but if you want to step it up a bit, how about a custom embroidery project?!
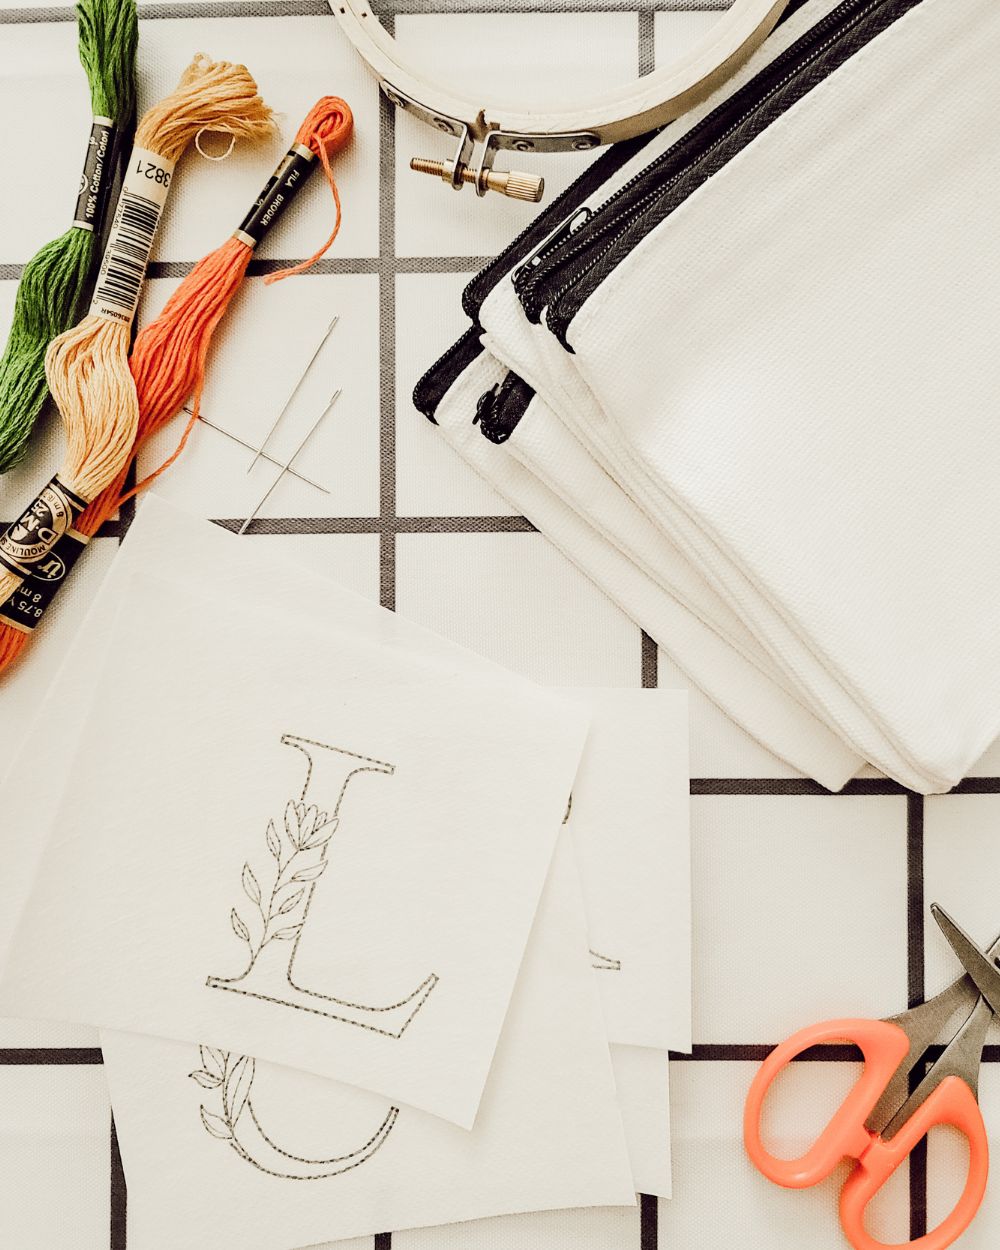
Amazon.com, Hobby Lobby, and the Dollar Store are great places to find solid-colored items to embroider. I think zipper pouches are great for ladies, and they’re small enough to easily mail and hold a little gift too. For these zipper pouches, I used a four-inch embroidery hoop to hold the fabric tightly while I embroider it. You can use any needle you want, but the advantage of using an embroidery needle is that the end isn’t as sharp, and the thickness is just right too. I poked myself a few times, but without injury because it was the correct type of needle. You can buy individual embroidery floss colors, but it can be more economical to buy a pack. For this project, I split the floss in half so that I was embroidering with three stands at a time.
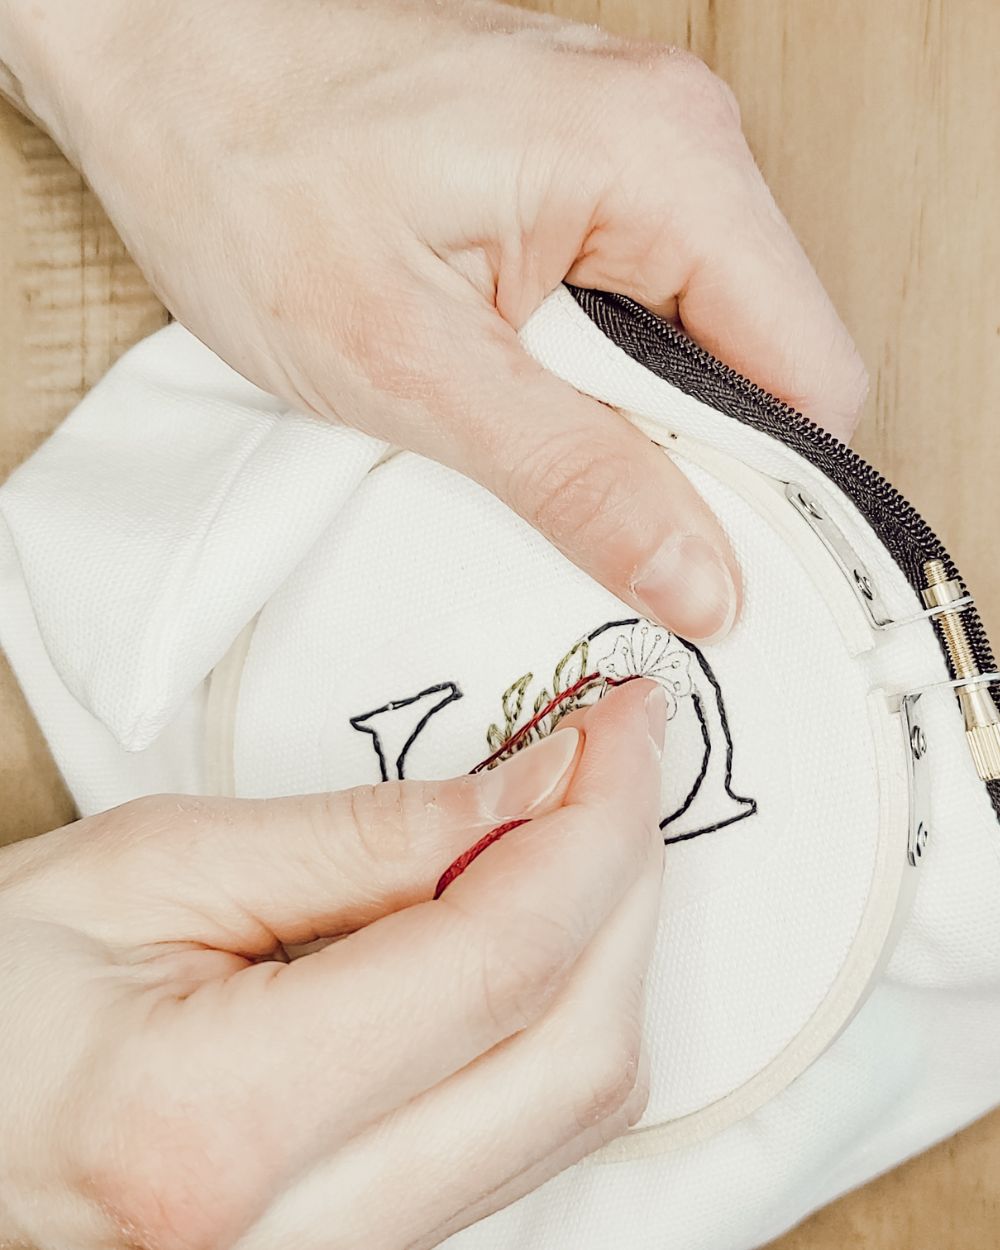
Some crafters will sketch a design with chalk or a fabric pen, but I can’t sketch, at all. So, fortunately I can create a design on Canva.com and print it onto Stick ‘n Stitch paper. This paper prints just fine in either our laser jet or ink jet printer. Once you have the design you want cut out, just stick it to the item you’re embroidering. I like to use an embroidery hoop to keep my fabric taught and it also helps me to place the sticker exactly where I want it. There are several amazing types of embroidery stitches to create beautiful and unique designs, but I just stuck with a simple straight stitch to follow the lines on my pattern. There is also a trick to starting and stopping each strand, but I just tied a triple knot. The back side of the design is not pretty, but the front is fabulous, and a handmade gift can be so special to give and receive.
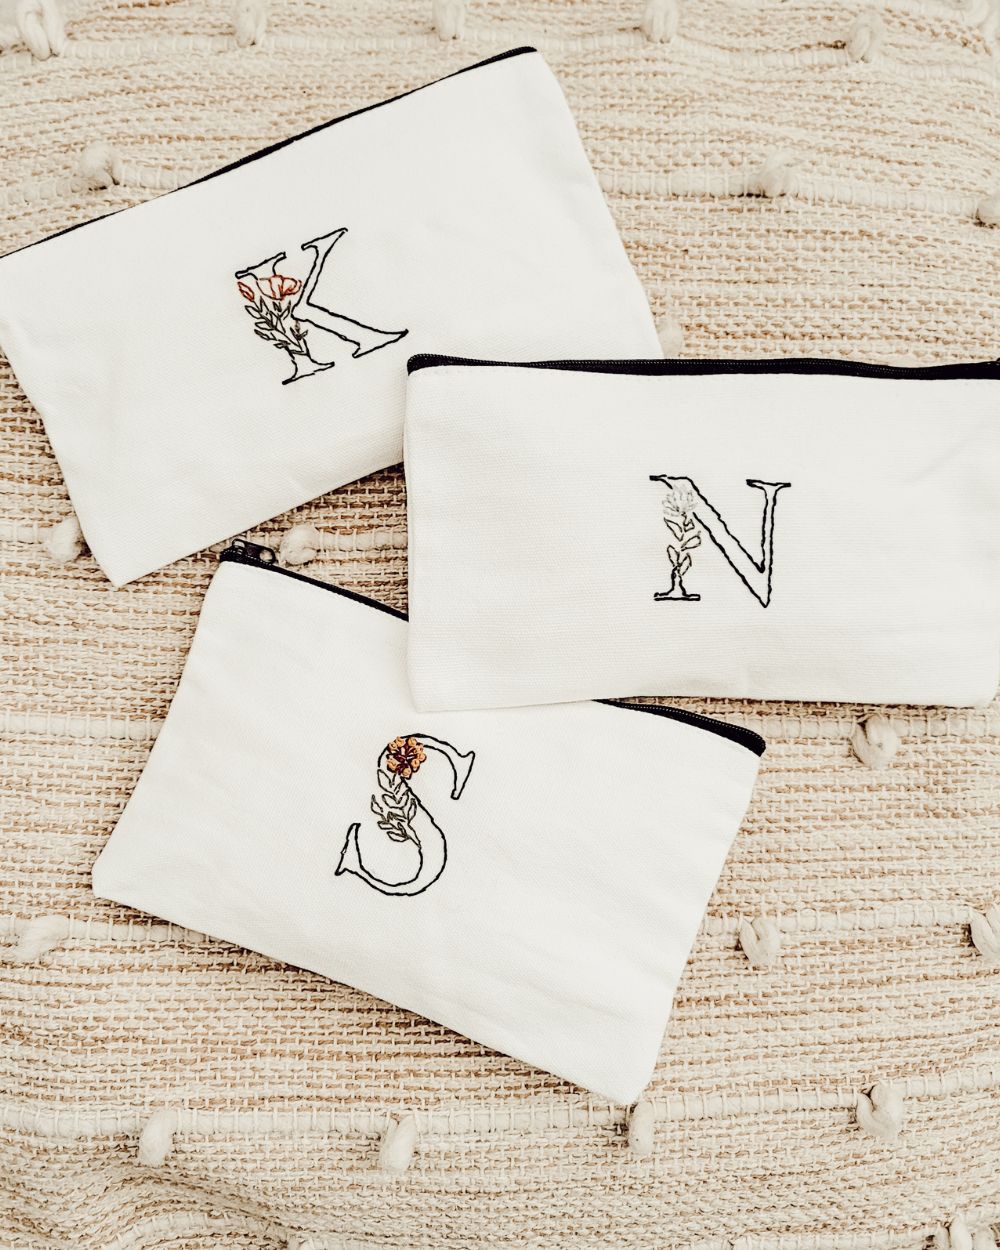
This project is so easy and affordable. Your creations make great gifts and can be personalized in the best way. How fun would it be to have a child’s drawing printed onto the Stick ‘n Stitch paper and then embroidered into a grandparent’s gift, Father’s Day, teacher’s gift, etc. One year for Christmas, my best friend embroidered a beautiful Christmas floral design along the edge of pillowcases. She did an amazing job, and the gift was beautiful, thoughtful, and one of a kind. These are the best gifts in my opinion. Not sure what to embroider, Pinterest and Etsy are great resources for inspiration.
Shop this post

This post may contain affiliate links. This means I may receive a small commission from each purchase, at no cost to you. As an Amazon Associate, I may also earn from qualifying purchases. Thank you for using my links to help keep this blog going!
Watch video tutorial
Thank you so much for checking out this post. Anyone can complete this DIY craft, and it’s very affordable and relaxing. You may need good lighting and your eyeglasses, but you’ll love how pretty designs turn out with the help of the Stick ‘n Stitch dissolving paper. Be sure to sign up for my weekly email newsletter, it’s free and always has something to inspire you!
POSTED IN: DIY crafts
