How to Easily Etch Glass
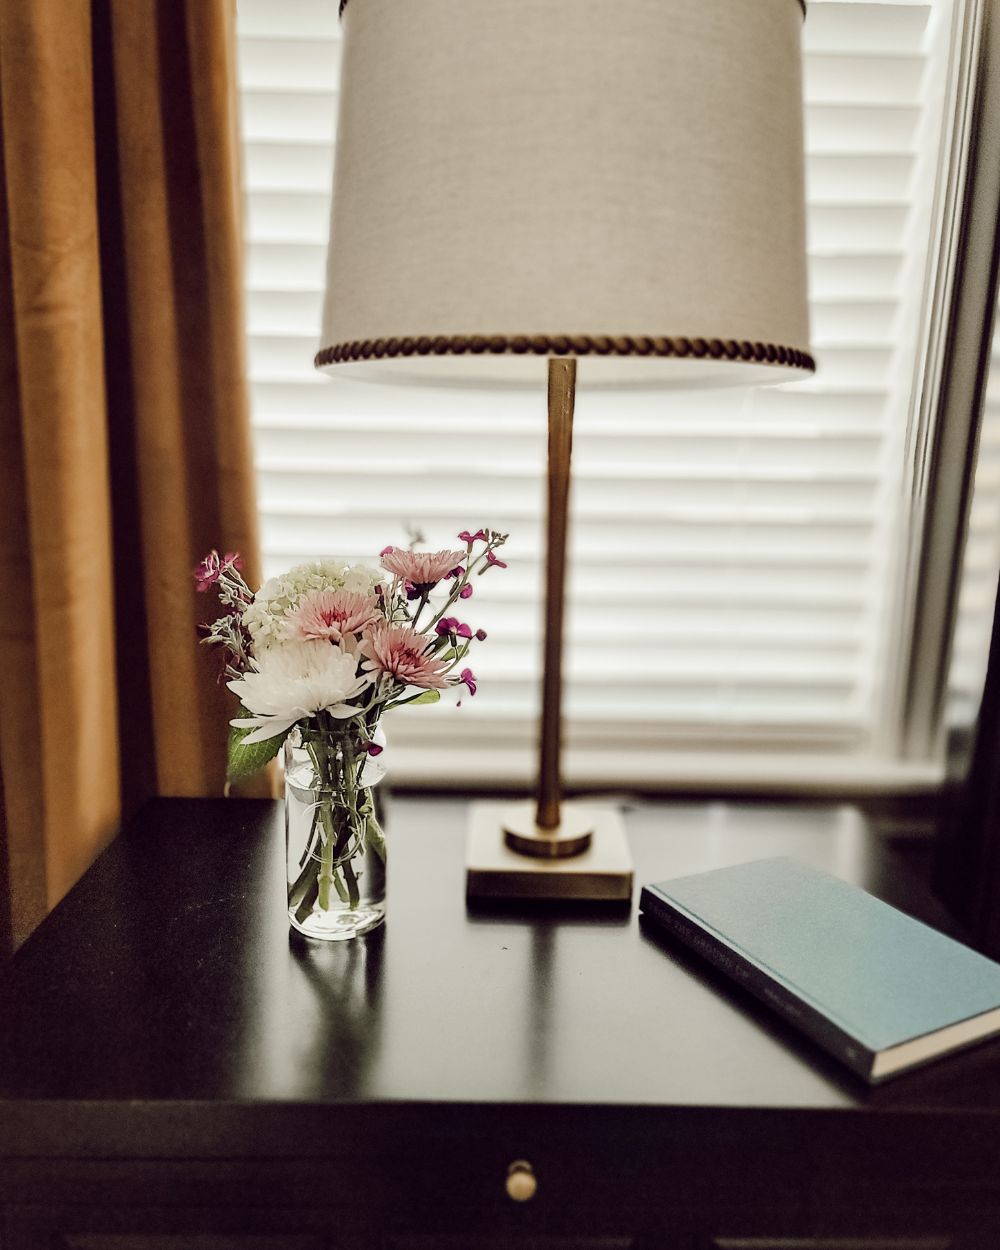
How to Easily Etch Glass
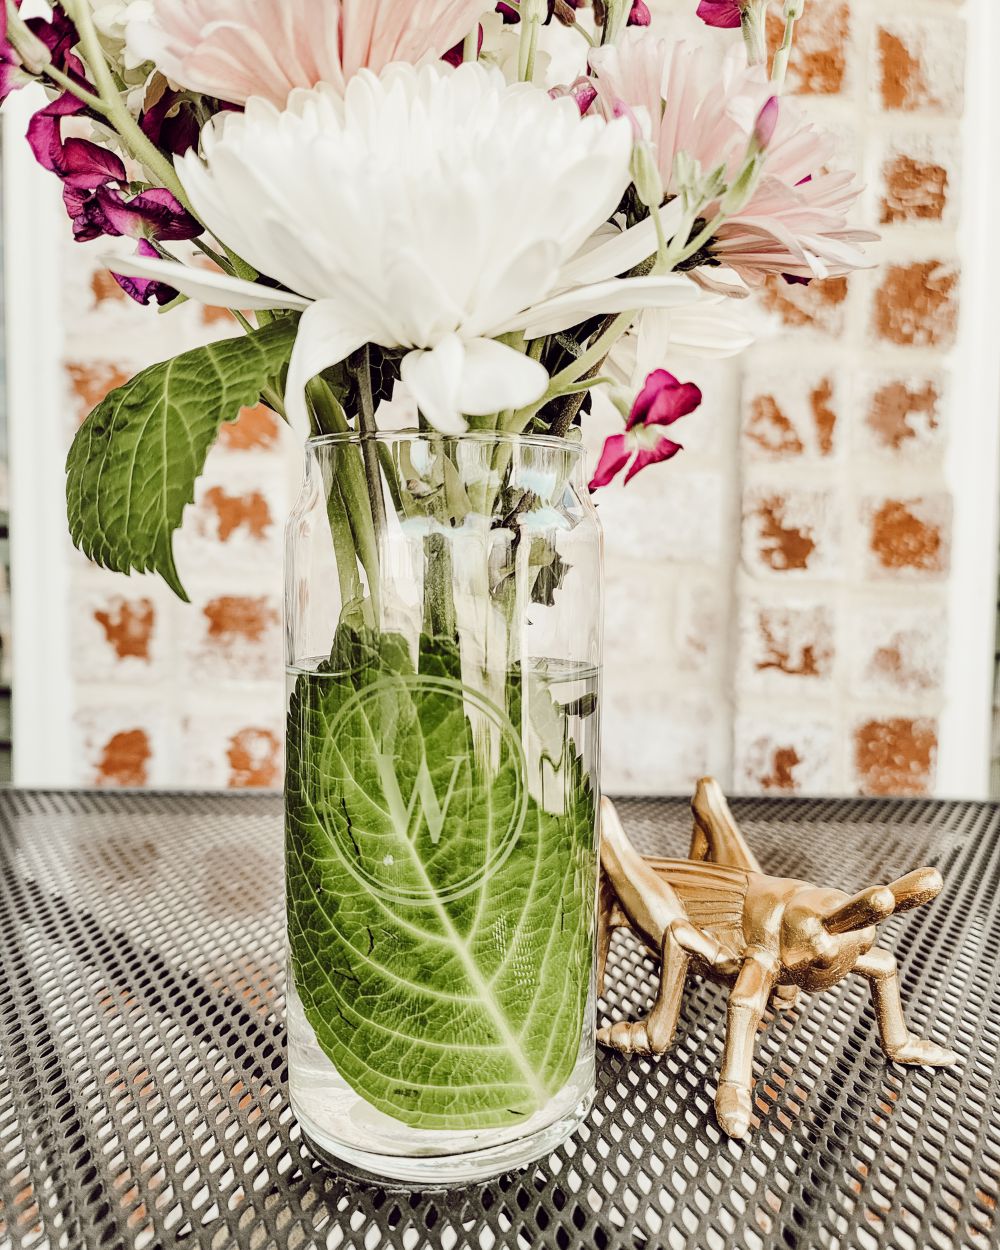
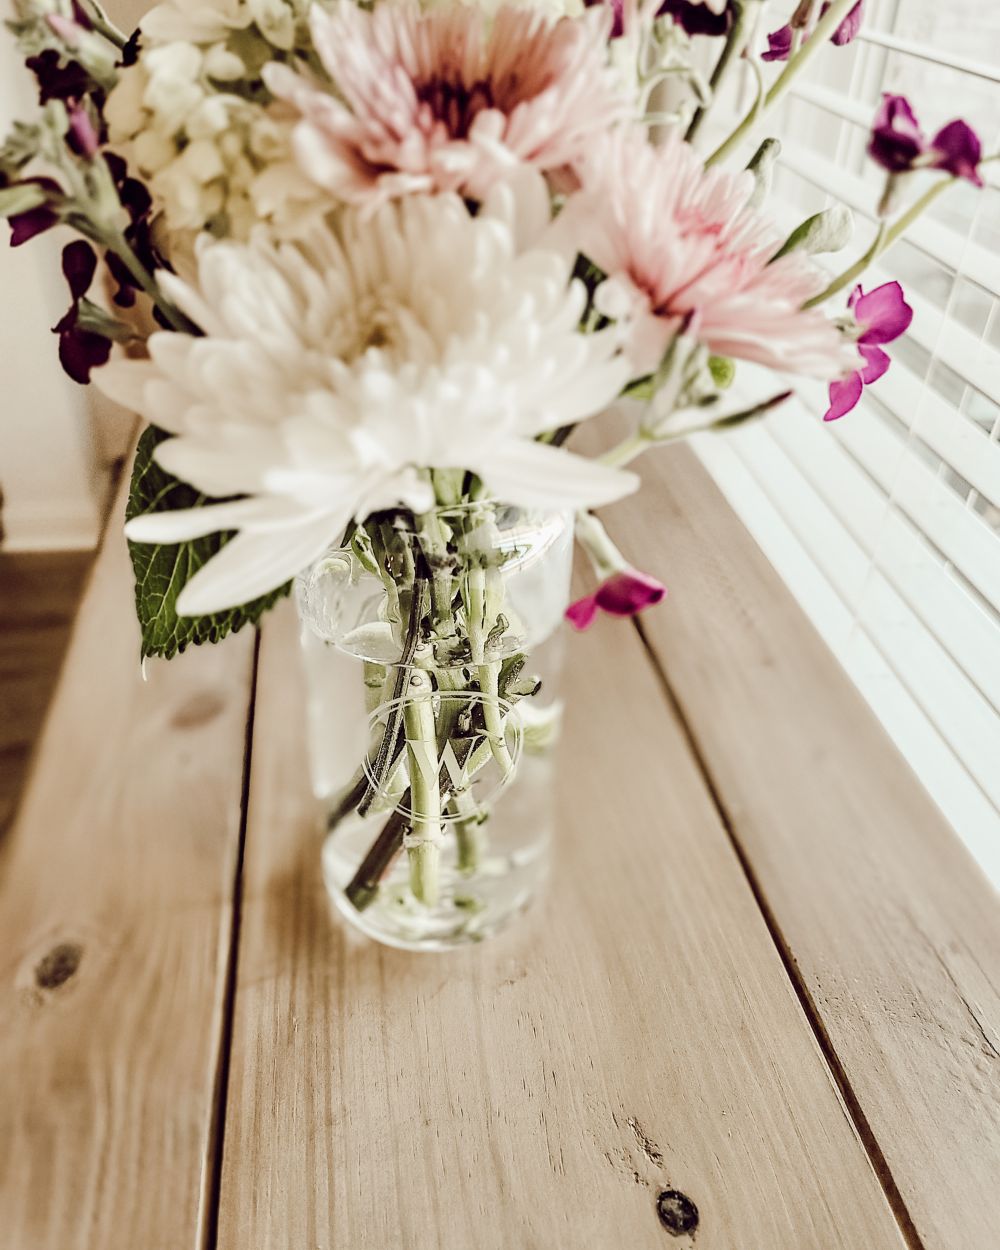
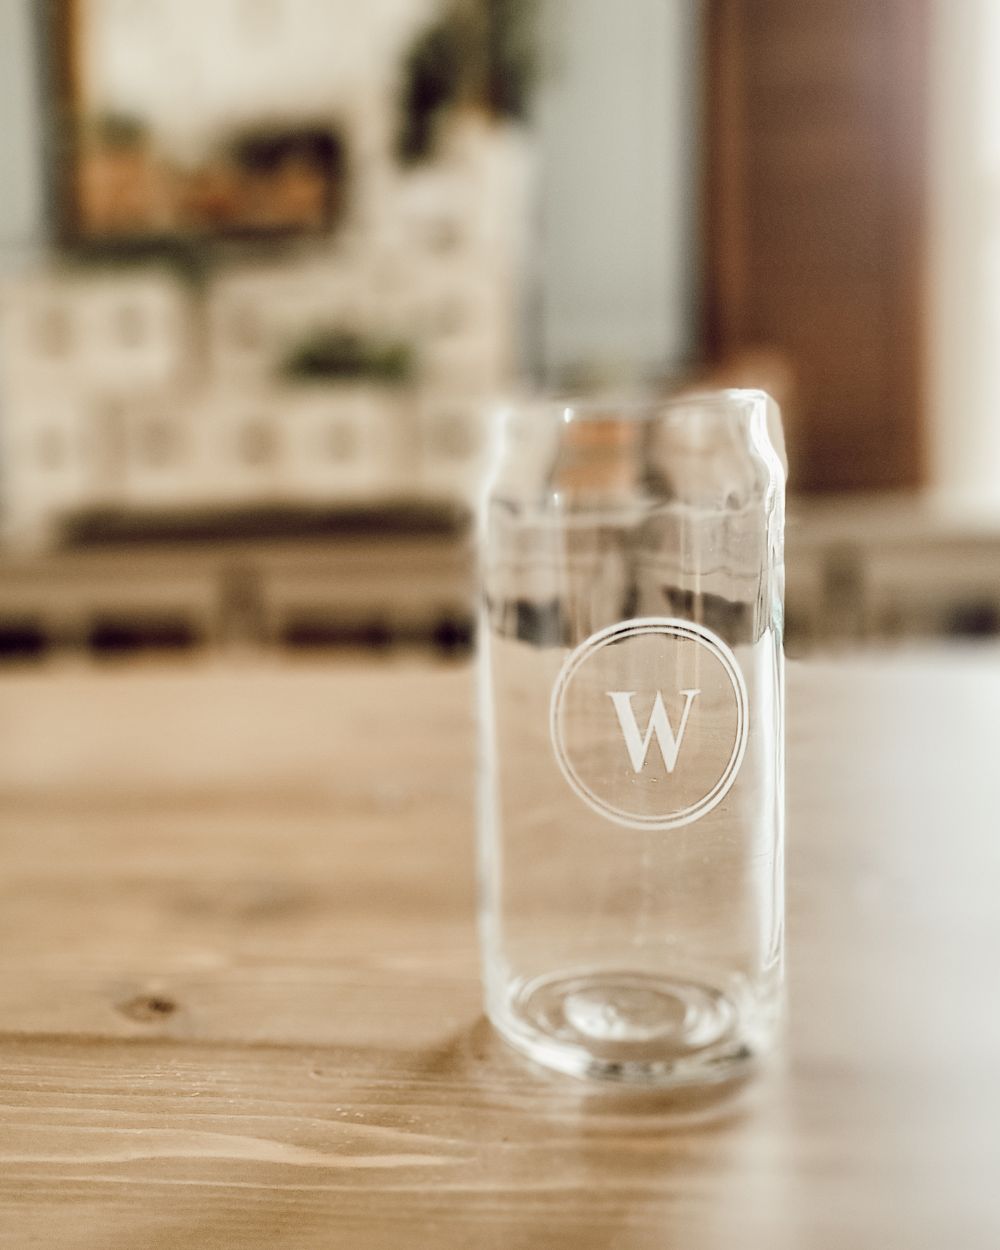
May is my favorite month for many reasons, including Mother’s Day. Lately, I’ve been looking for DIY craft ideas to share with my mom and daughters. Last year we enjoyed some water coloring with our Mother’s Day lunch. This year, I’m thinking glass etching will be fun and easy enough for all three generations. For this glass etching project, I will use a drinking glass that will be used as a vase or even pencil holder, but you can use any glass with a smooth surface. Upcycling old vases and things is a great way to give something older, new life!
This DIY craft is also an affordable option to do with a larger group. Maybe a bridal shower, birthday party, friend group, or like me, a Mother’s Day celebration with all the generations. Here’s a list of the supplies you’ll need:
smooth glass vessel
Armor Etch (etching cream)
vinyl sticker template (Etsy or use your Cricut)
Rubbing alcohol
painter’s tape
cheap paint brush (or Q-tip)
protective gloves
Video tutorial
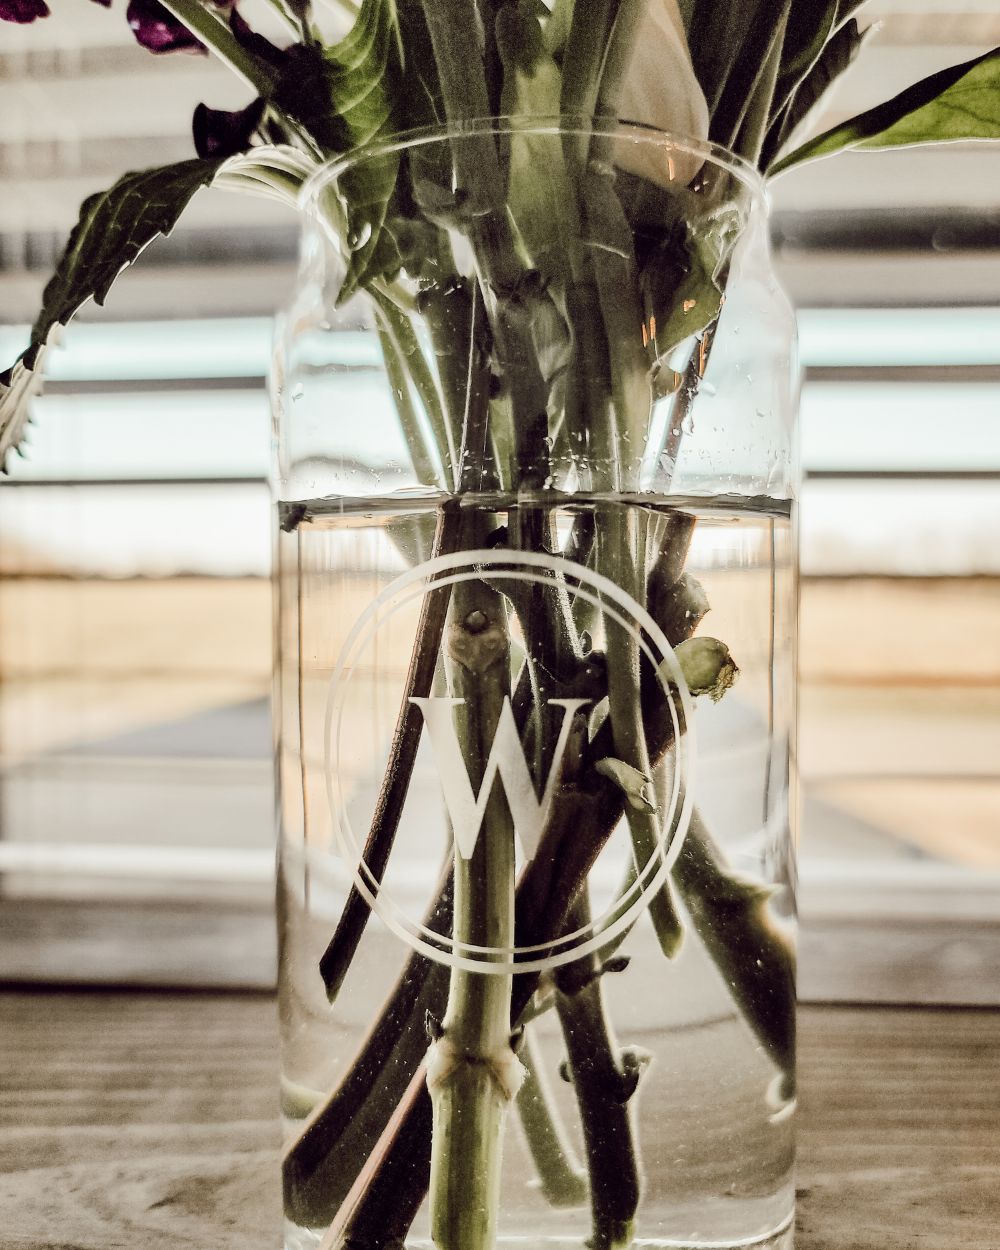
There are some Etsy shops that specifically make vinyl stencils for the purpose of etching. They have so many great designs to consider and there are shops who do custom designs too. However, if you are a wizard and know how to work a Cricut machine, then you can create your own stencils. For my simple vase design, I wanted a modern monogram – simple and understated. I found a shop that creates her vinyls in reverse making them perfect for etching. It doesn’t do much good if the shop removes the background of the vinyl and leaves the image (unless you want the entire glass etched except for the image). For my project, I wanted just the image etched so I need the background to stay while the image is removed.
Step by step
The steps are easy, and I was nervous at first, but if you take your time and understand why you’re doing the various steps, you’ll do them thoroughly and it will turn out great! Here are the basic step:
1. Position your glass so that it doesn’t move/roll. Make sure the work surface is protected.
2. Clean the area that the vinyl stencil will cover with rubbing alcohol. You want to remove all oils and dirt from the surface. Allow to dry.
3. Carefully remove the white paper backing from the vinyl stencil and keep touching the sticker to a minimal. Hover the vinyl above where you want it placed on your glass. Slightly bend the vinyl so that the center touches and sticks to the glass first. Then roll one side down at a time – this helps to prevent large bubbles.
4. Before you remove the clear sheet from the vinyl, use a credit card or popsicle stick to rub over the vinyl image – trying to get even the smallest bubble out. If there are any bubbles, you run the risk of the etching cream seeping into the bubble and ruining the design. I spent plenty of time on this step, making sure to rub out every last bubble.
5. Remove the clear layer off the top of the vinyl. Be sure to not touch the glass or vinyl sticker. Use painter’s tape along the edges of the vinyl sticker to protect the glass around the sticker from accidently getting etching cream on it. Now it’s time to put on protective gloves.
6. Use a tiny paint brush, Q-tip, toothpick, etc. to carefully place the etching cream on the exposed glass on the vinyl sticker. Don’t pour or paint over the entire vinyl – that would be a waste and could end up ruining your design. Carefully place the cream onto the glass where the design is and let it sit according to the directions on the etching cream.
7. I did not follow the exact instructions on the Armour Etch, but it wasn’t an extreme variation. I allowed it to sit for 30 minutes before rinsing it off. I actually used a piece of paper towel to carefully wipe the majority of the cream off first, and then I rinsed the glass thoroughly. Remove the vinyl sticker and rinse again. Before using the glass to eat or drink, be sure to completely wash it with hot water and soap.
Shop this post

This post may contain affiliate links. This means I may receive a small commission from each purchase, at no cost to you. As an Amazon Associate, I may also earn from qualifying purchases. Thank you for using my links to help keep this blog going!
That’s it, the hardest part is waiting the 30 minutes for the cream to etch the glass! I love that the cream goes a long way and can be used for a fun group activity. You can upcycle your old glass vases or whatever you have lying around. This is such a fun craft to try.
Refreshments
If you decide that you won’t ever use up the entire container of Armour Etch yourself and want to coordinate a small group activity, here are some recipes to consider serving your guests~
Strawberry Jello Pretzel Salad by Princess Pinky Girl
Sparkling Pink Lemonade by Rachel Cooks
POSTED IN: DIY crafts
