Fabulous DIY No Sew Upholstered Bench Top

Fabulous DIY No Sew Upholstered Bench Top
As a self-proclaimed DIYer and avid crafter, it’s hard to confess this, but I barely have the patience for sewing. I even took sewing class in junior high and loved it, but the only projects that held my attention were the quick ones. I love sewing projects and hand-sewn items, but it takes a lot for me to sit down and do it myself. I have to really want something to get the motivation to sew it. I have a great admiration for those who can sew and create amazing things with their hands! However, this fabulous DIY no sew upholstered bench top is not only easy, it’s also a project that doesn’t require too many tools or skills.
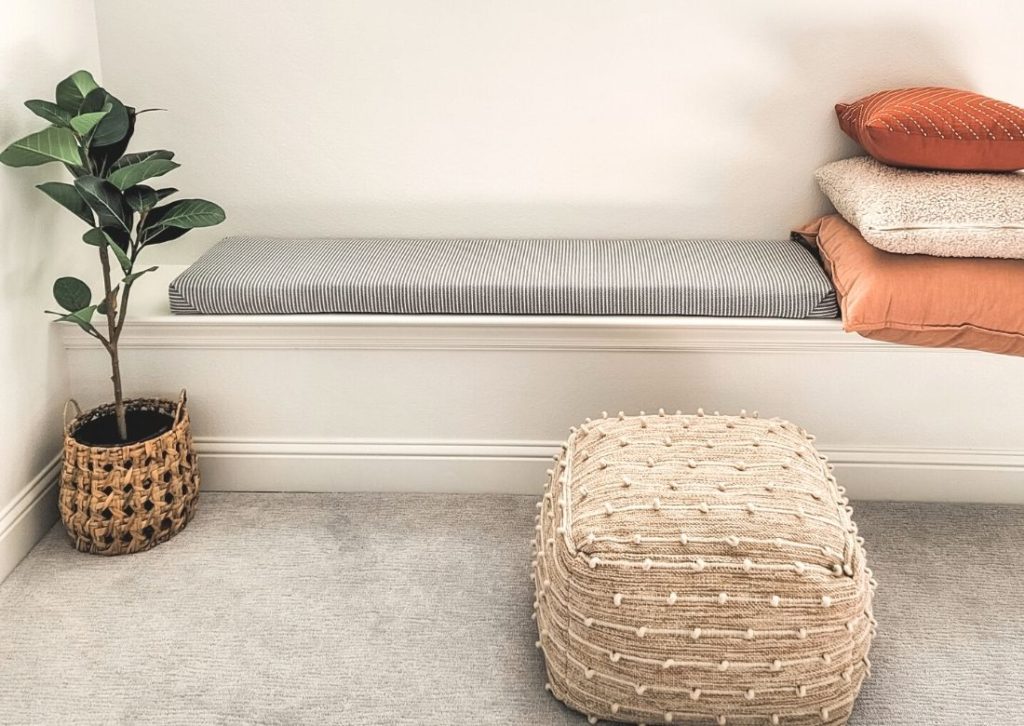
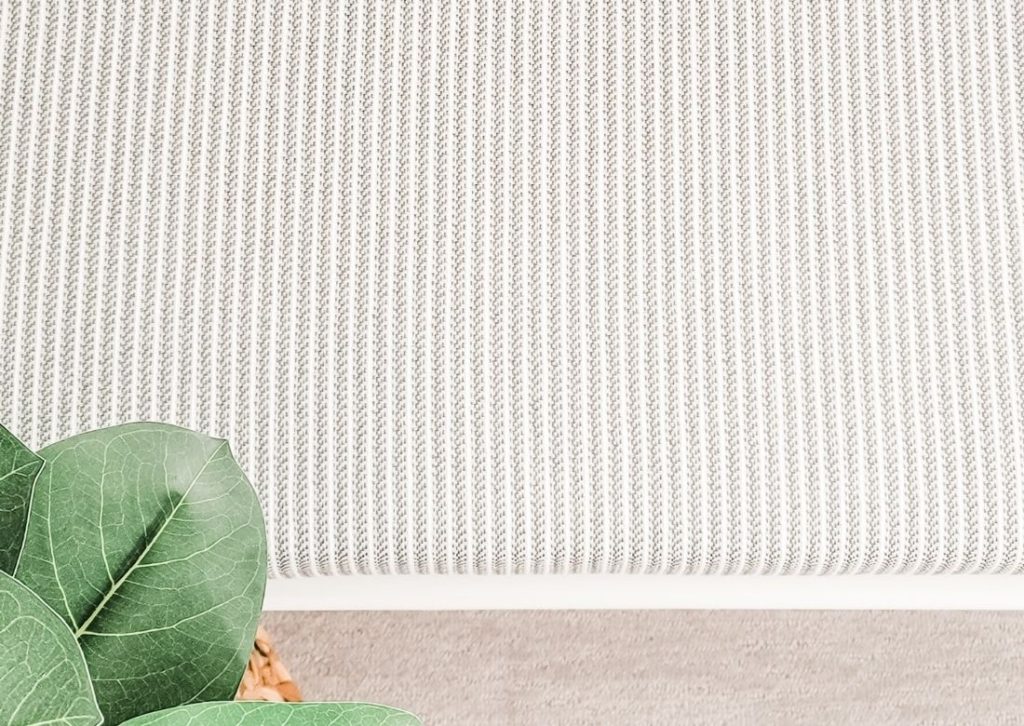
This fabulous DIY no sew upholstered bench top can add a little cushion to a wooden or metal bench, a built-in seat, a piano seat, or even an outdoor porch swing. Our bonus room prompted this particular DIY because there is a strange looking built-in bench that goes from wall to wall below the windows. It’s actually a building code so that in case of a fire we can climb out the windows. I really wish the built-in part was only below the windows, but I was determined to add some functionality to this odd feature upstairs.
In regards to the bonus space upstairs, I have zoned out four separate areas to make the best use out of the large space. Be sure to subscribe to the blog so that you can get updates to this space as they happen – I have some big plans and hope to even wow my family!
Zone 1 is where the murphy bed is located – this is our guest bed and the murphy style helps us to save room when it’s not being used. I assembled it myself and it wasn’t as dreadful as I thought – but it wasn’t exactly fun either. Zone 2 is the relaxation area where we have a TV and sofa. My girls love this space and my oldest likes to use this space with her friends. Zone 3 is currently in the planning phase and it will be where I build some built-in storage and a desk. This desk is where I will record my voiceovers for my YouTube videos and even write posts when it’s too noisy downstairs. And finally, zone 4 is where the fabulous DIY no sew upholstered bench top will be used with a farmhouse table that I’m going to build. So far, I have the legs and some wood to frame my custom table – so stay tuned! The cushioned upholstered bench top will be along one side of the table for seating. This way, I only have to buy a few chairs and we can get some practical use out of the built-in bench.
I’m referring to zone 4 as the crafting corner. I hope to enjoy a lot of painting with my girls at this table (this corner has great natural light). We can do other crafts, puzzles, games… whatever tabletop activities we want to do. I’m really excited to start projects with my girls at this table and not have to worry about cleaning it up immediately because we need the table to eat or someone is coming over. I’m hoping to add a special light above this table as well, and eventually a rug. Every zone has plans and will take time, but the journey of design and decorating is what I love the most. I’m not naturally a patient person, but waiting for a design to come together is always worth the wait.
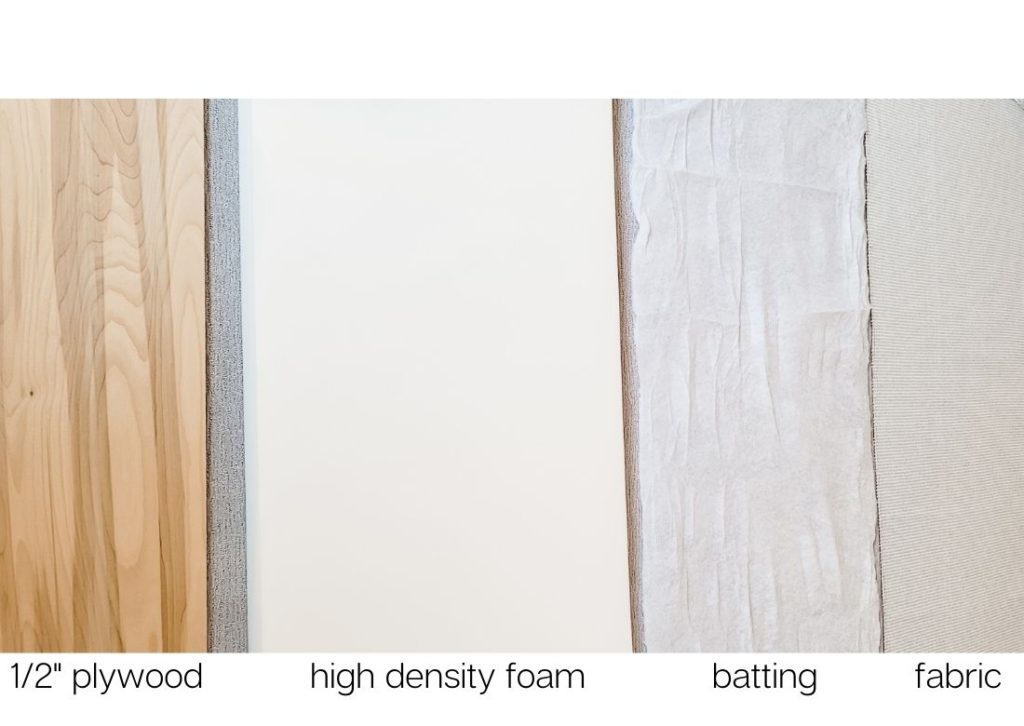
Fabulous DIY No Sew Upholstered Bench Top – Supplies:
I found all the supplies I needed on Amazon, and I already had the plywood. And of coarse you can use any fabric of your choosing to coordinate with your personal style, but be aware that upholstery fabric will wear better and be a little thicker which helps to avoid the fabric from ripping from the staples. Walmart actually has some great deals on fabric, or you can use coupons from Michaels and Hobby Lobby too.
- 1/2″ thick plywood – cut to the size of your surface minus one inch in depth so that it’s not sticking out once done. Home Depot can cut your plywood if you can’t or don’t want to.
- High-density upholstery foam cushion
- Upholstery grade batting
- Upholstery fabric
- Electric staple gun
- 3/8″ staples, 10mm

This post may contain affiliate links. This means I may receive a small commission from each purchase, at no cost to you. Thanks for considering my links!
Fabulous DIY No Sew Upholstered Bench Top – Video:
Fabulous DIY No Sew Upholstered Bench Top – How to steps:
- Determine the size of your bench or hard surface, then subtract one inch from the seat depth.
- Cut 1/2″ plywood, or have Home Depot cut it for you. Don’t use plywood that’s thinner if you want the staples to hold well into the wood.
- Place the wood onto the foam – lined up square – and trace along the foam cushion to make your cut marks. You want the foam to fit perfectly onto the wood.
- Use a knife or scissors to cut the foam. A serrated knife will make a mess, so I used a carving knife and it worked great.
- Set foam onto batting, then set wood on top of the foam. Cut enough batting so that you can fold each side up onto the wood with plenty leftover. Too much will make your bench top over-stuffed so just enough to fully cover the wood.
- Use an staple gun to attach the batting around each side – one side at a time, being careful to fold smoothly around the corners. Make sure batting is flat when pulled over and stapled – this is the underside of your bench top.
- If necessary, iron the upholstery fabric. Set bench top onto the wrong side of the fabric with the cushion side down. You will cut the fabric so that plenty of fabric is wrapped around the bench top to staple. My fabric didn’t fully cover the batting – if you don’t want any batting showing, cut enough fabric to cover.
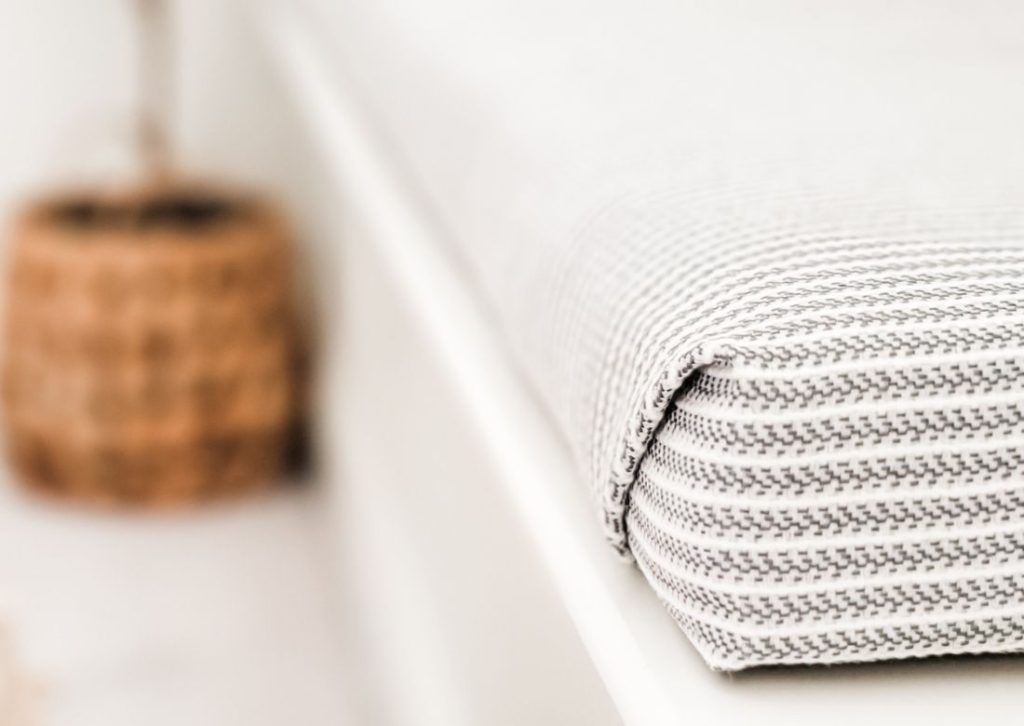
- Staple each side of the fabric, one side at a time, making sure it’s pulled for a smooth finish, but not too tight. Make sure each corner is wrapped nicely with the fabric squared off. along the edges an at each corner.
- Cut any excess fabric off to prevent having a bulking uneven bench top, flip the bench top over, and place onto surface. You’re done, great job!
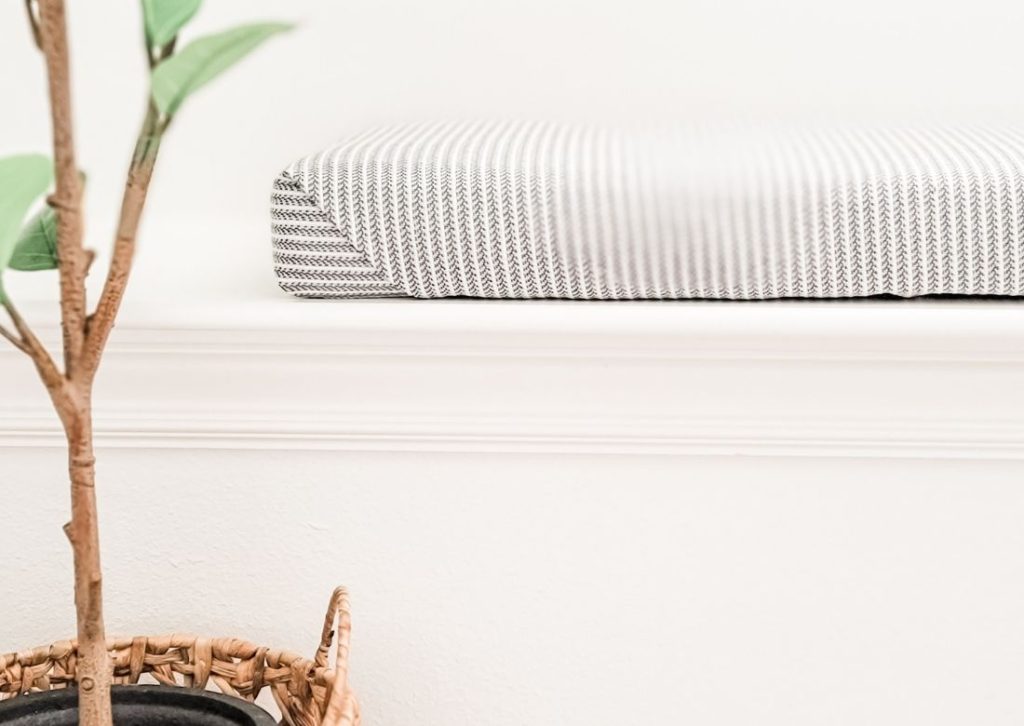
It doesn’t get much easier than that, and it didn’t take long at all. I’m even considering making a matching seat for the other side of the room near the couch and TV. I’m also considering using shiplap in several of the zones to tie the spaces together, so be sure to subscribe and stay connected. Let me know in the comments below if you’ve ever made an upholstered seat top or if you’re now planning on it. Thanks so much for checking out this post, there are some other posts below that you may also like!

You may also like:

POSTED IN: DIY crafts
Let's be friends!
Related Posts


Search
Categories
Subscribe
Get the latest posts, discounts, and design inspiration right to your inbox.
