Easy Steps to Install Barn Door Hardware

Easy Steps to Install Barn Door Hardware
So, you have a barn door, and now it’s time to hang it. When it comes to something I’ve never done, I get nervous to attempt it. I don’t want to ruin anything, or waste time and money, and it’s different doing something even if you’ve watched a video. However, I am happy to report that we found highly rated and affordable barn door hardware, with the soft close feature, and we didn’t make any mistakes on our first attempt. I also captured video to show you each detail and step. Building my modern farmhouse barn door was fun and exciting, but I was dreading the installation. I’m honored to be able to share these easy steps to install barn door hardware, and not rip out your hair in the process.
First things first, some tips and disclaimers. Always use a header board, even if you can mount the rail directly into the wall studs. Yes, a header board puts the door a bit further away from the wall, but it adds extra strength and stability. Most importantly, read the instructions for your hardware, several times in fact, just to make sure you have the tools you need and an understanding of the order in which to do the steps. I’m going to link to the hardware we used, I’m going to reiterate their instructions and what we did, especially in my video, but over time the manufacturer may make changes to their product and instructions. Always study your hardware’s instructions. Have a helping hand, the entire time. It helps if someone can hand you a tool, hold the other end, check your measuring. Charge your drill gun battery, have adequate lighting, lay out all the parts in an organized fashion as well as your tools. Check the screw sizes and make sure you have the right sized bits to drill holes for them. Allow yourself a chunk of time to complete the different stages – the entire job doesn’t need to be completed at once, but some steps can’t be put on hold in the middle of it.
Easy Steps to Install Barn Door Hardware – Basic steps
Let’s just get to it and give you the basic steps. I think understanding the big picture will help you to tackle the little pictures.
- Mount the header board
- Mount the rail onto the header board
- Attach the hangers to the barn door
- Hang the barn door
- Attach the actuators (these are attached to the top of the door and will trip the soft close mechanism – they must be placed where they’ll work for your wall size)
- Attach the safety bumpers (make sure to attach them to the top of the door where they won’t interfere with the actuators)
- Add handle and install the door guide (we’re using a wall mounted guide so that we didn’t have to drill into our carpet)
Easy Steps to Install Barn Door Hardware – Tools
Here’s a list of the tools we used to install barn door hardware:
- stud finder
- measuring tape
- pencil
- level
- carpenters square
- drill gun (with appropriate bits)
- Phillips screwdriver
Easy Steps to Install Barn Door Hardware
I will provide more details to the steps listed above, but I would encourage you to check out my YouTube video to see what I’m referring to, and to understand my instructions even better.
Easy Steps to Install Barn Door Hardware – Measurements
I always hesitate to give specific measurements because it’s not practical that they’ll be the same as yours. However, sometimes a frame of reference to compare to your own project can be useful. If you’re interested in a measurement that I haven’t mentioned, please contact me and I will answer as best as I can. My door opening is 39.5″ wide, 94″ tall. The wall next to the opening is 49″ wide, 108″ tall. We had 14″ between the door opening and the ceiling to attach the header board and rail. The rail length is 7′ long and it came in two pieces, connecting in the middle. I used a 1×4″ primed board as my header board covering the span of the entire wall, minus 1/2″ from the end.
Easy Steps to Install Barn Door Hardware – How to Steps
- Measure, cut, and mount the header board. We were unsure how tall to hang the header board at first, but after a quick calculation you can determine where the rail will be installed and then you can place your header board in the middle of the rail. Measure the exact height of your door and add 1.75″ to it. This total will give you the location to install the rail. We placed the horizontal middle of the header board at this measurement so that the rail would be centered on the header board. Use a level to make sure the header board is level, then tack in each end using a brad nail gun. This will allow you to find the wall studs, mark the screw holes across the header board, drill pilot holes, and then screw the header board into the wall. We used 3″ black wood screws. I used a carpenter’s square to mark the screw holes an equal distance (3/4″) from the edge of the header board and also lined up the two screws vertically as well.
- Mount the rail to the header board. First, we removed the soft close mechanisms from each rail half – be sure to lay them out carefully so that you can put them back on exactly how you took them off. We took our total from before (door height plus 1.75″) and marked this measurement across the header board. Then we used a level to draw a line across the board. Two people can line up the rail, placing the pencil line in the middle of the rail holes. Use a level to make sure it’s still straight and then mark every rail hole using a pencil. Set aside the rail and drill pilot holes for the included lag bolts. (We did not use the included anchors because we used a header board.)
- Attach the soft close mechanisms back onto the rail. Be careful when tripping the soft close or pushing on pieces with your fingers, it can snap back and pinch. Then use the included lag bolts and spacers to attach the rail to the header board.
- Attach the hangers to the barn door. We placed the hangers at the top ends of our door, centering them with the 1×4 frame on the door. There should be 1 9/16″ from the top of the door to the center of the first hole on the hanger. I used a carpenter’s square to center the hanger and hold it in place while I marked the holes with a pencil. Drill pilot holes for the included door screws/bolts. Then attach the hangers with the screws/bolts. We had to use a wrench and ratchet to do this step. We drilled the holes just right which made it a tight fit without causing damage. We didn’t want the hole to be any bigger which would have caused wiggle room.
- With a helper, hang the barn door onto the rail. Roll your door so that it’s fully open, but not coming off the rail. Then you can install the end of the rail stopper(s). We only installed one of the stoppers because the other end of our rail hits a wall – no stopper necessary.
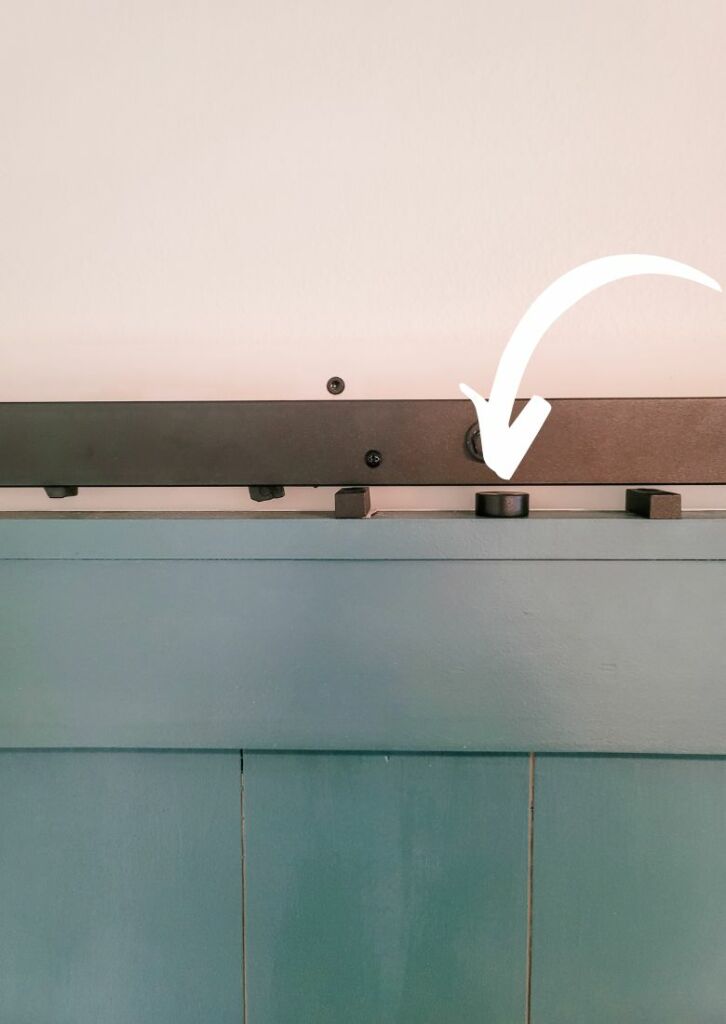
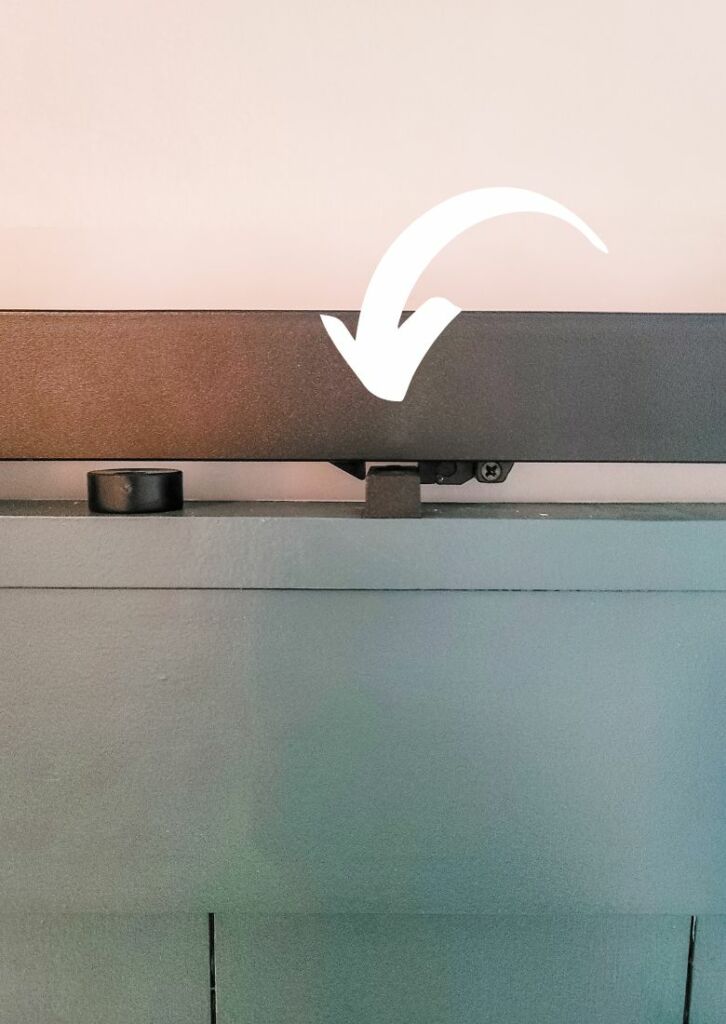
- This is the tricky part – Attach the actuators. The actuators are attached to the top of the door and will trip the soft close mechanism going both directions. You will need to hold the actuator along the top of the door and test where you want it to hit the soft close mechanism to start slowing down. Once you determine the location, draw a pencil line along each side of the actuator to find its place again – then attach it using the included screws. Make sure the actuators aren’t hanging over the top of the door, but line up flush with at least the front side. They will fit perpendicular to the top of the door as well so that they are sure to trip the soft close properly.
- Attach the safety bumpers. The instructions say to screw them in 3/8″ from the edge of the top of the door, and then turn the bumper disc out to prevent the door from coming off of the tracks if it’s pushed out. Make sure to hold the bumper in place and test to make sure it won’t interfere with the soft close mechanism. Then screw it in place, turn it out, and rest assured.
- Finally, attach the hardware. We notched out a finger pull on the wall side and then screwed it in after the door was hung. Then, I attached the door handle on the front side. We used a 12″ long handle and placed the center of the handle 36″ from the floor (I used little pieces of painter’s tape to mark my spots). I also centered the handle on the 1×4′ door frame piece. And lastly, I used a wall mounted door guide to help keep the door at a 90-degree angle. I also did some touch-up painting to the door and header board when it was all done.
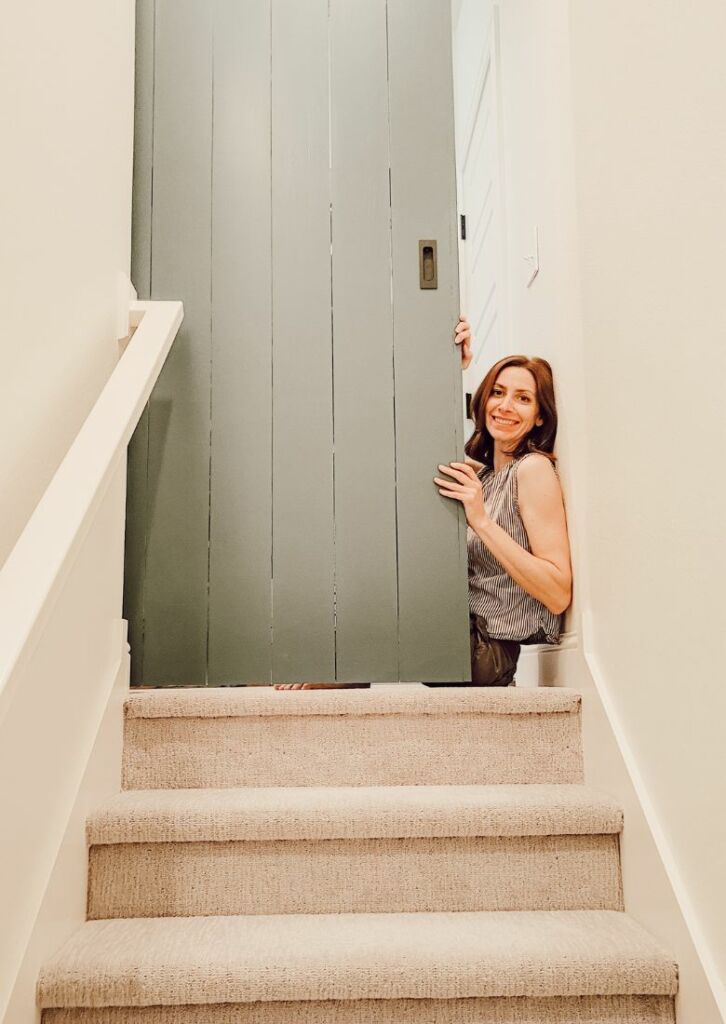
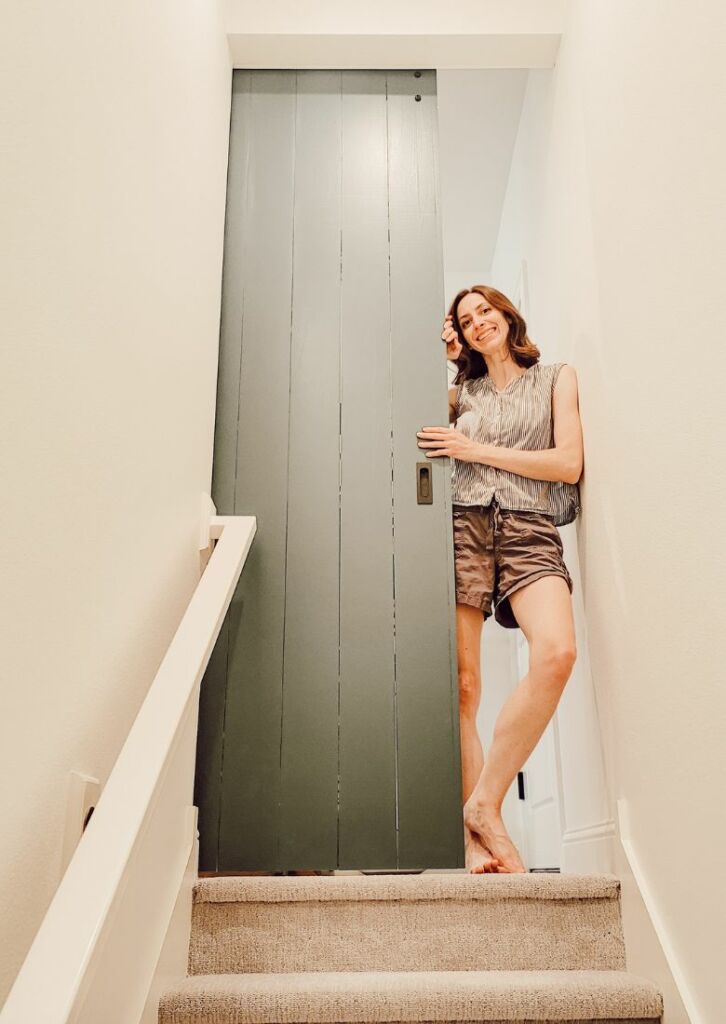
That’s it! When we first started this process, it seemed like it would take forever, we were confused, worried about messing up, unsure if we understood what we were reading, but we took it one step at a time. Jeremy found some videos to answer his questions that came up. We even did a pretest for the hangers on a 2×4 board to make sure that we got the measurement right before drilling holes in my beautiful barn door. I hope our extra care and research will make the process much easier for you and that it will take you less time as well. We love the function and design of our modern farmhouse barn door. Now our bonus space upstairs has privacy, and it helps to reduce noise. Barn doors add interest, color, texture, and beauty – we hope you enjoy your functioning barn door as much as we do! I selected Still Water by Sherwin Williams for the paint and love it.
Easy Steps to Install Barn Door Hardware

This post may contain affiliate links. This means I may receive a small commission from each purchase, at no cost to you. As an Amazon Associate, I may also earn from qualifying purchases. Thank you for using my links to help keep this blog going!
It sort of makes me laugh at myself because by now I realize that I sort of go through the same emotions with each new DIY I attempt. I get excited, start planning, run into some unknows or concerns, debate my timeline, consider hiring out, determine my costs and that it’s better to DIY and save, get started, get excited again, get tired, deal with issues and set-backs, wonder if it’s ever going to be done, wonder why I tacked this project, but then I persist and progress, then finally when I cross the finish line I can’t believe I completed the DIY, and then I thoroughly enjoy it. There are always parts I don’t like, always parts I absolutely love, and being able to share my projects and passion with you makes it even better. I hope you found this post helpful. You can leave comments and questions here or on the YouTube video and I will reply. I hope these steps have removed any fear and hesitation because it’s not that hard and it’s worth it.

POSTED IN: DIY Projects
Let's be friends!
Related Posts
Search
Categories
Subscribe
Get the latest posts, discounts, and design inspiration right to your inbox.
