DIY Wood Crate

DIY Wood Crate
I had some leftover wood after making the pallet headboard. There were just enough boards to make this crate. So, I literally slapped this one together and the long and narrow design works great for my fall tablescape. In hindsight, I wish I would have used a table saw to have nice squared corners, but the jigsaw was quick and did the job.

Pallet boards usually have a rough side, so I placed the roughness inside the box. I also did a little sanding to reduce the chance of me getting slivers while I assembled the box. Once the wood crate was assembled, I knew the possibilities were endless. This crate will first be used for my fall centerpiece and then maybe Thanksgiving and Christmas too. It’s just the right size and it’s a great width to hold these mini pumpkins.

Instructions
You will need four boards of the same length.
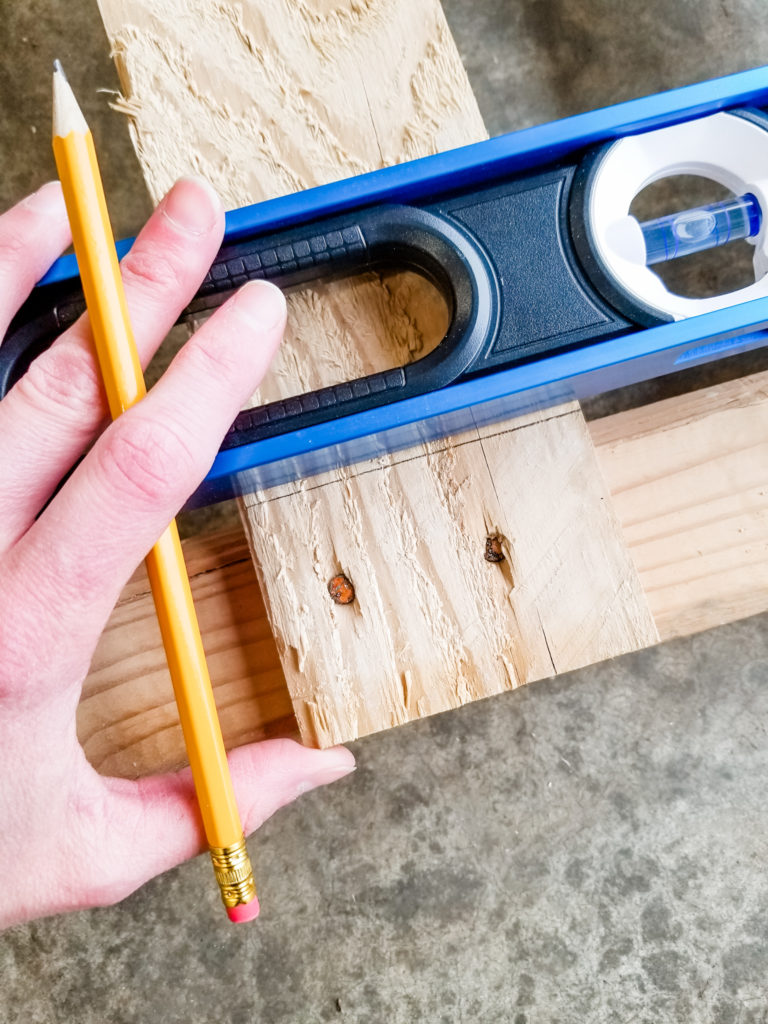
Measure and draw cut lines for two end pieces.
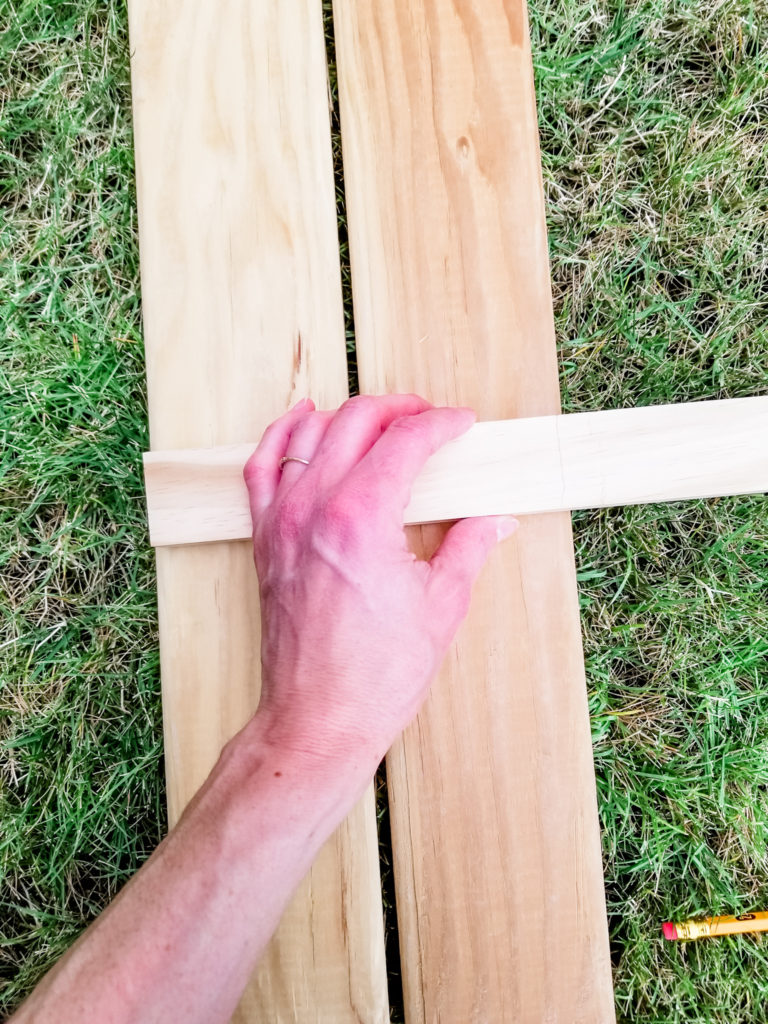
I used two boards to create the bottom of the crate,
but you could use more to make a wider crate.
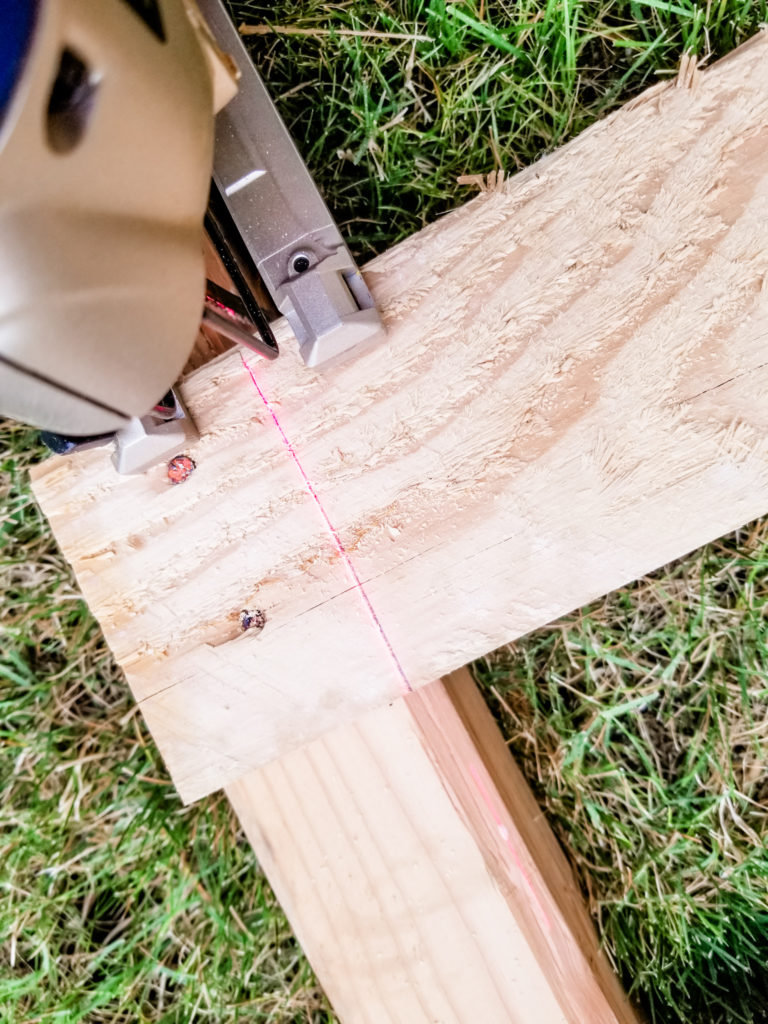
Just measure and draw cut lines.
I used 1.5” thick pine boards.
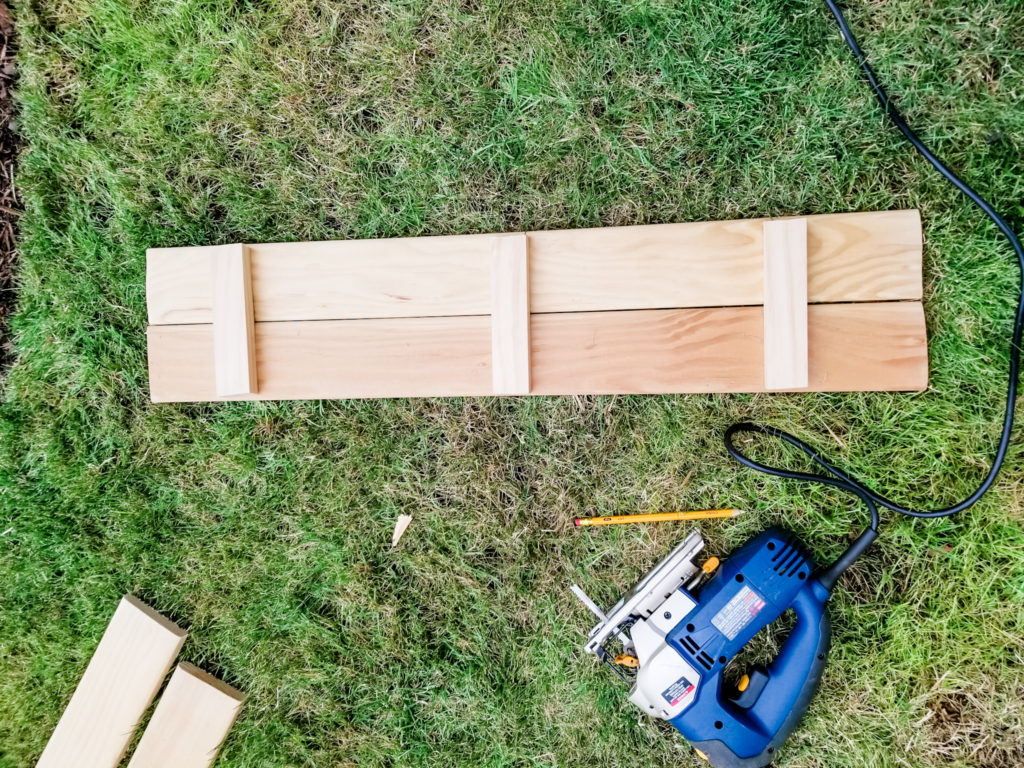
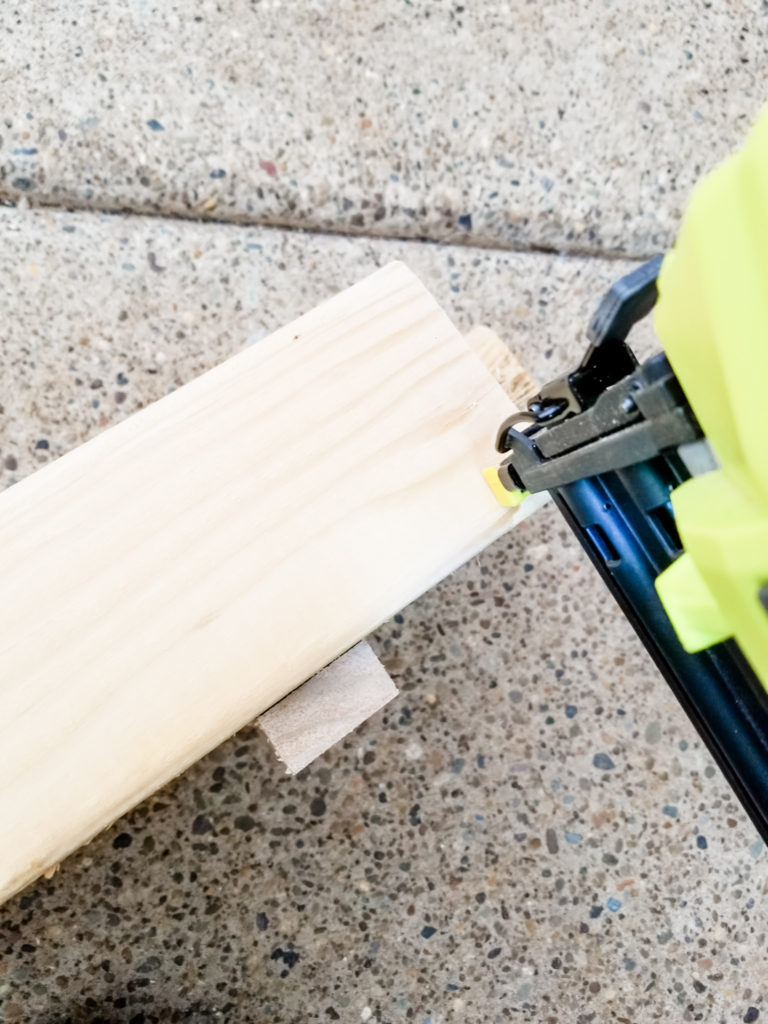
attach the side and end pieces. Sand any rough edges. You’re done!
Tools
Pallet boards
pine board
jig saw or table saw
measuring tape
pencil
brad nail gun
I love how the lighter natural wood looks in contrast to my black table and the bright pumpkins. The crate is simple and a unique way to hold pumpkins, apples, pine cones, anything you can think of. I added some faux leaves to fill large holes around the pumpkins, and then a few handmade pom poms to add texture and whimsy. And now my pallet is completely repurposed and recycled!

Thank you so much for stopping by the blog! I hope this post stirred up your creativity and motivated you to create something new. I would love to have you follow me on Facebook or Instagram!

Fall decor inspiration
POSTED IN: DIY crafts
Let's be friends!
Related Posts


Search
Categories
Subscribe
Get the latest posts, discounts, and design inspiration right to your inbox.
