DIY bohemian pallet headboard
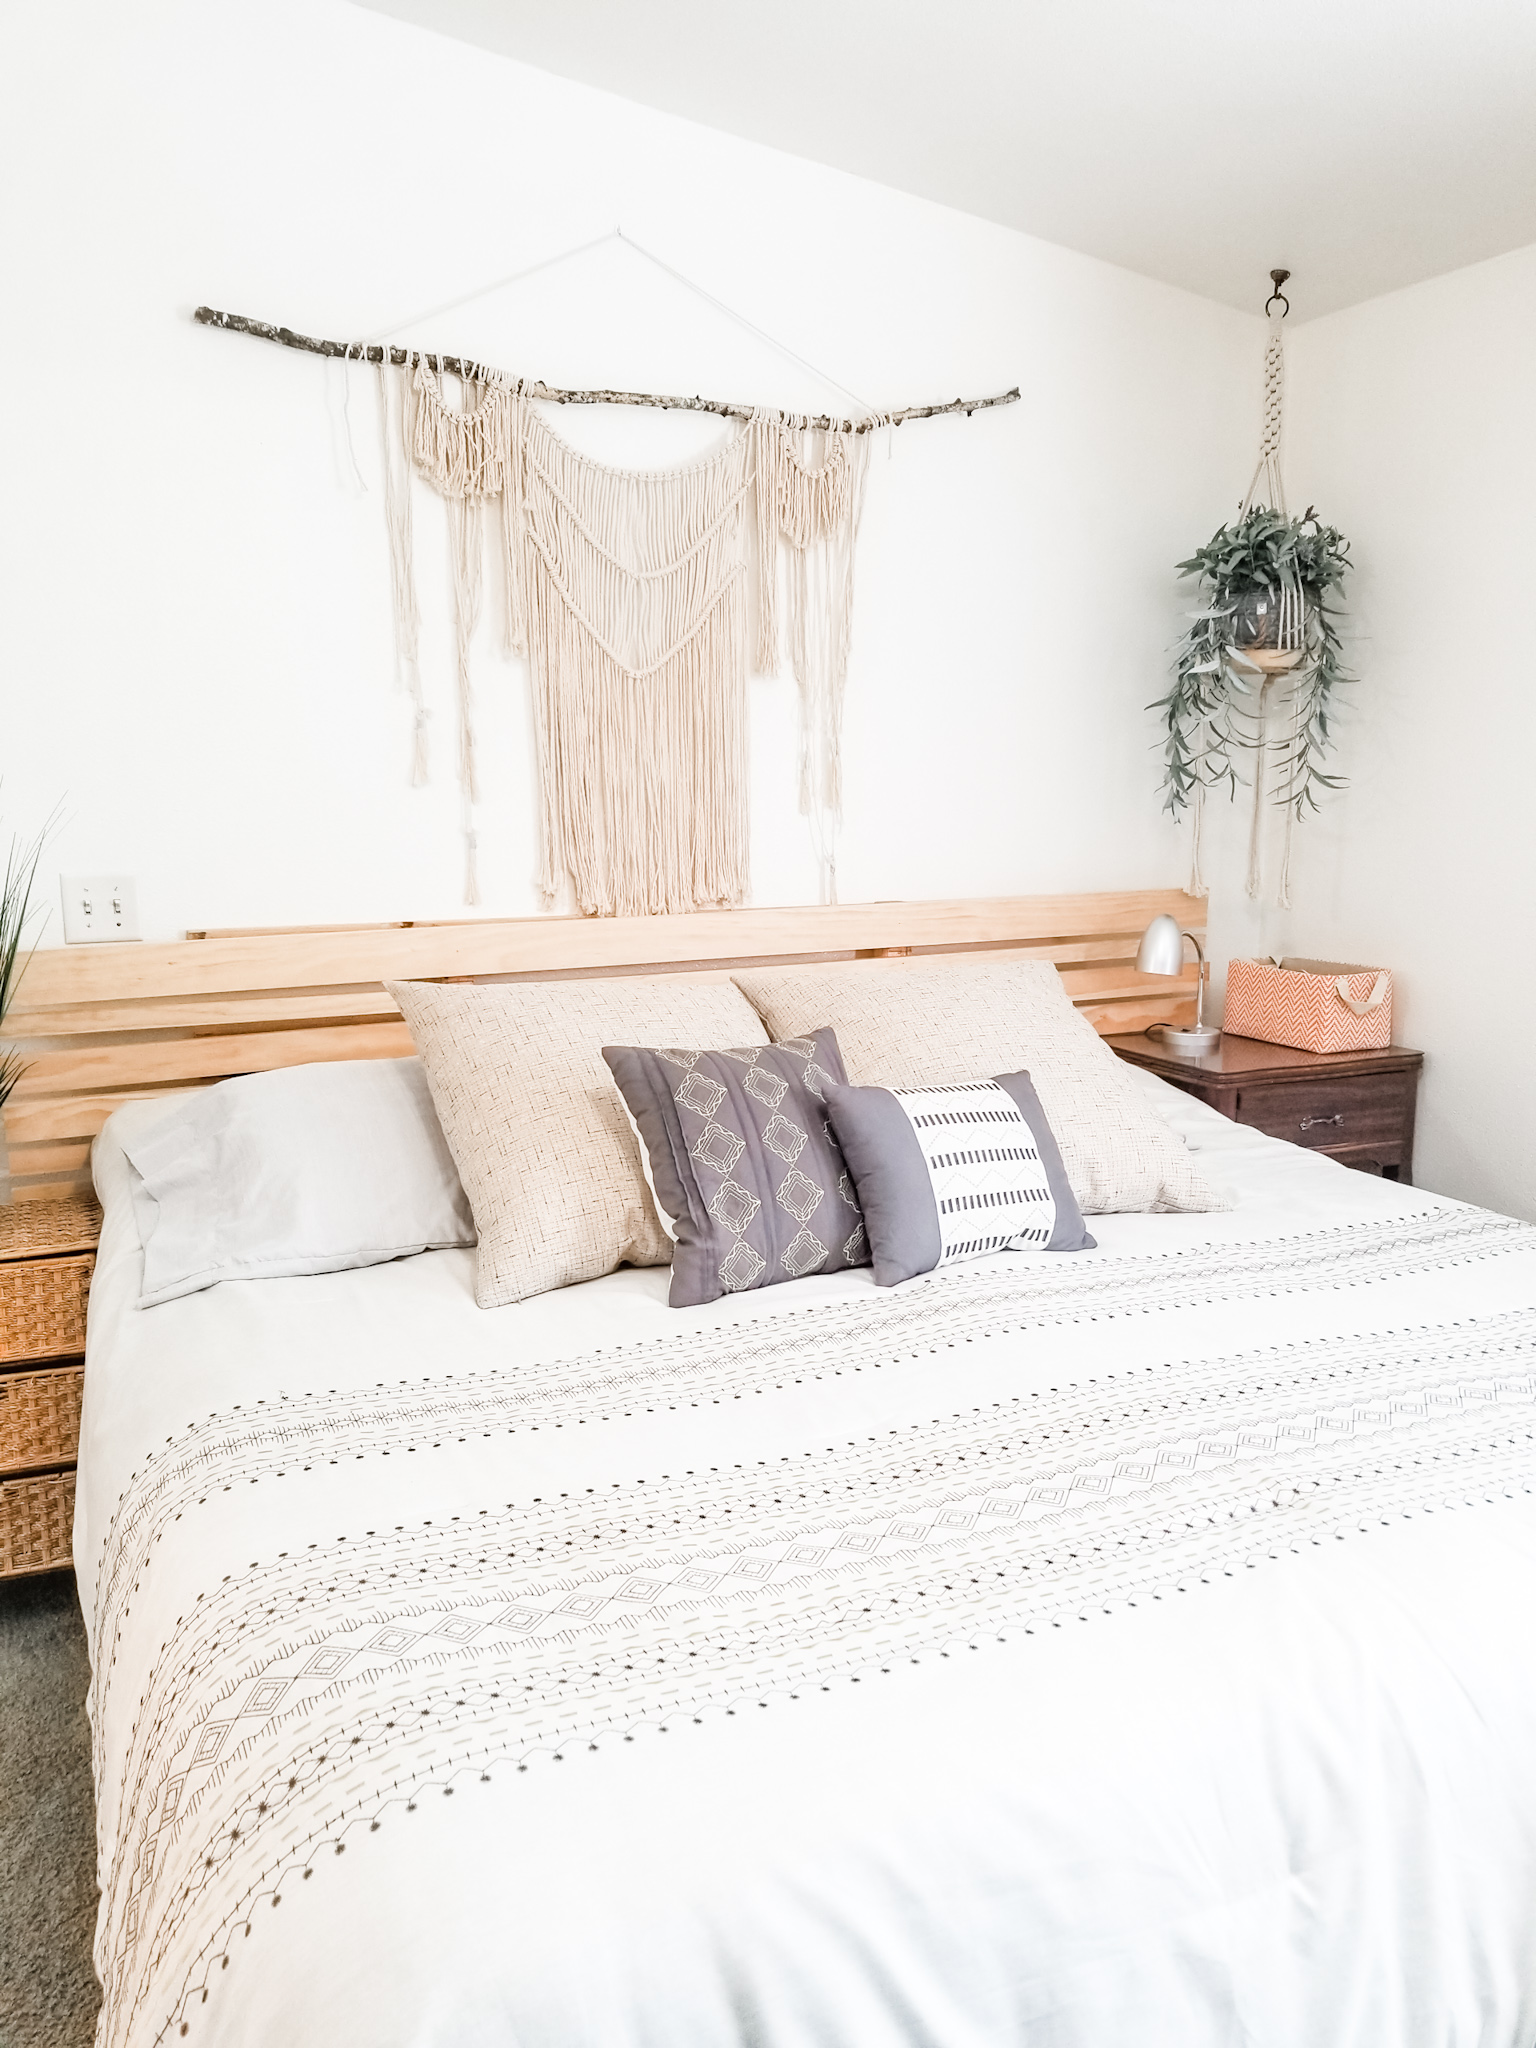
DIY bohemian pallet headboard
I quickly realized that this bohemian inspired master bedroom design needed a headboard – the macramé wall hanging looks great, but a headboard anchors the bed and everything around it (wall art, shelving, hanging plants, even nightstands). My inspiration came from another DIY project I had just completed (check out the accent wall here) and I was so excited to build this headboard that I skipped my treasured Saturday morning sleeping in to get started on it.
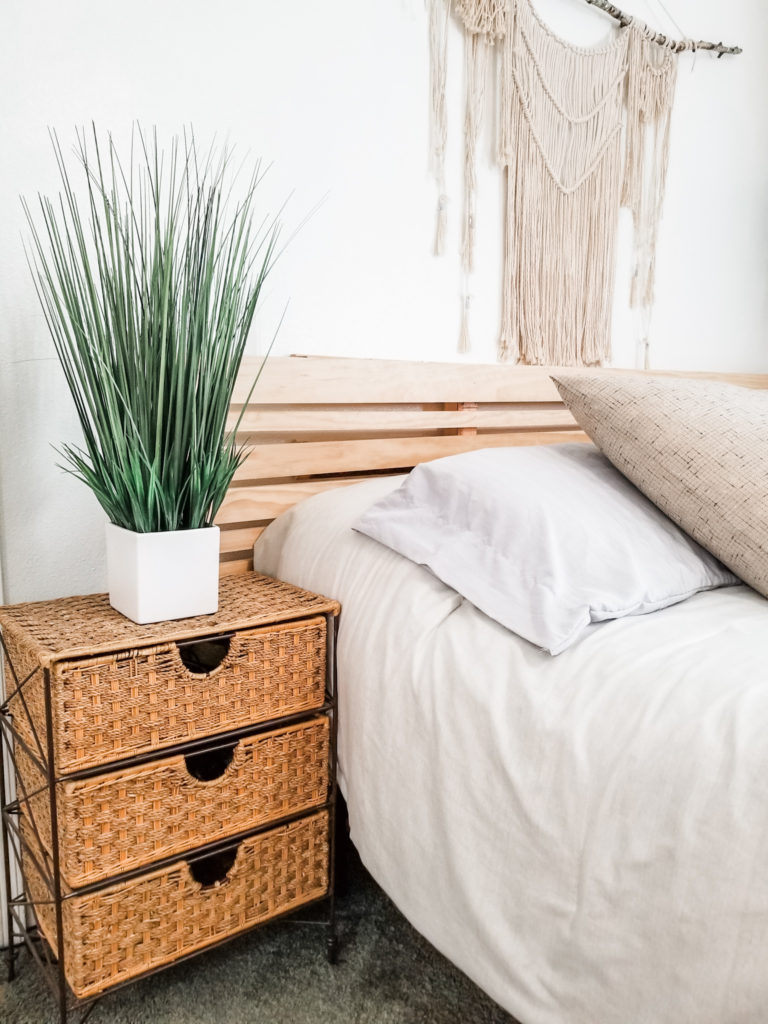
Driving to Lowe’s and selecting the pine boards took longer than putting the headboard together. This DIY is so easy, and even fun. The impact of this simple organic headboard completes the boho room design and looks so beautiful with the other elements!
Tools
Six-foot pallet (I cut up a 10’ pallet – but a four foot could work)
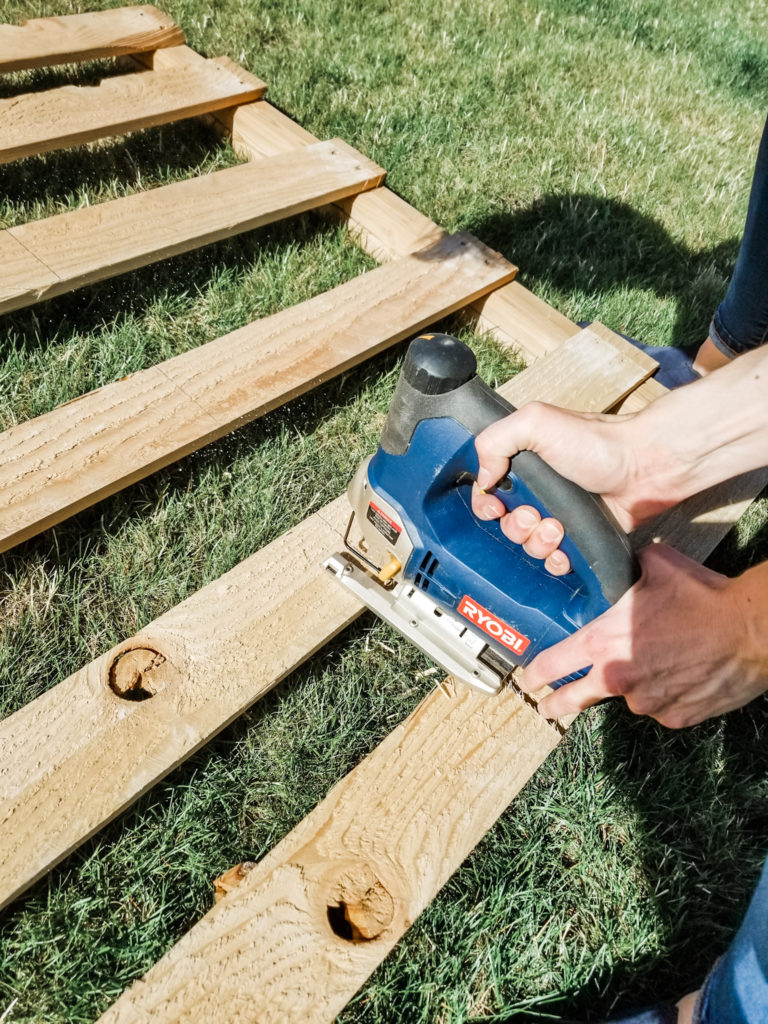
Jig saw (if you need to cut your pallet)
Hammer (to remove pallet boards from the front and even a few from the back to lighten it)
Sand paper (if necessary)
Brad nail gun
Measuring tape or ruler
One 3” x 8’ select pine board – header board for a finished look
Five 1.5” x 8’ select pine boards
Eight 2.5” x 8’ select pine boards
My pallet was about 40” tall. Depending on the height of your pallet, may affect the number of horizontal boards you need. I started with the three-inch header board and then used a small – big – big pattern. Small meaning the 1.5” boards, and big meaning the 2.5” boards. You can use any pattern you like.
Instructions
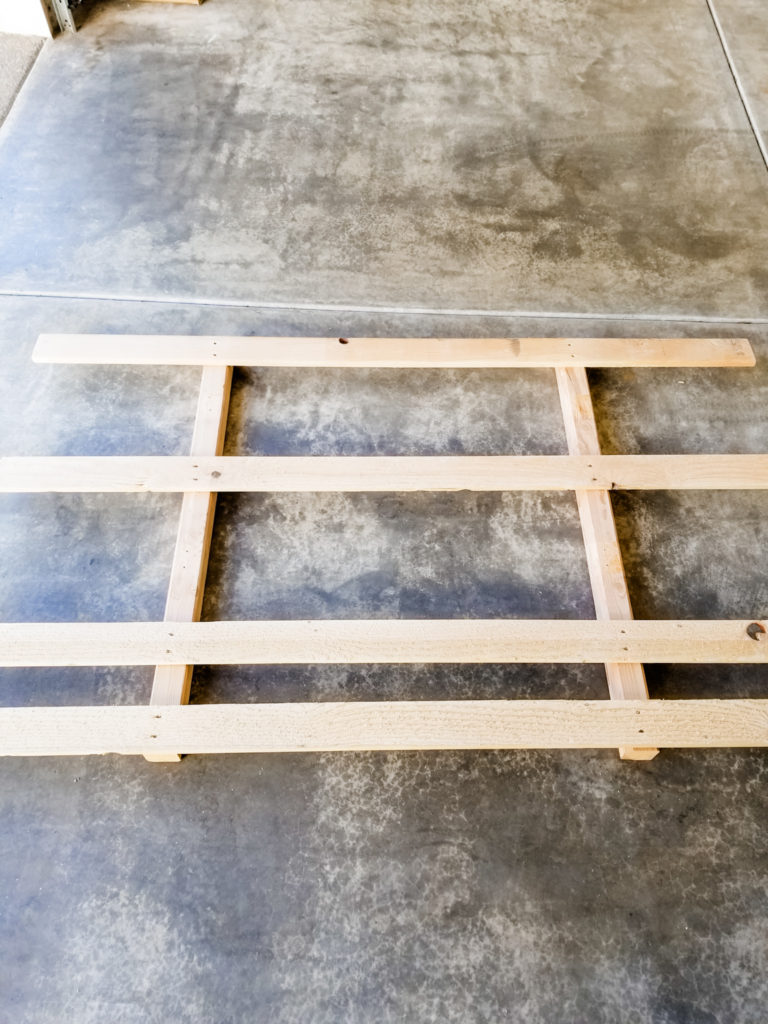
- Prepare the back-side of your pallet – Cut the backside pallet boards to the desired width. I used a six-foot wide base for a king-size bed.
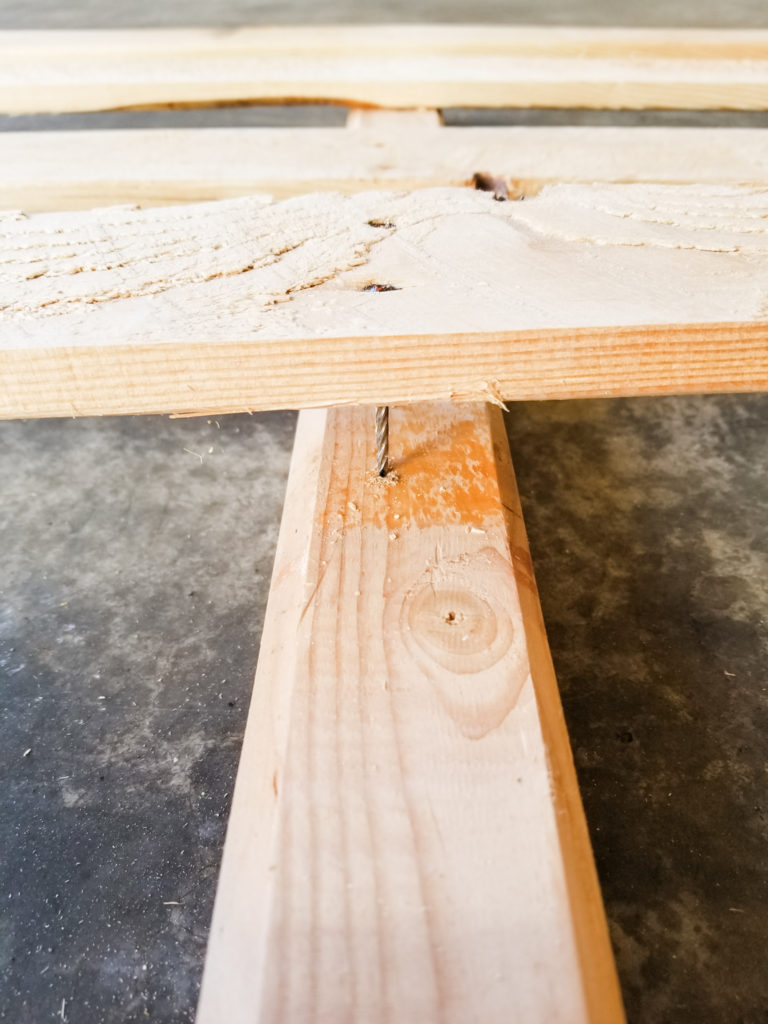
- Prepare the front-side of your pallet – Use a hammer to gently pull pallet boards off of the front side. These boards will be replaced with the select pine boards.
- If necessary, sand any rough spots on the pallet boards.
- Prepare the pine boards – remove the price tags and staples from the end. Lay your pine boards out in the order of your pattern. I made sure to pick the best side of each board before installation. Tip: When you’re purchasing your boards, try to avoid bowed or marked boards.
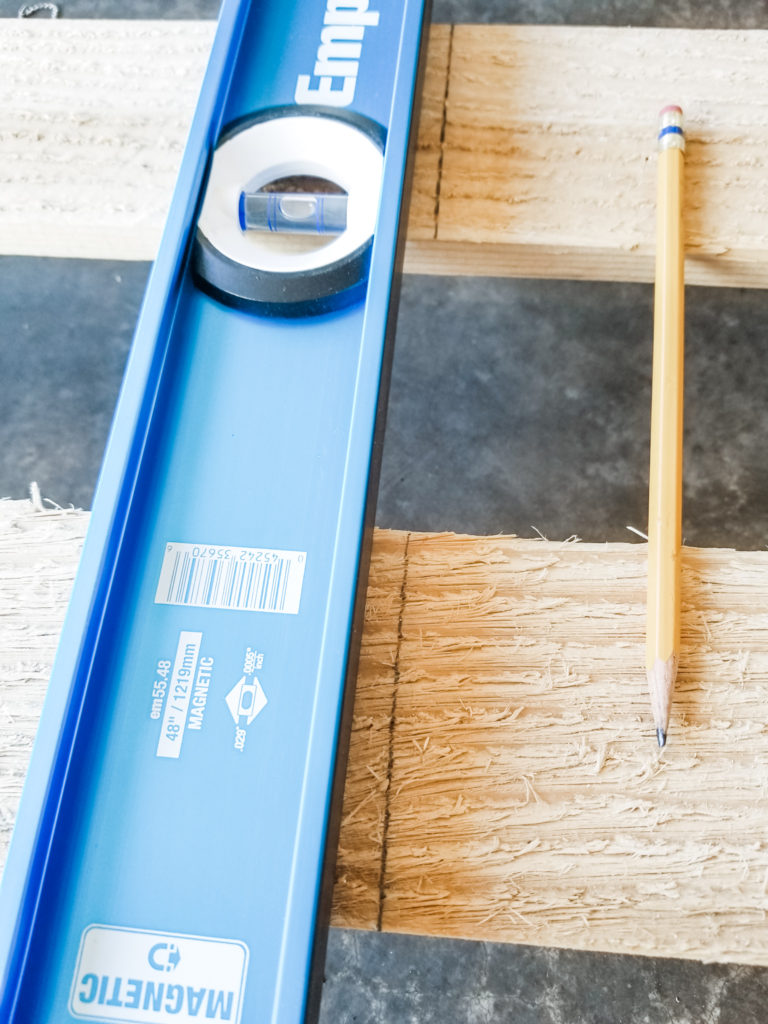
- Use the brad nail gun to attach the header board. I used eight-foot long pine boards, so there was one foot of board extending past the pallet on each side. Measure both sides and line up the top header board before placing a brad nail in the center of the vertical pallet board.
- Use one of the small pine boards as a spacer board in between each pine board. This creates a .75” space between the boards. It’s the perfect amount of space visually and it’s convenient to use one of your existing boards.
- With your pine boards lined up in your desired pattern – place your spacer board against the top header board and line up your next pine board. Place one brad nail in the center of the board – you can glance at the header board to line up your nails. Then remove the spacer board and use it between the next two boards.
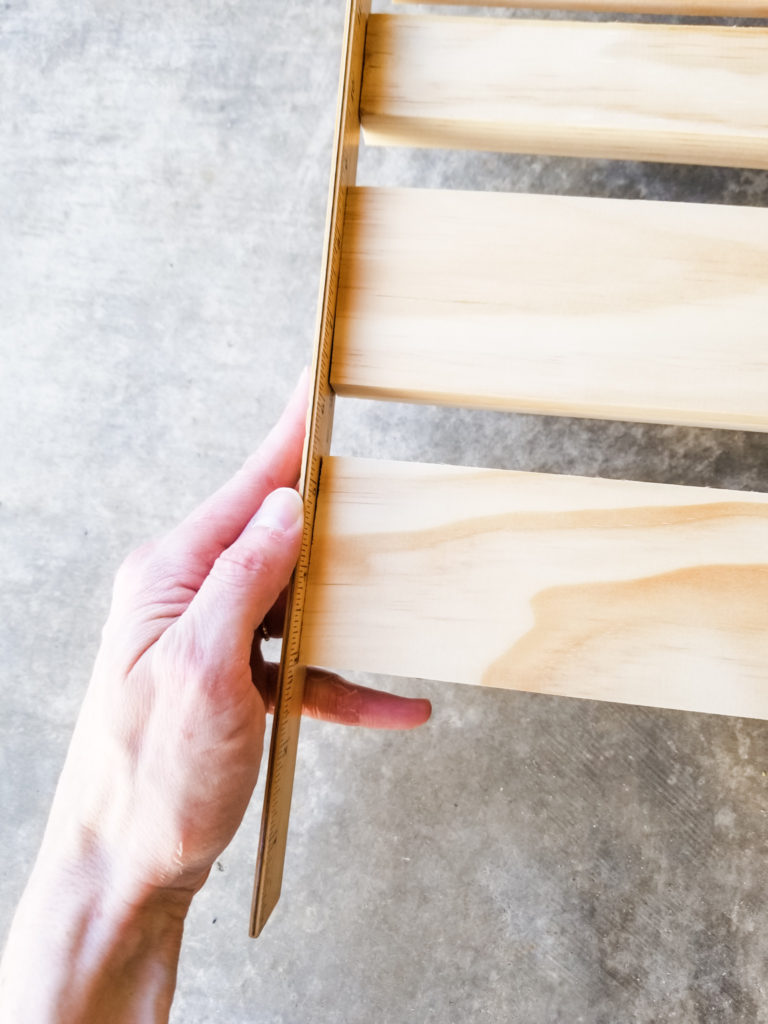
Tip: Pine boards aren’t an exact eight feet long – they may be a hair off – so I used a ruler to line up the boards on the side of the headboard that would be seen the most. - Once all your boards are attached – your done… almost!
- You can use sandpaper to touch any rough edges on the pine boards, but this isn’t necessary.
- DO NOT pick up the headboard by the pine boards – brad nails are not strong enough to leverage the weight. You must always handle the pallet boards to pick up, move, and install this headboard design.
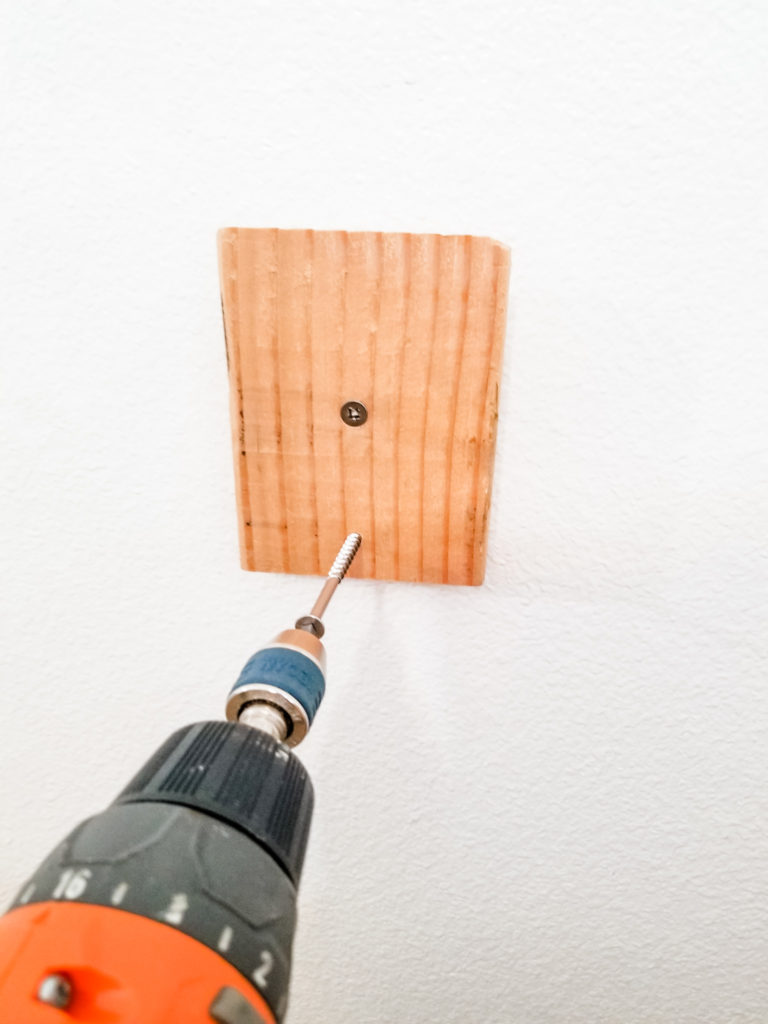
- Installation is up to you. You may not want it attached to the wall – just pressed between your bed frame and wall. Or you may have a different way to attach it, but I used French cleats to hang the headboard onto the wall. I used small pieces of 2 x 4’ boards and cut one side at a 45 degree angle (after Jeremy showed me how to angle the mitre saw – that was scary and fun).
- If you use French cleats, be sure to screw them into your wall studs – pre-drill the cleats and the wall, and use wood screws.
- Then simply reach into your headboard to lift it from the pallet boards and hang on the cleats. Install the cleats at the height you desire. I opted for a low profile look and left the headboard an inch from the ground.
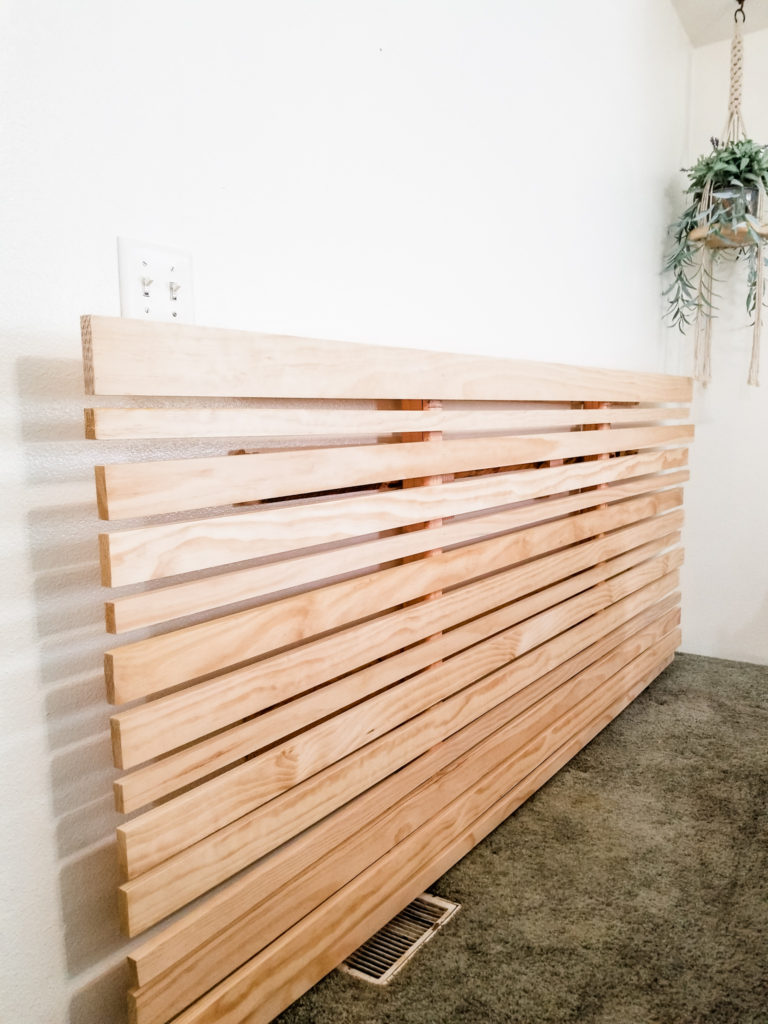
This was a seriously easy DIY headboard and the style works with so many décor styles. I love the versatility of the design, the organic casual look, and how affordable it is. I really hope you’re inspired to take on that DIY project you’ve been thinking about. The best thing about DIY is that you learn as you go and you gain confidence for the next idea that comes to mind.
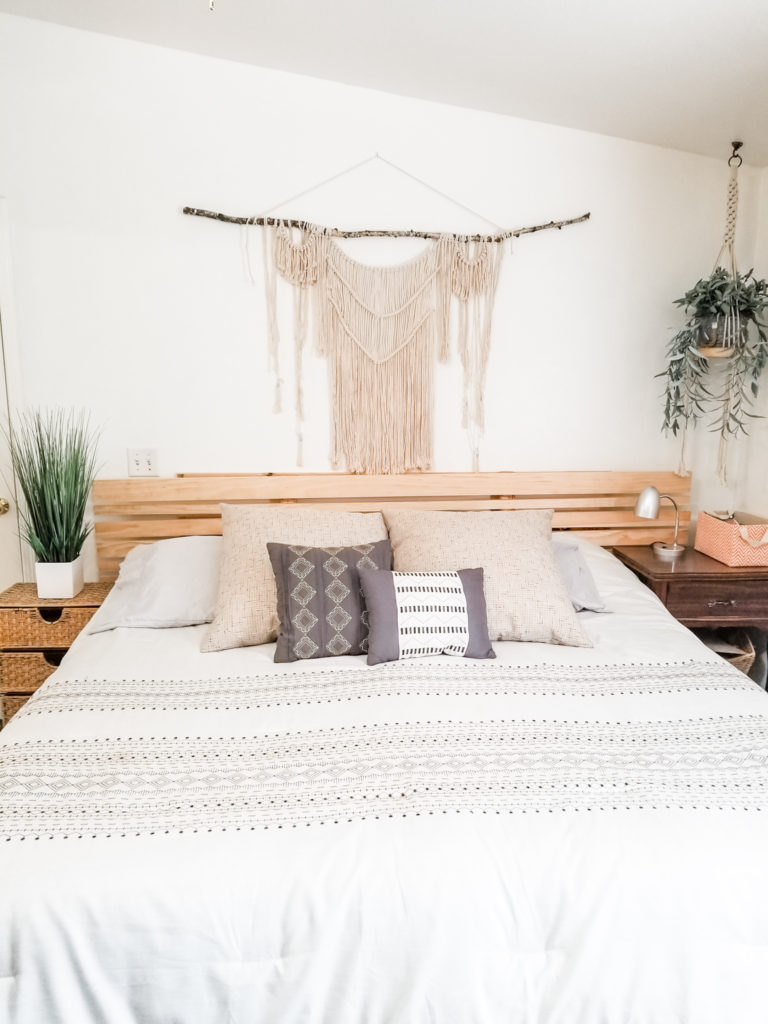
I would love to hear your comments, see your projects, or have you share this post with others to help me spread the word! Thanks so much for stopping by.
Here are more posts you may enjoy!
Macrame wall hanging
Bohemian inspired shelf with plants
Boho jewelry display
DIY boho stenciled dressers
Bohemian style at Walmart
Bohemian style from Amazon

POSTED IN: DIY Projects
