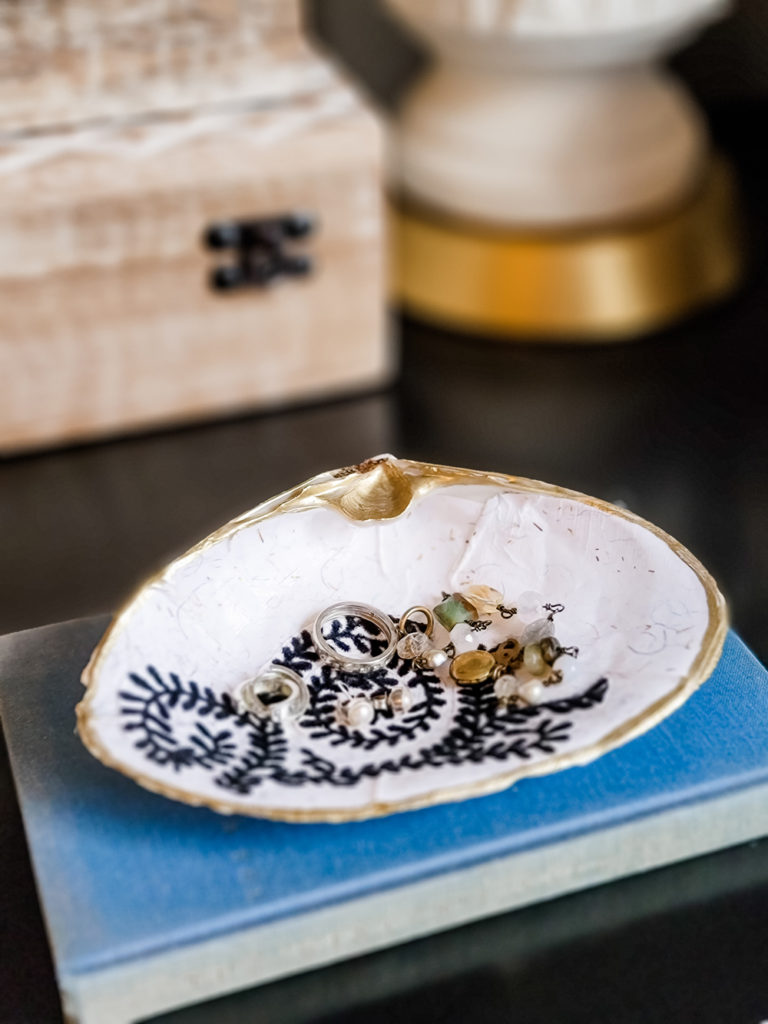
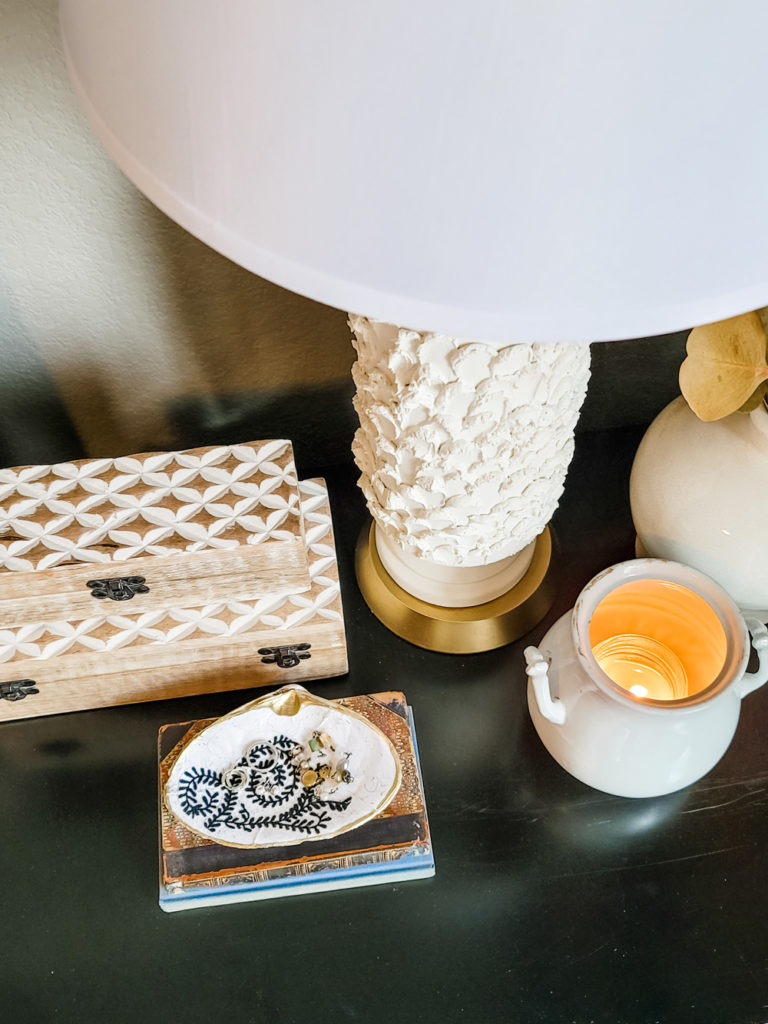
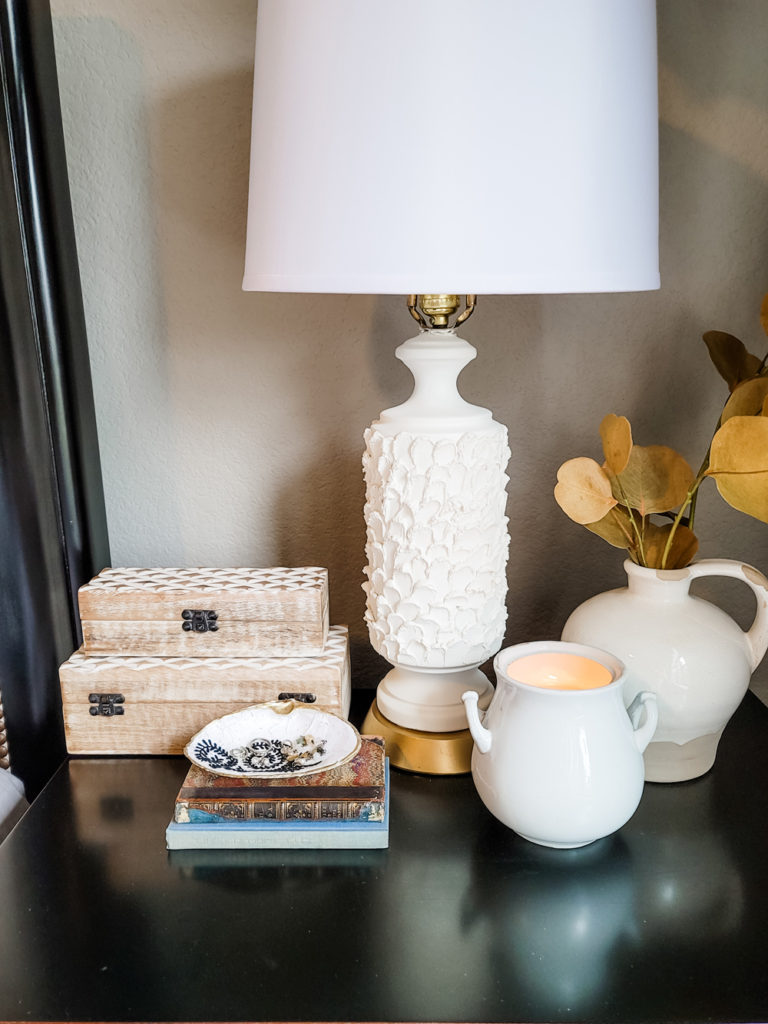
Coastal Clam Shell DIY Trinket Dish
")
Coastal Clam Shell DIY Trinket Dish
Nature is one of my favorite things to style with. When we lived just an hour from the Oregon coast I often found really cool items for my mom’s home. She loves the coastal look and using actual coastal elements looks amazing in this style. I originally wanted to decorate an oyster shell, but they are more expensive and I was after a certain size and look. So, after a little searching on Etsy I found these two huge clam shells for just $5 which were perfect.
Coastal Clam Shell DIY Trinket Dish
My mom’s birthday is on Halloween so I decided to create a trinket dish using one of the clam shells. I used Modge Podge to attach the decorative paper, but you could also use Elmer’s glue. The advantage to using Modge Podge is that it paints onto surfaces easier, you can get a matte or glossy finish, and it cleans well. When you select a decorative paper to line the clam shell, you may want to lean towards a thin and flexible paper. Tissue and handmade papers work well because of their flexibility, but once they touch the Modge Podge, there isn’t much room to move them around without ripping the paper. If you have decoupaged before, you know what I mean.
I have created a short video to show you each step taken to create this coastal clam shell DIY trinket dish, but you can also follow these steps:
- Clean the surface and edges of the shell.
- Select a piece of decorative paper large enough to cover the shell.
- Paint Modge Podge onto the back side of the paper.
- Carefully place the paper into the shell and press it into the concave surface.
- Smooth out any bubbles or raised parts of the paper.
- Before the Modge Podge is dry, cut off the excess paper hanging over.
- Check around the edge of the shell to see if additional Modge Podge is needed to attach the edge of the paper.
- If the paper overlaps itself, you can make a cut into the paper and then fold one side onto the other to smooth it out.
- Paint an even layer of Modge Podge to the top side of the paper inside the shell.
- Once dry, you can add additional layers of decorative paper or photos if you wish.
- And finally, when your creation is dry, you can used a paint pen to embellish the edge of the shell to create a border and finished edge.

This site contains affiliate links to products. We may receive a commission for purchases made through these links at no extra cost to you. Thank you for your consideration in using my links!
Decoupage is easy and fun. You can pretty much decoupage anything and create one of a kind unique gifts. I hope you enjoyed this project and feel inspired to create your own handmade gift. Here are supplies for this particular project. This site contains affiliate links to products. We may receive a commission for purchases made through these links at no extra cost to you. Thank you for your consideration in using my links! Leave me any questions, comments, or ideas in the comment box below! Be sure to subscribe for my once-a-week email for more decorating and DIY inspiration.

POSTED IN: DIY crafts
Let's be friends!
Related Posts


Search
Categories
Subscribe
Get the latest posts, discounts, and design inspiration right to your inbox.
