Charming DIY farmhouse egg stand
Charming DIY farmhouse egg stand
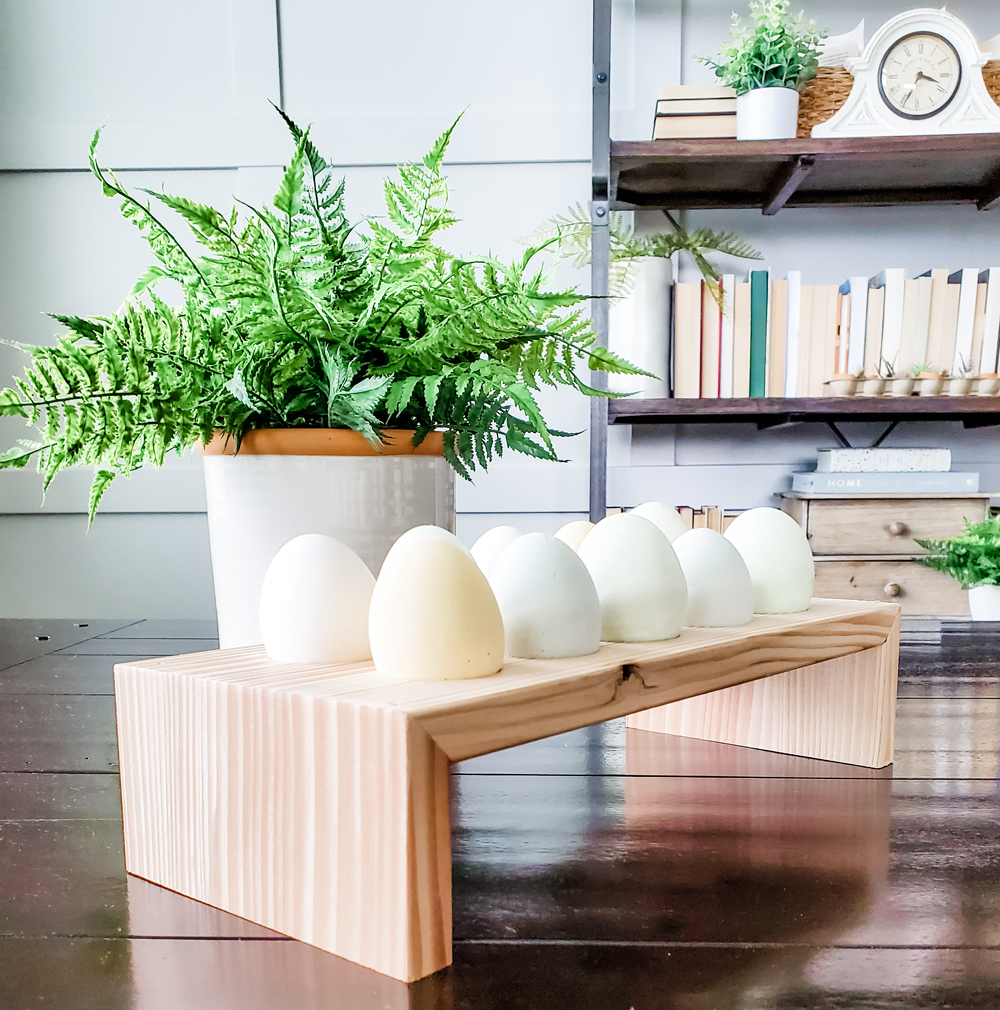
For Easter, my girls helped me make plaster eggs for my easy DIY farmhouse egg stand. I just love the rustic design of this stand and how cute eggs look displayed on it. I can set it anywhere and instantly add Easter vibes to the space.

How to make plaster eggs
To make plaster eggs I just emptied real eggs through a small hole at the bottom of the egg, rinsed them out, and let them dry. I followed the instructions on the bag of plaster, but I added a little more water and some acrylic paint to create different colors of eggs. After the egg shell is filled with the plaster mixture, it will dry overnight, and then you can just peal off the shell.


Charming DIY farmhouse egg stand
To make this farmhouse egg stand, you can decide how long and wide your stand will be. For a reference, my board is 12 inches long, 5.25 inches wide, and the feet are 3 inches tall. This size allowed me to drill out 10 egg holes.
You can also pick any type of wood to fit your style. You can paint the stand, white wash it, decoupage it, or use a piece of weathered fence wood, pallet wood, or a piece of wood from the Bargain Barn, like me. Just keep in mind that the thinner the board, the easier it is to drill the egg holes later on.

- Cut the length of your board using 45 degree cuts.
- Cut the two side pieces of board. The top will have a 45 degree cut and a 90 degree for the bottom.
- Then mark your spots to drill the egg holes. I marked a spot every two inches. There’s enough room to mark spots for two rows. Each spot is 1.5 inches from the outside edge, and 2 inches in between.
- Then place the drill bit on the marked spot and drill straight down. This process takes a little time to get through the wood. Once each hole is drilled out I just used a screw driver to pop the wood out of the drill bit. I used a 1.5 inch drill bit.
- Then you can use a little wood glue to attach the sides to the top piece. Once the wood glue is dry, you can use 1.5 inch brad nails to secure your stand.
- Finally, you may need to use a metal file or sandpaper to soften any rough spots.


This farmhouse egg stand can hold plastic eggs, paper mache eggs, chocolate eggs, or my plaster eggs. My youngest daughter loves arranging the plaster eggs and using her imagination with them. They’re a lot of fun and look realistic too.

More resources
- DIY Easter card from kids – free printable
- DIY Easter gift tags
- Farmhouse DIY egg stand
- Easy Easter hostess gift
- Easter centerpiece idea

POSTED IN: DIY crafts
