Beautiful DIY Bathtub Tray
Beautiful DIY Bathtub Tray
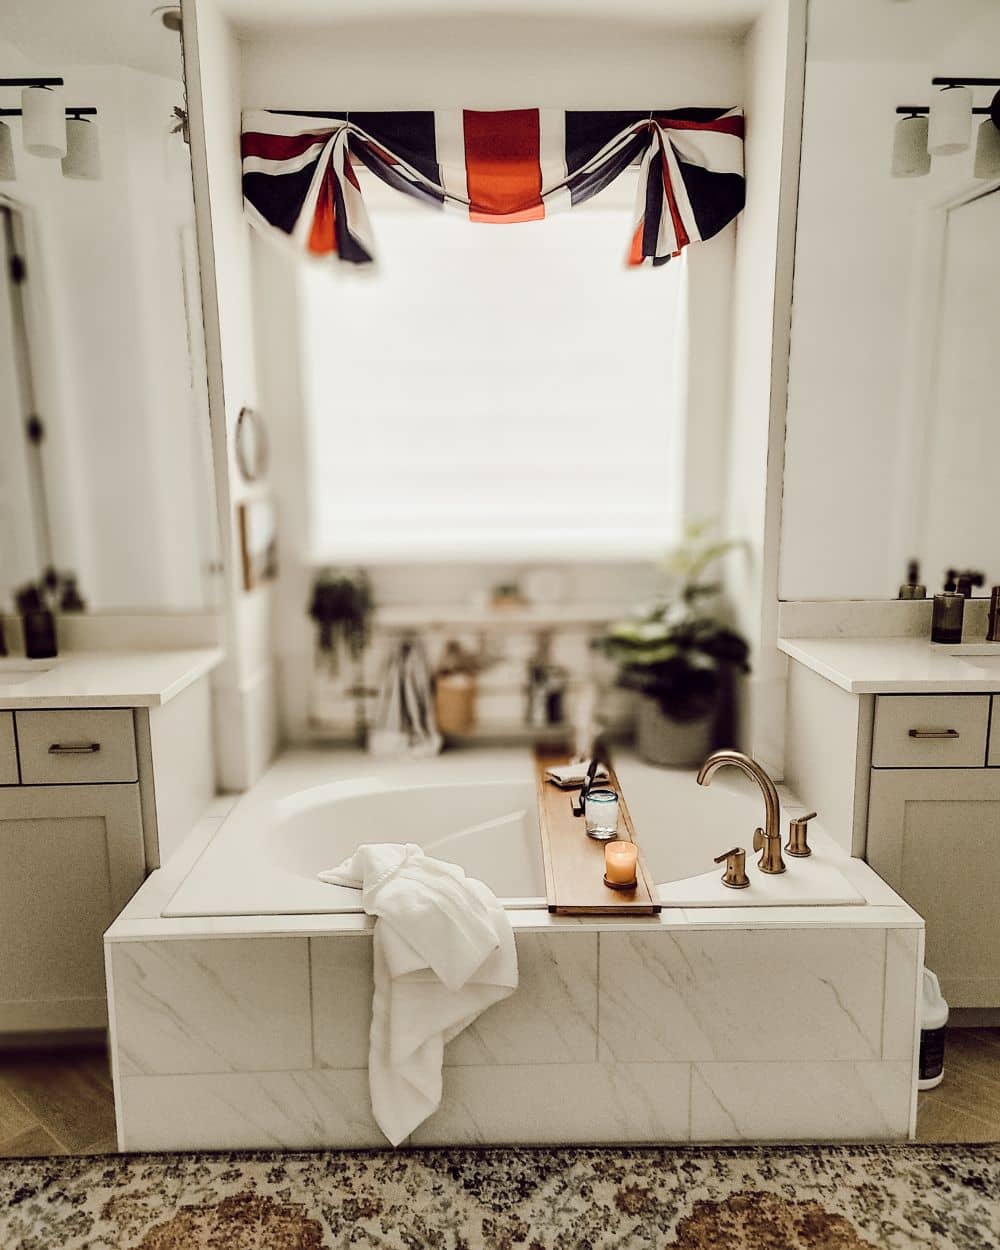
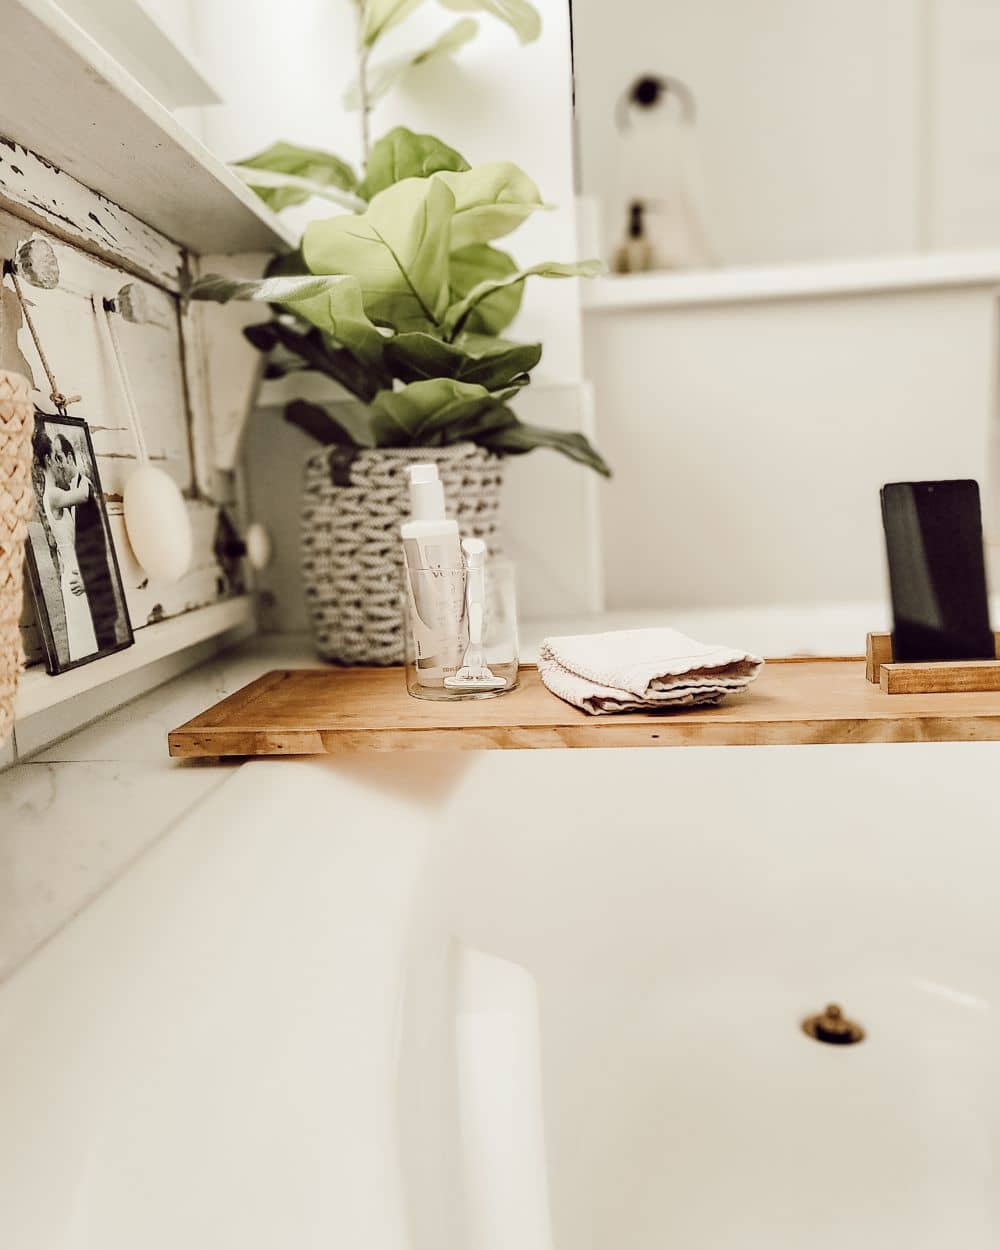
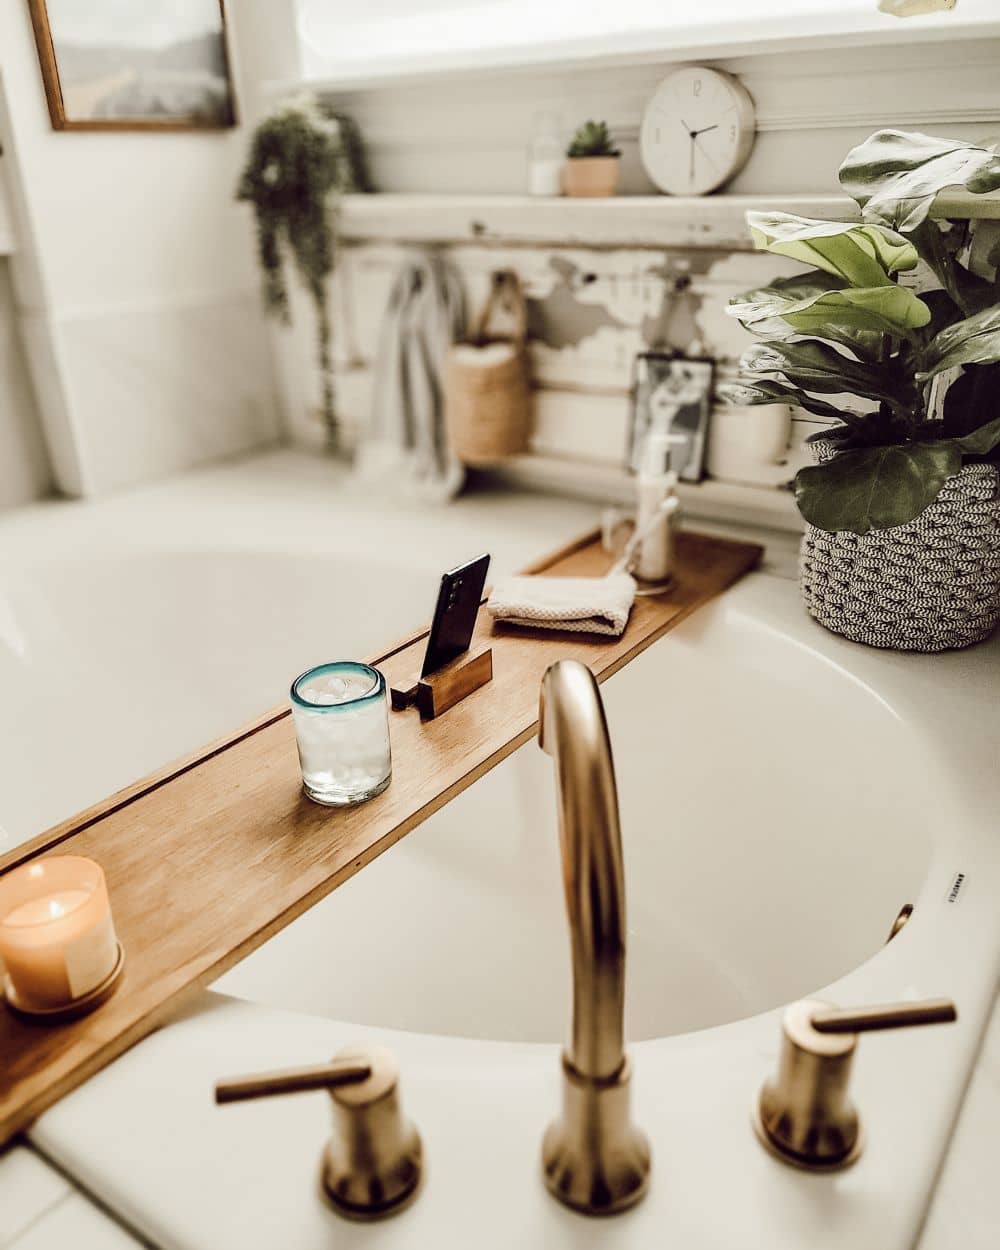
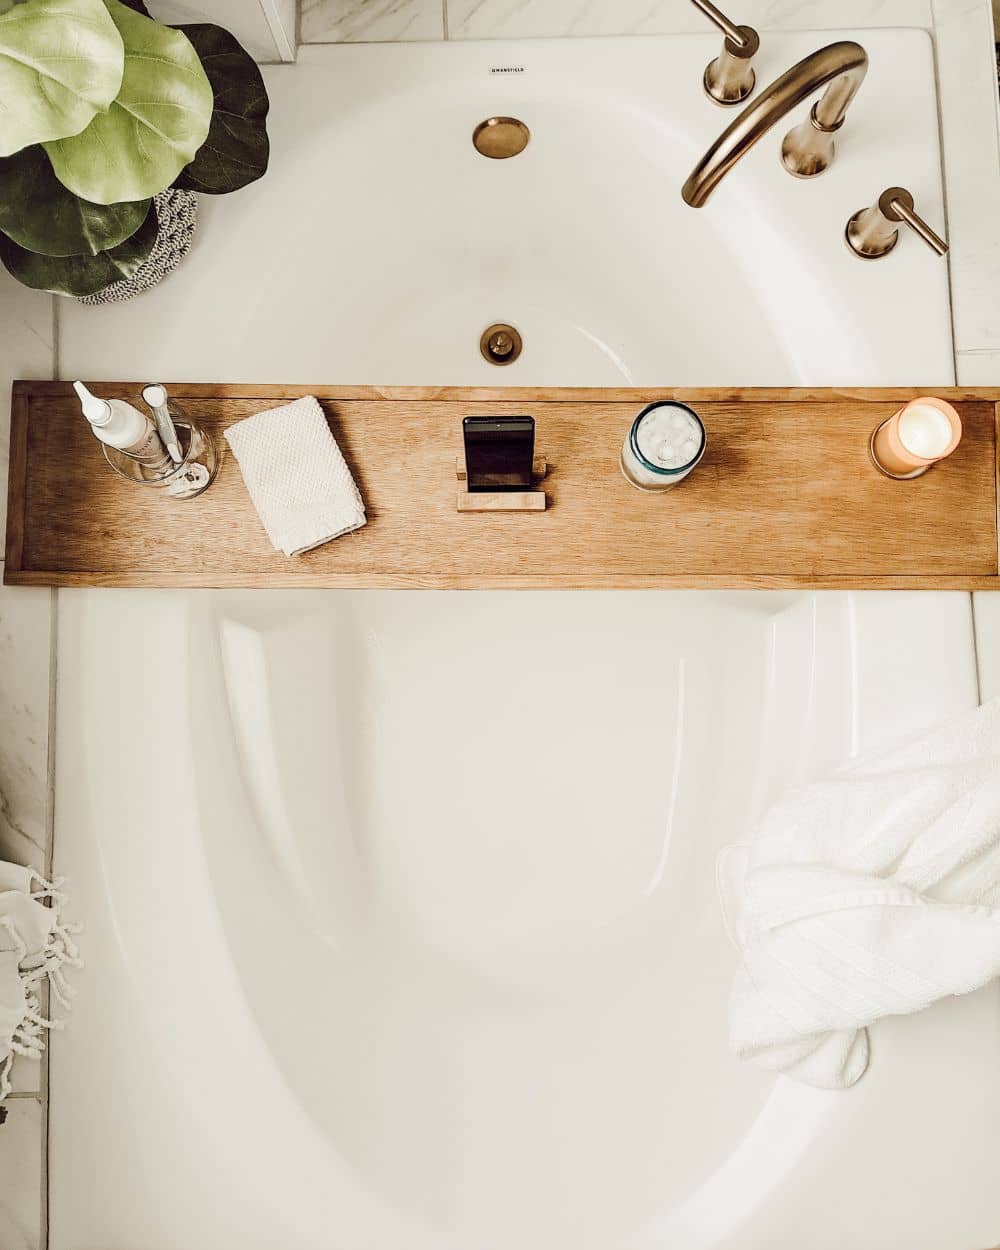
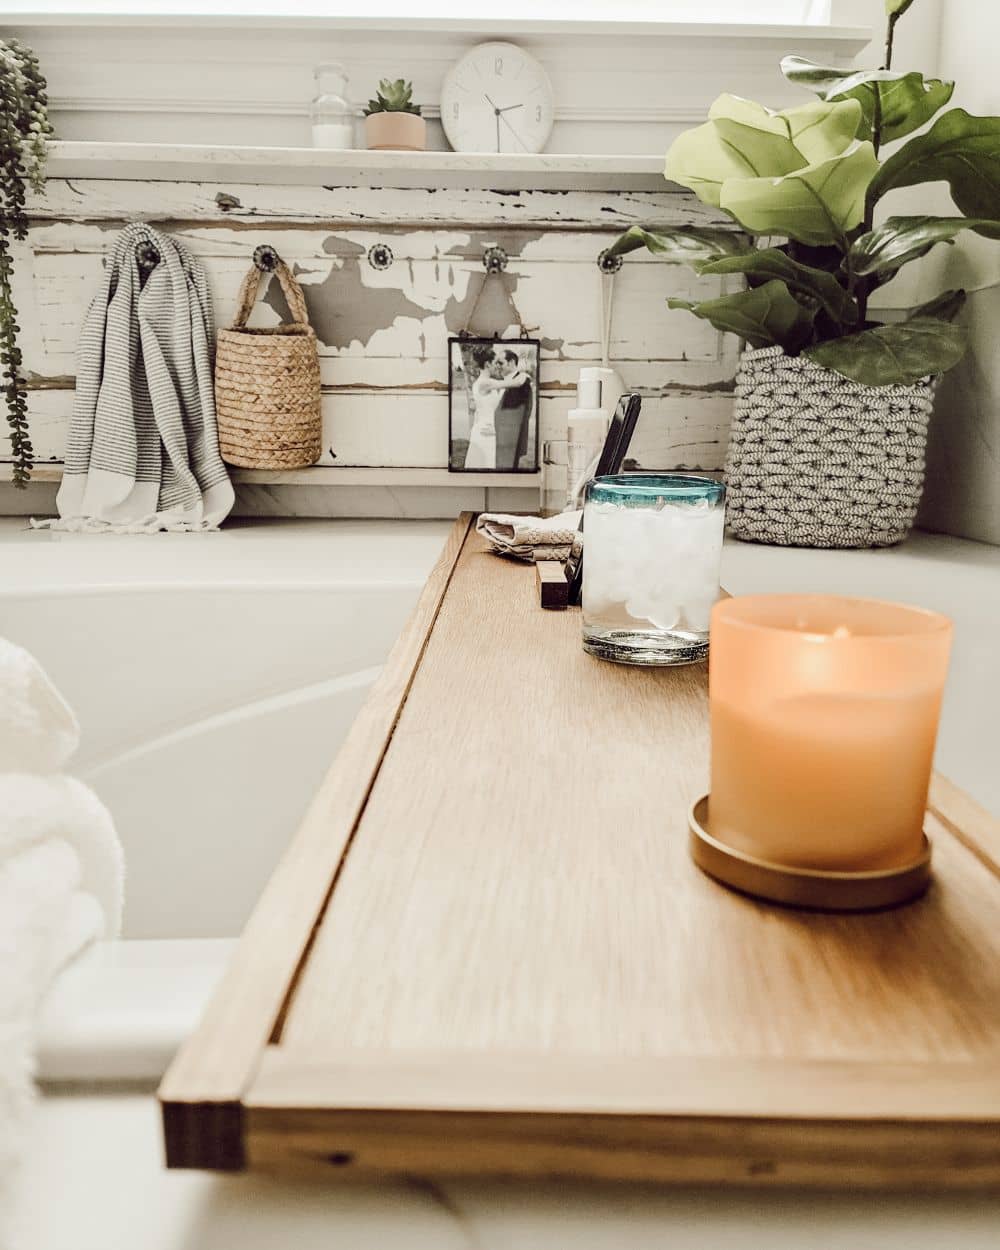
A bathtub caddy or tray is a great way to add convenience and function to your tub and it couldn’t be an easier DIY. This DIY bathtub tray was created using plywood, square dowels, and a piece of a 1×2″ board – wood I already had on hand. The great thing about a DIY project is that you can customize it at all angles. I added the square dowels around the edge to give it a simple detail and finish, but you could just add banding to the plywood edge, or add a taller board, or even use a live-edge board. At the very least, you’ll customize the length of the bathtub tray to fit your tub just right.
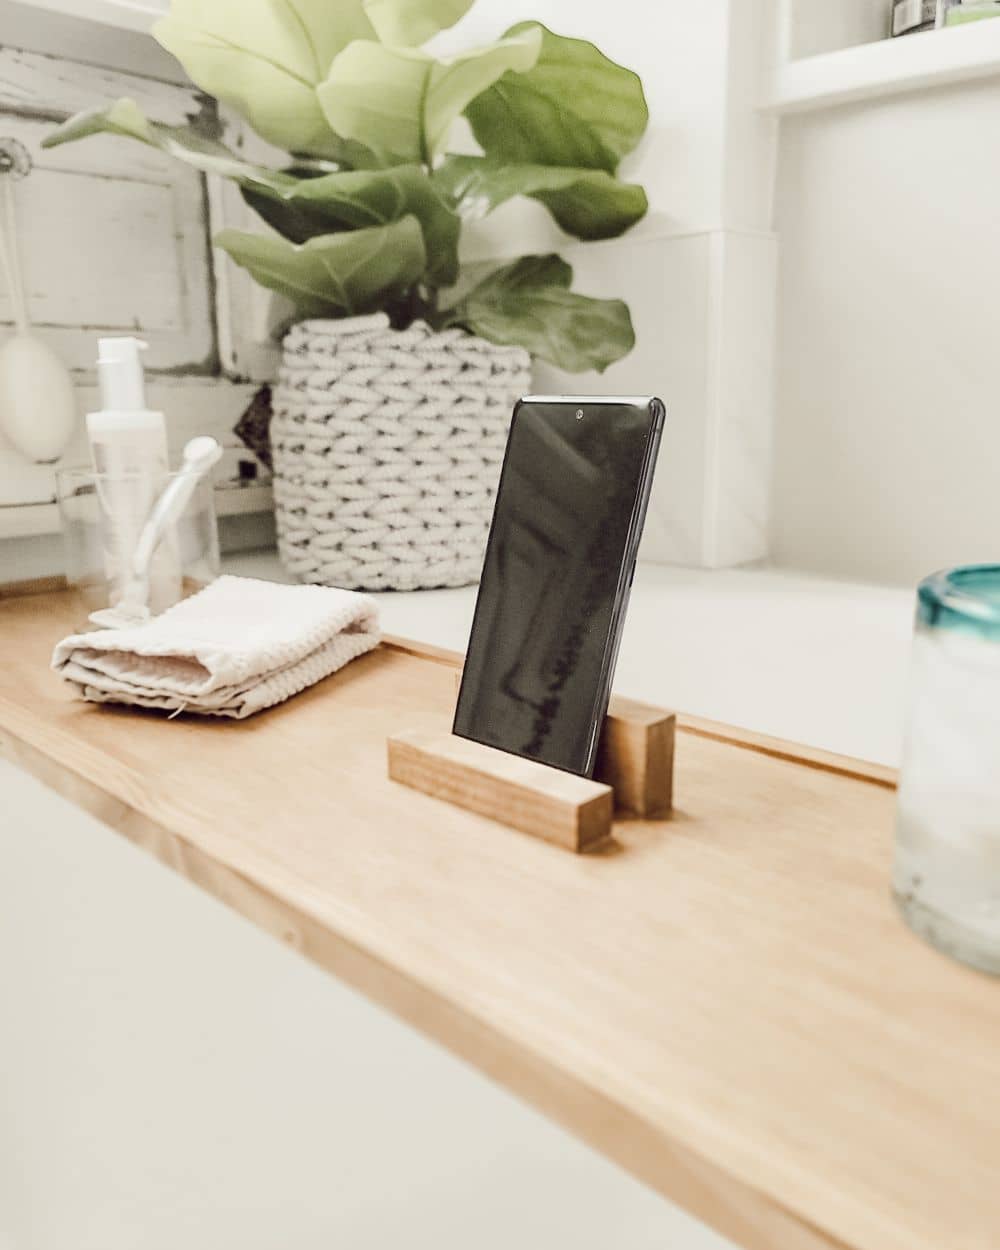
I usually don’t take the time to enjoy a bath, but as I get older, I realize that relaxing isn’t lazy and as a busy mom, relaxing is necessary to destress and refuel. There was one thing that was incredibly important to me for this design, and that was a phone stand. I used my pieces of a 1×2″ board to create a phone stand. I love holding a book, but I also love the Kindle app on my phone. If you want to create a stand for physical books, take one of your larger books to determine the distance you’ll need between the wood pieces that will create a stand. In fact, I would use wider boards to create a more substantial and reliable stand. There are various ways you could create a book stand on your bathtub tray, you may need to test a method before installing it onto the tray.
There are other bathtub tray designs out there that have a handy cutout for a wineglass or an inset for tealight candles. Some even have slats for drainage. Whatever your needs are while taking a bath, a custom bathtub tray is a great way to add more functionality to your bath time. When my eight-year-old daughter, Quinn, saw the tray, she got excited because she imagined being able to place her toys across it during her bath time. I don’t anticipate getting the tray very wet if at all, but I’m sure my playful daughter will, so I applied two coats of matte polyurethane to protect the finish and wood.
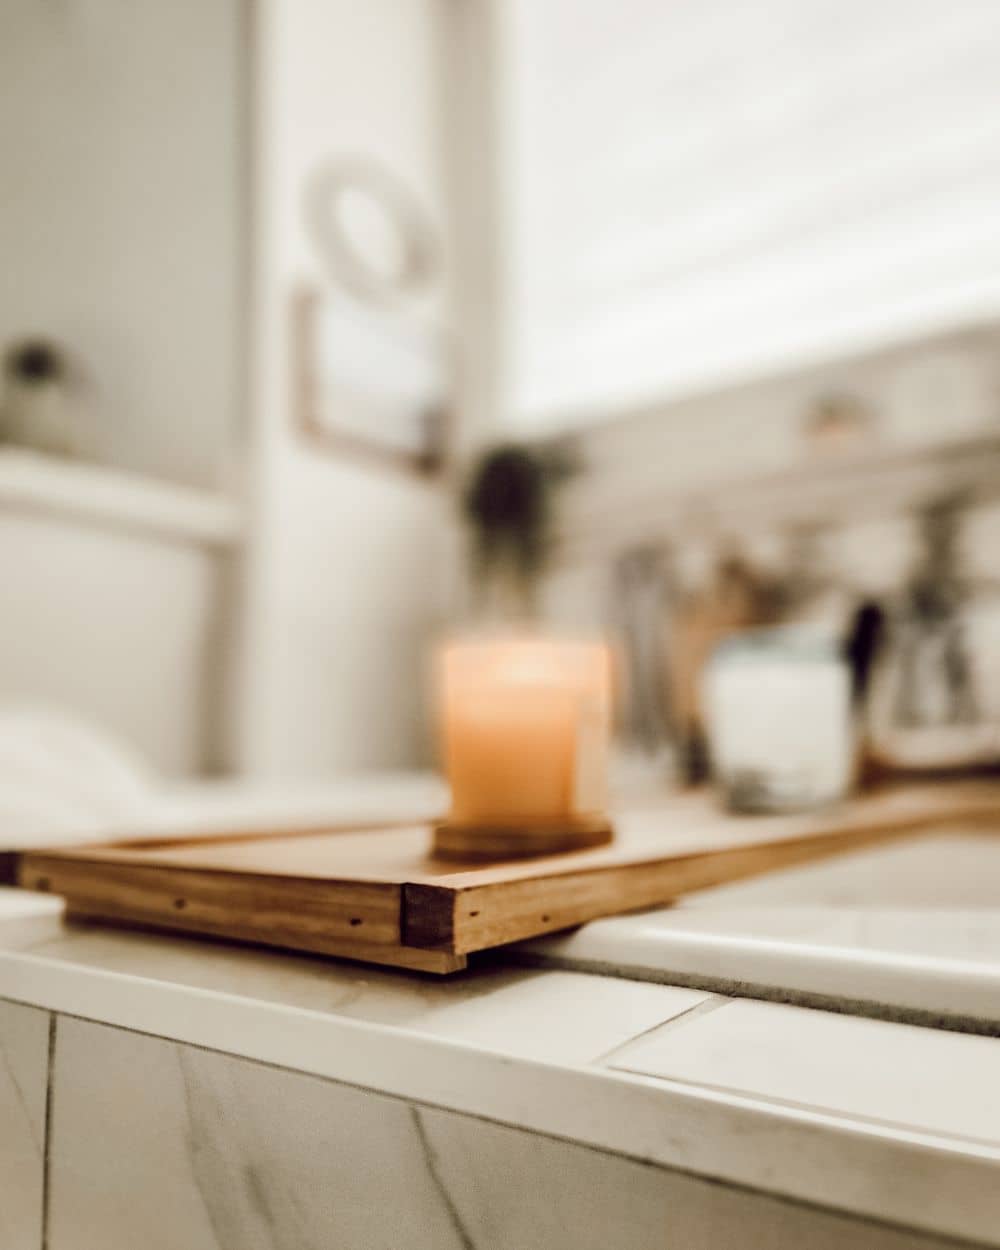
Even though bath time is a relaxing time, I added feet to the underside of the tray. I decided the feet should be there for function, but even if they’re never needed to keep the tray in place, they also look nice as a finishing touch, and they only took an extra minute to add to the tray. This tray was entirely constructed using wood glue and brad nails. It’s such a fantastic beginner project and I love what a wonderful gift they make too. Mother’s Day is right around the corner, birthdays, bath-lovers, etc. I love that bathtub trays are not just on trend, but they’re functional and a pretty accessory too.
For the easy step-by-step instructions on this bathtub tray, check out my YouTube video. Quinn even helps me add the edge around the plywood base, and she really enjoyed using the brad nail gun. I hope you found this blog post to be inspiring and encouraging – if I can create these wood projects, you can too!
Video tutorial
Putting together this bath tray was fun and easy. I think that a thicker piece of plywood would have also been nice. Or maybe a pretty scalloped decorative edge would be a nice touch. I usually add a layer of whitewash stain over the brown stain because I love that aged wood look, but for this tray, I just used Rove and Dwell’s Farmhouse stain and then matte polyurethane. If you make a tray as a gift, consider the recipient’s style and taste so that the tray works perfectly in their space.
POSTED IN: DIY Projects
