Beautiful and Free Thanksgiving Decorations

Beautiful and Free Thanksgiving Decorations
When all eyes are on the turkey and the gravy is being made with the drippings, I’m enjoying the decorations. Don’t get me wrong, I look forward to my favorite Thanksgiving dishes each and every year, but the decorations add to my memories and ambiance of the special day. With just a few of my favorite DeWalt tools, I made beautiful and free Thanksgiving decorations. Thanksgiving decorations aren’t just for the table, you can add some touches to the entire dining space as well.
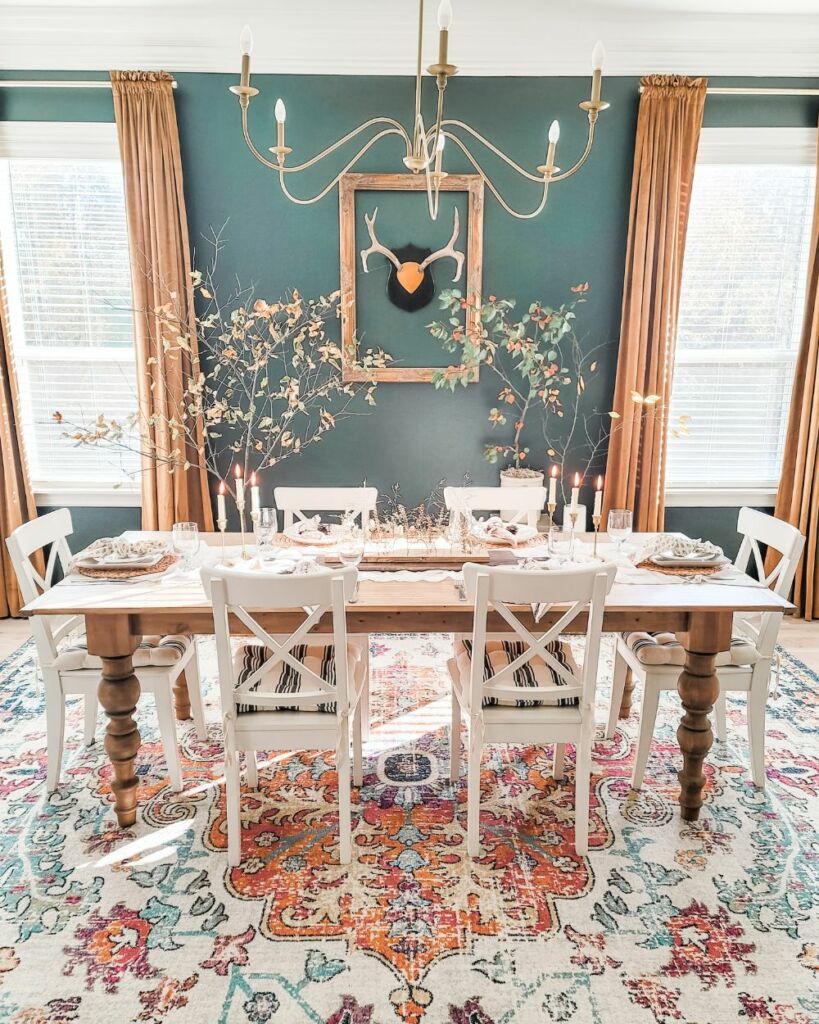
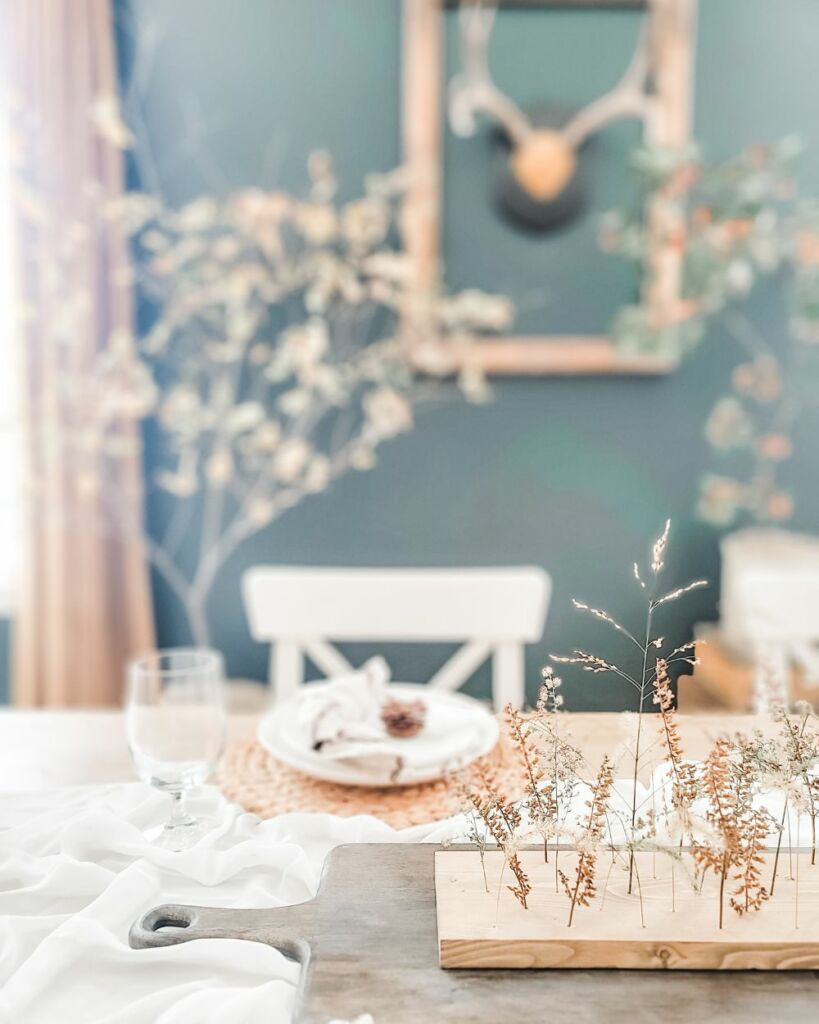
Beautiful and Free Thanksgiving Decorations – Dining space
For the first beautiful and free Thanksgiving decoration, you will need to find some fallen branches or finally trim that low hanging one from your yard. I like to use fallen branches for tabletop decor year-round, but for this idea, you’ll need to find larger ones that can look like a real tree in your dining space. Just find some containers (I used a pickle jar, a plastic planter, and a vase.) and fill them up with enough river rock to stabilize the branch. Then set the rock-filled container inside a more decorative one and place accordingly around your Thanksgiving dining space. i used some Spanish moss to cover the top and I was done! These branches look amazing, they add those cozy fall vibes for free, and it’s a fun way to add ambiance in the space. Some of my branches were shorter, so I stacked some vintage luggage to raise them up and voila, all done! And if branches aren’t your thing, you can also use a glue gun to attach fallen leaves to a piece of jute twine to create your own upcycled garland. With all the pretty leaves falling everywhere, it’s a fun project and the kids can help gather up some leaves for you.
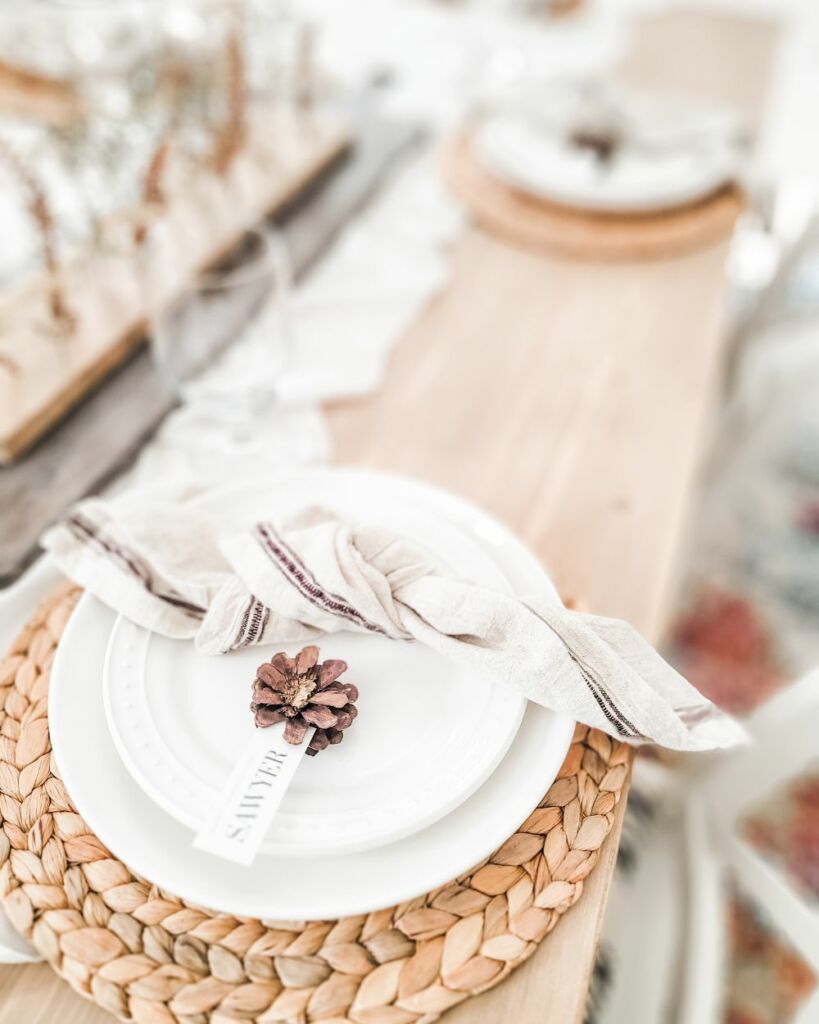
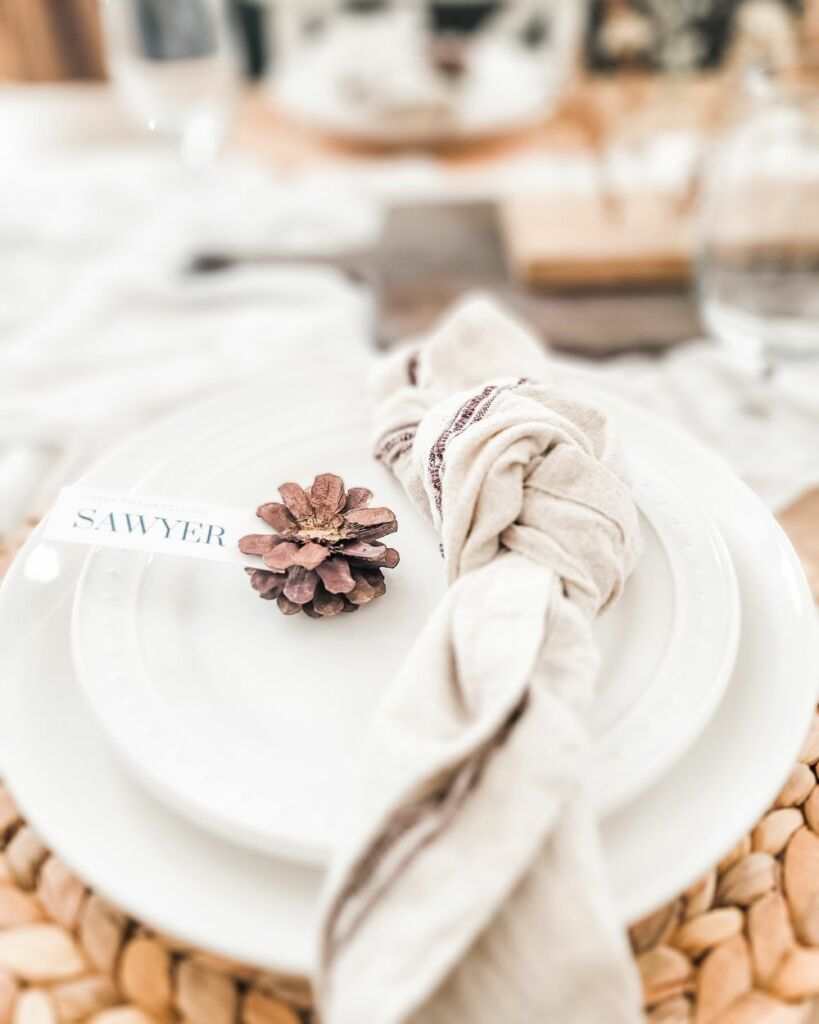
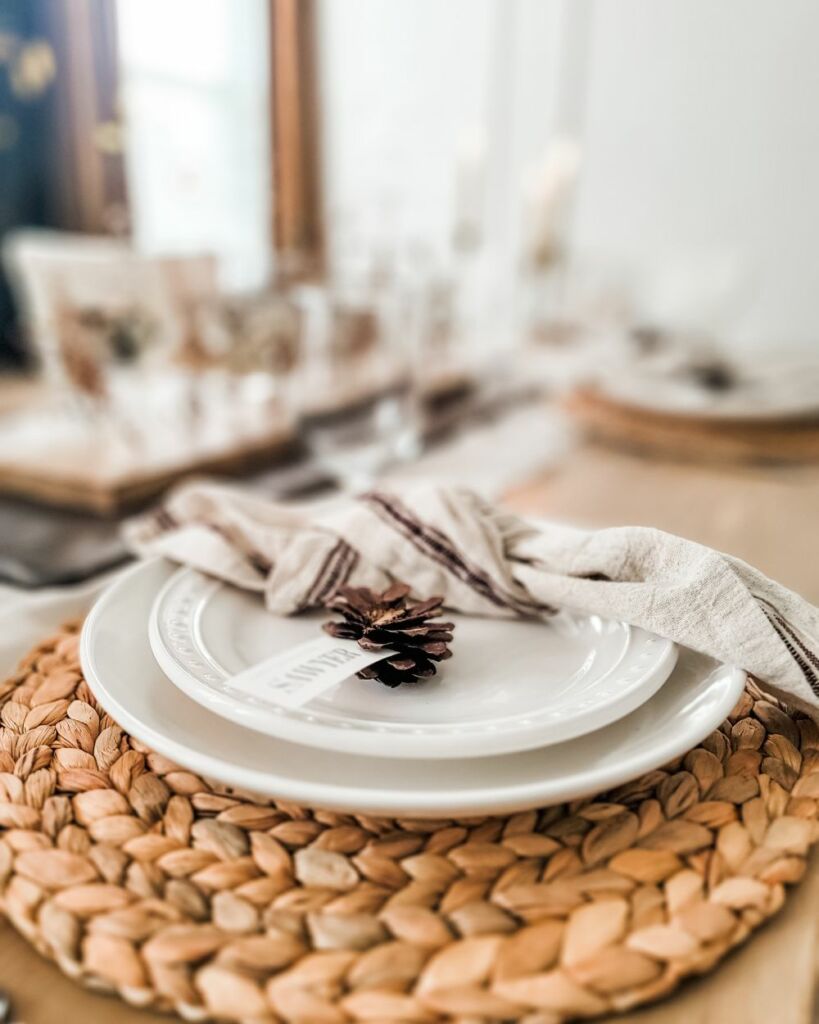
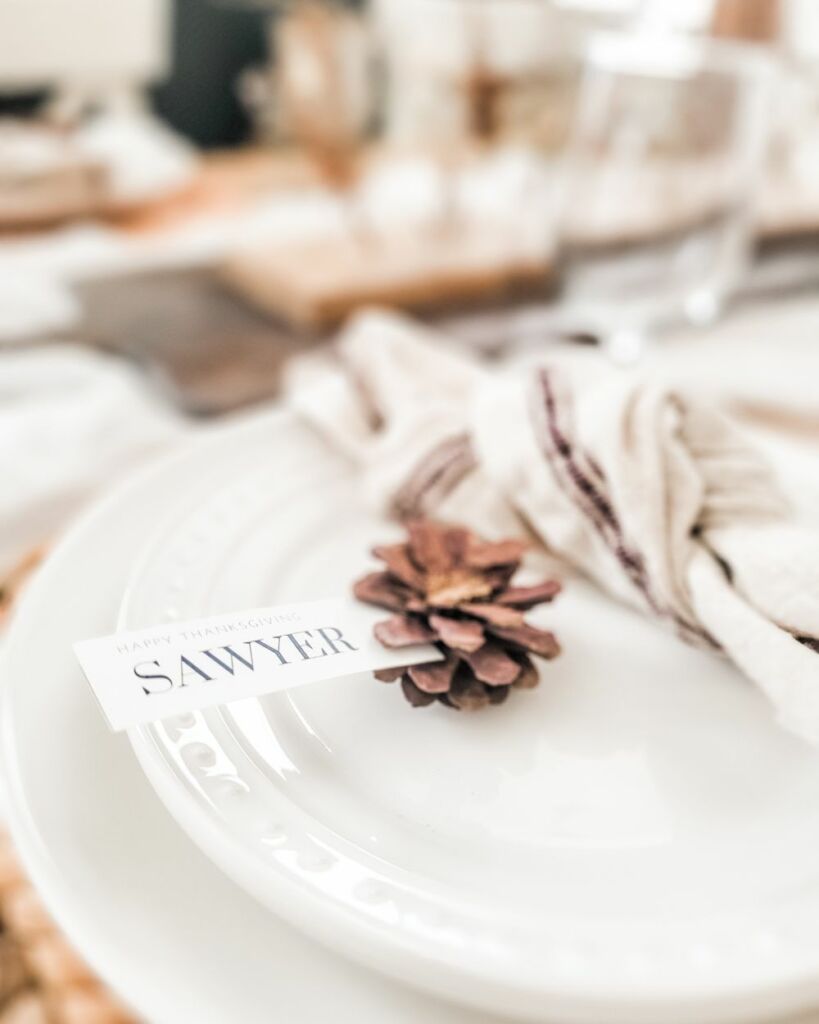
Beautiful and Free Thanksgiving Decorations – Place settings
Now it’s time to use some power tools, but don’t worry, these projects are easy, fast, and beginner friendly. There are so many pretty pinecone crafts, but this one is so fun and provides a new view of the pinecone. This project is another good one to recruit the help of kiddos, they can bend down so much easier anyway. Gather a pinecone for each place setting, and a few more just in case. You’ll want to prepare a safe surface to saw onto, I just clamped a piece of scrap wood to my workbench. The idea is to cut the pinecone in half exposing the floral shape inside. Once cut in half, you’ll use the bottom half for your Thanksgiving table. Using clamping pliers, I secured the top of the pinecone, laid it on its side, and easily sawed the pinecone in half using my DeWalt multi tool. You can use the top halves of the pinecones for something too! I used the bottom half pinecone flowers to be place card settings, but you could also glue them to a ribbon to create a napkin ring, or just set them around the table as decor. I also added a little bit of subtle paint to the ‘petals’ and pinecone centers. These are a really fun way to upcycle fall’s beautiful bounty, for free!
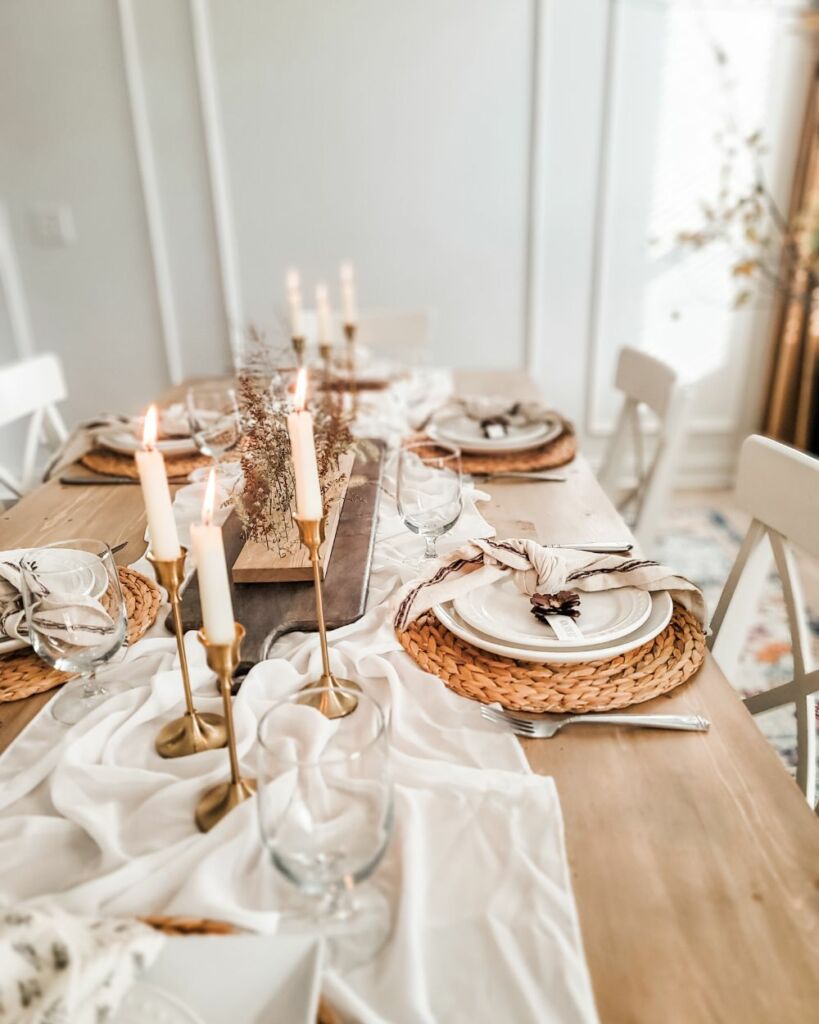
Beautiful and Free Thanksgiving Decorations – Centerpiece
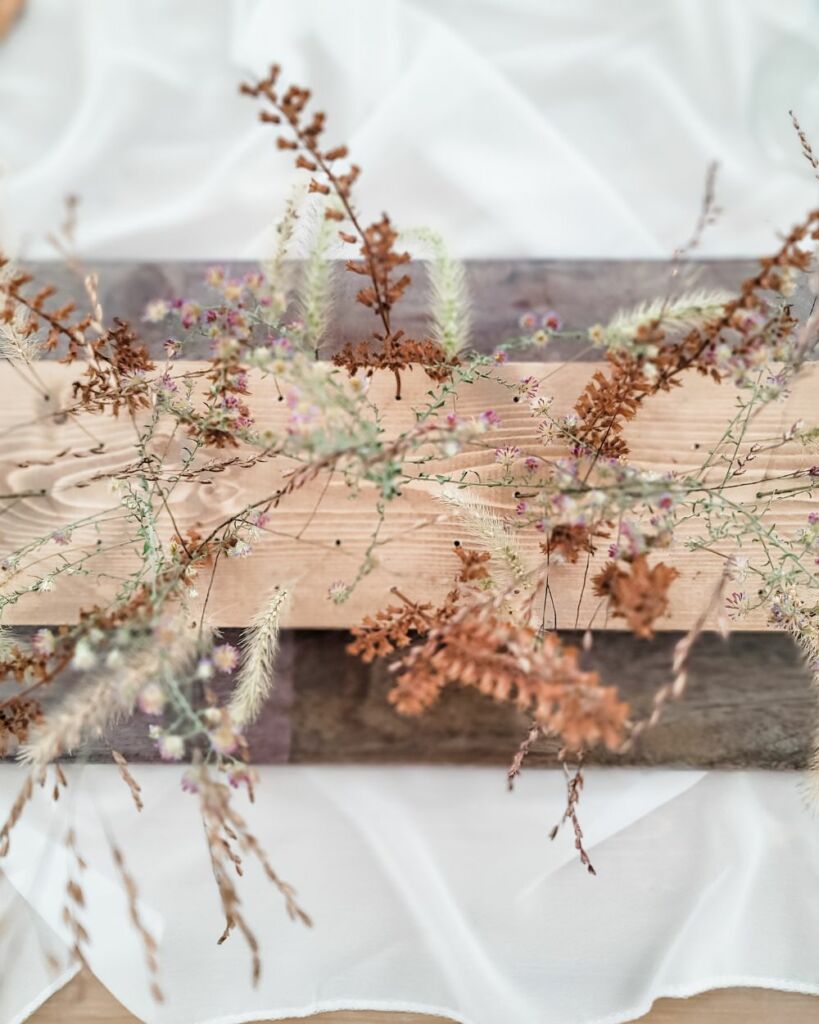
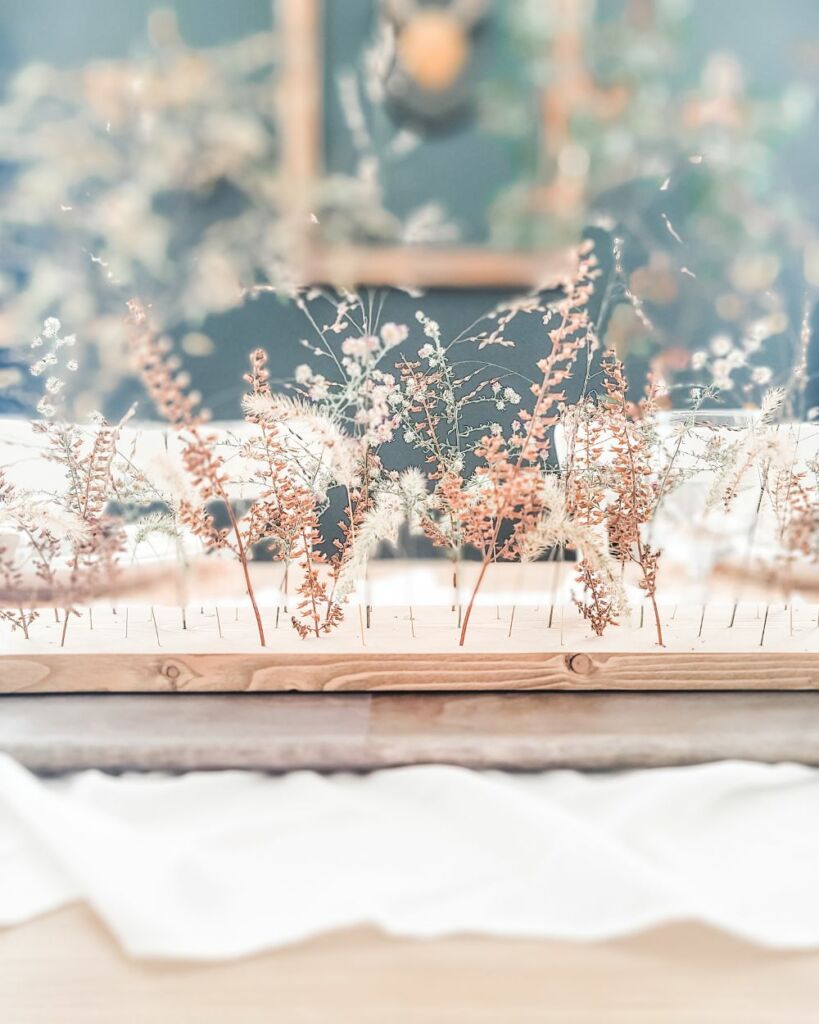
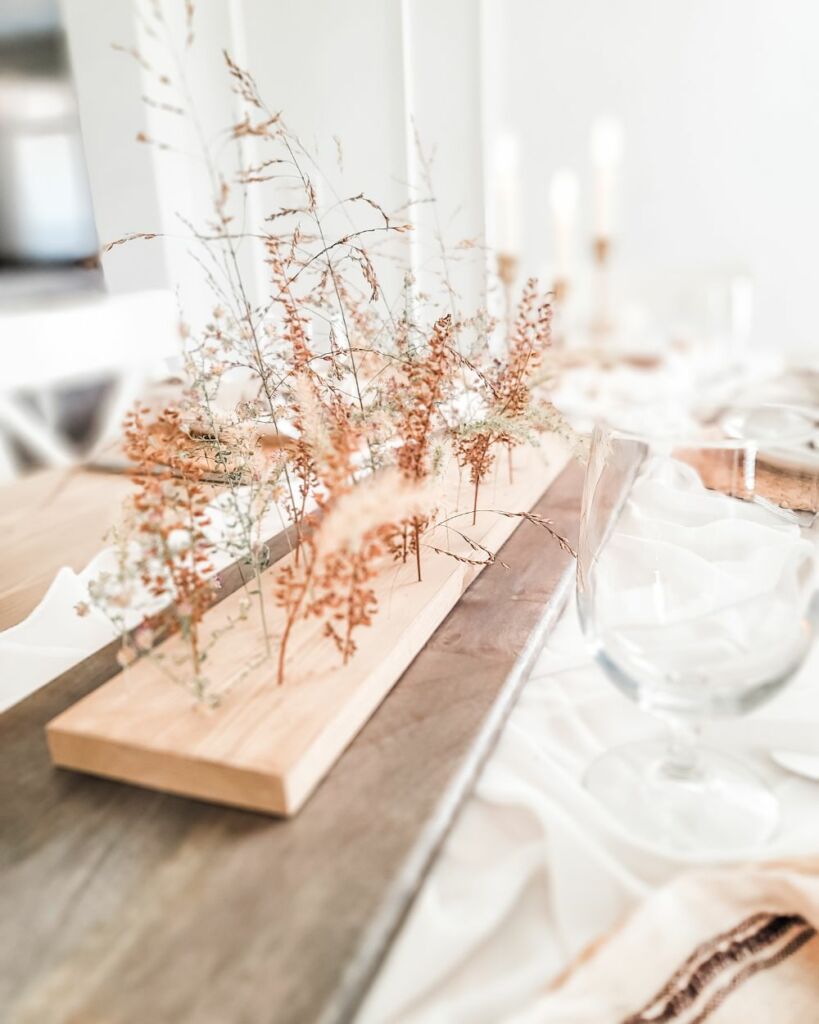
The third and final project to set the stage for your free Thanksgiving decorations, is a centerpiece. This centerpiece only works if you don’t spread the Thanksgiving feast across the table. In that case, it could be placed on a coffee table or entryway console. It’s such a fun project and you’ll love how easy it is and how long it lasts! Scrounge up a piece of scrap wood the length of your choice. The longer the table, the longer you may consider making your centerpiece. Once you have the wood, you should decide if you want to stain it, paint it, or leave it natural. Then set up your workspace, I just set a larger piece of scrap wood underneath the centerpiece board. The next step is to decide if you prefer a symmetrical or asymmetrical design. For those symmetry lovers, you’ll need to print out a free piece of graph paper or ask your middle school child for a piece of theirs. The paper should be taped across the centerpiece board, and then mark each spot you want to place a dried floral stem! If you like the freedom of asymmetry, you can just get started without any paper. Either way, using a small drill bit, I drilled all my marked holes using my DeWalt drill gun. The size of the bit should be large enough to fit your dried stems, but small enough to hold them upright. You don’t need to drill all the way through the centerpiece board, but if you do, no worries. Once all the holes are drilled, count them up and then go foraging along the roadside.
I live a bit out in the country, we have a cow pasture facing our backyard, and the old country roads are full of dried weed stems. During the last two autumns, I’ve notice just how pretty some of the weeds are, so I wanted to use them in a floral design. The best part is that they’re free and already dried, so they’ll last a long time. Using scissors, I just cut several of each style I wanted to use in my centerpiece design. I placed taller, feathery weeds in the absolute center, and then cut the other stems shorter as I worked my way out. I selected just a few styles of various weeds, in different colors and textures – they’re all unique and lovely. This centerpiece idea can be made using thicker wood and larger stems, or you can use a super long and slim piece of wood with all the same stems arranged along it. The possibilities are endless, and you should feel free to get creative using what you have and just enjoy the process. Who knew I’d be using free weeds for my Thanksgiving centerpiece?
Get the Look

This post may contain affiliate links. This means I may receive a small commission from each purchase, at no cost to you. As an Amazon Associate, I may also earn from qualifying purchases. Thank you for using my links to help keep this blog going!
Beautiful and Free Thanksgiving Decorations
I know Thanksgiving is acknowledged on the third Thursday of every November, but to have thanksgiving in your heart every day is the real blessing. It’s my hope that outside of the food, decor, and big mess to clean up, it’s the people around your table that fills your heart with gratefulness. May your Thanksgiving be filled with the unseen beauty of the season, laughter and joy, and many thanks for years to come. Blessings to you and yours.

POSTED IN: DIY crafts
Let's be friends!
Related Posts


Search
Categories
Subscribe
Get the latest posts, discounts, and design inspiration right to your inbox.
