Adorable DIY Boho Plant Stand
")
Adorable DIY Boho Plant Stand
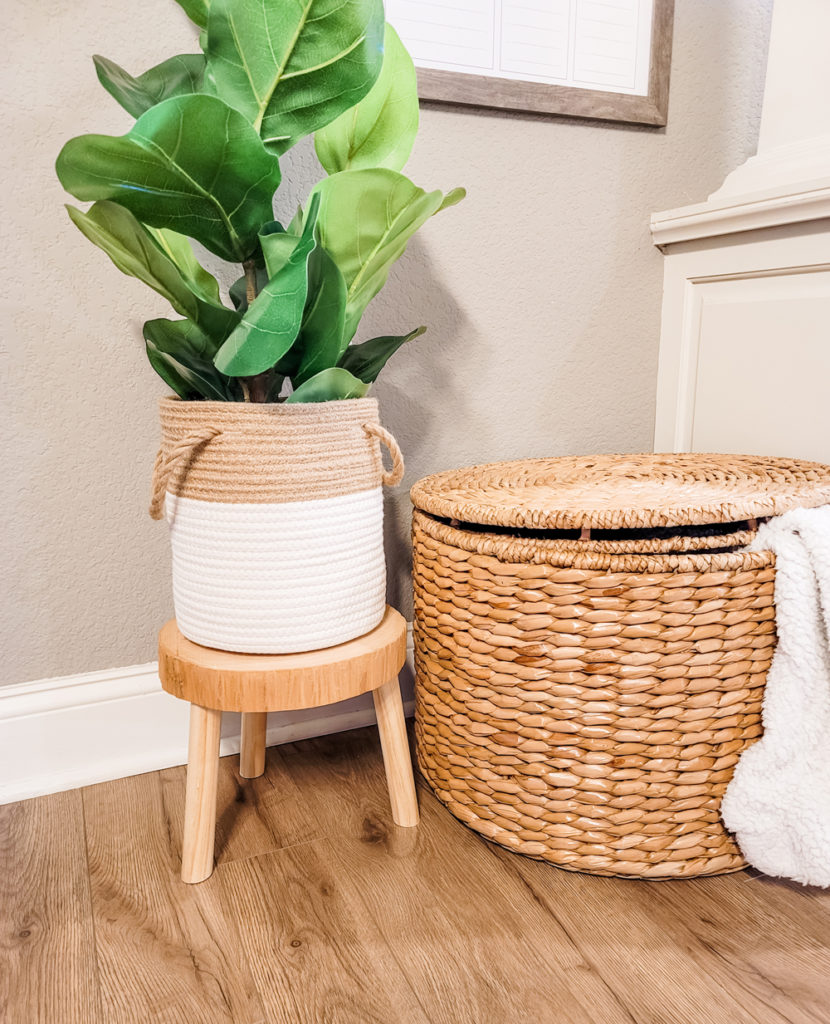
This adorable DIY boho plant stand is a new favorite project. Now I can throw together a little stand for anything at any size I want. The boho style is so versatile and can be infused into a room a little or a lot and still serve an important purpose – that purpose is adding texture and nature into a room design. Texture and nature both add warmth and comfort to a space. I love this adorable DIY boho plant stand because it has great texture and it’s straight from nature!
Adorable DIY Boho Plant Stand
The top of the plant stand is just a tree slice. You can find these quite easily, but before you buy one please check your local Facebook Marketplace and Craigslist listings for free wood slices. Yes, free! I found free ones in my area and it made me realize that I should be checking for free stuff locally before buying lots of different stuff. Anyway, you can also find tree slices at Hobby Lobby and use your 40% off coupon which is nice (approx. $7). When all was said and done, each boho plant stand came out at around $10 each for me to make, and only because I didn’t get the free wood slices. I still feel really good about creating my own plant stands for such a great price – have you seen how much little wooden plant stands are selling for? Well, $10 is a steal plus you can customize it!
I created a fun little video to show you just how easy it is to whip up. If you’re a visual learner, check out my video. If you like it, please click the thumbs-up. If you love it and want more, you can subscribe to my channel. I post one video a week – nothing spammy.
Here’s a list of the tools you can use to create your own easy DIY boho plant stand:
- Hand saw
- Sand paper
- Measuring tape
- Pencil
- Electric screw driver (drill and screw bits)

This site contains affiliate links to products. We may receive a commission for purchases made through these links at no extra cost to you. Thank you for your consideration in using my links!
Here’s a list of the items you will need to create this boho plant stand:
There are some additional things you can do to customize your boho plant stand. You can paint the bottom half of the plant stand legs to add a color block look. This will add a modern and youthful edge to your plant stand design. White paint is the most common, but you can choose any color you like. Another option is to remove the bark from around the tree slice. I used a flathead screwdriver and hammer to chisel the bark off. It was actually sort of fun and didn’t take long. However, I was left with ridges around my tree slice, but you could sand it down for a smoother look. In fact, you can just lightly sand to remove potential slivers, or you can use a circular sander to completely smooth the surface edge. Another option is to seal the wood slice. You can use a wood oil for a natural look or go for a super glossy sealer to add some modern shine to your stand. There are so many ways to further customize this plant stand, use your creativity and personal style to create a boho plant stand that works for you.
Here are the steps to create your own easy DIY boho plant stand:
- Measure and mark your dowel to cut three legs.
- Cut the dowel at a 10-degree angle and do not turn the dowel between cuts – this will ensure that each leg is angled slightly out. You don’t have to have angled cuts, but I prefer this look.
- Lightly sand the cut edges of the dowel after cutting.
- Pre-drill a hole in the center of each dowel – only on one end.
- Screw the top center of your T-bar bracket to the dowel.
- Once all three T-bars have been attached, set them onto the wood slice with the bottom of the T-bar pointing to the center of the wood slice.
- Using a pencil, mark the open holes onto the wood slice to know where the screws will go. For now, remove the T-bar brackets.
- On the wood slice, pre-drill the marked holes.
- Add the T-bar brackets back to the wood slice, and screw each bracket onto the wood slice.
- Finally, stand up your plant stand and twist the legs a bit so that it sits flat. Decorate!
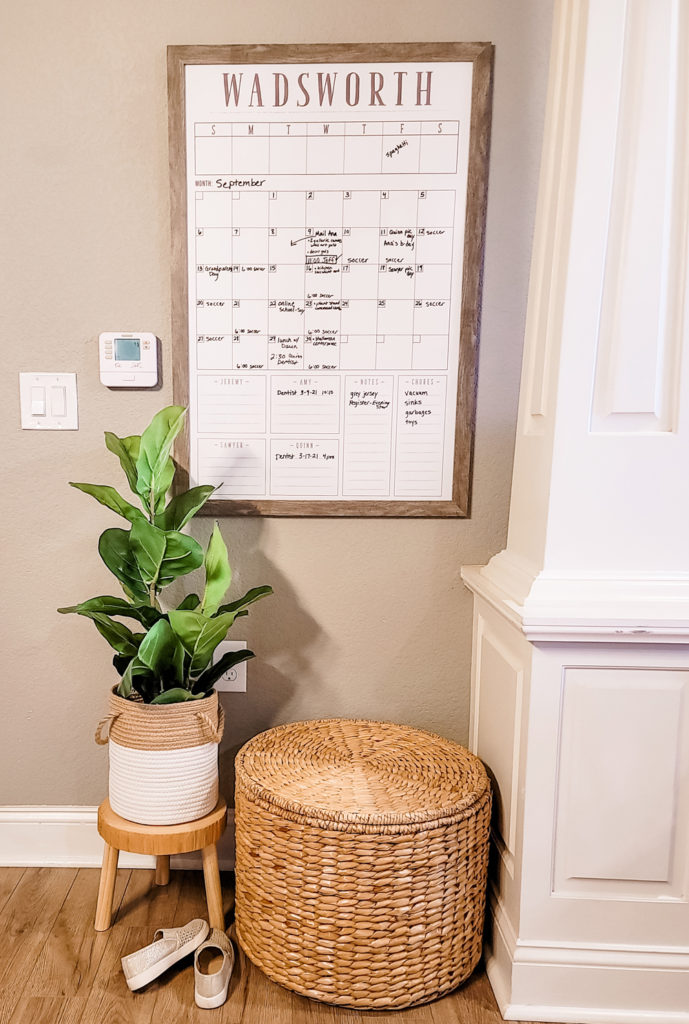
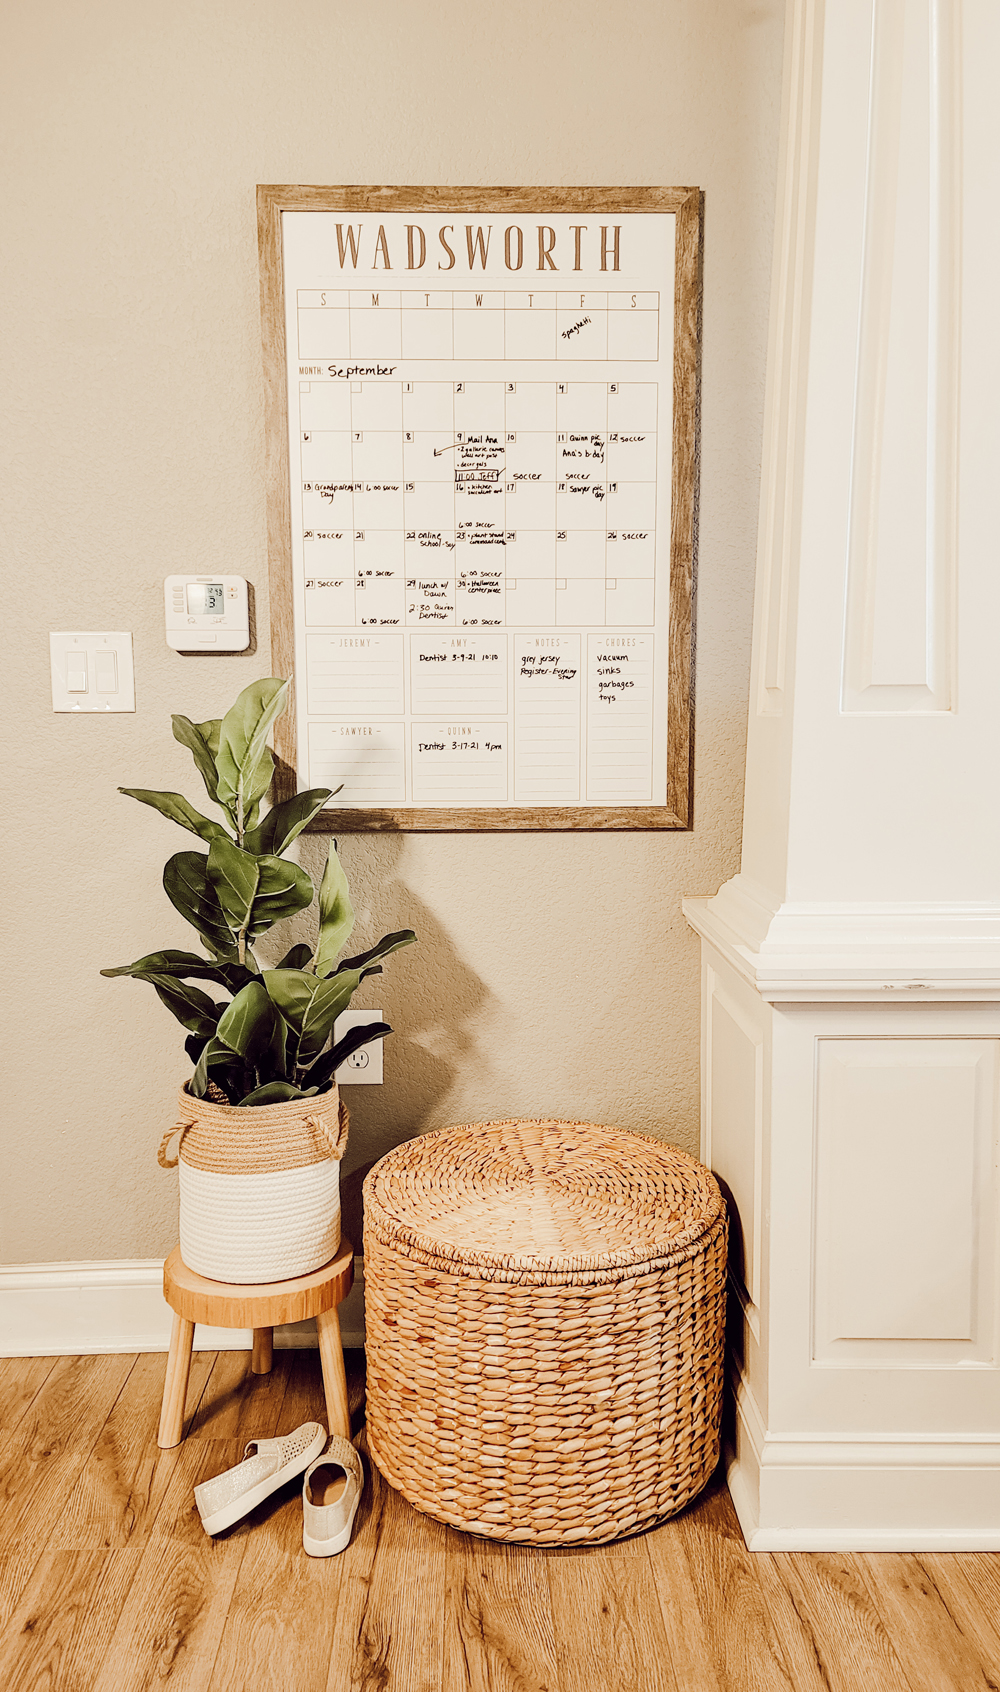
What do you think about our new ‘command center’ dry erase board?! You can select the size you want, the layout, various board options, and the frame color. I just love it! Our last name is printed across the top, each family member has their own section for reminders and future appointments, and we have a notes and chores section too. I’m not that great at meal planning because I’m a terrible cook, but there’s a week space at the very top that I like to use to plan some meals for us — I can only do one week at a time when it comes to meal planning so this is perfect! I found this amazing dry erase board on Etsy and it shipped really fast and securely. You can fully customize this amazing dry erase board by Circle & Square Decor.
Shop this space:
This boho plant stand is such a fun and easy project, even cute to give as a gift! Let me know what you think in the comments below. Each week I publish a new post, so be sure to subscribe to get updates.

POSTED IN: DIY crafts
Let's be friends!
Related Posts


Search
Categories
Subscribe
Get the latest posts, discounts, and design inspiration right to your inbox.
