Easy and Affordable Accent Wall + Headboard

Easy and Affordable Accent Wall + Headboard
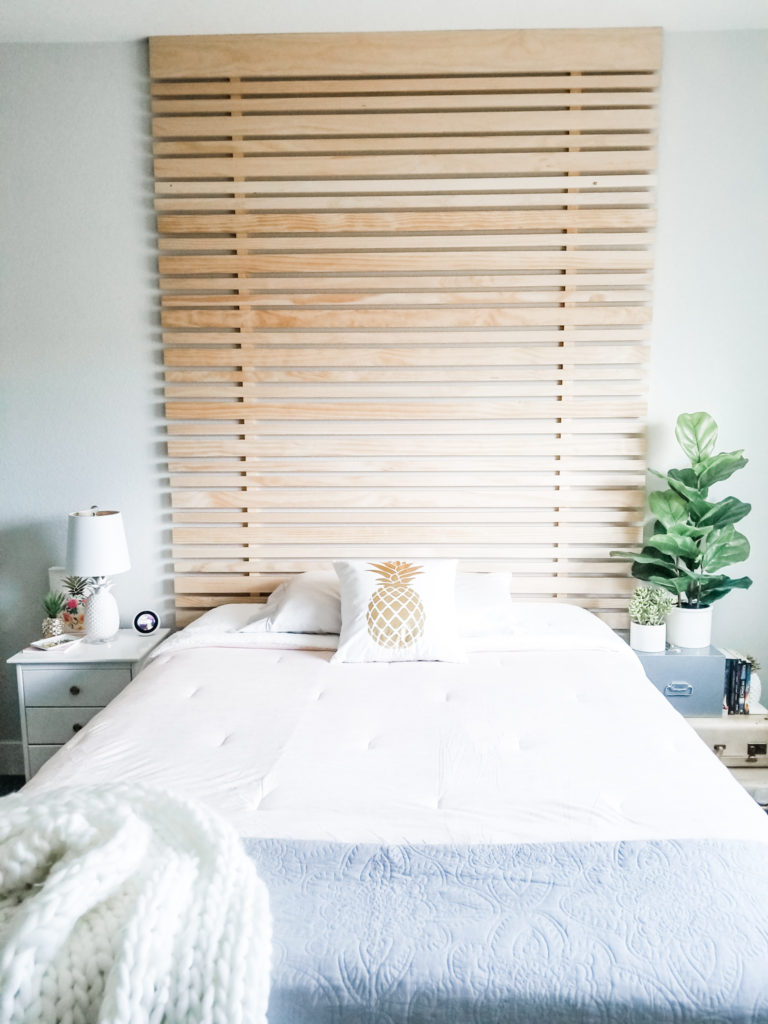
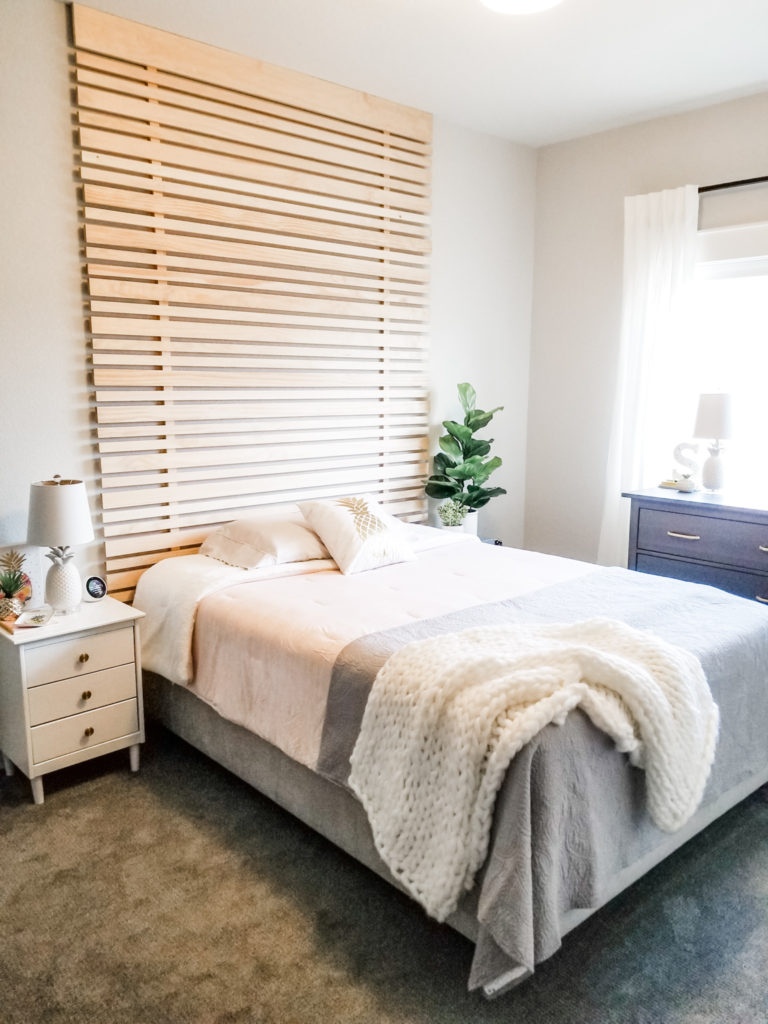
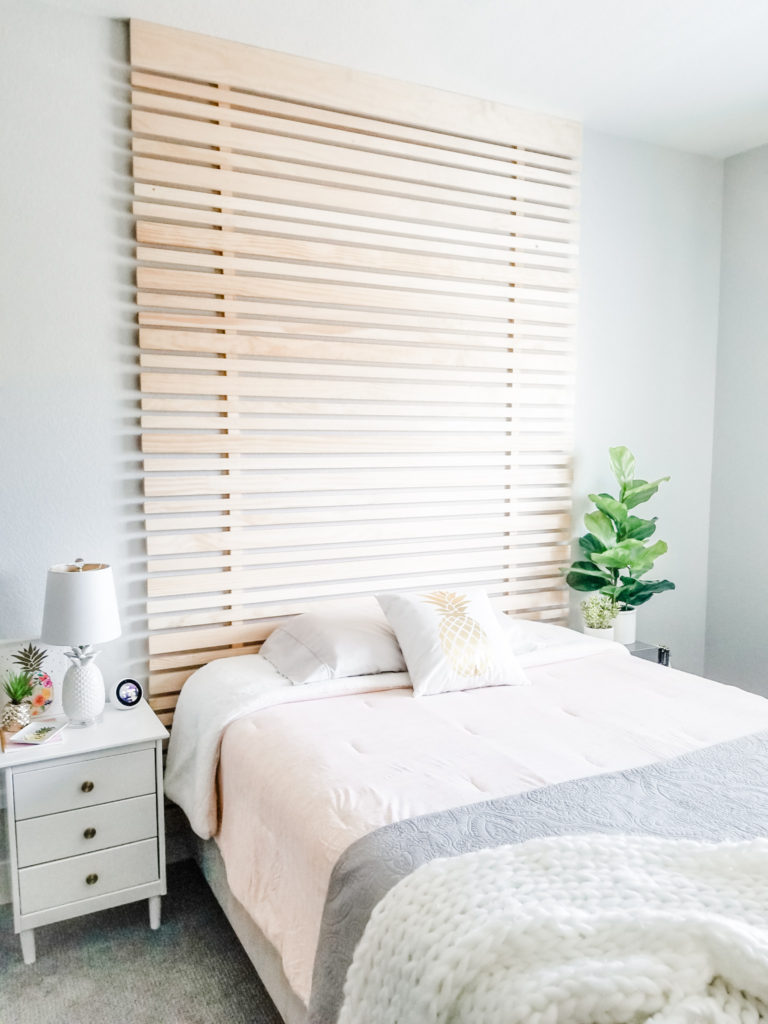
This DIY project was completely inspired by House of Hanes Interiors! Once I saw this pine-slat accent wall behind her baby’s crib, I had to try it. Not only does this look great in the Hanes’ nursery, but it looks great in my teenager’s room too! Sawyer has a nice sized room, but along the right-side is the closet and a built-in desk. So there are only two walls to have her bed. She liked her bed against the window, but I didn’t like the tall headboard blocking out natural light. I’m so excited to show you just how easy it was to create this accent wall + headboard in about an hour – all by myself, no helping hands were needed.
Easy and Affordable Accent Wall + Headboard
I’m comfortable with transitional boho style because I also want to keep it flexible enough to grow with her changing styles and tastes. I think boho can be combined with so many different styles to look great and be personalized. Here are the resources to shop this space:

This site contains affiliate links to products. We may receive a commission for purchases made through these links at no extra cost to you. Thank you for your consideration in using my links!
Easy and Affordable Accent Wall + Headboard – BEFORE pic
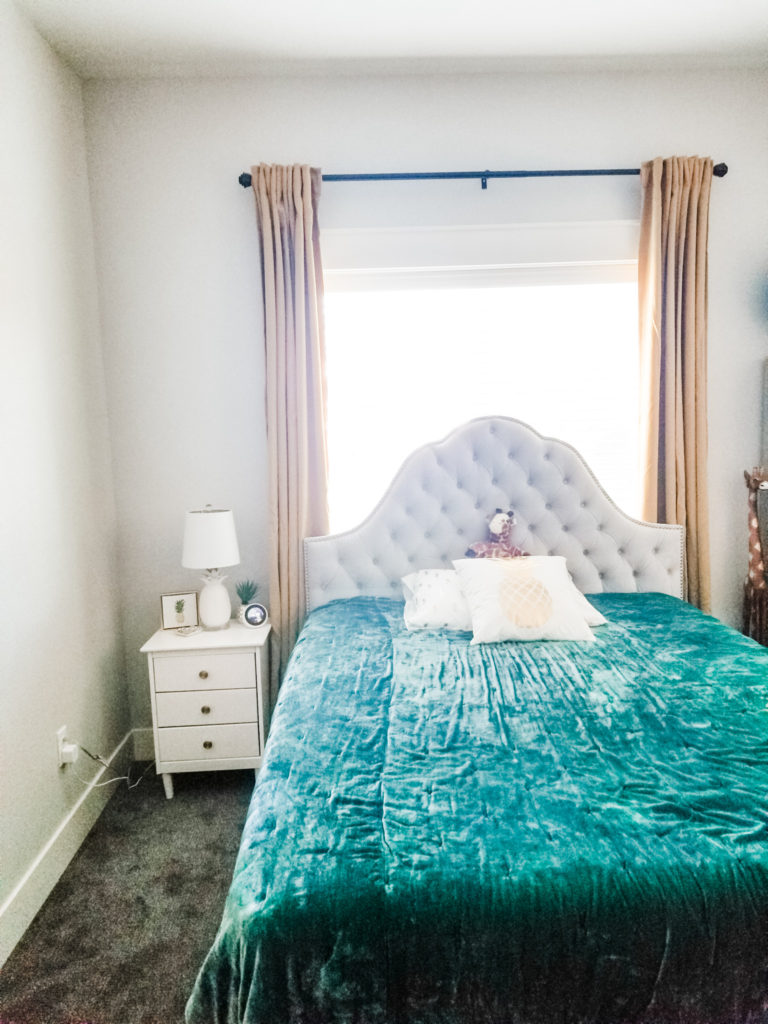
I transitioned Sawyer’s room to lighter softer colors that fit her style now, and the accent wall adds an organic natural touch. She felt like the headboard was just too fancy and she asked for lighter colors. So, I just removed her ‘fancy’ velvet headboard from the base of her bed and then pushed her bed up against the new accent wall/headboard. She loves it, we love it, and it really elevates the look of the whole room. Our first-born is growing up and we’re noticing it in every way from her attitude, fashion sense, maturity, and even her design preferences.
Sawyer has a queen-sized bed, so I used six-foot long horizontal pine boards. Eight-foot long boards could definitely work behind a king-sized bed.
Easy and Affordable Accent Wall + Headboard: Tools + Supplies
- 3 – 1.5” x 8’ pine boards (these are the vertical boards that are attached to the wall studs)
- 1 – 5” x 6’ pine board (this is the header board at the ceiling)
- 1- 3” x 6’ pine board (this is the bottom board that overlaps the baseboard)
- 22 – 1.5” x 6’ pine boards (referenced as small boards)
- 15 – 2.5” x 6’ pine boards (referenced as big boards)
- brad nail gun and 2” nails
- electric screw driver/drill and wood screws
- stud finder
- level
- ladder
This site contains affiliate links to products. We may receive a commission for purchases made through these links at no extra cost to you.
Thank you for considering and using my links!
Easy and Affordable Accent Wall + Headboard: Instructions
- Find the studs you’re going to attach the eight-foot vertical boards to. The studs were four feet apart which means there will be a foot of the horizontal board hangover on each side. Our bedroom ceilings are nine feet tall so I had to cut two, one-foot pieces from the third board. Use wood screws to attach the vertical boards that go from floor to ceiling.
- Start at the ceiling with the five-inch header board. Attach the header board with the brad nail gun. Make sure to measure a foot of hang-off on each side of the vertical board. All your other boards will line up with this one.
- Use a 1.5” board on it’s side as the spacer board between each horizontal board. There is .75” of space in between each board – it’s aesthetically pleasing and easy to do by using a board you already have. I used a ruler to line up the ends of the horizontal boards.
- The pattern I followed was: small – small – big – small – big. Once you get going and in a groove, it goes really quick. Before you start, line up your boards in the pattern you choose. Also be sure to look over each board and make sure the best side of the board is the one showing when you install it. Avoid buying bowed boards.
- Once I got to the bottom, I decided to use a three-inch board because it covered the end of my vertical boards best and it worked as a cap to finish the accent wall. It overlaps my baseboard a bit, but I like the finished look it creates.
- If you don’t want the brad nail marks to show, you can use wood filler. I personally like the look of the nail marks. You can also run a bead of white caulk to finish the connection between the header board and ceiling. I decided not to, but it is an option.
Tip: Determine what side of your accent wall will be first seen when you walk into the room – that is the side you should line up all your horizontal boards using a ruler. The pine boards are pretty consistent, but some are off just a hair and one side will show the variations. I’m not a perfectionist in this way, so I don’t mind both sides not lining up perfectly. However, if you do mind, you’ll need to cut them to be all the same and fix the slight variances prior to installation.
This accent wall took under an hour to install – and it took about an hour to buy the wood and get tools out. I love projects with fast results that look amazing. Completing this wall was rewarding and so much fun that I took this same idea and made a king-size pallet headboard (see details here).
After the accent wall and headboard were done, I completely transformed the look of Sawyer’s room with a $40 comforter from Target and $20 curtains from Home Goods. I also redecorated using pieces I had and gave her room a whole new look and feel. She absolutely loves the look with her soft and lighter colors. I’m so happy that this design really fits her style and personality.
Subscribe to my YouTube for more DIY tutorials
Here’s a video of me installing the accent wall. I double-timed the speed of the video and didn’t record the entire install, but from start to finish was still under an hour and super easy. Once you watch a few minutes, you’ll get the picture. I hope this project inspires you and gets you motivated to tackle that DIY idea in your mind.
Music: Funny day
Musician: Fugue
Thank you so much for checking out this post! I hope you’re inspired by how easy it can be to create a eye-catching accent wall + headboard. You could also use eight foot boards for a larger bed or for a larger accent wall. I think this style would look great in so many areas of a home. If you enjoyed this post, please subscribe to my blog for more DIY and decorating projects!

You may also enjoy these related posts:
Shop the boho style:
This site contains affiliate links to products. We may receive a commission for purchases made through these links at no extra cost to you.
Thank you for considering and using my links!
POSTED IN: DIY Projects
Let's be friends!
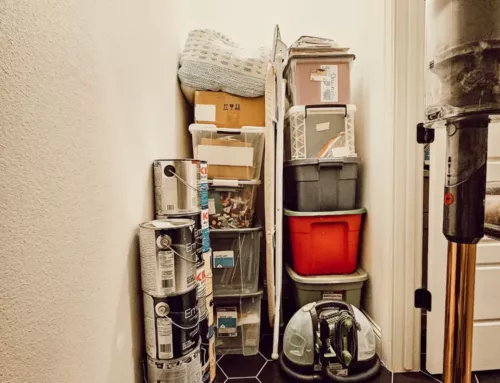
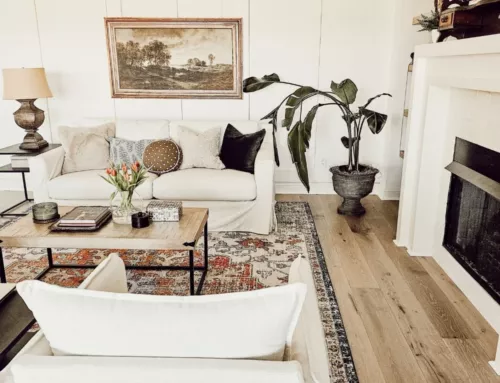
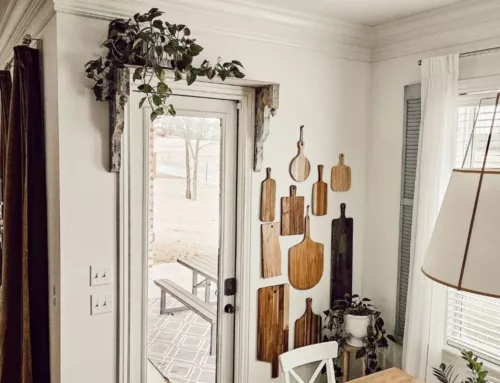
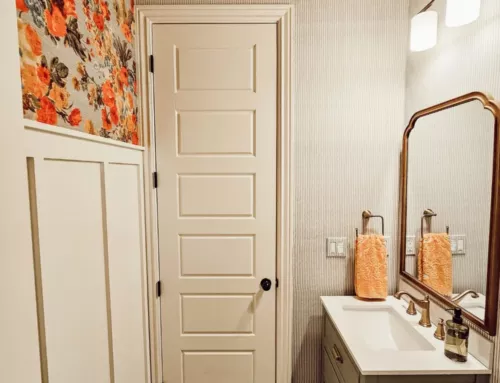
Related Posts
Search
Categories
Subscribe
Get the latest posts, discounts, and design inspiration right to your inbox.
